
Welcome to the world of artisanal baking! I’m thrilled to share my passion for creating delicious homemade bread through this sourdough bread recipe. Sourdough has transformed my kitchen into a haven of delightful aromas and incredible flavors.
Crafting a perfect sourdough loaf is more than just mixing ingredients. It’s an art form that connects us to traditional baking methods. My journey into sourdough began with a simple curiosity about creating bread from scratch, and now I’m excited to guide you through this magical process.
This sourdough bread recipe will unlock the secrets of natural fermentation, helping you create rustic, flavorful loaves that rival those from professional bakeries. Whether you’re a beginner or an experienced baker, these techniques will elevate your homemade bread skills.
Artisanal baking is about patience, passion, and understanding the beautiful chemistry behind bread making. Through this guide, you’ll learn to transform simple ingredients into a spectacular loaf that will impress your family and friends.
Get ready to embark on a delicious adventure into the world of sourdough. Your kitchen will soon be filled with the incredible smell of freshly baked bread that you’ve created with your own hands.
Understanding Sourdough: The Magic of Wild Yeast
Sourdough bread represents a fascinating culinary art that transforms simple ingredients into a complex and delicious food. At the heart of this magical process lies wild yeast, a natural microorganism that brings unique flavors and textures to bread unlike any other baking method.
My journey into sourdough has revealed the incredible science behind this traditional bread-making technique. Wild yeast exists naturally in our environment, creating a living ecosystem within the sourdough starter that drives fermentation.
The Science of Sourdough Fermentation
Sourdough fermentation is a delicate dance between wild yeast and beneficial bacteria. This natural process breaks down complex wheat proteins, making the bread more digestible and nutritious. The fermentation transforms simple flour and water into a vibrant, living culture.
- Wild yeast creates distinctive tangy flavors
- Bacterial cultures develop complex taste profiles
- Fermentation increases nutrient availability
Benefits of Natural Starter
Baking with a natural starter offers multiple advantages. The slow fermentation process produces bread with deeper flavors, improved texture, and enhanced nutritional value compared to commercial yeast breads.
Why Sourdough Stands Apart
Unlike regular bread, sourdough made with a natural starter provides a more nuanced taste experience. The wild yeast creates a complex flavor profile that industrial breads simply cannot replicate. Each loaf becomes a unique expression of its environment and the baker’s skill.
Essential Ingredients for Your Basic Sourdough Bread
Creating delicious sourdough bread starts with understanding the right sourdough ingredients. The magic of bread-making lies in selecting high-quality components that work together to create a perfect loaf.
Flour is the foundation of any great sourdough recipe. Different flour types can dramatically impact your bread’s flavor and texture. I recommend using a combination of bread flour and whole wheat flour for the best results.
Essential Ingredients Breakdown
- Flour: The primary ingredient in sourdough baking
- Water: Crucial for hydration and fermentation
- Salt for baking: Enhances flavor and controls fermentation
- Sourdough starter: Living culture that provides leavening
Choosing the right flour types is critical for sourdough success. Each variety brings unique characteristics to your bread.
| Flour Type | Protein Content | Best Use |
|---|---|---|
| Bread Flour | 12-14% | Strong gluten development |
| Whole Wheat Flour | 14% | Nutty flavor, dense texture |
| All-Purpose Flour | 10-12% | Versatile, good for beginners |
Salt for baking is more than just a seasoning. It strengthens gluten, controls yeast growth, and adds essential flavor to your sourdough bread. I always recommend using sea salt or kosher salt for the best taste.
Your sourdough journey begins with understanding these fundamental ingredients. Each component plays a crucial role in creating that perfect, tangy loaf with a crispy crust and soft interior.
Required Tools and Equipment for Sourdough Success
Crafting the perfect sourdough bread requires more than just skill and passion. The right baking tools can transform your home baking experience from good to exceptional. I’ll guide you through the essential equipment you’ll need to create amazing sourdough bread in your own kitchen.
Must-Have Baking Tools
Every serious sourdough baker needs a core set of reliable tools. Here are the most critical items for your bread-making journey:
- Large mixing bowl (preferably glass or ceramic)
- Digital kitchen scale for precise measurements
- Bread proofing basket for perfect dough shaping
- Sharp kitchen knife or bread lame for scoring
- Dutch oven for creating professional-quality crusts
Optional Equipment for Enhanced Baking
While not essential, these additional tools can elevate your sourdough game:
- Bench scraper for dough handling
- Proofing mat with temperature control
- Banneton liner for easier dough release
- Bread cooling rack
Kitchen Setup Tips
Creating the perfect environment is crucial for successful sourdough baking. I recommend setting up a dedicated workspace with good lighting, stable temperature, and easy access to your baking tools.
| Tool Category | Recommended Items | Price Range |
|---|---|---|
| Measuring | Digital scale, measuring cups | $20-$50 |
| Baking | Dutch oven, bread proofing basket | $50-$150 |
| Preparation | Bench scraper, lame | $10-$30 |
Investing in quality baking tools might seem expensive initially, but these tools will help you create consistent, delicious sourdough bread for years to come.
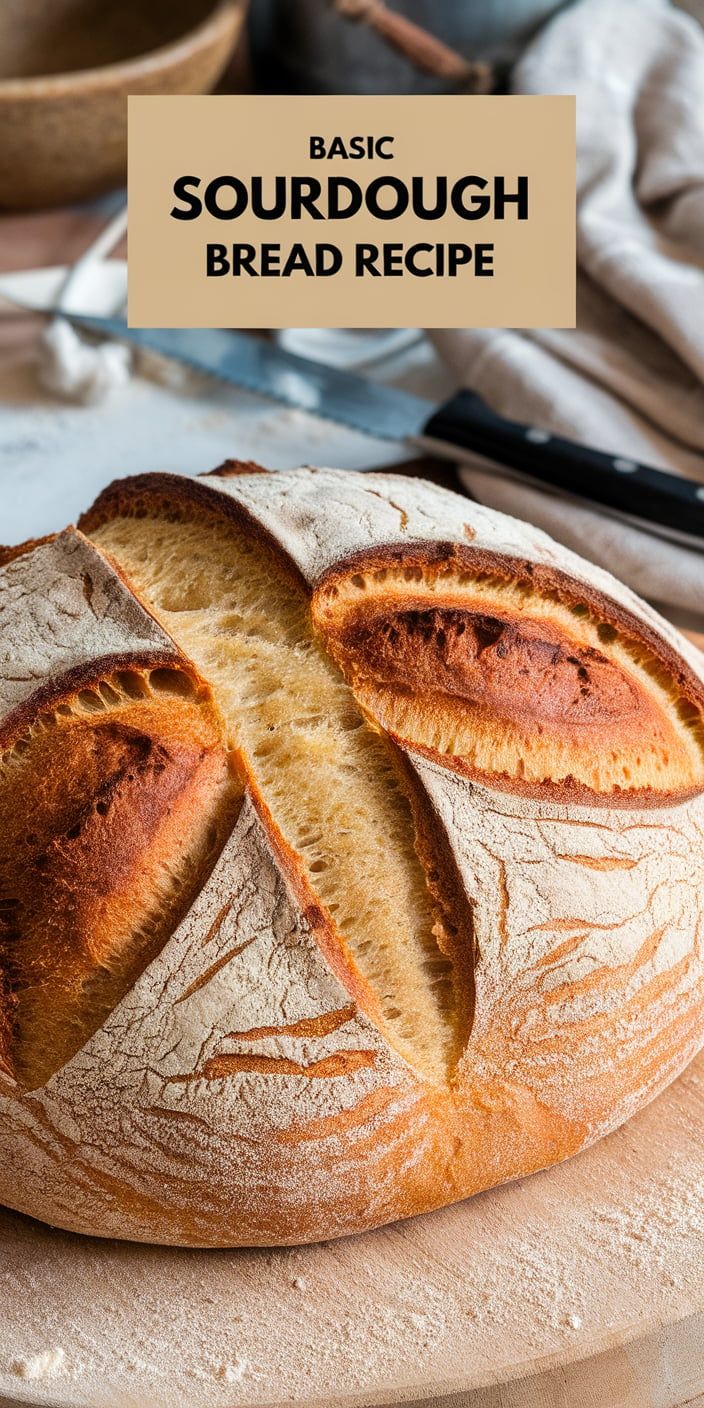
Basic Sourdough Bread Recipe
Creating a delicious sourdough recipe requires patience and precision. I’ll walk you through a simple bread making process that transforms basic ingredients into an artisan loaf. This baking instructions guide will help you craft a perfect sourdough bread from scratch.
To begin your sourdough recipe, you’ll need these key ingredients:
- Active sourdough starter (100g)
- Bread flour (500g)
- Water (350g)
- Salt (10g)
My bread making process involves several crucial steps:
- Mix starter with water in a large bowl
- Add flour and salt, combining until a shaggy dough forms
- Rest the dough for 30 minutes (autolyse period)
- Perform stretch and fold techniques every 30 minutes
- Allow bulk fermentation for 4-6 hours
- Shape the dough and place in a proofing basket
- Refrigerate overnight for final proof
During the baking instructions phase, preheat your Dutch oven to 450°F. Score the dough, then bake covered for 25 minutes. Remove the lid and bake an additional 20 minutes until golden brown.
Professional bakers know that practice makes perfect. Each sourdough recipe becomes easier with experience, so don’t get discouraged by initial attempts.
Creating and Maintaining Your Sourdough Starter
Developing a healthy sourdough starter is the heart of successful sourdough baking. This living culture of wild yeast and bacteria transforms simple flour and water into a magical ingredient that brings incredible flavor and texture to your bread.
Creating a sourdough starter requires patience and consistent care. The process begins with equal parts flour and water, allowing natural microorganisms to develop and create a vibrant fermentation ecosystem.
Feeding Schedule for Healthy Starter
A robust sourdough starter maintenance routine is crucial for bread success. I recommend a consistent feeding schedule to keep your starter active and strong:
- Daily feeding at room temperature for active bakers
- Weekly feeding for occasional bakers
- Refrigeration for long-term storage
Troubleshooting Common Starter Issues
Starter problems can happen to any baker. Recognizing and addressing these issues quickly ensures your sourdough starter remains healthy:
| Issue | Potential Cause | Solution |
|---|---|---|
| Gray liquid on top | Hungry starter | Feed more frequently |
| Weak rise | Inconsistent feeding | Establish regular feeding schedule |
| Unusual odor | Contamination | Discard and restart |
Storage and Maintenance Tips
Proper storage is key to sourdough starter maintenance. Keep your starter in a clean glass container with a loose lid, allowing gases to escape. Room temperature is ideal for active starters, while refrigeration works for less frequent baking.
- Use clean utensils
- Maintain consistent hydration
- Monitor starter activity
- Discard excess before feeding
Mastering the Art of Sourdough Fermentation
Dough fermentation is the heart and soul of creating exceptional sourdough bread. As a passionate baker, I’ve learned that understanding the nuances of bulk fermentation can transform an ordinary loaf into an extraordinary culinary experience.
The fermentation process involves two critical stages that dramatically impact your bread’s flavor and texture:
- Bulk fermentation: This initial stage occurs after mixing ingredients and before shaping
- Proofing sourdough: The final rise that happens after shaping the dough
During bulk fermentation, wild yeast and bacteria work their magic. The dough develops complex flavors and improves its structure through slow fermentation. I recommend watching for these key signs:
- Increased volume (about 30-50% rise)
- Bubbles forming throughout the dough
- Increased elasticity and strength
Temperature plays a crucial role in dough fermentation. Warmer environments speed up the process, while cooler temperatures slow it down. I typically aim for a consistent room temperature around 70-75°F for optimal fermentation results.
Pro tip: Experiment with cold fermentation by placing your dough in the refrigerator. This technique, known as retardation, can enhance flavor development and make scheduling your baking more flexible.
Shaping and Scoring Techniques for Beautiful Loaves
Mastering bread shaping techniques is an art that transforms simple dough into stunning artisan loaves. Proper dough handling requires patience, practice, and understanding of how gluten develops and stretches. The right approach can elevate your sourdough from basic to bakery-worthy.
Professional bakers know that bread shaping is more than just forming dough. It’s about creating surface tension and developing a beautiful structure that will support an impressive rise and create an attractive final product.
Basic Shaping Methods
When working with sourdough, you’ll encounter two primary shaping techniques:
- Round (boule) shaping
- Oblong (batard) shaping
Decorative Scoring Patterns
Scoring patterns can transform your loaf from ordinary to extraordinary. My favorite scoring techniques include:
- Classic single slash
- Wheat ear pattern
- Diamond grid design
- Spiral scoring
| Scoring Pattern | Difficulty Level | Visual Impact |
|---|---|---|
| Single Slash | Beginner | Low |
| Wheat Ear | Intermediate | Medium |
| Diamond Grid | Advanced | High |
| Spiral | Expert | Very High |
Common Shaping Mistakes to Avoid
Dough handling can be tricky for beginners. Watch out for these common errors:
- Overworking the dough
- Not creating enough surface tension
- Using wet hands incorrectly
- Failing to rest the dough between shaping steps
Developing beautiful scoring patterns and bread shaping techniques takes practice. Don’t get discouraged if your first few loaves aren’t perfect. Each bake is an opportunity to improve your skills.
Tips for Achieving the Perfect Crust and Crumb
Crafting the ideal bread crust requires precision and understanding of baking dynamics. I’ve learned that steam plays a crucial role in developing that gorgeous, crispy exterior every baker desires. When you introduce steam during the initial baking phase, you create an environment that allows the bread’s surface to remain elastic, enabling maximum expansion before setting into a beautiful golden-brown crust.
Achieving an open crumb takes practice and attention to several key factors. Hydration levels, fermentation time, and gentle handling during shaping significantly impact your bread’s internal structure. I recommend using a Dutch oven or creating a steam baking setup in your home oven to help control moisture and temperature during the crucial first 15-20 minutes of baking.
Temperature control is another critical element in producing exceptional sourdough. A hot oven—typically around 450-475°F—helps create dramatic caramelization and ensures that delicate crust develops properly. By understanding these techniques and practicing consistently, home bakers can transform their sourdough from good to extraordinary, delivering bakery-quality loaves right from their own kitchen.