
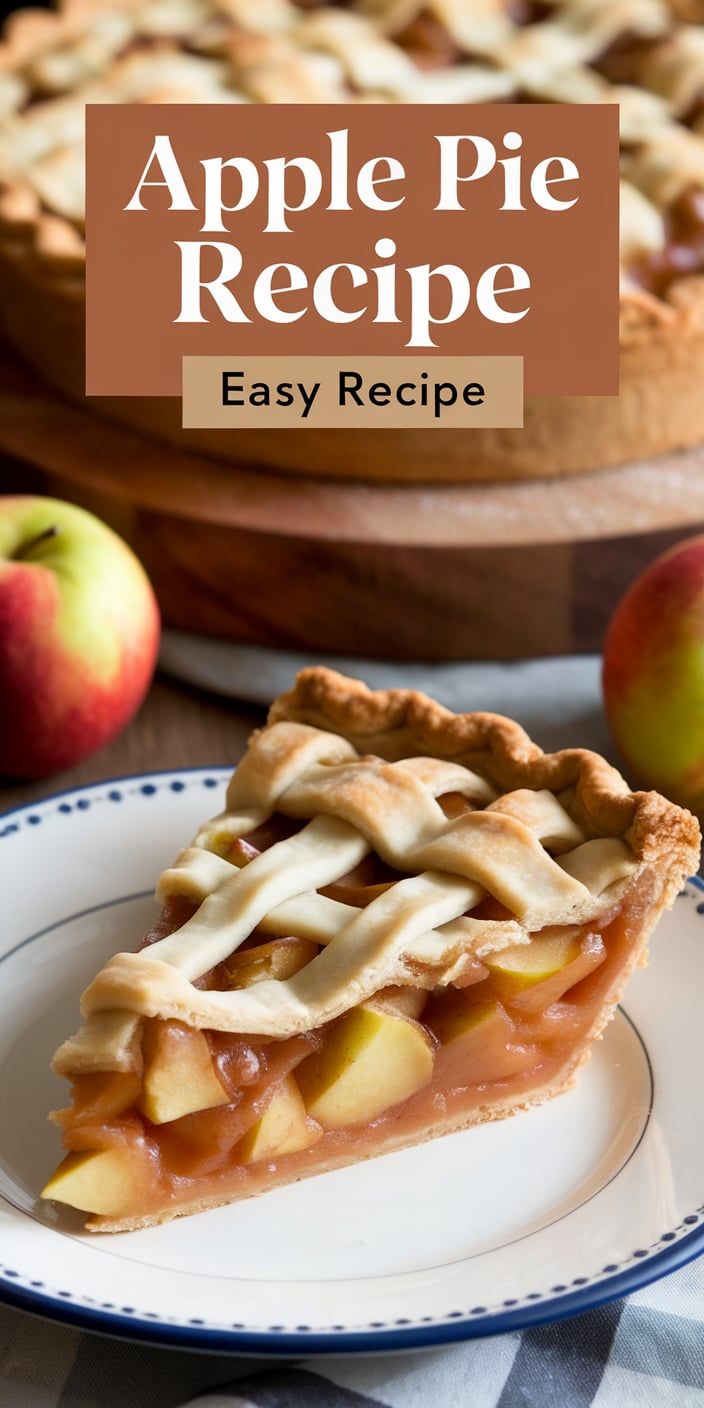
Welcome to the ultimate guide for creating a delectable homemade apple pie! As a passionate baker, I’m excited to share my foolproof easy apple pie recipe that transforms simple ingredients into a classic dessert everyone will love.
Growing up in the heartland of America, apple pie has always been more than just a dessert – it’s a cherished tradition. My recipe captures the essence of a classic dessert that’s both comforting and delicious, perfect for family gatherings or a sweet weekend treat.
This easy apple pie recipe is designed for bakers of all skill levels. Whether you’re a kitchen novice or an experienced home cook, you’ll find the steps straightforward and enjoyable. With just a few basic ingredients and some simple techniques, you’ll create a pie that looks and tastes like it came from a professional bakery.
Get ready to fill your kitchen with the warm, inviting aroma of cinnamon and baked apples. Let’s dive into this delightful homemade apple pie adventure together!
Why This Classic Apple Pie Will Become Your Go-To Recipe
Baking a delicious apple pie doesn’t have to be intimidating. I’ve crafted a beginner-friendly apple pie recipe that will transform your kitchen into a warm, inviting bakery. Whether you’re a novice baker or someone looking to simplify dessert preparation, this time-saving apple pie recipe will become your new favorite.
Let me share why this recipe stands out from traditional apple pie methods.
Perfect for Beginners
My approach breaks down apple pie baking into simple, manageable steps. You’ll gain confidence with each slice you create. The unique apple pie features make this recipe approachable for anyone wanting to master a classic dessert.
- No advanced baking skills required
- Clear, step-by-step instructions
- Foolproof technique for consistent results
Time-Saving Tips and Tricks
Busy home bakers will appreciate the shortcuts I’ve developed. From quick crust preparation to efficient apple slicing techniques, this time-saving apple pie recipe cuts down on kitchen time without sacrificing flavor.
- Use pre-made pie crust to reduce preparation time
- Learn fast apple peeling methods
- Prep ingredients in advance
What Makes This Recipe Special
The secret lies in the carefully balanced spice blend and a unique baking method that guarantees a perfectly crisp crust every single time. My beginner-friendly apple pie recipe transforms a potentially complex dessert into an enjoyable cooking experience.
Essential Ingredients for Your Homemade Apple Pie
Creating the perfect homemade apple pie starts with selecting the right apple pie ingredients. I’ve learned through years of baking that quality ingredients make all the difference in crafting a delicious dessert that will impress your family and friends.
Pie Crust Ingredients
For a truly spectacular homemade pie crust, you’ll need these key ingredients:
- 2½ cups all-purpose flour
- 1 teaspoon salt
- 1 cup cold unsalted butter
- 6-8 tablespoons ice water
Apple Filling Essentials
When selecting the best apples for pie, I recommend a mix of apple varieties to create depth of flavor:
| Apple Variety | Flavor Profile | Recommended Quantity |
|---|---|---|
| Granny Smith | Tart and firm | 3 apples |
| Honeycrisp | Sweet and crisp | 3 apples |
| Braeburn | Balanced sweetness | 2 apples |
Additional filling ingredients include:
- ¾ cup granulated sugar
- 2 tablespoons all-purpose flour
- 1 teaspoon ground cinnamon
- ¼ teaspoon ground nutmeg
- 1 tablespoon lemon juice
Pro tip: Always use fresh, firm apples for the best pie texture. The combination of different apple varieties ensures a complex, rich flavor that will elevate your homemade pie from good to extraordinary.
Apple Pie Recipe Easy Recipe: Step-by-Step Instructions
Learning how to make apple pie is easier than you might think! I’ll guide you through creating a delicious homemade dessert that will impress your family and friends. Whether you’re a baking novice or a seasoned baker, this apple pie filling recipe will help you craft the perfect pie.
Preparing the Pie Crust
Creating a flaky pie crust is the foundation of an amazing apple pie. You’ll need:
- 2½ cups all-purpose flour
- 1 teaspoon salt
- 1 cup cold unsalted butter
- 6-8 tablespoons ice water
Start by cutting cold butter into flour and salt until the mixture resembles coarse crumbs. Gradually add ice water, mixing until the dough comes together. Divide the dough in half, wrap in plastic, and refrigerate for at least one hour.
Making the Apple Filling
Baking apple pie requires selecting the right apples and creating a delicious filling. For this recipe, you’ll need:
- 6-7 medium Granny Smith apples
- ¾ cup granulated sugar
- 2 tablespoons all-purpose flour
- 1 teaspoon ground cinnamon
- ¼ teaspoon ground nutmeg
- 2 tablespoons lemon juice
Peel and slice apples into thin, even pieces. Toss with sugar, flour, spices, and lemon juice to create a perfect apple pie filling that balances sweetness and tartness.
Assembly and Baking Guide
Roll out one pie crust and place it in a 9-inch pie dish. Add the apple filling, then cover with the second crust. Crimp the edges, cut a few vents on top, and brush with an egg wash for a golden finish.
Bake at 425°F for 45-50 minutes. The pie is ready when the crust turns golden brown and the filling bubbles through the vents. Let it cool for at least 2 hours before serving to allow the filling to set.
Best Apple Varieties for the Perfect Pie
Choosing the right apples is crucial when creating a delicious homemade pie. As a passionate baker, I’ve discovered that not all apple varieties are created equal when it comes to baking the perfect dessert. The best apples for baking will provide a balance of sweetness, tartness, and structural integrity that makes your pie truly memorable.
When selecting apple varieties for pie, I recommend a mix of different types to create a complex flavor profile. The ideal combination will give you both texture and taste that elevates your dessert from good to extraordinary.
- Granny Smith: Tart and firm, perfect for providing structure
- Honeycrisp: Sweet with a crisp texture that holds up during baking
- Golden Delicious: Soft and sweet, great for creating a smooth filling
- Braeburn: Offers a nice balance of sweetness and acidity
When choosing apples for dessert, I always recommend selecting varieties that maintain their shape during baking. Some apples turn mushy, while others stay firm and create the perfect pie texture.
| Apple Variety | Flavor Profile | Baking Performance |
|---|---|---|
| Granny Smith | Tart and Sharp | Excellent Structure |
| Honeycrisp | Sweet and Crisp | Holds Shape Well |
| Golden Delicious | Mild and Sweet | Soft Texture |
| Braeburn | Balanced Sweet-Tart | Consistent Baking |
Pro tip: Mix two or three different apple varieties to create a more interesting and complex flavor in your pie. This approach ensures you’ll have the best possible taste and texture in your homemade dessert.
Common Mistakes to Avoid When Baking Apple Pie
Baking the perfect apple pie can be tricky, even for experienced home bakers. Apple pie troubleshooting requires understanding common pitfalls that can derail your dessert. I’ll share my top insights to help you create a flawless pie every time.
Mastering pie crust tips and filling techniques is crucial for a delicious result. Let’s break down the most frequent challenges bakers encounter.
Crust Troubleshooting Techniques
- Prevent soggy bottoms by preheating your baking sheet
- Use cold butter and minimal handling to keep crust flaky
- Blind bake the crust for 10-15 minutes before adding filling
Perfect Pie Filling Strategies
Achieving the right filling consistency can make or break your apple pie. Choose firm baking apples that hold their shape during cooking.
| Apple Variety | Texture | Recommended Use |
|---|---|---|
| Granny Smith | Firm and tart | Ideal for baking |
| Honeycrisp | Sweet and crisp | Excellent pie filling |
| Braeburn | Balanced flavor | Great for complex pies |
Baking Temperature Guidelines
- Start at 425°F for 15-20 minutes
- Reduce temperature to 375°F
- Bake for an additional 30-40 minutes
- Cover edges with foil if browning too quickly
By following these apple pie troubleshooting tips, you’ll create a delectable dessert that will impress family and friends. Remember, practice makes perfect!
Storage Tips and Serving Suggestions
After baking your delicious homemade apple pie, proper storage is key to maintaining its incredible flavor and texture. I recommend cooling the pie completely before covering it, which helps prevent condensation that could make the crust soggy when storing apple pie. For short-term storage, leave the pie at room temperature, covered with aluminum foil or plastic wrap, for up to two days.
When it comes to serving apple pie, I love getting creative with dessert ideas that elevate this classic treat. A scoop of vanilla bean ice cream or a dollop of freshly whipped cream can transform your pie into a truly memorable dessert. Pro tip: warm the pie slightly before serving to enhance its rich, comforting flavors and create that perfect melt-in-your-mouth experience.
If you want to keep your pie longer, freezing is an excellent option. Wrap the pie tightly in plastic wrap and then in aluminum foil to prevent freezer burn. Frozen apple pie can last up to four months. When you’re ready to enjoy it, thaw the pie in the refrigerator overnight and reheat in a 350°F oven for about 30 minutes to restore its fresh-baked taste and crispy crust.
For leftover pie slices, I suggest storing them in an airtight container in the refrigerator. They’ll stay delicious for 3-4 days. A quick reheat in the oven will bring back that just-baked warmth and make your apple pie taste as amazing as when it first came out of the oven.