
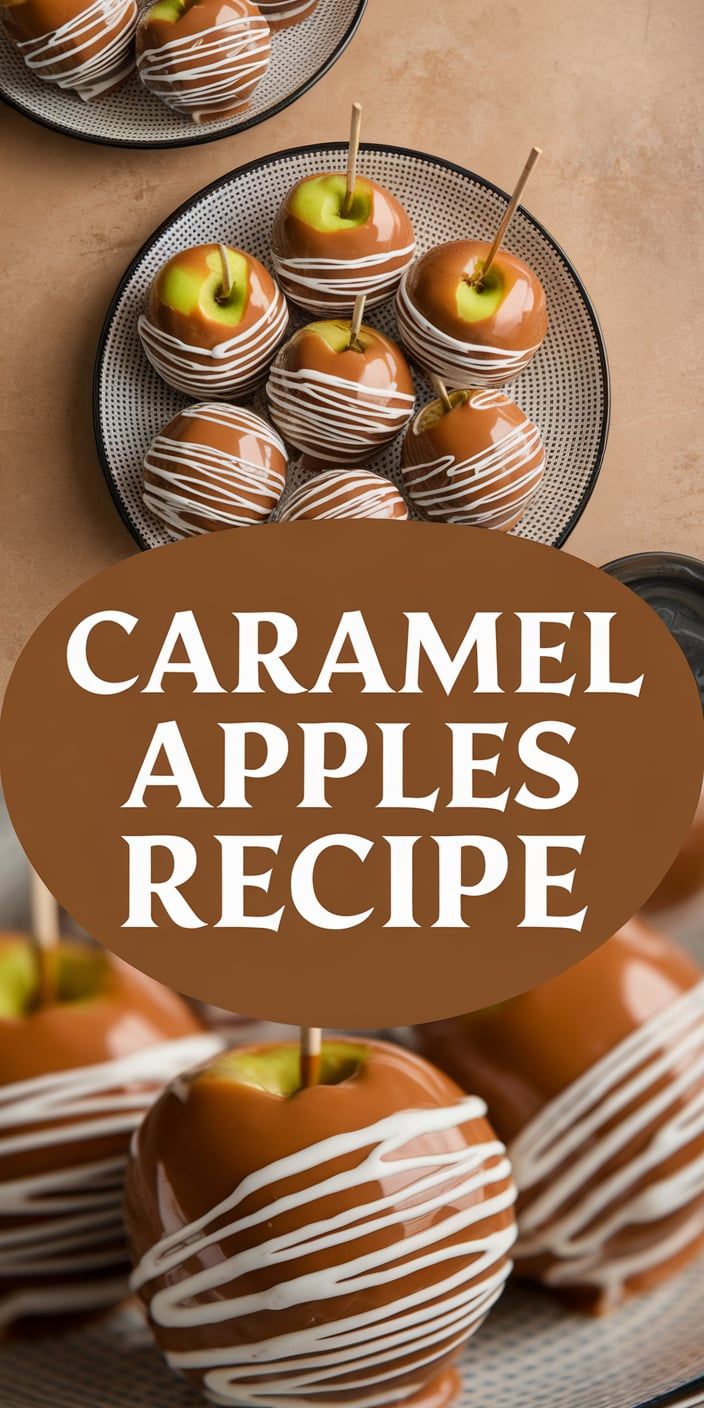
Fall brings a magical time for delicious treats, and my caramel apples recipe captures the season’s essence perfectly. These homemade caramel apples are more than just a dessert – they’re a nostalgic experience that brings families together with their sweet, sticky charm.
Growing up, caramel apples were a cherished fall dessert in my family. The crisp apples coated in rich, golden caramel create a classic treat that never goes out of style. Whether you’re preparing for Halloween parties or simply enjoying an autumn afternoon, this homemade caramel apples recipe will become your new favorite seasonal indulgence.
I’ve perfected this recipe to ensure anyone can create stunning caramel apples at home. From selecting the right apples to achieving that perfect caramel coating, I’ll guide you through every step of creating this delightful fall dessert.
Why These Classic Caramel Apples Will Become Your Favorite Fall Dessert
When autumn rolls around, nothing captures the spirit of the season quite like a delicious fall dessert that brings families together. Caramel apples are the ultimate treat that combines nostalgic flavors with festive fun, making them a perfect addition to your Halloween party treats.
These sweet delights offer more than just a tasty snack. They’re a versatile dessert that checks all the boxes for a memorable autumn experience.
Perfect for Halloween Celebrations
Halloween party treats need to be both visually appealing and delicious. Caramel apples fit this description perfectly. Their golden, glossy coating and potential for creative decorations make them a standout dessert that will impress guests of all ages.
- Eye-catching presentation
- Easy to serve and share
- Customizable with various toppings
A Kid-Friendly Cooking Adventure
Creating caramel apples is one of the most engaging kid-friendly recipes you can try. Children love getting involved in the kitchen, and this activity provides a safe, fun way to learn basic cooking skills while making delicious memories.
- Teaches kitchen safety
- Encourages creativity
- Builds confidence in young cooks
Convenient Make-Ahead Option
As a busy home cook, I appreciate recipes that can be prepared in advance. Caramel apples are fantastic because you can make them a day or two before your event, reducing last-minute stress and ensuring you have a delightful dessert ready to go.
From Halloween parties to family gatherings, these caramel apples are sure to become a cherished tradition that everyone will look forward to each fall season.
Essential Ingredients for Perfect Caramel Apples
Creating delicious caramel apples starts with selecting the right caramel apple ingredients. I’ll walk you through the key components that will transform simple fruit into a spectacular autumn treat.
When choosing the best apples for caramel apples, look for firm varieties that hold their shape and offer a perfect balance of sweetness and tartness. My top recommendations include:
- Granny Smith: Tart and crisp, providing a delightful contrast to sweet caramel
- Honeycrisp: Exceptionally sweet with a satisfying crunch
- Gala: Mild sweetness and sturdy texture
- Fuji: Crisp and super sweet
For the caramel coating, you’ll need a few essential ingredients:
- 1 cup granulated sugar
- 1/2 cup heavy cream
- 1/2 cup light corn syrup
- 1/4 cup unsalted butter
- 1 teaspoon vanilla extract
- Pinch of salt
Pro tip: Always use fresh, room-temperature apples for the best caramel adhesion. Wash and thoroughly dry your apples before starting, and remove the stems to insert wooden sticks easily.
Optional ingredients for decorating your caramel apples can include chopped nuts, chocolate chips, sprinkles, or crushed cookies. These additions transform your caramel apples from simple to spectacular.
Kitchen Tools You’ll Need for Success
Creating delicious caramel apples requires the right caramel apple making tools and kitchen equipment for desserts. I’ll guide you through the essential items to make your caramel apple experience smooth and enjoyable.
Must-Have Equipment
Every home baker needs a few critical pieces of kitchen equipment to craft perfect caramel apples. Here are the essential tools:
- Candy thermometer for precise temperature control
- Heavy-bottomed saucepan to prevent burning
- Wooden spoons for stirring caramel
- Parchment paper or silicone baking mat
- Wooden skewers or apple sticks
Optional Decorating Tools
To take your caramel apples to the next level, consider these fun decorating tools:
- Piping bags for chocolate drizzling
- Small offset spatula
- Decorative sprinkles shaker
- Chopping board for nuts and toppings
Storage Containers
Proper storage keeps your caramel apples fresh and delightful. I recommend using:
| Container Type | Best For | Storage Duration |
|---|---|---|
| Wax paper-lined container | Short-term storage | 1-2 days |
| Airtight plastic container | Refrigerated storage | Up to 1 week |
| Individual wrap | Gift packaging | 2-3 days |
Caramel Apples Recipe: Step-by-Step Instructions
Learning how to make caramel apples is easier than you might think! I’ll walk you through the caramel apple recipe steps to create a delicious fall treat that everyone will love.
Start by preparing your ingredients and tools. You’ll need:
- 6-8 medium-sized apples
- Wooden skewers or popsicle sticks
- Caramel candies or caramel sauce
- Parchment paper
Here are the detailed steps for making perfect caramel apples:
- Wash and dry apples thoroughly. Remove stems and insert wooden skewers.
- Prepare a baking sheet with parchment paper.
- Melt caramel in a double boiler or microwave, stirring until smooth.
- Dip each apple into the warm caramel, rotating to coat evenly.
- Let excess caramel drip off, then place on prepared baking sheet.
- Refrigerate for 15-20 minutes to set the caramel.
Pro tip for your caramel apple recipe steps: Ensure your apples are at room temperature and completely dry before dipping. This helps the caramel stick better and create a smooth, even coating.
The key to perfect caramel apples is patience and technique. Take your time, and don’t rush the dipping process. With practice, you’ll create restaurant-worthy treats right in your own kitchen!
Decorating Ideas and Toppings
Decorating caramel apples is an exciting way to transform a classic treat into a personalized masterpiece. The right caramel apple toppings can turn a simple dessert into a show-stopping creation that delights both kids and adults alike.
Classic Nut Options
Traditional nut toppings bring a delightful crunch and rich flavor to caramel apples. I recommend these classic choices:
- Chopped peanuts – a timeless favorite
- Crushed pecans – adds a buttery sweetness
- Sliced almonds – provides a delicate, nutty texture
Sweet Additions
For those with a serious sweet tooth, these caramel apple toppings will elevate your dessert:
- Mini chocolate chips
- Colorful sprinkles
- Crushed candy bars
- Miniature marshmallows
Creative Combinations
When decorating caramel apples, don’t be afraid to experiment with unexpected flavor combinations. Try these unique topping ideas:
- Sea salt and dark chocolate drizzle
- Crushed pretzels with white chocolate
- Bacon bits for a sweet-savory twist
- Graham cracker crumbs with cinnamon
Pro tip: Apply toppings immediately after dipping the apple in caramel to ensure they stick perfectly. Let your creativity shine and have fun experimenting with different combinations!
Tips for Storing and Serving Your Caramel Apples
Storing caramel apples requires careful attention to maintain their delicious texture and flavor. I’ll share my top tips for keeping these sweet treats fresh and appealing.
When storing caramel apples, temperature is crucial. Room temperature storage works best for short periods, typically 1-2 days. For longer preservation, refrigeration becomes your best friend. Wrap each apple individually in wax paper or plastic wrap to prevent sticking and maintain freshness.
- Refrigerate caramel apples for up to 5 days
- Keep apples in an airtight container
- Store in the coolest part of your refrigerator
How to serve caramel apples can make a big difference in your dessert presentation. I recommend removing the apples from the refrigerator about 15-20 minutes before serving to soften the caramel slightly. This makes cutting and eating much easier.
For elegant serving, try these techniques:
- Cut apples into wedges using a sharp knife
- Place on a decorative serving platter
- Provide small dessert plates and forks
Pro tip: If you’re preparing caramel apples for a party, consider pre-cutting them to make sharing simple. A light dusting of powdered sugar or drizzle of chocolate can add an extra touch of elegance to your dessert presentation.
Troubleshooting Common Caramel Apple Problems
When making caramel apples, even experienced home cooks can encounter challenges. Caramel apple troubleshooting is an essential skill that helps you create picture-perfect treats every time. I’ve learned through years of practice that understanding potential issues can save your dessert from disaster.
One frequent problem is caramel that won’t stick to the apple’s surface. This often happens when apples are not properly prepared. I recommend washing apples thoroughly and drying them completely before dipping. The waxy coating on some apples can prevent caramel from adhering, so wiping them with white vinegar can help remove this barrier and improve fixing caramel apple issues.
Temperature control is crucial in caramel apple making. If your caramel is too hot, it will slide right off the apple. If it’s too cool, it becomes thick and difficult to coat evenly. Aim for a consistent temperature around 240°F for the perfect caramel consistency. Watching your candy thermometer carefully during caramel apple troubleshooting can make all the difference in achieving that smooth, glossy finish.
Preventing apple moisture is another key technique. Apples can release water, which can cause your caramel to separate or become grainy. Chilling apples before dipping and using room temperature fruit can help minimize this issue. With practice and these tips, you’ll master the art of creating delicious, professionally coated caramel apples every single time.