
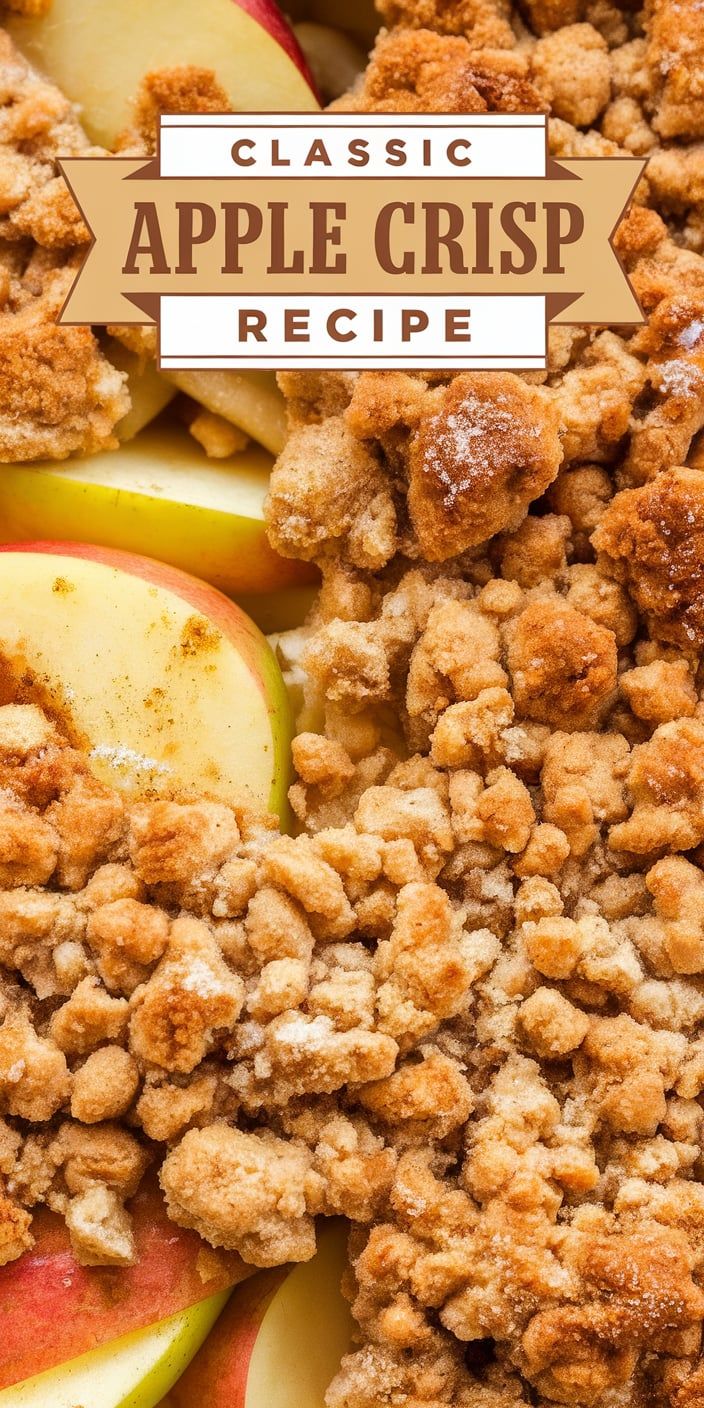
As autumn leaves start to fall, I’m excited to share my favorite classic apple crisp recipe that has warmed countless family gatherings. This traditional fall dessert captures the essence of seasonal comfort with its sweet, tangy apples and irresistible crumbly topping.
My classic apple crisp recipe is more than just a dessert. It’s a celebration of autumn’s bounty, transforming simple orchard-fresh ingredients into a mouthwatering treat that fills the kitchen with an incredible aroma. What makes this fall dessert so special is its incredible simplicity and ability to bring people together.
The beauty of this recipe lies in its versatility. Whether you’re an experienced baker or a novice in the kitchen, you’ll find this classic apple crisp recipe approachable and delightful. Each bite promises a perfect balance of soft, caramelized apples and a crisp, buttery topping that melts in your mouth.
In the following sections, I’ll walk you through everything you need to know about creating the ultimate fall dessert. From selecting the perfect apples to mastering the crisp topping, you’ll soon be preparing a dessert that will become a cherished family tradition.
The History Behind Traditional Apple Crisp Desserts
The story of traditional apple crisp is deeply rooted in American culinary heritage. This beloved dessert emerged from the resourceful kitchens of early settlers who transformed simple ingredients into comforting treats. Apple crisp history reveals a rich narrative of survival, creativity, and seasonal celebration.
Colonial American bakers developed this dessert as a practical way to use abundant apple harvests. With limited ingredients and cooking resources, they created a dish that was both delicious and economical.
Origins in Colonial America
- Developed by early settlers in New England regions
- Utilized readily available ingredients like apples, flour, butter, and sugar
- Designed as a quick and simple dessert for large families
Recipe Evolution Through Generations
As generations passed, the traditional apple crisp recipe underwent subtle transformations. Families began adding unique spices, experimenting with different apple varieties, and personalizing the topping recipe.
| Era | Recipe Characteristics |
|---|---|
| Colonial Period | Basic ingredients, minimal spices |
| Early 1900s | Introduction of cinnamon and nutmeg |
| Mid-20th Century | Oats added to crumble topping |
Why It Became a Fall Favorite
Apple crisp became synonymous with autumn for multiple reasons. The dessert perfectly captures the essence of fall harvest, combining warm spices with sweet-tart apples. Its comforting aroma and rustic presentation make it a quintessential seasonal treat that continues to warm hearts and kitchens across America.
Essential Ingredients for Classic Apple Crisp Recipe
Creating the perfect apple crisp starts with understanding the key apple crisp ingredients that bring this beloved dessert to life. I’ll walk you through the classic apple crisp components that transform simple ingredients into a mouthwatering treat.
Apple Filling Ingredients
- 6-8 medium-sized apples (Granny Smith or Honeycrisp recommended)
- 1/4 cup granulated sugar
- 1 tablespoon all-purpose flour
- 1 teaspoon ground cinnamon
- 1/4 teaspoon nutmeg
- 1 tablespoon fresh lemon juice
Crisp Topping Components
- 1 cup all-purpose flour
- 1 cup rolled oats
- 3/4 cup brown sugar
- 1/2 cup unsalted butter (cold and cubed)
- 1/2 teaspoon ground cinnamon
- 1/4 teaspoon salt
Each ingredient plays a crucial role in creating the perfect balance of flavors and textures. The apples provide a tangy base, while the crisp topping adds a delightful crunch that makes this dessert irresistible.
| Ingredient Category | Purpose in Recipe | Potential Substitution |
|---|---|---|
| Apples | Base of the dessert | Pears or mixed fruits |
| Sugar | Sweetness and caramelization | Maple syrup or honey |
| Butter | Creates crispy topping | Coconut oil (for dairy-free) |
| Flour | Binding and texture | Gluten-free flour blend |
Pro tip: For the best results, use fresh, seasonal apples and ensure your butter is cold when making the crisp topping. This guarantees a perfectly textured dessert that will impress family and friends.
Choosing the Best Apples for Your Crisp
Selecting the right apple varieties for baking can make or break your apple crisp recipe. As a passionate baker, I’ve learned that not all apples are created equal when it comes to creating the perfect dessert. The best apples for apple crisp require a delicate balance of flavor and texture that will hold up during baking.
When exploring apple varieties for baking, I recommend considering these top choices:
- Granny Smith: Tart and firm, perfect for adding a sharp flavor
- Honeycrisp: Sweet with a crisp texture that maintains shape
- Braeburn: Offers a balanced sweet-tart profile
- Golden Delicious: Soft and sweet, ideal for tender fillings
Sweet vs. Tart Apple Varieties
Your choice between sweet and tart apples can dramatically impact the final taste of your crisp. Sweet apples like Fuji or Golden Delicious create a mellow, sugary filling. Tart varieties such as Granny Smith provide a zingy contrast that cuts through the dessert’s richness.
Seasonal Apple Selection Guide
I always recommend using seasonal apples for the freshest flavor. Fall brings the best apple harvest, with varieties like Honeycrisp and Gala at their peak. During winter, look for stored Braeburn or Fuji apples that maintain excellent baking qualities.
Storage and Preparation Tips
To preserve your apple varieties for baking, store them in the refrigerator’s crisper drawer. Before baking, wash and dry apples thoroughly. Peel if desired, but leaving the skin on can add extra nutrition and texture to your apple crisp.
The Perfect Crisp Topping Components
Crafting the ideal apple crisp topping is an art that transforms a simple dessert into a culinary masterpiece. The crisp topping ingredients are the secret to creating that irresistible crunchy layer that sits atop the tender apple filling.
Let’s break down the essential components of a classic apple crisp topping:
- All-purpose flour: Provides structure and binding
- Brown sugar: Adds deep sweetness and helps create a golden-brown color
- Old-fashioned rolled oats: Delivers signature crunch and texture
- Unsalted butter: Creates a rich, crumbly consistency
- Ground cinnamon: Brings warm, aromatic flavor
I love experimenting with my crisp topping ingredients to create unique variations. Consider these delightful additions to elevate your apple crisp topping:
- Chopped pecans or walnuts for extra crunch
- A pinch of nutmeg for depth of flavor
- Shredded coconut for tropical twist
- Sliced almonds for delicate texture
The key to a perfect apple crisp topping is achieving the right balance of ingredients. You want a mixture that’s crumbly yet holds together, creating that signature crisp texture everyone loves.
| Ingredient | Quantity | Purpose |
|---|---|---|
| All-purpose flour | 3/4 cup | Provides structure |
| Brown sugar | 1/2 cup | Adds sweetness |
| Rolled oats | 1/2 cup | Creates crunch |
| Unsalted butter | 1/2 cup | Binds ingredients |
Remember, the magic of a great apple crisp topping lies in the careful balance of texture and flavor. Don’t be afraid to make it your own!
Step-by-Step Baking Instructions
Creating the perfect apple crisp requires careful preparation and attention to detail. When learning how to make apple crisp, I’ll guide you through each step to ensure a delicious dessert that will impress your family and friends.
Preparing the Apple Filling
Mastering apple crisp baking instructions starts with selecting the right apples. I recommend using a mix of varieties for the best flavor and texture. Here’s how to prepare your apple filling:
- Wash and peel 6-8 medium-sized apples
- Core and slice apples into 1/4-inch thick pieces
- Toss apple slices with:
- 1/4 cup granulated sugar
- 1 teaspoon ground cinnamon
- 2 tablespoons all-purpose flour
- 1 tablespoon lemon juice
Creating the Crumble Mixture
The secret to an amazing apple crisp lies in the perfect crumble topping. I’ll show you how to create a crispy, golden-brown layer that complements the soft apple filling:
- Combine in a mixing bowl:
- 1 cup all-purpose flour
- 1 cup brown sugar
- 1/2 cup cold butter, cubed
- 1/2 cup rolled oats
- 1/2 teaspoon ground cinnamon
- Use your fingers to mix until the mixture becomes crumbly
- Sprinkle evenly over the prepared apple filling
Baking Temperature and Timing
Proper baking is crucial for achieving the perfect apple crisp. Follow these apple crisp baking instructions carefully:
| Oven Temperature | Baking Time | Expected Result |
|---|---|---|
| 375°F (190°C) | 45-50 minutes | Golden-brown topping, bubbling filling |
Pro tip: Cover the crisp with aluminum foil if the top browns too quickly. Let it cool for 15-20 minutes before serving to allow the filling to set properly.
Serving Suggestions and Pairings
When it comes to how to serve apple crisp, I’ve discovered some delightful ways to elevate this classic dessert. The temperature and accompaniments can transform your apple crisp from simple to spectacular.
I recommend serving apple crisp in several delicious ways:
- Warm from the oven with a scoop of vanilla ice cream
- Chilled for a refreshing summer dessert
- At room temperature with a dollop of whipped cream
For truly memorable apple crisp pairings, I suggest exploring these exciting combinations:
| Pairing | Flavor Profile | Recommended Serving Style |
|---|---|---|
| Vanilla Bean Ice Cream | Creamy and Sweet | Warm crisp, cold ice cream |
| Sharp Cheddar Cheese | Savory and Tangy | Room temperature slice |
| Salted Caramel Sauce | Rich and Decadent | Drizzled on top |
For an extra touch of elegance, I love serving individual portions in small ramekins. A light sprinkle of cinnamon or a mint leaf can add a beautiful finishing detail that will impress your guests.
Pro tip: Always serve your apple crisp within a few hours of baking to maintain the perfect crisp topping and warm, gooey apple filling.
Storage Tips and Reheating Methods
Storing your homemade apple crisp correctly can help preserve its delightful texture and flavor. When learning how to store apple crisp, I recommend using an airtight container to keep the dessert fresh. Cover the crisp with plastic wrap or aluminum foil before refrigerating to prevent moisture from compromising the crispy topping.
Reheating apple crisp requires a bit of care to maintain its original deliciousness. The oven is my preferred method for restoring that perfect crunch. Preheat your oven to 350°F and place the crisp in an oven-safe dish. Warm it for about 15 minutes, which helps revive the crispy topping and brings out the rich apple flavors.
If you’re short on time, the microwave works for a quick warm-up. Heat individual servings for 30-45 seconds, but be cautious – microwaving can soften the crisp topping. To combat this, I suggest placing a paper towel over the dish to absorb excess moisture and help maintain some of the topping’s texture.
For longer storage, freezing is an excellent option. Wrap the apple crisp tightly in plastic wrap and then in aluminum foil. It can be stored in the freezer for up to three months. When you’re ready to enjoy it again, thaw in the refrigerator overnight and reheat using the oven method for the best results.