
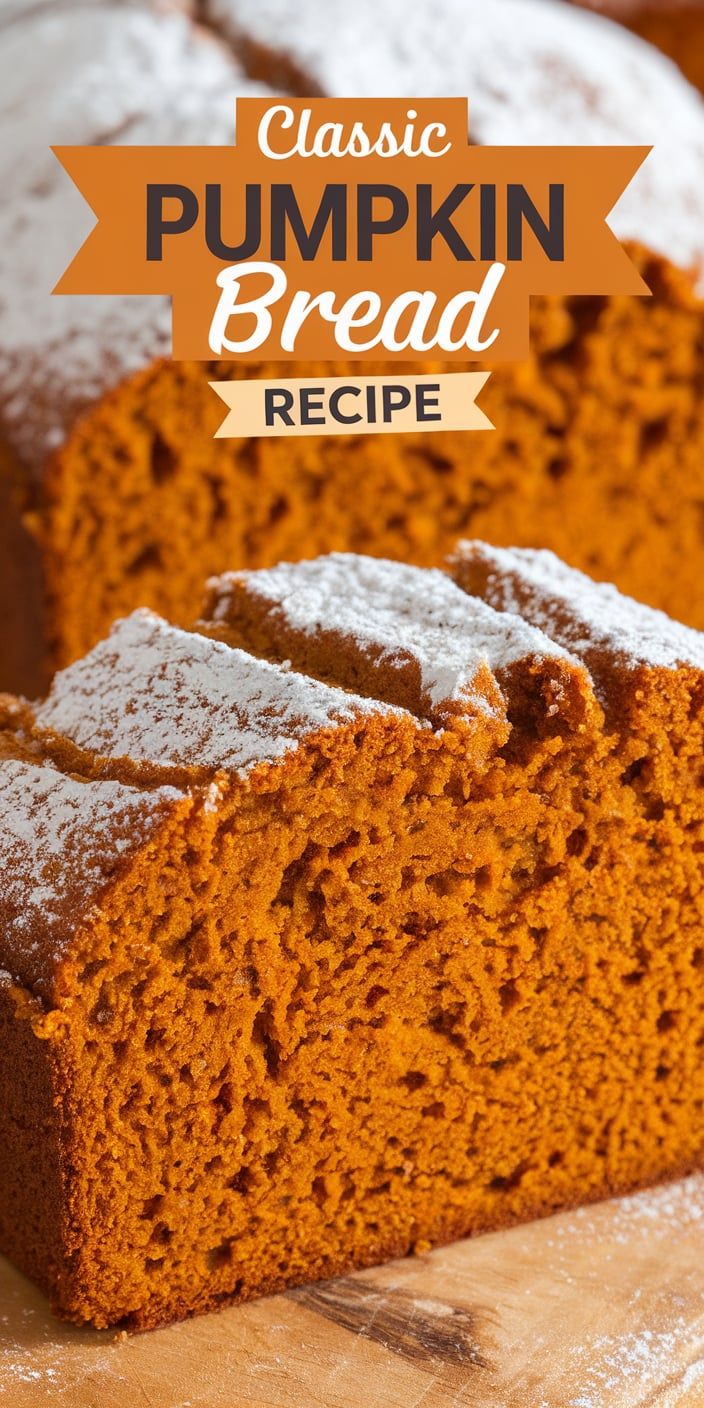
Autumn brings crisp air and cozy kitchen moments, and nothing captures the season quite like a classic pumpkin bread recipe. My homemade pumpkin bread has been a family favorite for years, filling our kitchen with warm, inviting aromas that speak directly to the heart of fall baking.
This classic pumpkin bread recipe is more than just a simple quick bread. It’s a celebration of seasonal flavors, combining rich pumpkin puree with a perfect blend of warm spices. Each slice promises a tender, moist texture that melts in your mouth and brings instant comfort on chilly autumn days.
Whether you’re a seasoned baker or just starting out, this recipe offers simplicity and deliciousness in every bite. From breakfast to afternoon tea, my homemade pumpkin bread serves as a delightful treat that captures the essence of fall baking traditions.
Get ready to discover a recipe that will become your go-to autumn staple – a true classic that never fails to impress family and friends alike.
Why This Traditional Pumpkin Bread Will Become Your Go-To Recipe
Discovering the perfect traditional pumpkin bread recipe is like finding a culinary treasure. I’ve crafted a version that combines rich flavors, incredible texture, and simplicity that will transform your baking experience. This isn’t just another recipe – it’s a game-changer that will become a staple in your kitchen.
What makes this traditional pumpkin bread so special? Let me break down the key elements that set it apart from ordinary recipes.
The Perfect Balance of Spices
Creating an exceptional pumpkin spice blend is an art form. I’ve carefully balanced warm spices to elevate the pumpkin flavor without overwhelming your taste buds. The secret lies in selecting high-quality spices and measuring them precisely. My blend includes:
- Freshly ground cinnamon
- Fragrant nutmeg
- Warming ginger
- A hint of cloves
Moist and Tender Texture
Achieving a moist pumpkin bread requires more than just luck. I’ve developed techniques that guarantee a consistently tender crumb every single time. The key is understanding moisture content and using ingredients that create the perfect texture. My method ensures your bread stays soft and delicious for days.
Make-Ahead Convenience
Busy home bakers will love how versatile this traditional pumpkin bread recipe is. You can prepare the batter in advance, store it in the refrigerator, or even freeze it for later. Perfect for meal prep, holiday gifts, or unexpected guests, this recipe fits seamlessly into any lifestyle.
Essential Ingredients for Classic Pumpkin Bread Recipe
Creating the perfect pumpkin bread starts with selecting high-quality pumpkin bread ingredients. I’ll walk you through the key components that transform a simple recipe into a delectable autumn treat.
Canned pumpkin is the secret weapon for consistent moisture and flavor in this classic recipe. I recommend using 100% pure pumpkin puree, not pumpkin pie filling, which contains added sugars and spices.
- Dry Ingredients:
- All-purpose flour
- Granulated sugar
- Brown sugar
- Baking soda
- Salt
- Wet Ingredients:
- Canned pumpkin
- Eggs
- Vegetable oil
- Vanilla extract
The magic of pumpkin pie spice elevates this bread from ordinary to extraordinary. My preferred blend includes cinnamon, nutmeg, ginger, and cloves. You can buy pre-mixed pumpkin pie spice or create your own custom mix at home.
When measuring ingredients, precision matters. Use standard measuring cups and spoons to ensure your pumpkin bread turns out perfectly every time. Opt for fresh, high-quality ingredients to maximize flavor and texture.
Kitchen Tools and Equipment You’ll Need
Preparing delicious pumpkin bread requires the right baking equipment. The key to success lies in having quality kitchen tools for baking that make your baking process smooth and enjoyable. I’ll walk you through the essential tools that will help you create the perfect pumpkin bread every time.
Mixing Bowls and Measuring Tools
Precision is crucial when baking. I recommend investing in a set of nested mixing bowls and reliable measuring tools. Look for:
- Stainless steel mixing bowls with non-slip bases
- Graduated measuring cups for dry ingredients
- Liquid measuring cups with clear markings
- Accurate measuring spoons
Loaf Pan Recommendations
Choosing the right loaf pans can make a significant difference in your baking results. Let me share some top recommendations:
| Loaf Pan Type | Pros | Best For |
|---|---|---|
| Non-stick Metal Pan | Easy release, even heating | Beginners and frequent bakers |
| Glass Loaf Pan | Allows visual monitoring | Checking bread browning |
| Ceramic Loaf Pan | Beautiful presentation | Serving and gifting |
Optional Baking Accessories
While not essential, these kitchen tools for baking can elevate your pumpkin bread experience:
- Parchment paper for easy removal
- Digital kitchen scale for precise measurements
- Cooling rack for even air circulation
- Offset spatula for smooth batter spreading
Remember, investing in quality baking equipment doesn’t mean breaking the bank. Start with the basics and gradually build your collection as you become more confident in your baking skills.
Step-by-Step Mixing and Baking Instructions
Making pumpkin bread is easier than you might think! I’ll walk you through the complete process of creating a delicious homemade treat that will fill your kitchen with warm, spicy aromas. These pumpkin bread recipe steps are designed to help both novice and experienced bakers achieve perfect results.
To start your how to make pumpkin bread adventure, gather all your ingredients and prepare your workspace. Pumpkin bread baking tips begin with mise en place – having everything ready before you start mixing.
- Preheat your oven to 350°F and grease a standard 9×5-inch loaf pan
- In a large mixing bowl, combine dry ingredients:
- All-purpose flour
- Baking soda
- Salt
- Pumpkin pie spice
- In a separate bowl, whisk together wet ingredients:
- Pumpkin puree
- Eggs
- Vegetable oil
- Granulated sugar
- Gently fold wet ingredients into dry ingredients until just combined
- Pour batter into prepared loaf pan
- Bake for 60-65 minutes, or until a toothpick comes out clean
Pro tip: Avoid overmixing the batter, as this can lead to a tough, dense bread. Mix until ingredients are just incorporated for the most tender result.
Let the bread cool in the pan for 10 minutes before transferring to a wire rack. This helps prevent the bread from breaking and ensures a perfect texture every time.
Tips for Getting the Perfect Texture Every Time
Achieving the ideal moist pumpkin bread texture can be tricky, but with a few expert techniques, you’ll become a pro in no time. Mastering the art of pumpkin bread requires careful attention to ingredients, baking temperature, and timing.
Creating the perfect pumpkin bread texture starts with understanding a few key principles. I’ll share my top moist pumpkin bread tips that will transform your baking game.
Moisture Control Techniques
Keeping your pumpkin bread perfectly moist involves several crucial steps:
- Measure wet ingredients precisely to maintain the right moisture balance
- Use room temperature ingredients for better mixing
- Don’t overmix the batter – this can lead to tough bread
- Consider adding a tablespoon of sour cream or Greek yogurt for extra moisture
Temperature and Timing Secrets
Baking temperature for pumpkin bread can make or break your recipe. I recommend preheating your oven to 350°F (175°C) and using these timing tips:
- Place the rack in the center of the oven for even baking
- Check the bread 10 minutes before the recommended baking time
- Rotate the pan halfway through baking for consistent texture
Testing for Doneness
Knowing when your pumpkin bread is perfectly baked requires a few foolproof methods:
- Insert a toothpick into the center – it should come out with just a few moist crumbs
- Gently press the top – it should spring back slightly
- Check that the edges are pulling away from the pan slightly
Remember, every oven is different, so always keep a close eye on your pumpkin bread during the last few minutes of baking. These techniques will help you create a consistently moist and delicious loaf every single time.
Delicious Variations and Add-ins
Let’s explore some exciting pumpkin bread variations that will take your classic recipe to the next level! I’ve discovered multiple ways to transform your basic pumpkin bread into a show-stopping treat that will impress family and friends.
When it comes to pumpkin bread add-ins, chocolate chips are always a crowd-pleaser. A chocolate chip pumpkin bread creates a perfect balance of sweet and spicy flavors. I recommend folding in about 1 cup of semi-sweet chocolate chips into your batter for maximum deliciousness.
- Chocolate Chip Variation: Add 1 cup semi-sweet chocolate chips
- Nutty Crunch: Mix in 1/2 cup chopped walnuts or pecans
- Dried Fruit Twist: Incorporate 1/2 cup dried cranberries or raisins
For those who love extra texture, consider these creative pumpkin bread variations. Sprinkle a streusel topping made with brown sugar, flour, and butter before baking. Alternatively, create a cream cheese swirl by marbling softened cream cheese through the batter for a rich, decadent touch.
Pro tip: When adding mix-ins, toss them in a little flour first to prevent sinking to the bottom of your bread during baking. This ensures an even distribution of your favorite ingredients throughout the loaf.
Experimenting with different add-ins transforms your standard pumpkin bread into a personalized treat that reflects your unique taste preferences. Don’t be afraid to get creative!
Storage Tips and Freezing Guidelines
When it comes to how to store pumpkin bread, I’ve learned a few tricks to keep your freshly baked treat at its best. Room temperature storage works well for about 3-4 days when you wrap the bread tightly in plastic wrap or aluminum foil. I recommend keeping it in an airtight container to maintain moisture and prevent it from drying out.
Freezing pumpkin bread is an excellent way to extend its shelf life. I always wrap individual slices or the entire loaf in plastic wrap, then place it in a freezer-safe bag. This method helps prevent freezer burn and keeps the bread fresh for up to 2-3 months. When you’re ready to enjoy it, simply thaw the bread at room temperature for a few hours.
To refresh your pumpkin bread after freezing or storing, I suggest warming it slightly in the oven or toaster oven. A quick 10-15 second microwave warm-up can also bring back that just-baked softness. The pumpkin bread shelf life can be maximized with these simple storage techniques, ensuring you can enjoy your delicious homemade treat whenever the craving strikes.
Pro tip: Always let the bread cool completely before storing to prevent condensation, which can make the bread soggy. Whether you’re preparing for a week of snacks or saving some for later, these storage methods will help you keep your pumpkin bread as delicious as the day you baked it.