
Baking homemade artisan bread has transformed my kitchen into a magical space of creativity and delicious aromas. Making crusty loaves isn’t just a cooking task – it’s an art form that connects us to centuries-old baking traditions.
I discovered that a simple bread recipe can be incredibly rewarding. With just a few basic ingredients and some patience, anyone can create spectacular bread that rivals professional bakery offerings. The process of crafting your own bread is therapeutic, allowing you to control every aspect of flavor and texture.
Crafting crusty loaves at home isn’t complicated. You’ll need basic ingredients like flour, water, yeast, and salt. The magic happens through careful mixing, fermentation, and baking techniques that turn simple components into extraordinary bread.
My journey into homemade artisan bread began with curiosity and has since become a passionate hobby. Each loaf tells a story of learning, practice, and delicious achievement. Whether you’re a beginner or an experienced baker, creating your own bread is a skill that brings immense satisfaction.
Why Making Artisan Bread at Home Will Change Your Life
Imagine transforming your kitchen into a personal bakery, filling your home with the warm, comforting aroma of freshly baked bread. The benefits of homemade bread extend far beyond simply satisfying hunger. Baking your own artisan bread is a journey of discovery, creativity, and personal wellness.
Fresh-Baked Bread Advantages
When you bake bread at home, you control every ingredient. No mysterious preservatives or hidden additives – just pure, wholesome nutrition. The benefits of homemade bread include:
- Complete ingredient transparency
- Higher nutritional value
- Fresher taste and texture
- Customizable flavor profiles
Cost-Effective Baking Strategy
Cost-effective baking isn’t just a dream – it’s a reality. Let me break down the savings for you:
| Bread Type | Bakery Price | Homemade Cost | Savings |
|---|---|---|---|
| Artisan Sourdough | $8-$12 | $2-$3 | Up to 75% |
| Whole Wheat Loaf | $5-$7 | $1.50-$2.50 | Up to 65% |
Bread Therapy: Healing Through Baking
Bread therapy is more than a trendy concept – it’s a genuine form of mindfulness. Kneading dough, watching it rise, and creating something delicious from simple ingredients can be incredibly therapeutic. The rhythmic process reduces stress, boosts creativity, and provides a sense of accomplishment that store-bought bread simply cannot match.
Essential Equipment and Tools for Artisan Bread Baking
Diving into artisan bread baking requires the right bread baking tools to set you up for success. I’ve learned that having the proper artisan bread equipment can transform your home baking experience from frustrating to fantastic.
Let’s explore the baking essentials that will elevate your bread-making skills:
- Mixing Bowls: Large, sturdy ceramic or stainless steel bowls for mixing and kneading dough
- Kitchen Scale: Precision is key in bread baking – digital scales ensure accurate ingredient measurements
- Dutch Oven: Creates perfect steam and crispy crusts for artisan-style loaves
- Bench Scraper: Helps manage sticky dough and divide portions cleanly
- Banneton Proofing Basket: Shapes dough and creates beautiful pattern designs
Professional bakers know that quality tools make a significant difference. A good dough whisk can replace traditional wooden spoons, making mixing easier. Invest in a reliable thermometer to monitor water and dough temperatures accurately.
Budget-conscious bakers can start with basic equipment. Many home bread makers begin with simple tools like large mixing bowls, measuring cups, and a standard baking sheet. As you develop your skills, you can gradually add specialized artisan bread equipment to your kitchen arsenal.
Remember, the most important ingredient is your passion for creating delicious homemade bread. With these essential bread baking tools, you’ll be well-prepared to start your artisan bread-making journey.
Understanding the Basic Ingredients for Perfect Bread
Crafting delicious artisan bread starts with understanding its core bread ingredients. Each component plays a crucial role in creating a perfect loaf that tantalizes your taste buds and fills your kitchen with an irresistible aroma.
The foundation of any great bread begins with selecting the right types of flour. Different flour varieties can dramatically transform your bread’s texture, flavor, and overall quality.
Exploring Flour Varieties
- All-Purpose Flour: Versatile and great for beginners
- Bread Flour: High protein content creates chewier textures
- Whole Wheat Flour: Adds nutty flavor and nutritional value
- Rye Flour: Provides dense, rich characteristics
Yeast and Salt: The Flavor Makers
Yeast and salt in bread are not just additives—they’re essential flavor developers. Active dry yeast helps dough rise, creating those beautiful air pockets that make bread light and airy. Salt enhances flavor and controls yeast fermentation, ensuring your bread develops complex taste profiles.
Water: The Unsung Hero
Water temperature and quality significantly impact bread-making. Warm water activates yeast, while mineral content can influence fermentation and final taste. I recommend using filtered water between 100-110°F for optimal yeast activation.
By understanding these fundamental bread ingredients, you’ll transform your home baking from basic to extraordinary. Each ingredient tells a story, and with practice, you’ll learn to balance them perfectly.
Homemade Artisan Bread Recipe
Creating your own artisan bread recipe at home is easier than you might think. This simple homemade bread instructions will transform your baking skills and bring the aroma of fresh bread to your kitchen.
Ingredients You’ll Need
- 3 cups bread flour
- 1½ teaspoons salt
- ¼ teaspoon active dry yeast
- 1½ cups warm water
Equipment
- Large mixing bowl
- Dutch oven or heavy baking pot
- Parchment paper
- Kitchen towel
My easy bread recipe requires minimal preparation and delivers maximum flavor. The secret to incredible artisan bread lies in slow fermentation and proper technique.
Step-by-Step Bread Making Process
- Mix dry ingredients in a large bowl
- Add warm water and stir until shaggy dough forms
- Cover and let rest at room temperature for 12-18 hours
- Fold dough gently and shape into a ball
- Let rise for additional 2 hours
- Preheat Dutch oven at 450°F
- Bake covered for 30 minutes
- Uncover and bake 15 more minutes until golden
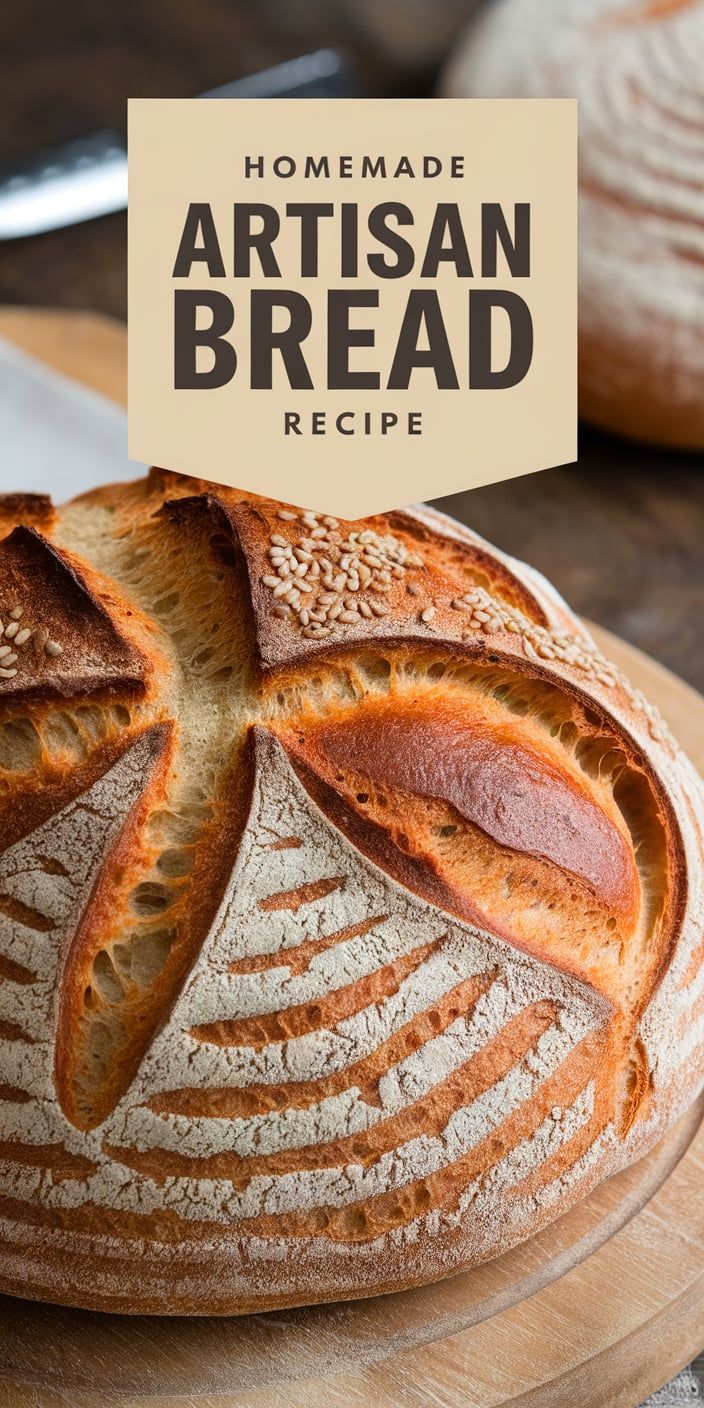
The result is a crusty, professional-looking loaf that rivals any bakery. Your homemade artisan bread will have a crisp exterior and soft, airy interior that melts in your mouth.
Mastering the Art of Dough Fermentation
Dough fermentation is the magical process that transforms simple ingredients into delicious, airy bread. As a passionate baker, I’ve learned that understanding dough development is key to creating perfect loaves every time.
Bread proofing techniques are more than just waiting for dough to rise. They involve a delicate balance of time, temperature, and technique that can make or break your homemade bread.
First Rise: Building Flavor and Structure
The first rise, or bulk fermentation, is crucial for developing bread’s complex flavors. During this stage, yeast produces carbon dioxide and develops the dough’s structure:
- Keep dough in a warm, draft-free area
- Allow 1-2 hours for initial fermentation
- Look for dough to double in size
Reading Dough Development Signs
Experienced bakers know how to read their dough’s development through visual and tactile cues:
| Development Stage | Key Indicators |
|---|---|
| Underdeveloped | Tight, dense texture |
| Perfectly Developed | Elastic, smooth surface with visible air bubbles |
| Overdeveloped | Collapsed, flat appearance |
Temperature Control Methods
Precise temperature management is essential for successful dough fermentation. I recommend using a proofing box or creating a warm environment to ensure consistent results:
- Ideal fermentation temperature: 75-80°F
- Use a warm oven (turned off) with a pan of hot water
- Monitor dough temperature with a digital thermometer
By mastering these dough fermentation techniques, you’ll transform your home baking and create artisan-quality bread that will impress family and friends.
Shaping and Scoring Techniques for Beautiful Loaves
Crafting artisan bread is an art that goes beyond mixing ingredients. Bread shaping techniques transform simple dough into stunning masterpieces that delight both the eyes and taste buds. I’ll share my favorite methods to elevate your bread from basic to extraordinary.
When exploring bread shaping techniques, understanding different loaf styles is crucial. Here are some classic shapes to try:
- Boule: A classic round loaf with a smooth, dome-like appearance
- Baguette: Long, slender loaf with distinctive elongated shape
- Batard: Shorter, slightly wider version of a baguette
- Oval country loaf: Rustic shape with elegant curves
Bread scoring patterns are the secret weapon of professional bakers. These decorative cuts not only look beautiful but serve a practical purpose. By creating strategic slashes on the dough’s surface, you allow steam to escape during baking, helping the bread expand and develop a crisp crust.
Artisan bread designs can range from simple to intricate. Beginners might start with basic cross or diagonal cuts, while more advanced bakers can create elaborate wheat sheaf or geometric patterns. The key is using a sharp blade and making confident, swift movements.
Pro tips for perfect scoring:
- Use a razor-sharp blade or specialized lame
- Score at a 45-degree angle for best results
- Keep cuts shallow, about 1/4 inch deep
- Practice consistency in your cuts
Remember, each loaf tells a story through its unique shape and scoring. With practice, you’ll develop your signature style that makes every bread creation uniquely yours.
Tips for Achieving the Perfect Crust and Crumb
Crafting an artisan bread with a perfect bread crust and ideal bread crumb requires precision and practice. I’ve learned that achieving that professional-quality texture involves several critical techniques that transform an ordinary loaf into an extraordinary culinary experience.
Steam plays a crucial role in developing the ideal bread crumb and creating a crispy exterior. My go-to method involves placing a cast-iron skillet with water on the bottom oven rack during the first 15 minutes of baking. This technique helps create a stunning artisan bread texture with a crisp, golden crust that professional bakers aim to replicate.
Temperature control is another key factor in bread baking. I recommend preheating your baking stone or Dutch oven to 450°F before introducing the dough. The high heat helps develop that perfect bread crust while ensuring the interior remains soft and airy. Allowing the bread to cool completely on a wire rack prevents moisture buildup and maintains the crisp exterior you’ve worked hard to achieve.
Troubleshooting common issues can elevate your bread-making skills. If you encounter a dense crumb, consider adjusting your yeast quantity or proofing time. Watch for signs of proper fermentation, such as a slightly puffy and smooth dough surface. With practice, you’ll develop an intuitive understanding of how to create consistently remarkable artisan bread at home.