16 Simple Christmas Cookies for Your Holiday Tray
Sixteen simple Christmas cookies, including rolled cutouts, buttery drop cookies and a few no bake favorites, ready for cookie swaps, gift tins and the family tray.
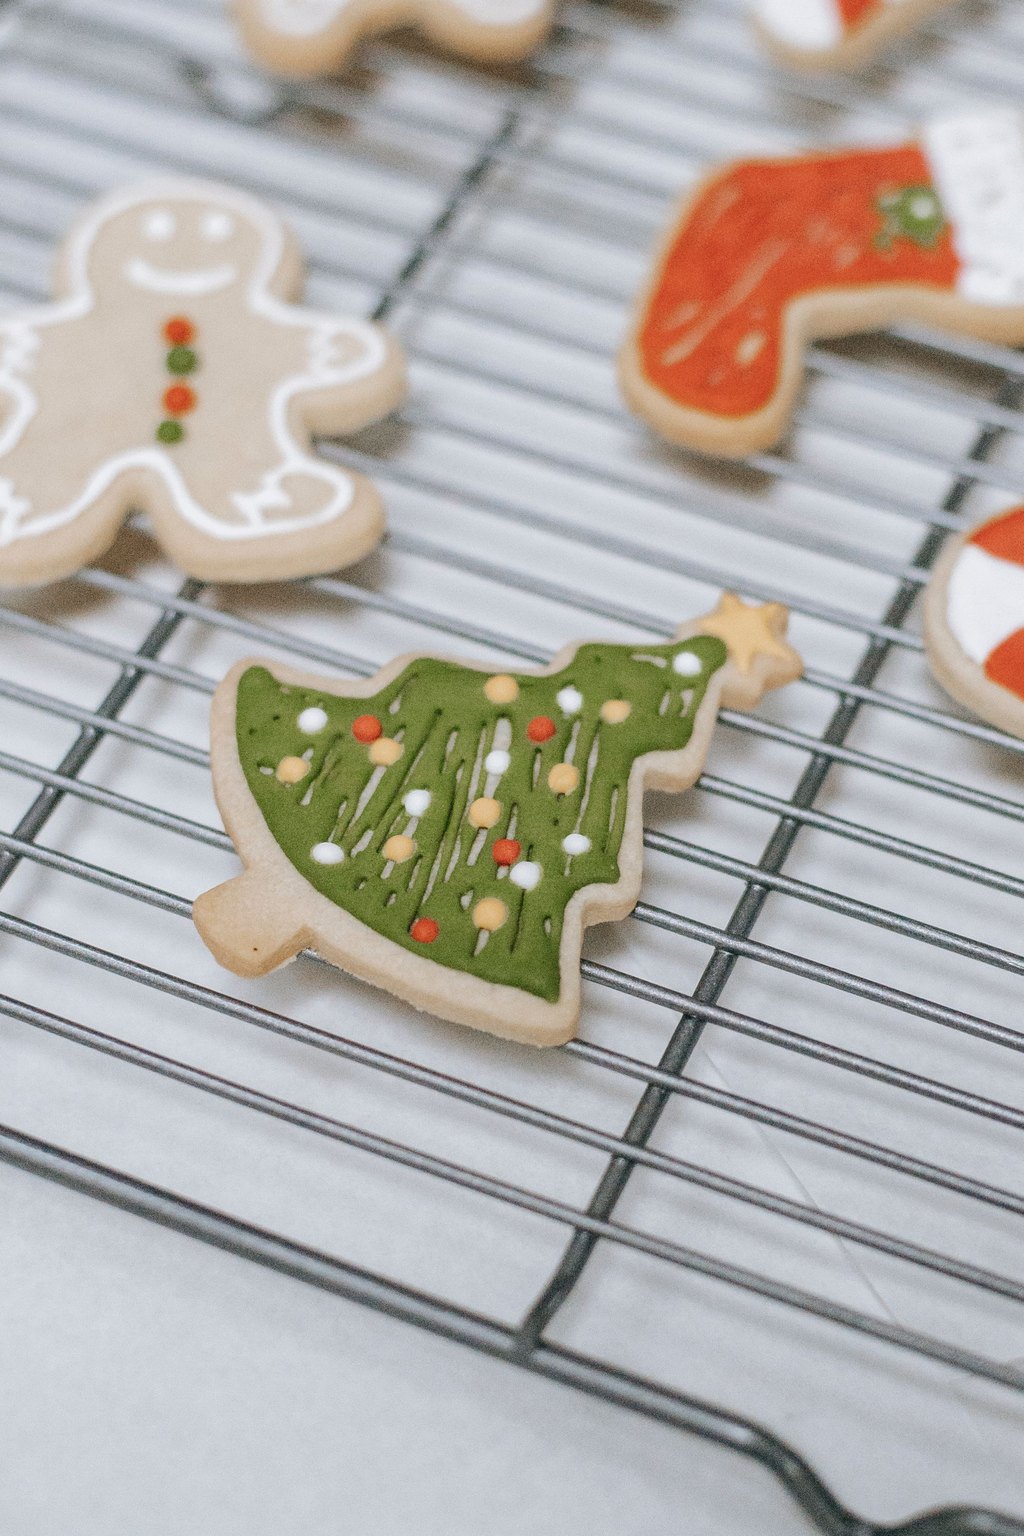
December baking was the glue of our house when the kids were small, and now that the grandkids join in, my kitchen still turns into a flour dusted workshop every year. Here are sixteen dependable Christmas cookies, from rolled cutouts that beg for sprinkles to buttery drop cookies, jammy thumbprints and a handful of no bake treats for when every oven rack is spoken for. Nothing calls for fancy ingredients. My planning trick is to mix and freeze several doughs early, then bake one variety each evening so the tray fills up gradually.
1) Classic Sugar Cookie Cutouts
1) Classic Sugar Cookie Cutouts
This dough keeps its shape beautifully in the oven, so star points stay sharp and little trees keep every branch. Each cookie is buttery and soft in the middle with a faint whisper of almond. A simple icing dries smooth and firm, which means they stack, travel and gift without smudging.
Arrange these on a big platter in rows of stars, trees and bells so the colors really pop. They make a lovely gift stacked in a tin with wax paper between the layers. When the grandkids visit, I bake a plain batch and set out little bowls of icing and sprinkles so everyone can decorate their own.
Ingredients
For the cookies
3 cups all purpose flour
1/2 teaspoon baking powder
1/2 teaspoon salt
1 cup unsalted butter, softened
1 cup granulated sugar
1 large egg
2 teaspoons vanilla extract
1/2 teaspoon almond extract
For the icing
3 cups powdered sugar
3 to 4 tablespoons milk
1 tablespoon light corn syrup
Gel food coloring and sprinkles
Rolling the dough between parchment means you add no extra flour, so the cookies stay tender instead of tough. If the dough softens while you cut, slide the whole sheet into the freezer for 5 minutes and the shapes will lift cleanly. Watch the edges closely near the 8 minute mark, because a pale cookie is a soft cookie.
Instructions
Stir the dry ingredients, meaning the flour, baking powder and salt, together in a bowl. In a mixer bowl, cream the softened butter with the sugar on medium for about 2 minutes, until light, then add the egg along with both extracts and beat again.
Turn the mixer to low and add the flour mixture, stopping once a soft dough comes together. Split it into two portions, press each one into a flat disk, wrap them up and refrigerate for 1 hour.
Preheat the oven to 350F and cover your cookie sheets with parchment. Place one disk between two pieces of parchment and roll it out until it is 1/4 inch thick.
Dip your cutters in flour, stamp out shapes and arrange them on the sheets with 1 inch between them. Gather up the scraps and roll them out one more time.
Bake for 8 to 10 minutes, pulling them when the edges have set but before any browning appears. Leave them on the sheet for 5 minutes, then let them finish cooling on a rack.
For the icing, whisk the powdered sugar with the milk and corn syrup until it is smooth and falls from a spoon in a slow ribbon. Divide it into small bowls and color each with a dab of gel.
Pipe or spread icing over each cookie and shake on sprinkles before it sets. Give them at least 4 hours, or overnight, to dry hard before you stack them in tins.
Decorating these is the one project that gets every generation around my kitchen table, flour on the floor and all. The dough is forgiving enough for small hands to roll and cut.
Rolling between sheets of parchment means you never add extra flour, so the cookies stay tender. Plain baked cookies can sit in the freezer as long as 3 months before you ice them.
2) Soft Gingerbread Cookies
2) Soft Gingerbread Cookies
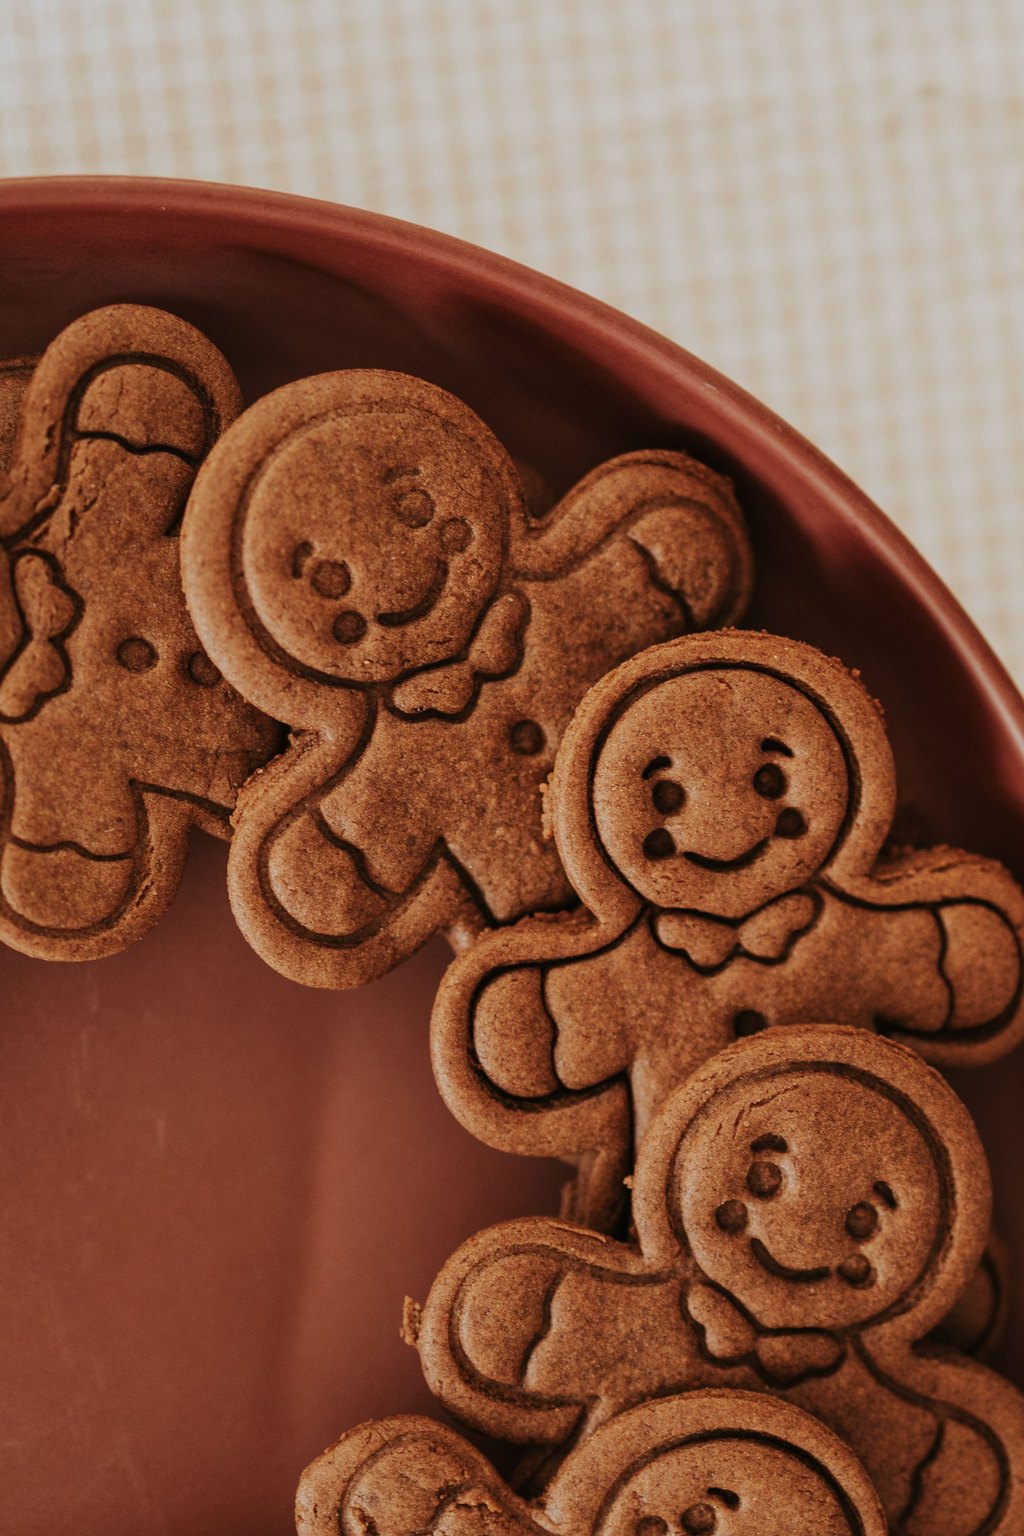
These gingerbread cookies stay soft and chewy, with a warm, spicy hit of ginger, cinnamon and cloves. Molasses and dark brown sugar give them a rich, caramel sweetness and the deep brown color of an old fashioned bakery. The chilled dough rolls smoothly and holds a clean edge for decorating.
Gingerbread people are a natural for a decorating afternoon with the grandkids, so I keep a few plain ones aside just for that. On the tray they look sweet next to pale sugar cookies, and the spicy smell pulls everyone into the kitchen. Serve them with cold milk for the little ones and hot coffee for the grownups.
Ingredients
3 cups all purpose flour
1 tablespoon ground ginger
1 1/2 teaspoons ground cinnamon
1/4 teaspoon ground cloves
1/4 teaspoon ground nutmeg
1 teaspoon baking soda
1/2 teaspoon salt
3/4 cup unsalted butter, softened
3/4 cup packed dark brown sugar
1/2 cup unsulphured molasses
1 large egg
2 teaspoons vanilla extract
Royal icing or powdered sugar glaze for decorating
Measure the molasses in a cup you have lightly oiled, and it will slide right out instead of clinging to the sides. Keep half the dough chilled while you roll the other half, since warm gingerbread stretches and the arms and legs lose their shape. A slice of bread tucked into the storage tin keeps the cookies soft and chewy for days.
Instructions
In a bowl, stir together the flour, baking soda and salt along with the ginger, cinnamon, nutmeg and cloves.
Cream the softened butter with the dark brown sugar on medium for about 2 minutes. Add the molasses, then the egg and vanilla, and beat until smooth, scraping down the sides of the bowl as you go.
On low speed, add the spiced flour and mix until the dough is thick and sticky. Divide it into two pieces, wrap each one in plastic and chill for a minimum of 1 1/2 hours so it firms up.
Preheat the oven to 350F and cover your baking sheets with parchment. Dust the counter lightly with flour and roll the dough to a thickness of 1/4 inch.
Cut out gingerbread people or any other shapes you like and set them on the sheets about 1 inch apart. Press the scraps together and roll again, popping the dough back in the refrigerator if it gets too soft.
Bake for 8 to 10 minutes. For a soft cookie, take them out when the middles still look a bit puffy and the edges have barely set. Leave them in for 2 extra minutes if you like them crisp.
Let them rest on the sheet for 5 minutes before moving them to a rack. Wait until they are completely cool before decorating with icing.
To me, the smell of gingerbread in the oven is the smell of Christmas itself. My grandkids love dressing every gingerbread person in a different icing outfit.
Well wrapped, the dough lasts 4 days in the refrigerator, so you can mix one night and bake the next. Tuck a slice of bread into the tin to keep baked cookies soft.
3) Cinnamon Sugar Snickerdoodles
3) Cinnamon Sugar Snickerdoodles
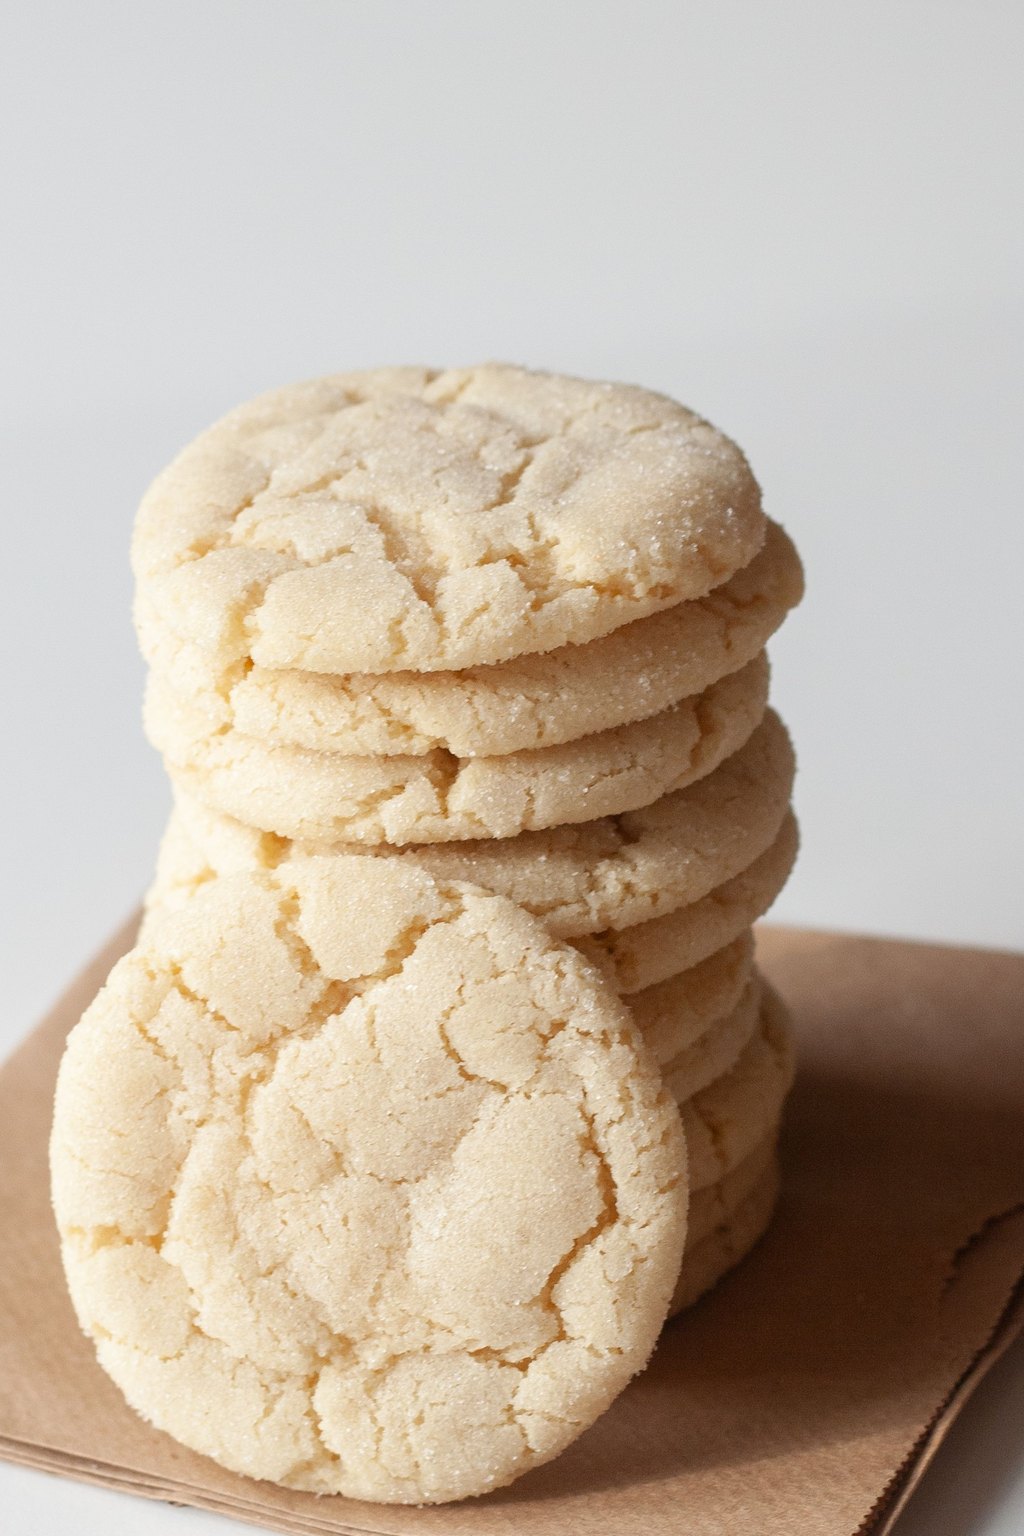
Snickerdoodles are soft, puffy sugar cookies with crinkled tops and a fragrant coat of cinnamon sugar rolled on before baking. A spoonful of cream of tartar is what brings the faint tang and the pleasantly chewy bite they are known for. Taking them out while the middles still look puffy keeps them soft for days.
Snickerdoodles are the cookie I reach for when someone wants something simple and not too sweet. They look homey piled in a little basket lined with a cloth napkin. Pair them with a mug of hot cider or warm cocoa, and they make an easy treat for a Sunday afternoon visit with friends.
Ingredients
2 3/4 cups all purpose flour
2 teaspoons cream of tartar
1 teaspoon baking soda
1/2 teaspoon salt
1 cup unsalted butter, softened
1 1/2 cups granulated sugar
2 large eggs
1 teaspoon vanilla extract
1/4 cup granulated sugar for rolling
1 tablespoon ground cinnamon for rolling
Do not swap baking powder for the cream of tartar, because you would lose the tang and the chewy bite that make these special. A small cookie scoop keeps the balls the same size so the whole tray finishes together. When baking for two, freeze the coated balls and bake a few at a time straight from frozen, adding a minute or two.
Instructions
Preheat the oven to 375F and cover two baking sheets with parchment.
In a bowl, stir together the flour, salt, baking soda and cream of tartar.
In a mixer, cream the butter with 1 1/2 cups of sugar on medium for about 3 minutes, until pale and fluffy. Add the eggs one at a time, beating after each, and then the vanilla.
With the mixer on low, add the flour mixture and stop as soon as everything comes together. If the dough seems very soft, chill it for 15 minutes.
In a shallow dish, combine the cinnamon with the 1/4 cup of sugar. Roll the dough into balls about 1 1/4 inches across, then roll each one through the cinnamon sugar until coated on every side.
Arrange them on the sheets with 2 inches between them. Bake for 9 to 11 minutes. Look for set edges and puffy middles that are just beginning to crack. They should still look a touch underbaked.
Let them sit on the sheet for 5 minutes so the centers can sink into soft, crinkled tops. Then transfer them to a rack to finish cooling.
These were the very first cookies I baked all by myself as a girl, and I still love them. With no chilling or decorating required, they are perfect for a busy December evening.
Roll the balls in cinnamon sugar, freeze them on a tray and then bag them. When you want a few, bake them straight from frozen with about 2 extra minutes.
4) Peanut Butter Blossoms
4) Peanut Butter Blossoms
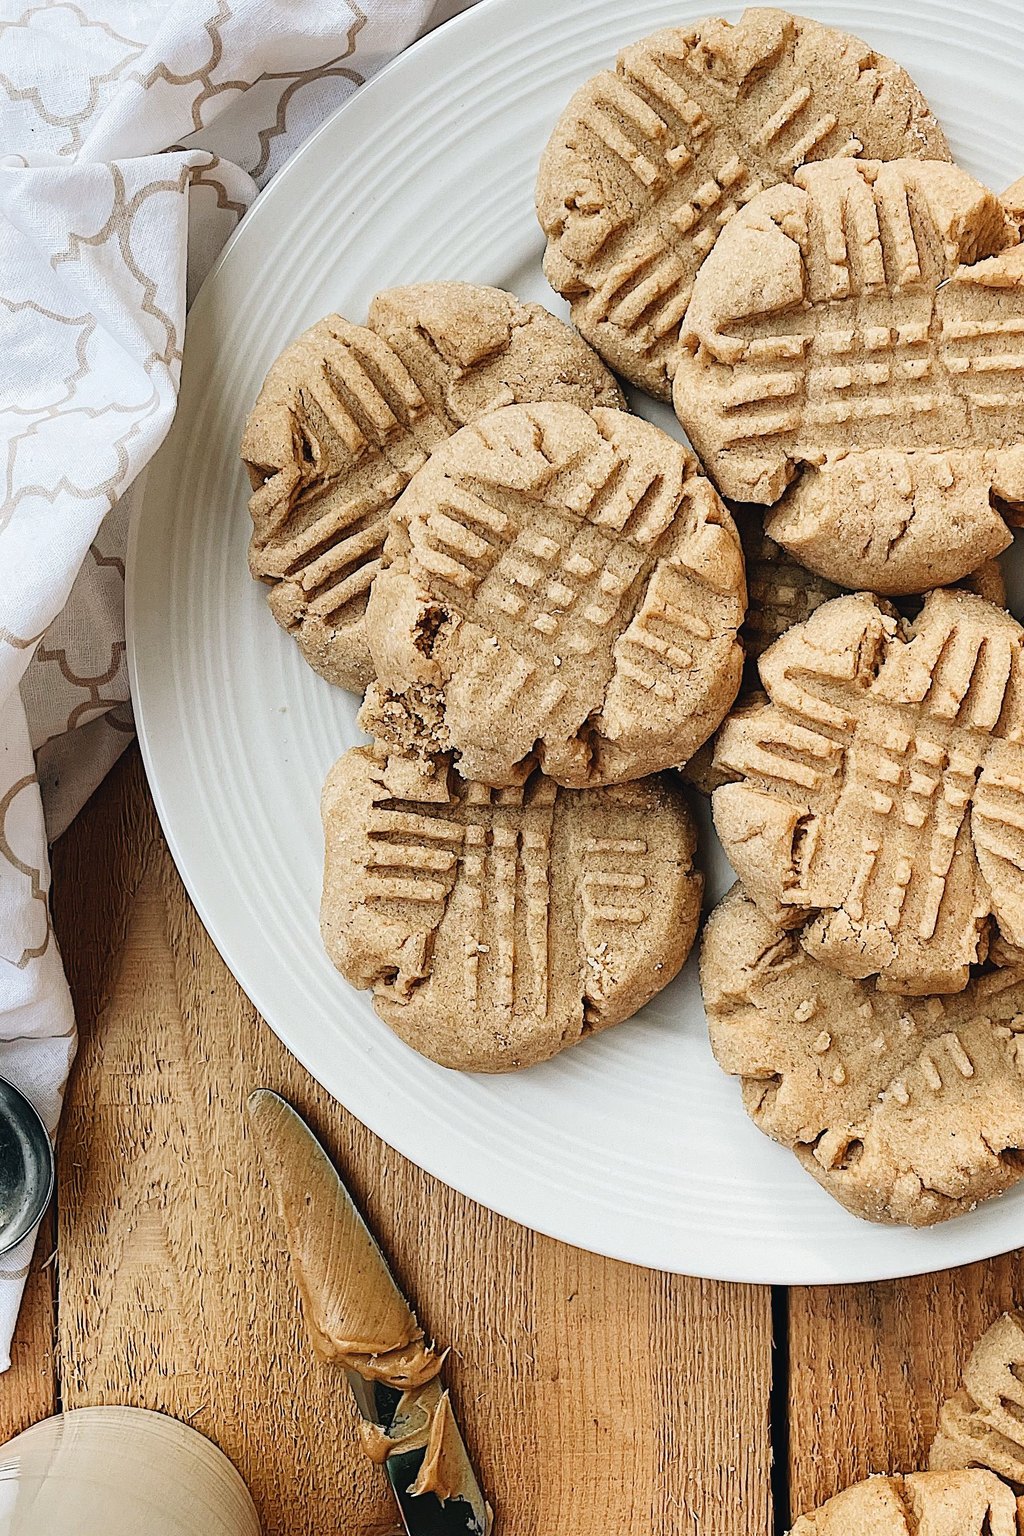
Blossoms are soft, sugar rolled peanut butter cookies, each topped with a little chocolate kiss. The chocolate goes on the instant the tray leaves the oven, so it softens just enough to stay put. Salty peanut butter and creamy milk chocolate together are a match that never gets old.
Kids love pressing the chocolate kisses into the warm cookies, so I save that job for the grandkids. These stand out on any cookie tray because of the little chocolate peak on each one. A glass of cold milk is all they really need, though they are also nice with a cup of coffee after dinner.
Ingredients
1 3/4 cups all purpose flour
1 teaspoon baking soda
1/2 teaspoon salt
1/2 cup unsalted butter, softened
1/2 cup creamy peanut butter
1/2 cup granulated sugar
1/2 cup packed light brown sugar
1 large egg
2 tablespoons milk
1 teaspoon vanilla extract
1/3 cup granulated sugar for rolling
36 milk chocolate kisses, unwrapped
Use a regular creamy peanut butter here, because the natural kind that separates makes the dough greasy and crumbly. Chill the unwrapped kisses in the refrigerator while the cookies bake, so they soften on the warm cookie without melting into a puddle. Give the chocolate the full hour to firm before stacking, or the tips will smudge.
Instructions
Preheat the oven to 375F and line your cookie sheets with parchment. Unwrap every chocolate kiss now so they are ready the second the cookies come out.
In a small bowl, stir together the flour with the salt and baking soda.
Beat the butter and peanut butter together until smooth. Add the granulated and brown sugars and beat for about 2 minutes, until fluffy. Add the egg, milk and vanilla and mix well.
With the mixer on low, add the flour mixture and mix until a soft dough forms.
Roll the dough into balls about 1 inch across, coat each one in granulated sugar and set them on the sheets 2 inches apart.
Bake for 8 to 10 minutes, until the edges just turn golden and fine cracks show on the tops.
As soon as the pan comes out, press a chocolate kiss into the middle of each warm cookie so the sides crack around it. After 5 minutes on the pan, transfer them to a rack. Give the chocolate about 1 hour to firm up before you stack them.
A Christmas tray in our family simply is not finished without blossoms. Every year the grandkids squabble over whose turn it is to add the chocolates.
Put the unwrapped chocolates in the refrigerator for 10 minutes before you use them. Cold ones keep their pointed tips instead of slumping into puddles.
5) Snowball Cookies
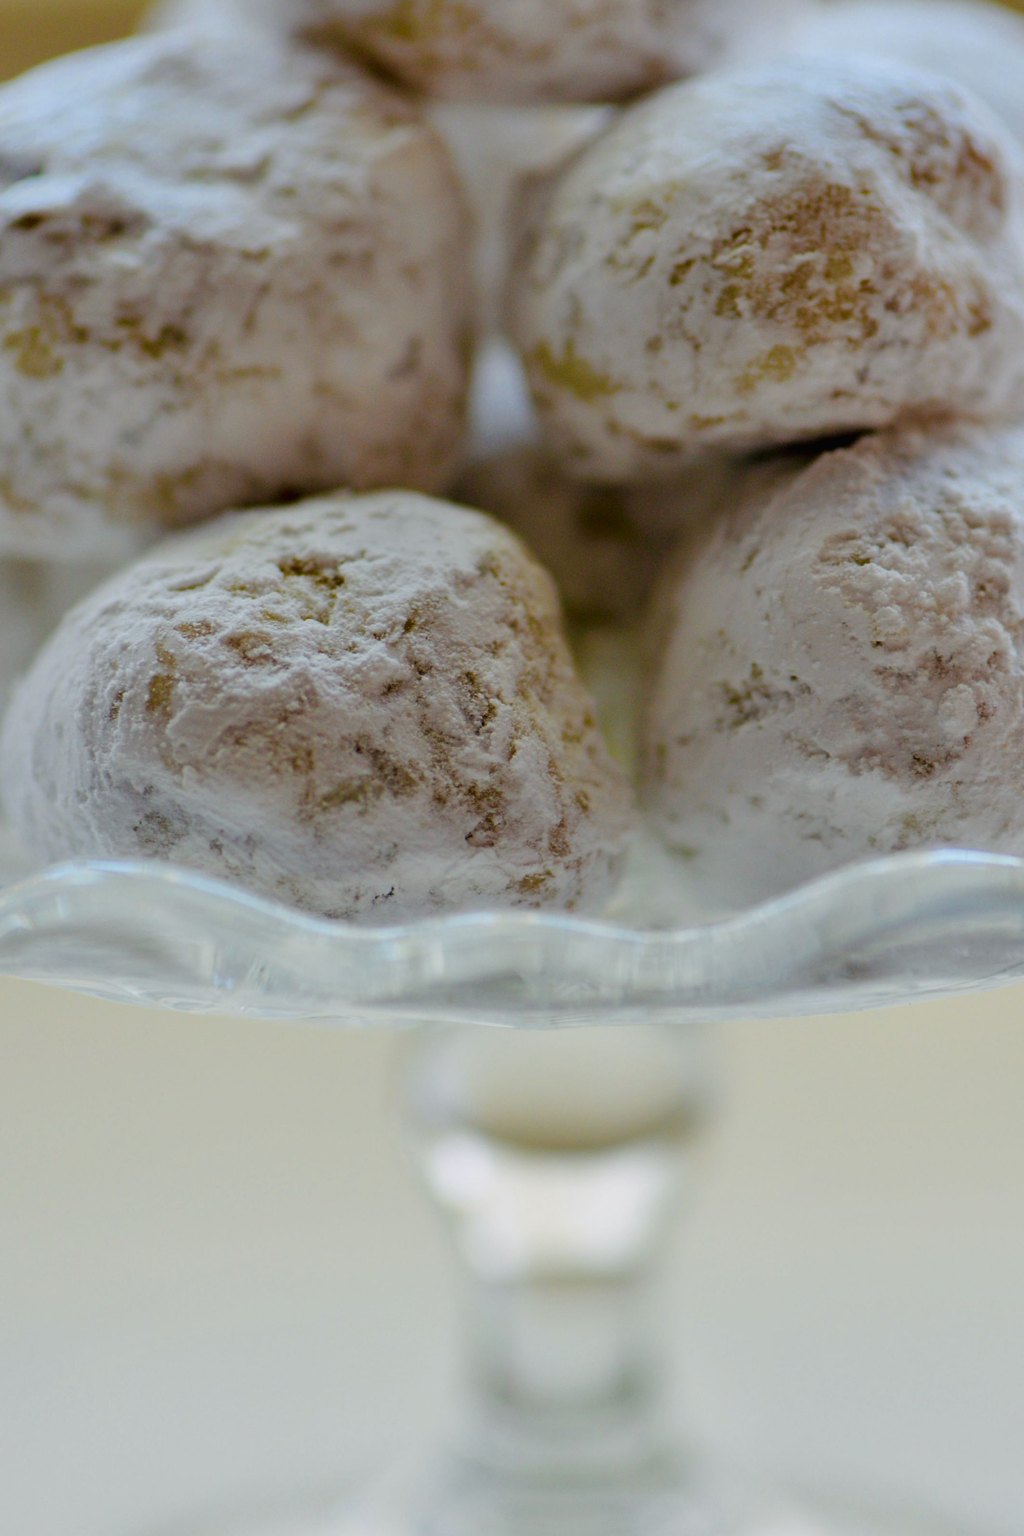
5) Snowball Cookies
Snowballs are tender, buttery bites packed with finely chopped toasted nuts and buried in powdered sugar. Their texture is close to shortbread, crumbly and soft enough to melt on your tongue. Rolling them twice, once warm and once cool, gives them that thick, snowy finish.
Snowballs look lovely piled into a glass bowl or nestled in mini paper cups on a holiday tray. They are tender enough for older guests who prefer a softer bite, and the nutty flavor pairs beautifully with coffee or tea. I also tuck a dozen into a small box with tissue paper for neighbors and teachers.
Ingredients
1 cup unsalted butter, softened
1/2 cup powdered sugar
1 teaspoon vanilla extract
2 1/4 cups all purpose flour
1/4 teaspoon salt
3/4 cup finely chopped pecans or walnuts
1 1/2 cups powdered sugar for rolling
Parchment paper for the pans
1 small bowl for the sugar coating
1 wire cooling rack
Toast the nuts in a dry skillet for a few minutes and let them cool before chopping, because that deepens their flavor. Chop them very fine, since big pieces make the dough crumble when you shape the balls. If your kitchen is warm, chill the dough for 15 minutes so the balls keep their round shape in the oven.
Instructions
Preheat the oven to 350F and cover two baking sheets with parchment.
In a mixer on medium speed, beat the butter with the vanilla and 1/2 cup of powdered sugar for about 2 minutes, until light and creamy.
Turn the mixer down to low, add the flour and salt and mix until the dough holds together. Fold in the chopped nuts with a spatula.
Shape the dough into balls about 1 inch across and arrange them on the sheets with 1 inch of space around each. They hardly spread at all.
Bake for 12 to 14 minutes. The undersides should be lightly golden while the tops stay pale.
Leave them on the sheet for 5 minutes. Then, while they still feel warm, roll each cookie carefully through a bowl of powdered sugar and move it to a cooling rack.
When they have cooled completely, roll them through the powdered sugar once more to build a thick white coat. The first coating melts a little on the warm cookies and works like glue that holds the second layer in place.
People call these by all sorts of names, but at our house they have always been snowballs. Tom heads straight for them every time the cookie tin opens.
For deeper flavor, toast the nuts in a 350F oven for 6 minutes before chopping. Snowballs last in a tin for 2 weeks and in the freezer for 3 months.
6) Jam Thumbprint Cookies
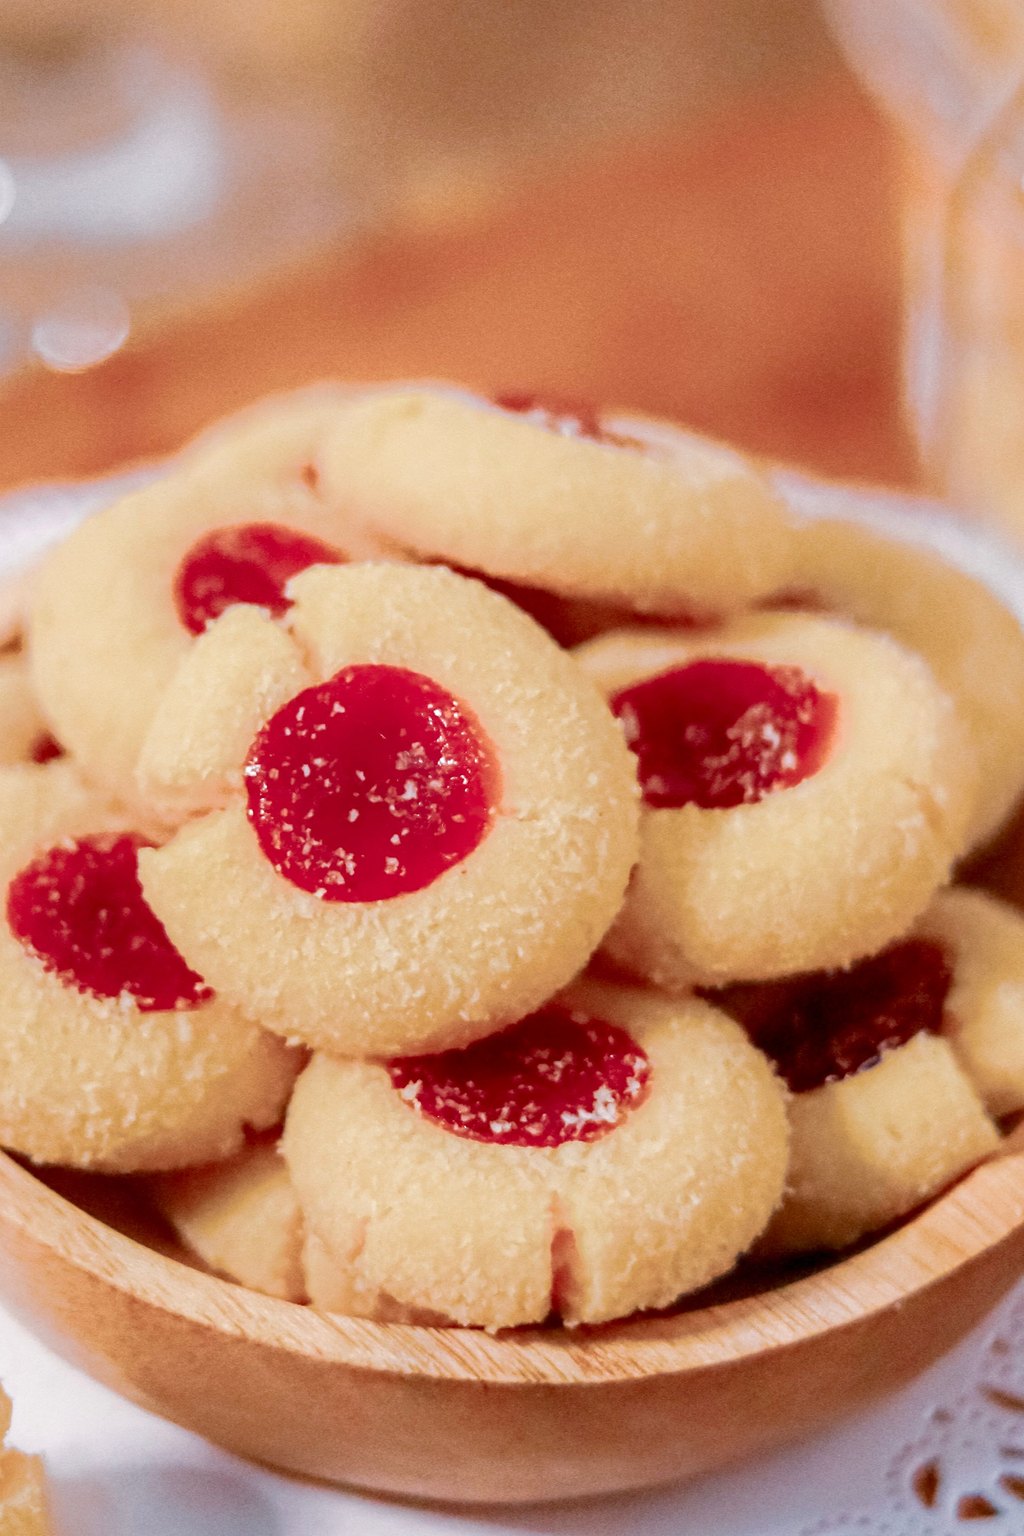
6) Jam Thumbprint Cookies
Thumbprints are rich, tender butter cookies with a glossy spoonful of jam baked into the middle. Using only yolks makes the dough extra rich and stops the cookies from spreading, so each one stays neatly round. Adding the jam halfway through the bake keeps it shiny instead of dull and dry.
Thumbprints look like little jewels on a cookie tray, especially if you fill half with raspberry and half with strawberry. I like to set them on a white plate so the red centers really stand out. They are always a favorite with the ladies at church and tend to disappear first at a cookie swap.
Ingredients
1 cup unsalted butter, softened
2/3 cup granulated sugar
2 large egg yolks
1 teaspoon vanilla extract
1/2 teaspoon almond extract
2 1/4 cups all purpose flour
1/2 teaspoon salt
1/2 cup raspberry or strawberry jam
1/2 cup powdered sugar for drizzle
1 tablespoon milk for drizzle
Chill the shaped and indented dough balls for 15 minutes if the dough feels soft, so the cookies hold their round shape. Stir the jam well before filling, since a smooth jam settles neatly into the hollows without lumps. Wait until the cookies are completely cool before you drizzle the glaze, or it will melt and slide right off.
Instructions
Preheat the oven to 350F and cover two baking sheets with parchment.
Cream the butter with the sugar on medium for about 2 minutes, until light. Add the yolks, then the vanilla and almond extracts, and beat until blended.
On low speed, add the flour and salt and stop mixing once a soft dough forms.
Shape the dough into balls about 1 inch across and set them on the sheets with 2 inches between them. Press a deep hollow with your thumb, or with the rounded bottom of a 1/2 teaspoon measuring spoon, into the middle of each one.
Bake for 8 minutes, then pull the pans out and press the hollows down again if they have puffed up. Spoon roughly 1/2 teaspoon of jam into each one.
Slide the pans back into the oven for another 5 to 7 minutes, until the edges are pale gold and the jam is bubbling.
Leave the cookies on the sheet for 5 minutes, then move them to a rack. Once they are cool, stir the milk into the powdered sugar to make a thin glaze and drizzle a little across each cookie.
A plate of these always reminds me of little ornaments glowing with red and purple jam. They bring a lot of color to a tray without any piping or decorating.
Choose a thick jam without seeds, since it stays put in the oven. A mix of apricot, raspberry and cherry makes a really pretty assortment.
7) Chocolate Crinkle Cookies
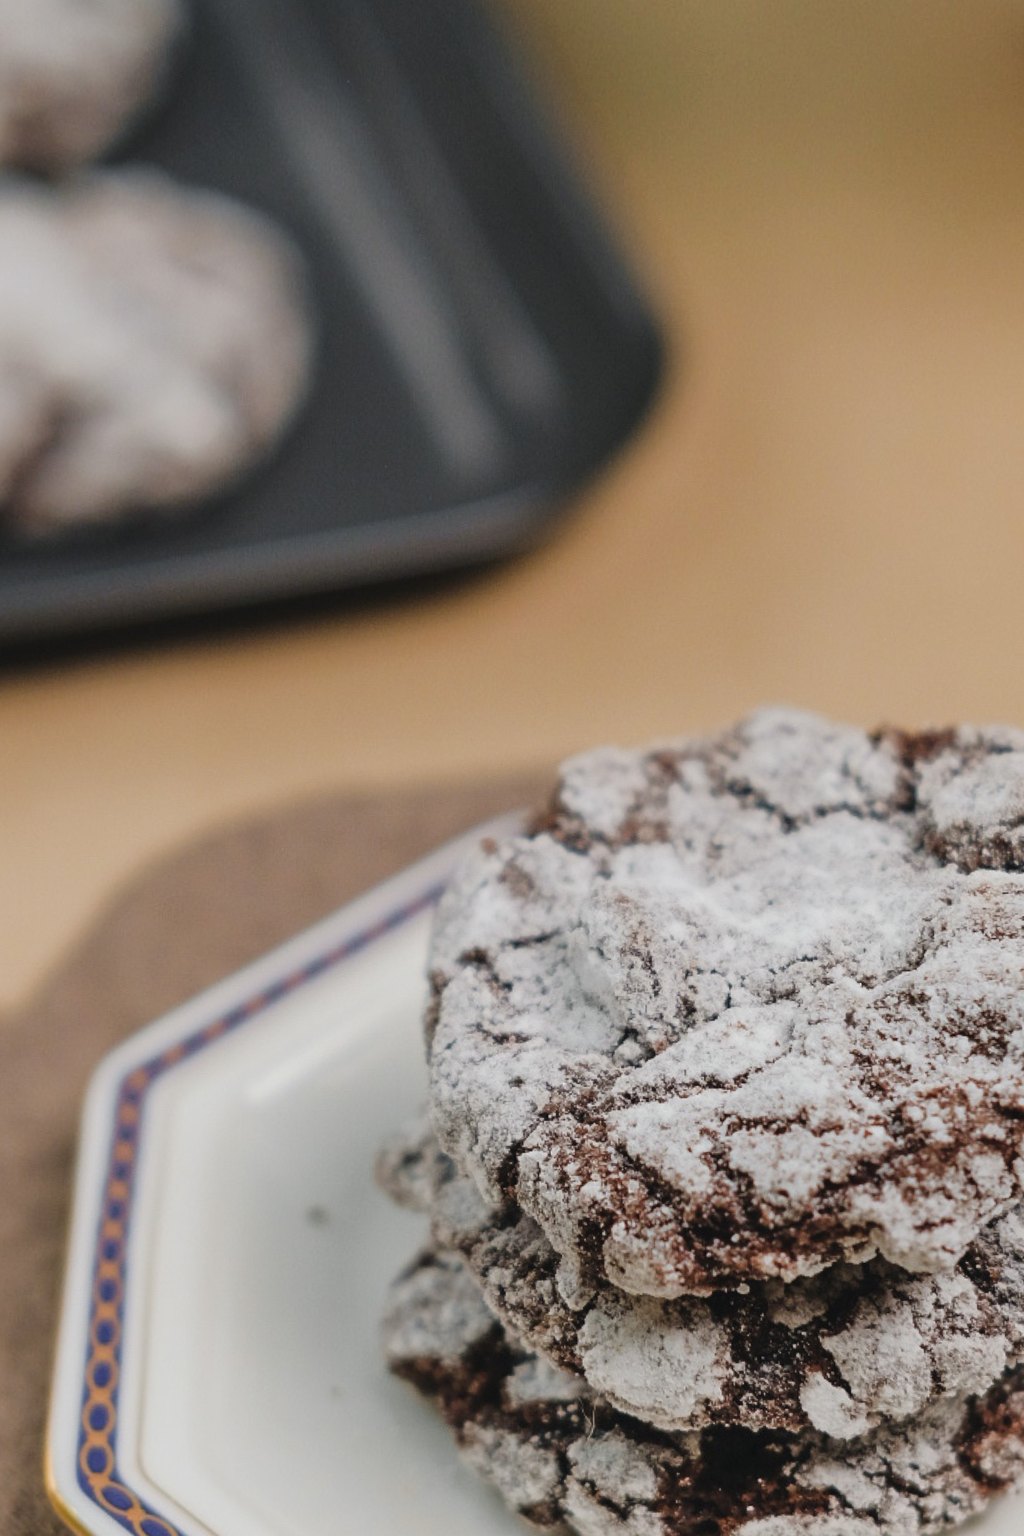
7) Chocolate Crinkle Cookies
Crinkles taste like a rich, fudgy brownie shaped into a cookie, with soft middles and thin, crisp edges. In the oven the dark dough spreads and splits through a bright white sugar coating. Oil stands in for butter here, which keeps them moist and tender for days.
Crinkles look so dramatic on a platter with their dark centers and snowy white cracks. I like to set them next to the paler cookies on the tray so the colors play off each other. They are a hit with chocolate lovers of every age, and a cold glass of milk or a cup of strong coffee rounds them out perfectly.
Ingredients
1 cup unsweetened cocoa powder
2 cups granulated sugar
1/2 cup vegetable oil
4 large eggs
2 teaspoons vanilla extract
2 cups all purpose flour
2 teaspoons baking powder
1/2 teaspoon salt
1/2 cup granulated sugar for rolling
1 cup powdered sugar for rolling
Never skip the long chill, because this soft dough will spread into flat puddles if it goes in the oven warm. The granulated sugar coat underneath helps the powdered sugar stay bright white instead of melting into the dough. Keep the rest of the dough in the refrigerator while each tray bakes, so every batch cracks the same way.
Instructions
In a large bowl, whisk together the oil, the cocoa powder and 2 cups of the sugar until it resembles damp sand.
Add the eggs one at a time, whisking well after each, then the vanilla. Keep whisking until the batter turns glossy and smooth.
In another bowl, combine the flour with the salt and baking powder. Add this to the chocolate mixture and stir only until no dry flour shows. The dough will be quite soft at this stage.
Cover and refrigerate for at least 4 hours or up to overnight. It is ready when it feels firm enough to scoop.
Preheat the oven to 350F and cover your cookie sheets with parchment. Put the granulated sugar in one shallow dish and the powdered sugar in a second one.
Portion the dough into balls about 1 inch across. Roll each ball in granulated sugar, then give it a thick coat of powdered sugar, and space them 2 inches apart on the sheets.
Bake for 10 to 12 minutes, until they have spread and cracked, with set edges and soft looking middles. Let them rest on the pan for 5 minutes before moving them to a rack.
Whenever our neighborhood holds a cookie swap, these are the ones people ask me to bring. They look like hard work, yet the dough comes together in one bowl.
Do not skip the long chill, because the dough is far too soft to roll straight from the bowl. Mix it before bed and bake first thing in the morning.
8) Buttery Spritz Cookies
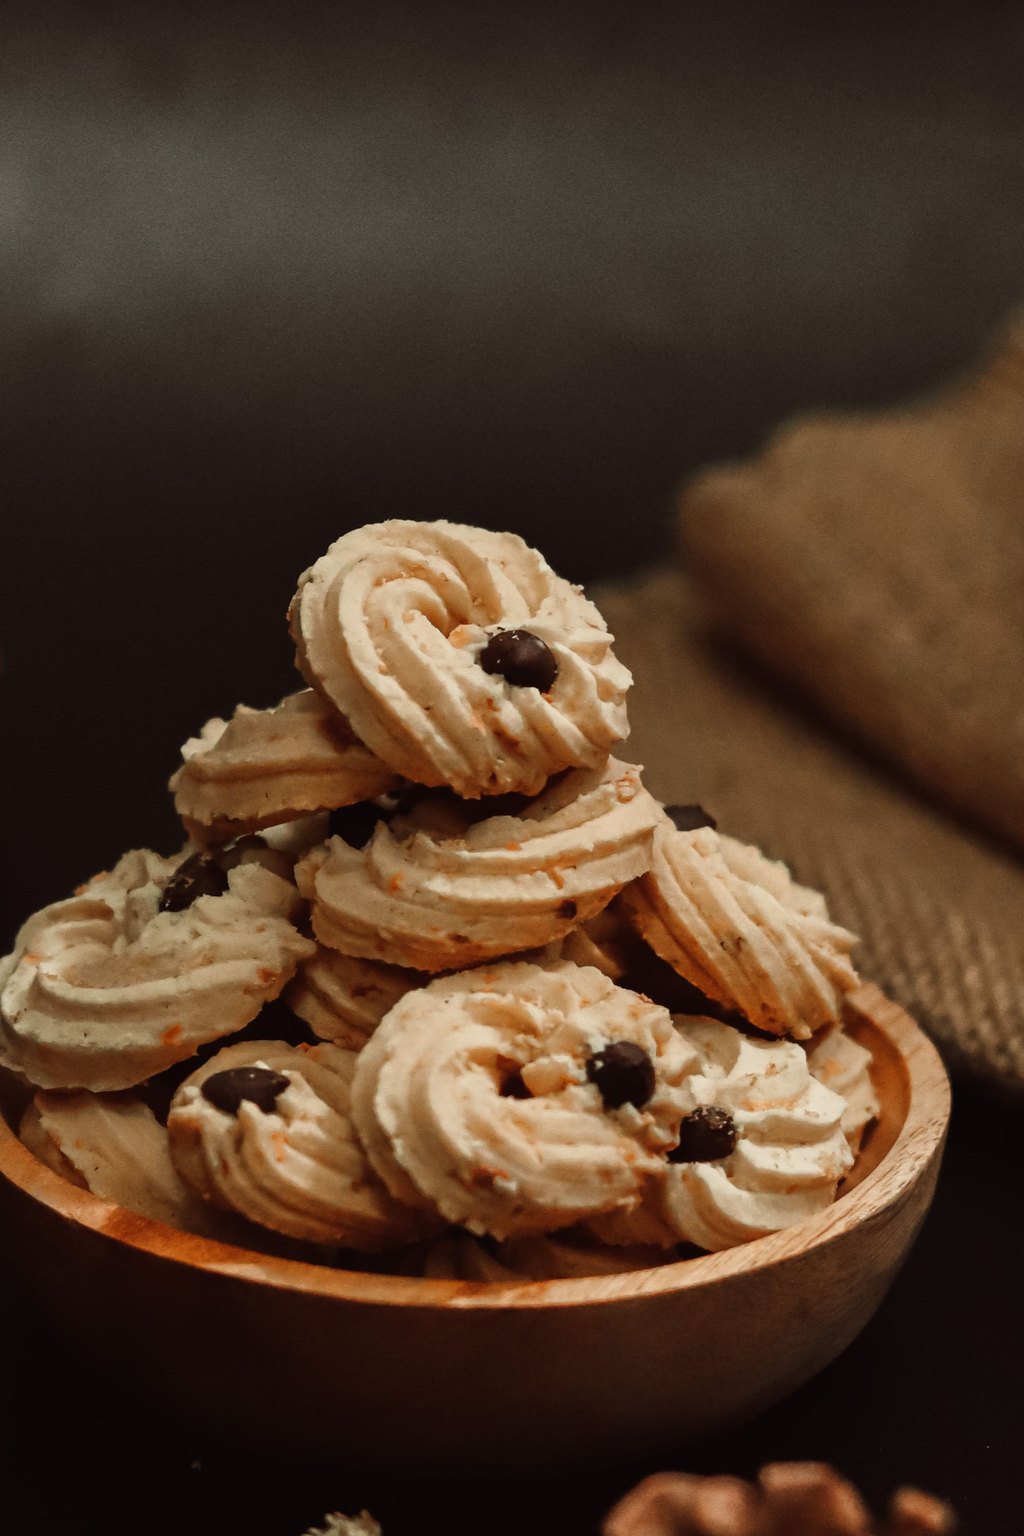
8) Buttery Spritz Cookies
Spritz are crisp, buttery little shapes that you squeeze from a cookie press directly onto a bare pan. A bit of almond extract gives them that classic bakery flavor everyone remembers. Since the dough skips chilling, you can make dozens of tiny trees and wreaths in under an hour.
A tray of spritz in green trees and red wreaths looks like something from an old fashioned bakery window. Because they are small and crisp, they are perfect for nibbling with coffee or tea after a big holiday dinner. I like to pack them in clear bags tied with ribbon to hand out to neighbors.
Ingredients
1 cup unsalted butter, softened
2/3 cup granulated sugar
1 large egg
1 teaspoon vanilla extract
1/2 teaspoon almond extract
2 1/4 cups all purpose flour
1/4 teaspoon salt
Green and red gel food coloring
Colored sugar and sprinkles
1 cookie press
If the first few cookies will not stick, check that the pan is completely clean and cool, or chill the dough for 10 minutes. Squeeze with one steady click and lift the press straight up for neat, sharp shapes. Keep two or three pans in rotation so you are never stuck waiting on a hot one.
Instructions
Preheat the oven to 375F. Leave the baking sheets bare with no parchment or grease, because the dough has to grab onto a clean, cool pan to pull away from the press.
Cream the butter and sugar on medium for about 3 minutes, until pale and fluffy. Add the egg, vanilla and almond extract and beat until blended.
With the mixer on low, add the flour and salt and mix until the dough turns soft and smooth. If you want color, divide the dough and tint each portion with a little gel.
Load the dough into the cookie press and attach a tree, wreath or flower plate.
Hold the press upright and flat against the cool baking sheet, then squeeze out a single cookie at a time, leaving 1 inch between them. Finish them with colored sugar or sprinkles.
Bake for 7 to 9 minutes, until the edges show just a hint of gold. Leave them on the sheet for 2 minutes, then move them to a wire rack.
Allow the pans to cool all the way before you press the next round, since a warm pan will not hold onto the dough.
My mother’s old cookie press still lives in my kitchen drawer, and using it each December feels like having her beside me. Nothing fills a big tray faster than spritz.
If the dough refuses to cling, pop the empty sheet in the refrigerator for 5 minutes. Spritz stay fresh in a tin on the counter for up to 2 weeks.
9) No Bake Chocolate Oatmeal Cookies
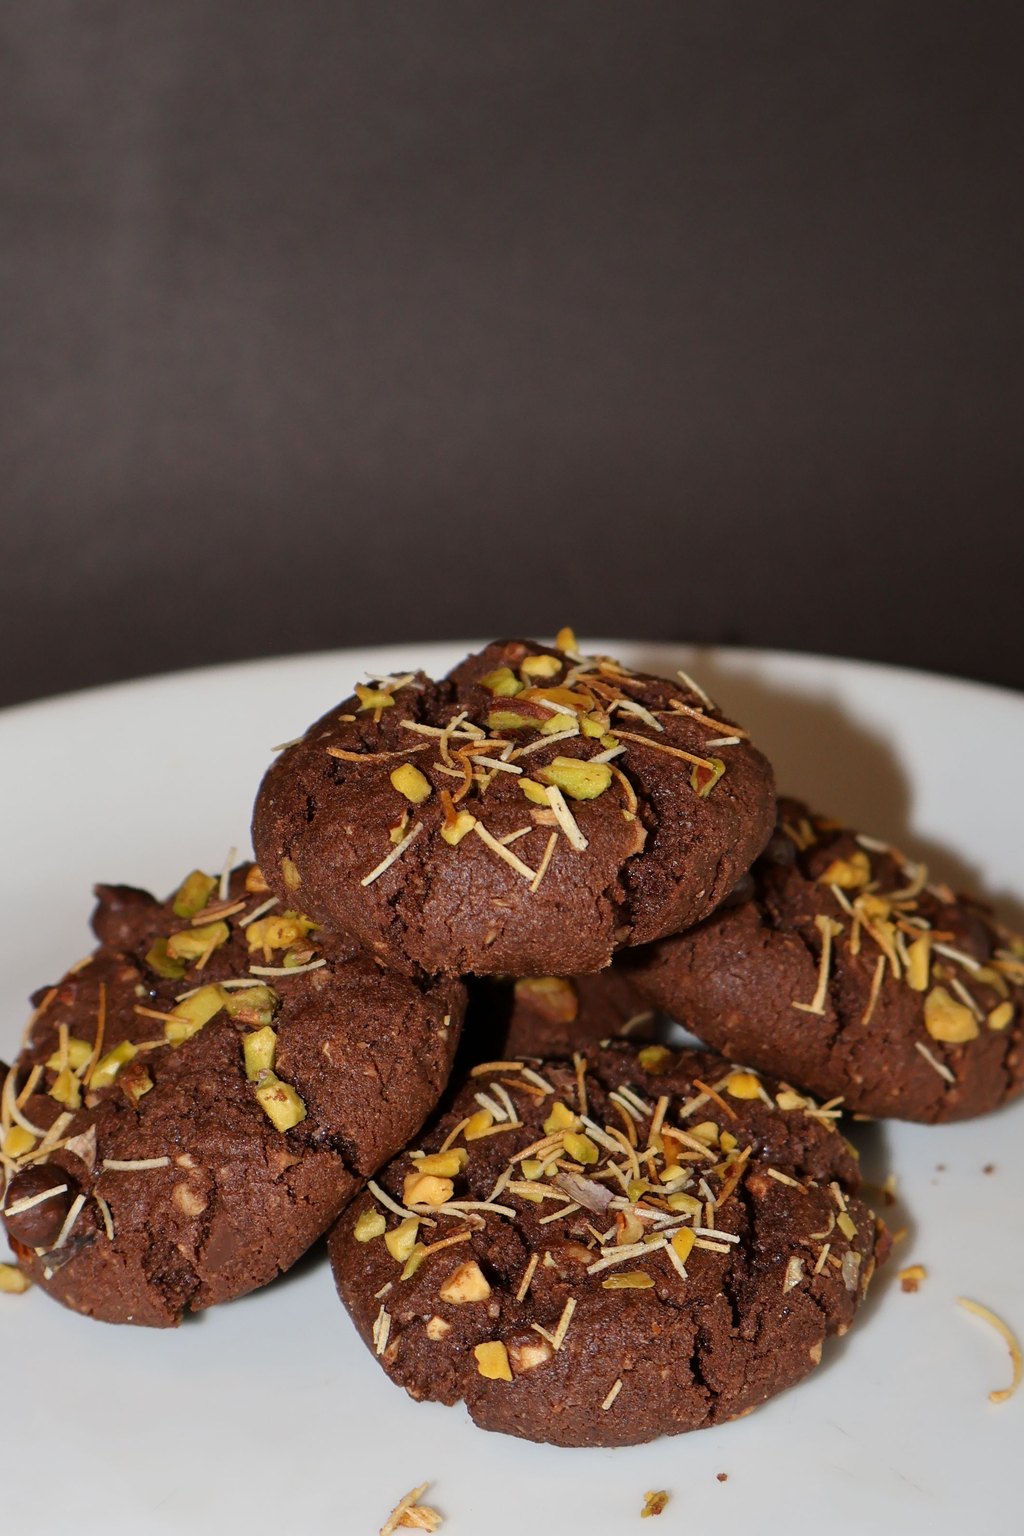
9) No Bake Chocolate Oatmeal Cookies
These no bake treats are fudgy, chewy little mounds made from cocoa, peanut butter and oats. They firm up from a fast boiled syrup, so you never need to turn on the oven. Boiling the syrup for exactly one minute is the secret to cookies that hold together without going dry.
These are my go to when the grandkids want cookies right now and nobody wants to wait for the oven. I set them out on a big plate with a pitcher of cold milk for an easy afternoon treat. They also travel well in a tin, so they are handy for potlucks and school parties.
Ingredients
2 cups granulated sugar
1/2 cup unsalted butter
1/2 cup whole milk
1/4 cup unsweetened cocoa powder
1/2 cup creamy peanut butter
1 teaspoon vanilla extract
1/4 teaspoon salt
3 cups quick cooking oats
2 tablespoons holiday sprinkles
Wax paper or parchment paper for the counter
Quick cooking oats are important here, since old fashioned oats stay loose and the cookies may never set. If they stay sticky, the syrup did not boil long enough, and if they turn dry and crumbly, it boiled too long. On a humid day, add an extra 15 seconds to the boil to help them firm up.
Instructions
Spread two long pieces of wax paper or parchment over the counter and measure out every ingredient ahead of time, since everything happens quickly once you start.
In a medium saucepan over medium heat, combine the milk, butter, sugar and cocoa. Stir as the butter melts and keep going until the mixture reaches a full, rolling boil.
When it is boiling so hard that stirring does not calm it down, start a timer and let it boil for precisely 1 minute with no stirring. Getting this timing right is what makes the cookies firm up.
Off the heat, add the peanut butter, salt and vanilla and stir until smooth.
Add the oats and stir until every flake is well coated.
Moving fast, drop heaping spoonfuls onto the paper. Sprinkle the tops with holiday sprinkles while they are still warm.
Leave them on the counter for about 30 minutes, until they are firm enough to peel off the paper cleanly. Keep them in a sealed container for up to 5 days.
When the oven is packed with other trays, these come to the rescue. I grew up eating them, and my grandkids love them every bit as much as I did.
Sticky cookies mean the syrup did not boil quite long enough. Crumbly ones mean it boiled too long, so keep your timer close.
10) Brown Sugar Shortbread Cookies
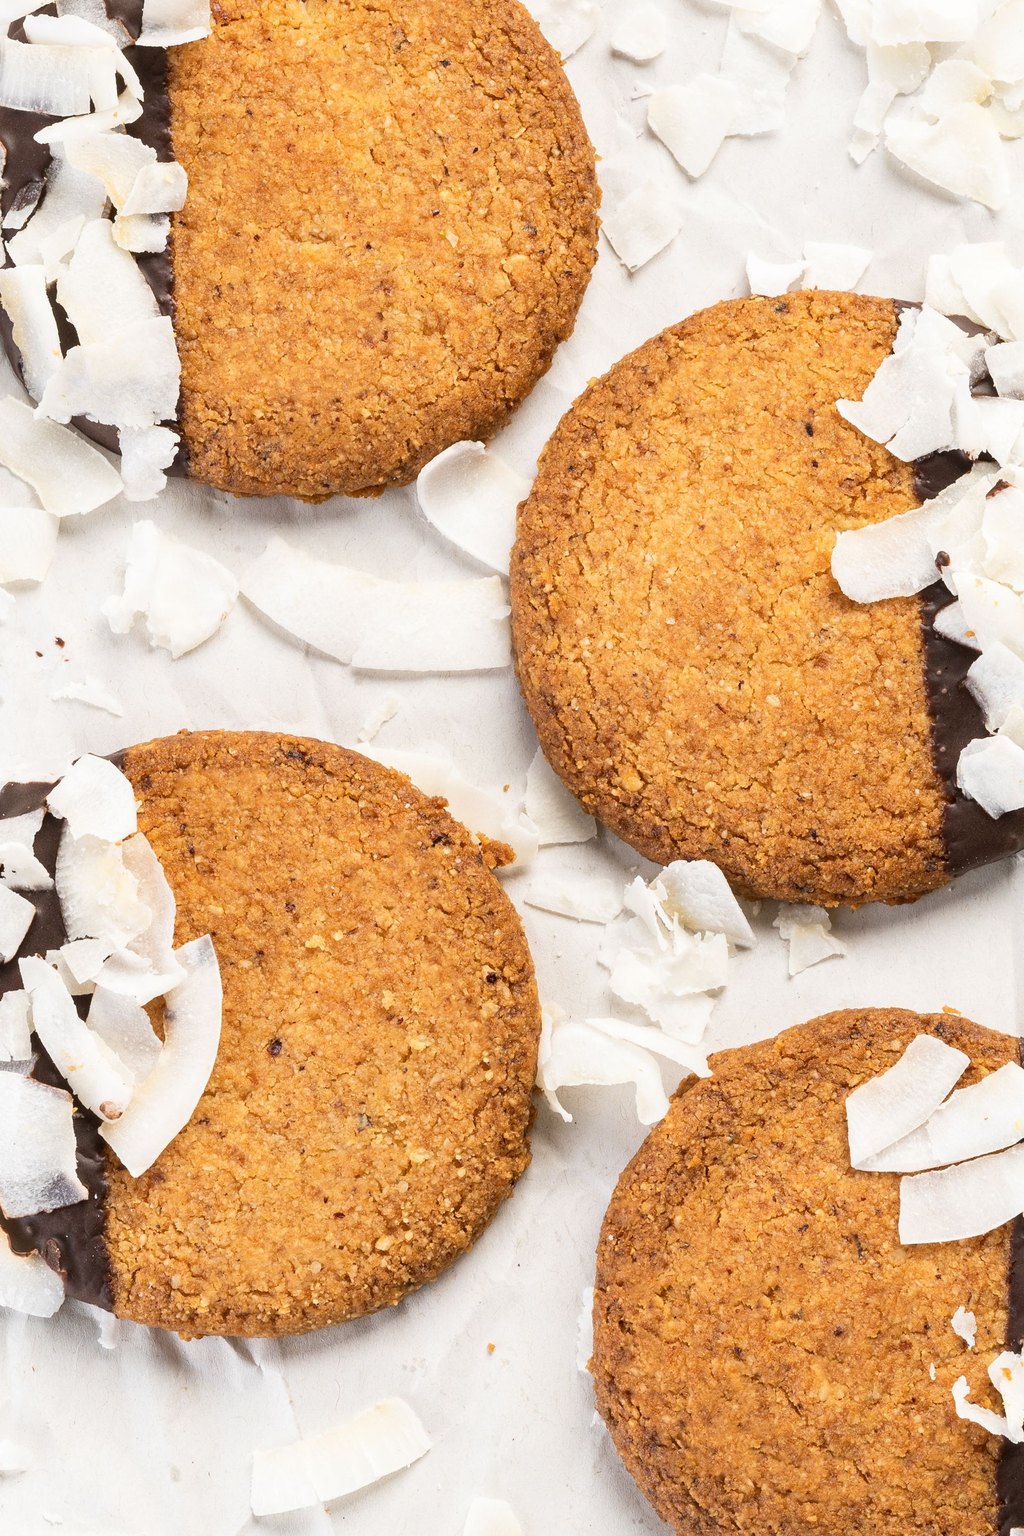
10) Brown Sugar Shortbread Cookies
This shortbread is rich and pleasantly sandy, with a warm caramel flavor from brown sugar. A lower oven temperature keeps the slices pale and tender while still crisp from edge to edge. Half a dip in chocolate and a scatter of crushed peppermint dress up an easy slice and bake cookie for the holidays.
Half dipped in chocolate with a sparkly sugar edge, these shortbread rounds look elegant on any tray. They are wonderful with a cup of tea or coffee, and they hold up well in a gift tin. I often set out a small plate of them alongside fresh fruit for an easy dessert when it is just Tom and me.
Ingredients
1 cup salted butter, softened
1/2 cup packed light brown sugar
1/4 cup powdered sugar
1 teaspoon vanilla extract
2 cups all purpose flour
1/4 teaspoon salt
2 tablespoons turbinado sugar for sprinkling
4 ounces semisweet chocolate for dipping
1 teaspoon coconut oil
2 tablespoons crushed peppermint candies
A sharp knife and a quarter turn of the log after each cut keep the rounds from flattening on one side. If the log has been chilled longer and feels hard, let it sit on the counter for 10 minutes so the slices do not crack. The wrapped log keeps in the freezer for weeks, so you can slice off just a few at a time.
Instructions
In a mixer on medium, beat the softened butter with the vanilla, the brown sugar and the powdered sugar for about 2 minutes, until creamy and smooth.
Turn the speed to low and add the flour and salt, mixing only until a pinch of dough holds together. Overmixing makes shortbread tough.
Form the dough into a log roughly 2 inches thick and roll it through the turbinado sugar. Wrap it in plastic and refrigerate for about 45 minutes, until firm.
Preheat the oven to 325F and cover your baking sheets with parchment. Cut the log into rounds 1/4 inch thick and space them 1 inch apart.
Bake for 14 to 16 minutes, until they turn light gold at the edges and the middles look dry. Rest them on the sheet for 5 minutes, then finish cooling on a rack.
Microwave the chocolate and coconut oil in 30 second rounds, stirring each time, until smooth. Dip half of each cookie in the chocolate and scatter crushed peppermint over it.
Lay the dipped cookies on parchment and leave them in a cool spot for about 30 minutes, until the chocolate is firm.
Shortbread needs only a few pantry staples, so it is what I make when time is short. Having a log of dough waiting in the refrigerator is a real gift during a hectic week.
Wrap the log in plastic and then foil and freeze it for as long as 3 months. Slice it while still frozen and add about a minute to the baking time.
11) Double Chocolate Peppermint Cookies
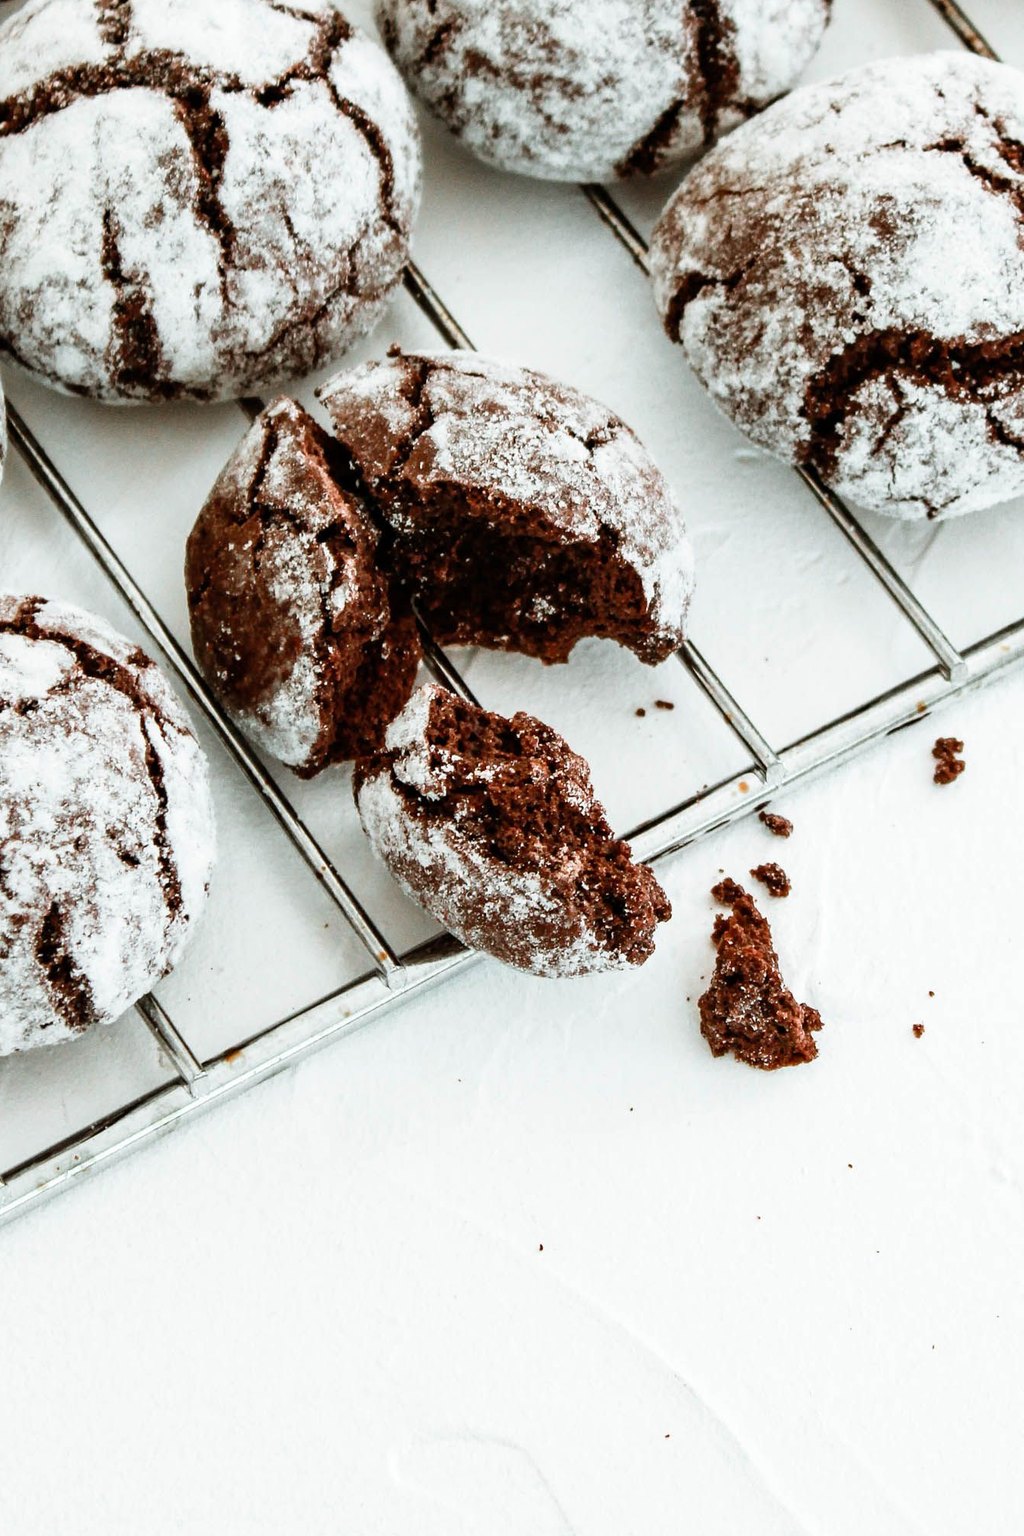
11) Double Chocolate Peppermint Cookies
These soft, fudgy cookies are doubly chocolatey, stuffed with chips and lifted by a cool burst of peppermint. Extract flavors the dough itself, while crushed candy on top adds sparkle and crunch. Pulling them while the middles are underdone keeps the texture chewy rather than cakey.
Double chocolate cookies are rich enough to serve as dessert all on their own, maybe with a scoop of vanilla ice cream on the side. The flecks of red and white peppermint look so festive on a holiday plate. I like to tuck them into gift tins with a candy cane tied on top for neighbors and friends.
Ingredients
1 3/4 cups all purpose flour
1/2 cup unsweetened cocoa powder
1 teaspoon baking soda
1/2 teaspoon salt
1 cup unsalted butter, softened
3/4 cup packed light brown sugar
1/2 cup granulated sugar
2 large eggs
1 teaspoon vanilla extract
1/2 teaspoon peppermint extract
1 1/2 cups semisweet chocolate chips
1/2 cup crushed peppermint candies
Crush the peppermint candies in a zip top bag with a rolling pin, then shake out the fine dust so the pieces stay crunchy. Go easy on the extract, since peppermint gets strong fast and too much tastes like toothpaste. Dark cookies are hard to judge by color, so watch for the tops to lose their shine instead.
Instructions
Preheat the oven to 350F and cover two baking sheets with parchment.
Stir the flour and cocoa together in a bowl with the salt and baking soda.
Cream the butter with the brown and white sugars on medium for about 2 minutes. Add the eggs one by one, beating after each, then add the vanilla along with the peppermint extract.
On low speed, add the cocoa mixture and stop as soon as it is blended. Fold in the chocolate chips with a spatula.
Drop mounds of about 1 1/2 tablespoons onto the sheets, leaving 2 inches between them.
Bake for 9 to 11 minutes. They are ready when the rims look firm and the tops have only just lost their shine. The centers should stay soft.
The moment they come out, press a pinch of crushed peppermint candy onto each one. Cool them on the pan for 5 minutes and then on a rack. Once cool, store them in a sealed container, because the candy turns sticky in damp air.
Chocolate with peppermint tastes like December to me, and my youngest still asks for these every single year. They are also a forgiving drop cookie for new bakers.
Seal the candies in a zip top bag and crush them with a rolling pin. Shake out the fine powder so the pieces you use stay crunchy.
12) Cranberry White Chocolate Oatmeal Cookies
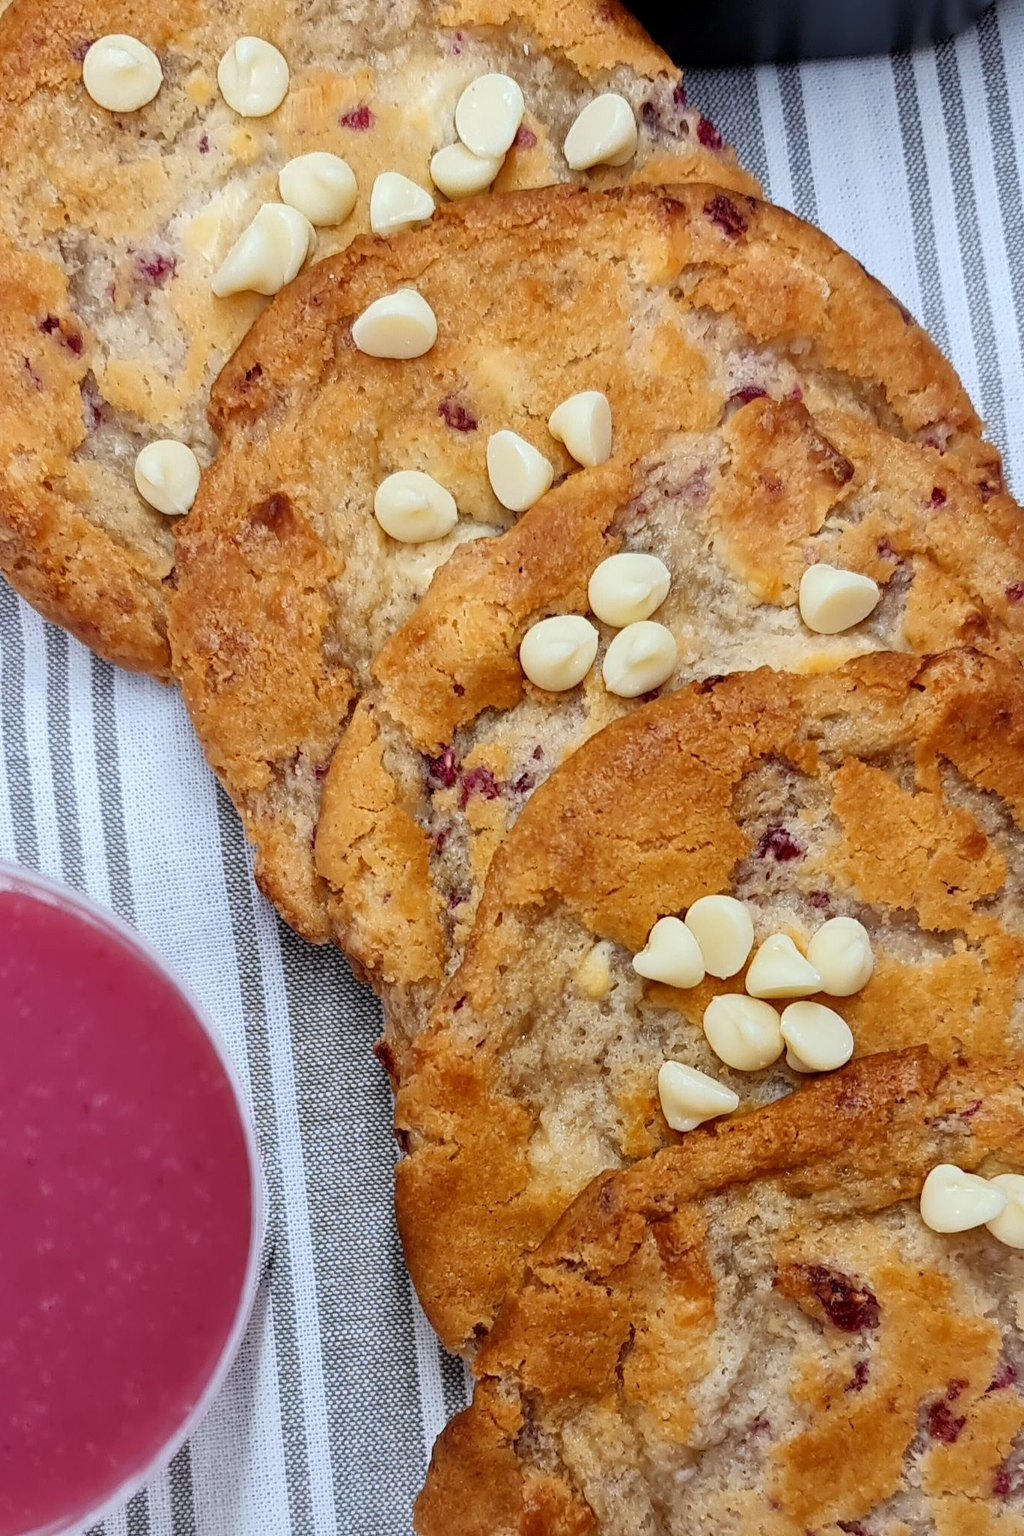
12) Cranberry White Chocolate Oatmeal Cookies
These oatmeal cookies are chewy and hearty, studded with tart dried cranberries and sweet little pockets of white chocolate. The red and white flecks look festive on any holiday tray without a bit of decorating. A pinch of cinnamon warms the whole cookie and plays nicely with the fruit.
Oatmeal cookies are the ones I pack for long drives to see the kids, because they stay soft and hold up in a tin. The red and white look cheerful on a tray, and they are hearty enough to call breakfast with a cup of coffee. They also pair nicely with a glass of cold milk for the grandkids.
Ingredients
1 1/2 cups all purpose flour
1 teaspoon baking soda
1 teaspoon ground cinnamon
1/2 teaspoon salt
1 cup unsalted butter, softened
1 cup packed light brown sugar
1/2 cup granulated sugar
2 large eggs
2 teaspoons vanilla extract
3 cups old fashioned rolled oats
1 cup dried cranberries
1 cup white chocolate chips
Plump the dried cranberries in hot water for 5 minutes and pat them dry, and they will stay juicy instead of turning hard. Old fashioned rolled oats give the best chew, so save quick oats for another recipe. Chill the scooped dough for 30 minutes if your butter was very soft, which keeps the cookies thick.
Instructions
Preheat the oven to 350F and cover two baking sheets with parchment.
In a bowl, combine the flour with the cinnamon, salt and baking soda and stir well.
Cream the butter with both sugars on medium speed for about 2 minutes, until fluffy. Add the eggs and the vanilla and beat until combined.
Reduce the speed to low, add the flour mixture and mix just until it disappears. With a sturdy spoon, stir in the oats, dried cranberries and white chocolate chips until they are spread through the dough.
Drop mounds of about 2 tablespoons onto the sheets with 2 inches between them, then press each one down a little with your palm so they bake evenly. Dot the tops with a few extra cranberries and chips so they look like they came from a bakery.
Bake for 10 to 12 minutes, until the edges turn golden and the middles look set yet soft.
Let them firm up on the pan for 5 minutes before moving them to a rack to cool completely. Keep them in a sealed container on the counter for up to 5 days.
These are what I mail every December to faraway cousins and to my grandson at college, because they travel so well. They hold their soft, chewy texture for days.
Freeze scooped dough balls on a tray, then move them to a freezer bag. Bake them while still frozen and add about 2 minutes.
13) Glazed Eggnog Cookies
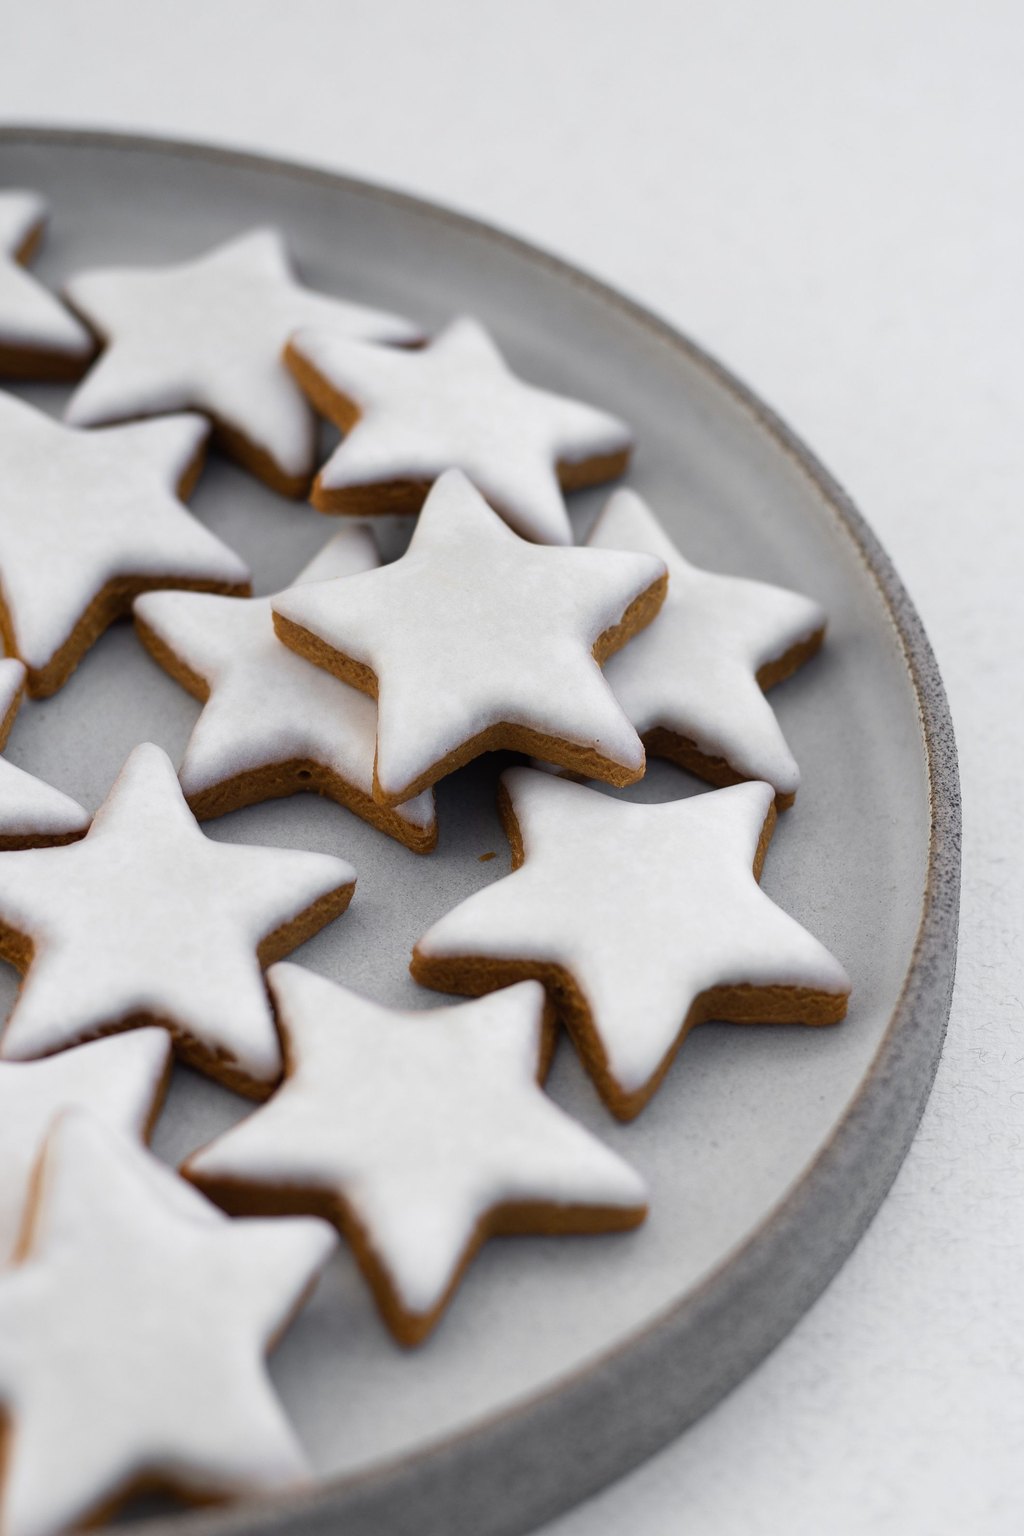
13) Glazed Eggnog Cookies
These soft, cakey drop cookies get their flavor from real eggnog, a splash of vanilla and a generous amount of warm nutmeg. A thin glaze made with more eggnog doubles down on that creamy, spiced taste. Each bite is like sipping a mug of holiday nog, with no spirits involved.
Set these out with a pitcher of cold eggnog or mugs of hot coffee for an easy holiday open house. Their pale glaze and dusting of nutmeg look snowy and pretty on a dark platter. They are soft and gentle, so they are a good pick for little ones and for anyone who does not care for crunchy cookies.
Ingredients
2 3/4 cups all purpose flour
1 teaspoon baking powder
1/2 teaspoon salt
1 teaspoon ground nutmeg, divided
3/4 cup unsalted butter, softened
1 cup granulated sugar
2 large egg yolks
1/2 cup eggnog
1 teaspoon vanilla extract
For the glaze
1 1/2 cups powdered sugar
3 tablespoons eggnog
1/4 teaspoon ground cinnamon
Freshly grated nutmeg makes a big difference in a cookie built around that spice, so grate a whole one if you have it. Do not let these brown on top, because they dry out quickly and lose their cakey softness. Store them in a single layer once the glaze sets, or the tops will stick together.
Instructions
Preheat the oven to 350F and cover two baking sheets with parchment.
In a bowl, stir together the flour, baking powder and salt along with 3/4 teaspoon of the nutmeg.
Cream the butter and sugar on medium for about 2 minutes, until fluffy. Add the yolks, then 1/2 cup of eggnog and the vanilla, and beat until smooth. Do not worry if it looks slightly curdled.
On low speed, add the flour mixture and mix only until a soft dough comes together.
Drop rounded tablespoons onto the sheets about 2 inches apart. Bake for 10 to 12 minutes, until the undersides are lightly browned and the tops are set but still pale.
Leave them on the sheet for 5 minutes, then transfer them to a rack to cool all the way.
For the glaze, whisk the powdered sugar with the cinnamon and 3 tablespoons of eggnog until smooth. Spoon a little over each cookie, dust with the rest of the nutmeg and let the glaze firm up for 30 minutes.
There is always a carton of eggnog in our refrigerator in December, and this is my favorite way to finish it off. They make a fun surprise tucked among the classics.
Grating whole nutmeg yourself makes a huge difference in flavor here. Store glazed cookies in a single layer so they stay pretty.
14) Raspberry Linzer Cookies
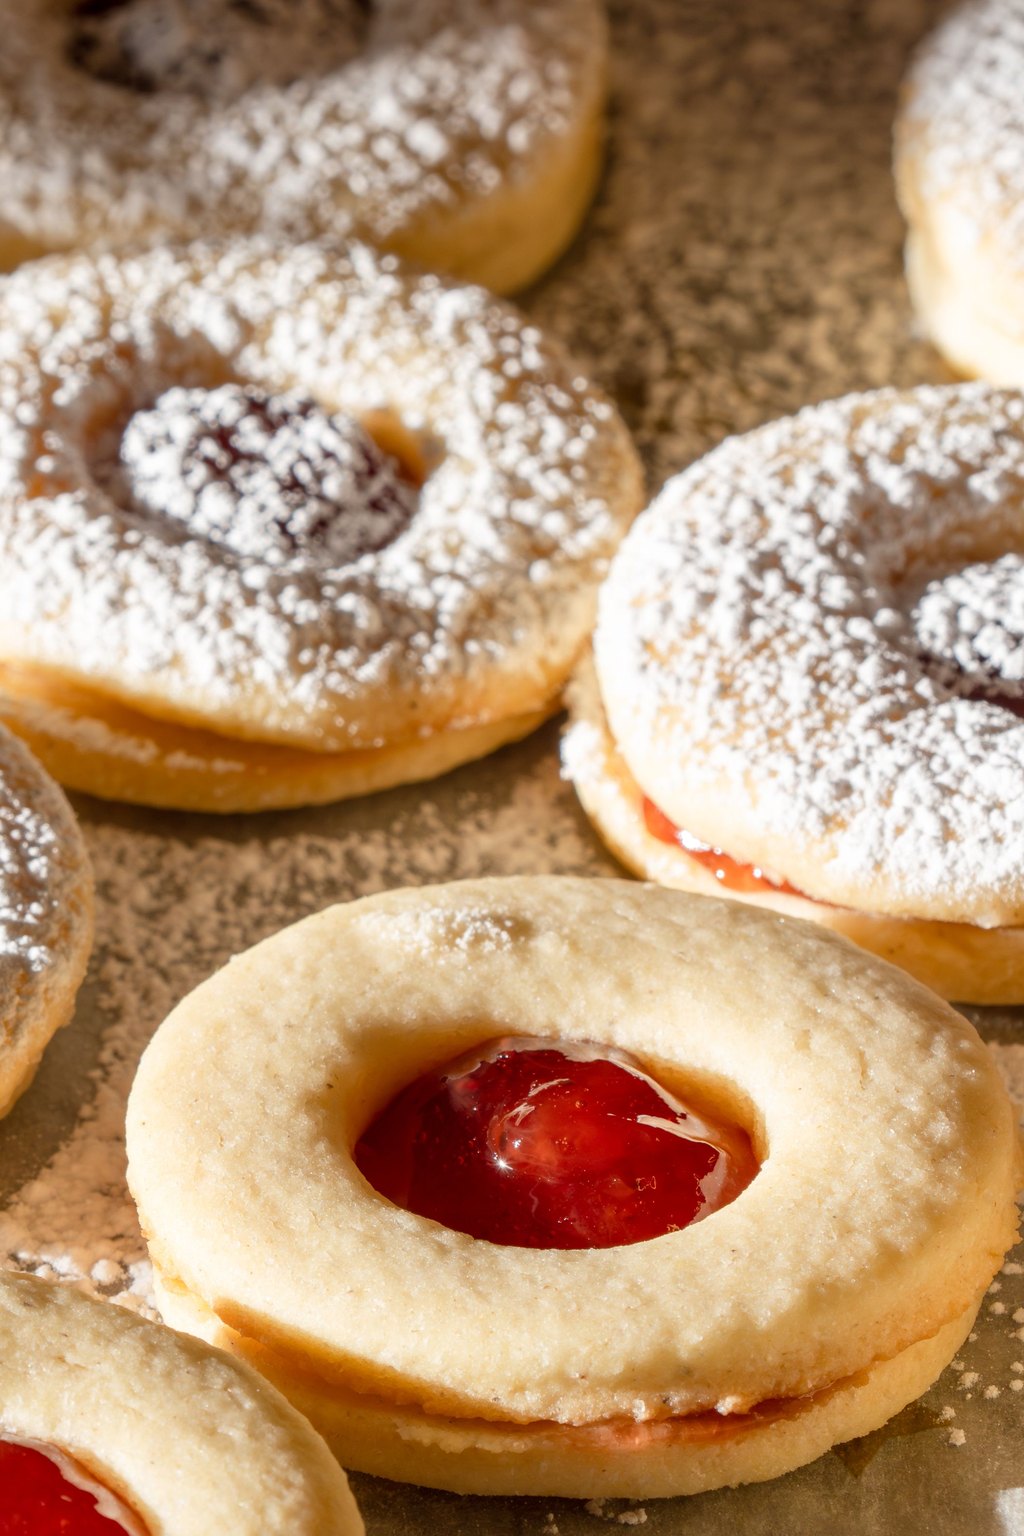
14) Raspberry Linzer Cookies
Linzers are delicate almond butter cookies sandwiched around raspberry jam and finished with powdered sugar. A small cutout on the top cookie lets the ruby jam glow through like a stained glass window. Ground almonds give the dough a tender, gently nutty crumb that practically dissolves.
Linzers are my showpiece cookie, so I set them right in the center of the tray where everyone can see the jam windows. They are lovely with afternoon tea or a cup of coffee after a holiday dinner. Mix up the window shapes with hearts, stars and circles so the plate looks playful and festive.
Ingredients
1 cup unsalted butter, softened
2/3 cup granulated sugar
1 large egg
1 teaspoon vanilla extract
1/2 teaspoon lemon zest
2 1/4 cups all purpose flour
1 cup almond flour
1/2 teaspoon ground cinnamon
1/2 teaspoon salt
2/3 cup seedless raspberry jam
1/3 cup powdered sugar for dusting
Thin dough warms quickly, so slide the rolled sheet into the refrigerator for 10 minutes before you cut the shapes. Lift the small window pieces out with the tip of a knife and bake them as tiny bonus cookies. Fill them only a few hours before serving, because the jam slowly softens the cookies as they sit.
Instructions
Cream the butter with the sugar on medium for about 2 minutes, until fluffy. Add the egg, the lemon zest and the vanilla and beat until combined.
In another bowl, combine both flours with the salt and cinnamon, then add them to the butter mixture on low and mix until a soft dough forms. Split it in two, flatten each piece into a disk, wrap and refrigerate for 1 hour.
Preheat the oven to 350F and line your baking sheets with parchment. Working with one disk at a time, roll the dough between sheets of parchment until it is 1/8 inch thick.
Stamp out rounds or scalloped shapes 2 1/2 inches across. On half of them, use a tiny heart or star cutter to remove a little window from the middle.
Bake for 9 to 11 minutes, until they are barely golden around the rims. Keep a close eye on the cookies with windows, as they finish a little sooner. Let them cool completely on a rack.
Sift a thick layer of powdered sugar over the cookies that have windows.
Spread roughly 1 teaspoon of jam over each whole cookie and set a sugared window cookie on top, pressing lightly so the jam peeks through. Let them stand for 1 hour so the filling firms a bit.
On any cookie tray, these look like the most elegant choice, and they always draw compliments. They ask for a bit of patience, but no single step is hard.
Fill them the same day you serve or give them away. Once filled they slowly soften over the next day or so, and some folks actually prefer them that way.
15) Peanut Butter Buckeyes
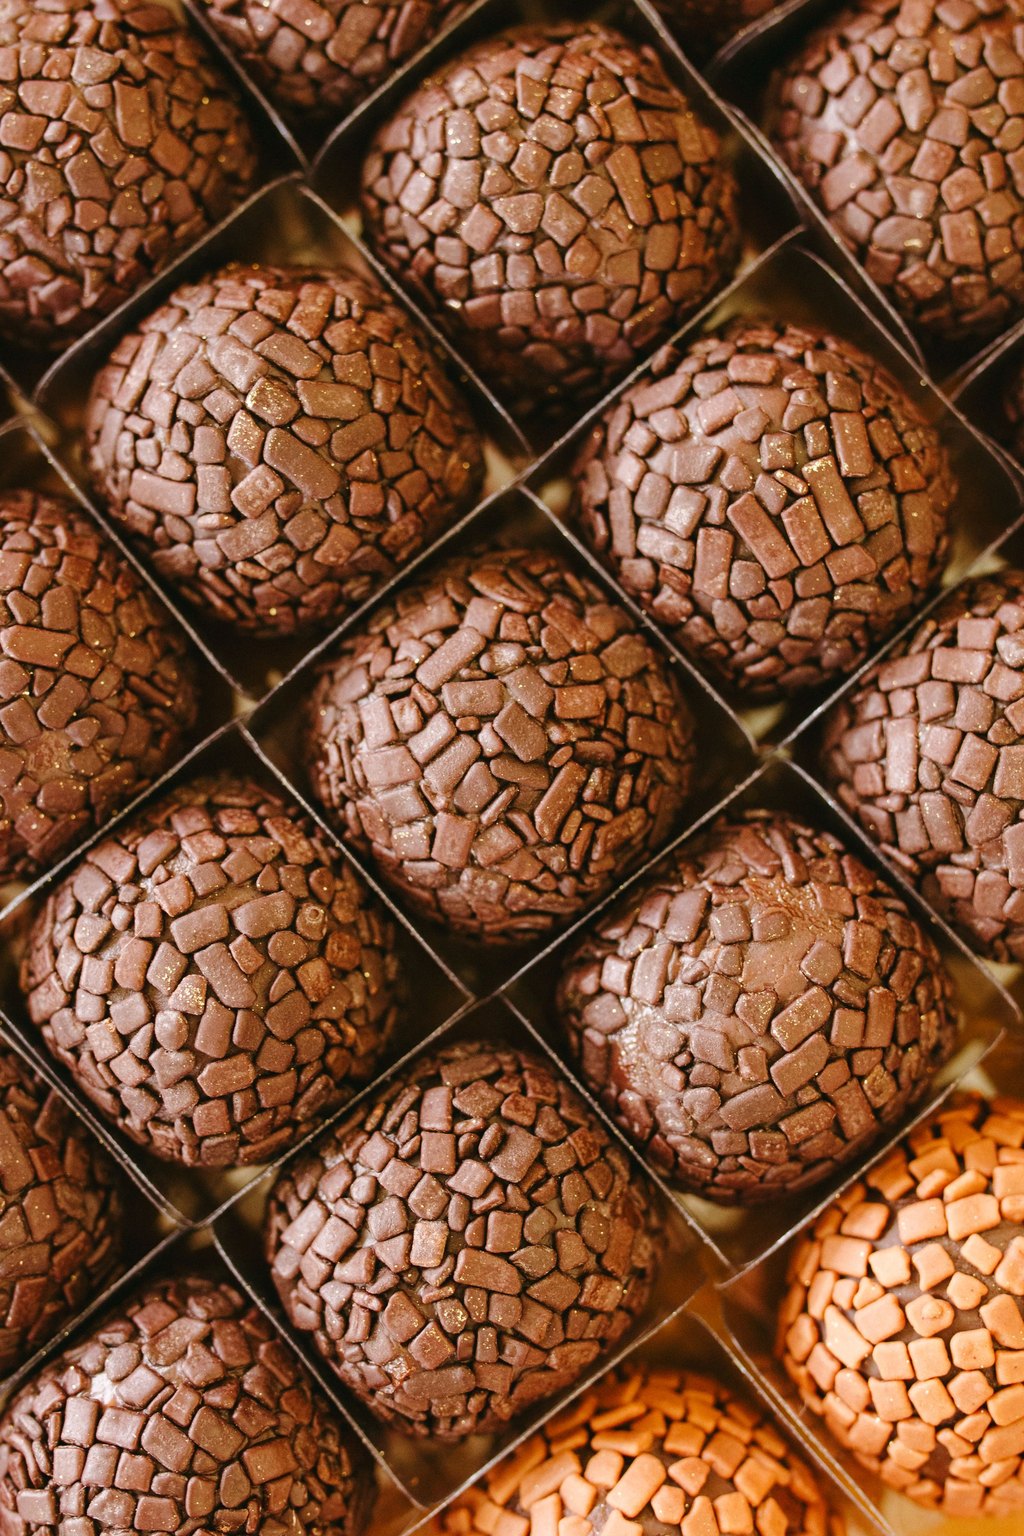
15) Peanut Butter Buckeyes
These little candies are creamy balls of peanut butter dunked in chocolate, with a round spot left bare on top. The finished look mimics the shiny brown nut of the buckeye tree, and that is where the name comes from. Each one tastes like a fudgy homemade version of a peanut butter cup.
Buckeyes look so tidy lined up in little paper candy cups on a tray or packed into a gift box. They are rich, so one or two is plenty alongside a cup of coffee after dinner. Peanut butter lovers in our family always ask for them, and they are a must at our holiday open house.
Ingredients
1 1/2 cups creamy peanut butter
1/2 cup unsalted butter, softened
1 teaspoon vanilla extract
1/4 teaspoon salt
4 cups powdered sugar
12 ounces semisweet chocolate chips
2 teaspoons coconut oil
Toothpicks for dipping
Parchment paper for the pans
Mini paper candy cups
Warm the chocolate for another 15 seconds and stir if it starts to thicken while you dip. Work with a few balls at a time and keep the rest in the freezer, because cold dough holds onto the toothpick much better. Keep finished buckeyes in a covered container in the refrigerator, and they will last about two weeks.
Instructions
Cover two sheet pans with parchment paper.
In a mixer on medium speed, beat the peanut butter with the butter, salt and vanilla until creamy.
Lower the speed and add the powdered sugar one cup at a time, mixing until the dough is thick and holds together when you squeeze a bit in your hand. If it still feels sticky, work in a little extra sugar.
Roll the dough into balls about 1 inch across and line them up on the pans. Push a toothpick into the top of each one and freeze for 30 minutes, until firm.
Put the chocolate chips and coconut oil in a microwave safe bowl and heat in 30 second rounds, stirring between each, until smooth.
Holding a ball by its toothpick, dip it in the chocolate but leave a small circle of peanut butter bare at the top. Let the extra chocolate drip away, then set it back on the parchment.
Pull out the toothpicks and smooth over the little holes with your fingertip. Refrigerate for about 15 minutes, until the chocolate sets, then nestle each one in a paper candy cup.
At every holiday get together, this is the no bake treat people gather around. Making them is a fun assembly line job for the older grandkids.
They keep for 2 weeks in a sealed container in the refrigerator, and for 3 months in the freezer. They taste best served a little cold.
16) No Bake Cornflake Wreaths

16) No Bake Cornflake Wreaths
These no bake wreaths are made much like crispy rice treats, with cereal stirred into melted marshmallow. Bright green color and tiny red cinnamon candies turn each one into a cheerful little holiday wreath. They are chewy, sweet and crunchy all at once, and the whole batch takes only about 15 minutes.
Grandkids love pressing on the little red candies themselves, so I make these a family project. I set them on a white platter or slip each one into a cellophane bag tied with ribbon. They add a bright pop of color to a cookie tray and are perfect for school or church parties.
Ingredients
1/2 cup unsalted butter
1 bag mini marshmallows, 10 ounces
1 teaspoon vanilla extract
1 1/2 teaspoons green gel food coloring
6 cups cornflake cereal
1/4 cup red cinnamon candies
Cooking spray
Wax paper for the counter
1/4 teaspoon salt
2 tablespoons holiday sprinkles
Keep the heat low while the marshmallows melt, because high heat makes them tough and the wreaths turn hard. A greased ice cream scoop makes portioning much faster before the mixture sets. If it firms up before you finish shaping, warm the pot over low heat for a few seconds to loosen it.
Instructions
Spread a long piece of wax paper across the counter and mist it lightly with cooking spray. Give your hands a spritz too, or slip on disposable gloves and spray those.
In a large pot over low heat, melt the butter. Add the marshmallows and stir without stopping for about 5 minutes, until they are completely melted and smooth.
Take the pot off the heat and stir in the green coloring, salt and vanilla until the color is bright and even.
Add the cornflakes and fold them in carefully with a greased spatula until all of the cereal turns green.
While the mixture is still warm, work fast and drop portions of about 1/3 cup onto the wax paper. Using greased fingers, form each mound into a ring roughly 3 inches wide with an open center.
Press 3 or 4 red cinnamon candies onto each wreath to look like berries and finish with a few sprinkles.
Leave them on the counter for at least 30 minutes, until set. Peel them off the paper and store them in one layer in a sealed container for up to 3 days.
The grandkids get more excited about these than anything else because they get to shape them by hand. They add a bright pop of green to any cookie tray.
If the mixture stiffens before you finish, put the pot back on a low burner for 30 seconds to loosen it. Make them a day or two before serving for the best chew.
Before You Start Cooking
Nearly every cookie here freezes well, so try baking one or two kinds a week once December begins. Layer baked cookies in sealed tins with a sheet of parchment between each row and let them thaw on the counter. Save the icing, jam and powdered sugar for after thawing so they look freshly made.
I hope this list fills your house with warm, sugary smells and your table with happy faces. Tuck a few away for yourself and enjoy them with hot cocoa once the dishes are done. From our home to yours, Merry Christmas and happy baking.
Frequently Asked Questions
How early can I start my Christmas baking?
Drop cookies, shortbread and snowballs keep in an airtight tin on the counter for 1 to 2 weeks. If you want to work further ahead, freeze baked cookies or raw dough for as long as 3 months, baking whenever you like. Iced cutouts and jam filled sandwich cookies look their best when finished within a few days of serving.
Why do my rolled cookies lose their shape while baking?
Spreading usually happens when the dough is warm, the butter was too soft or there was extra leavening in the mix. Chill the dough for a full hour, and if your kitchen runs warm, give the cut shapes another 10 minutes in the refrigerator before baking. Spooning flour into the measuring cup instead of scooping helps too.
Which cookies work best for a cookie swap?
Choose hearty cookies that pack well and keep for a good few days. Snickerdoodles, shortbread, blossoms, snowballs and chocolate crinkles all survive tins and boxes without trouble. Keep delicate Linzers and heavily iced cutouts for gifts you hand over in person, and bag each variety separately so the flavors do not mingle.