16 Thanksgiving Recipes You Can Make Ahead
Sixteen Thanksgiving dishes you can get done one to three days early, including gravy, stuffing, rolls, creamy sides and two pies, so the holiday itself feels calm.
After years of hosting a table that grows every November, I have learned that a peaceful Thanksgiving comes down to timing. Every recipe here can be made one to three days early, from a couple of appetizers and the creamy sides to gravy, soft rolls and two pies. By Thursday morning, my only real job is the turkey and a little reheating. Before the week starts, I tape a list to the fridge with a column for each day showing what I cook, what I chill and when each dish goes in the oven.
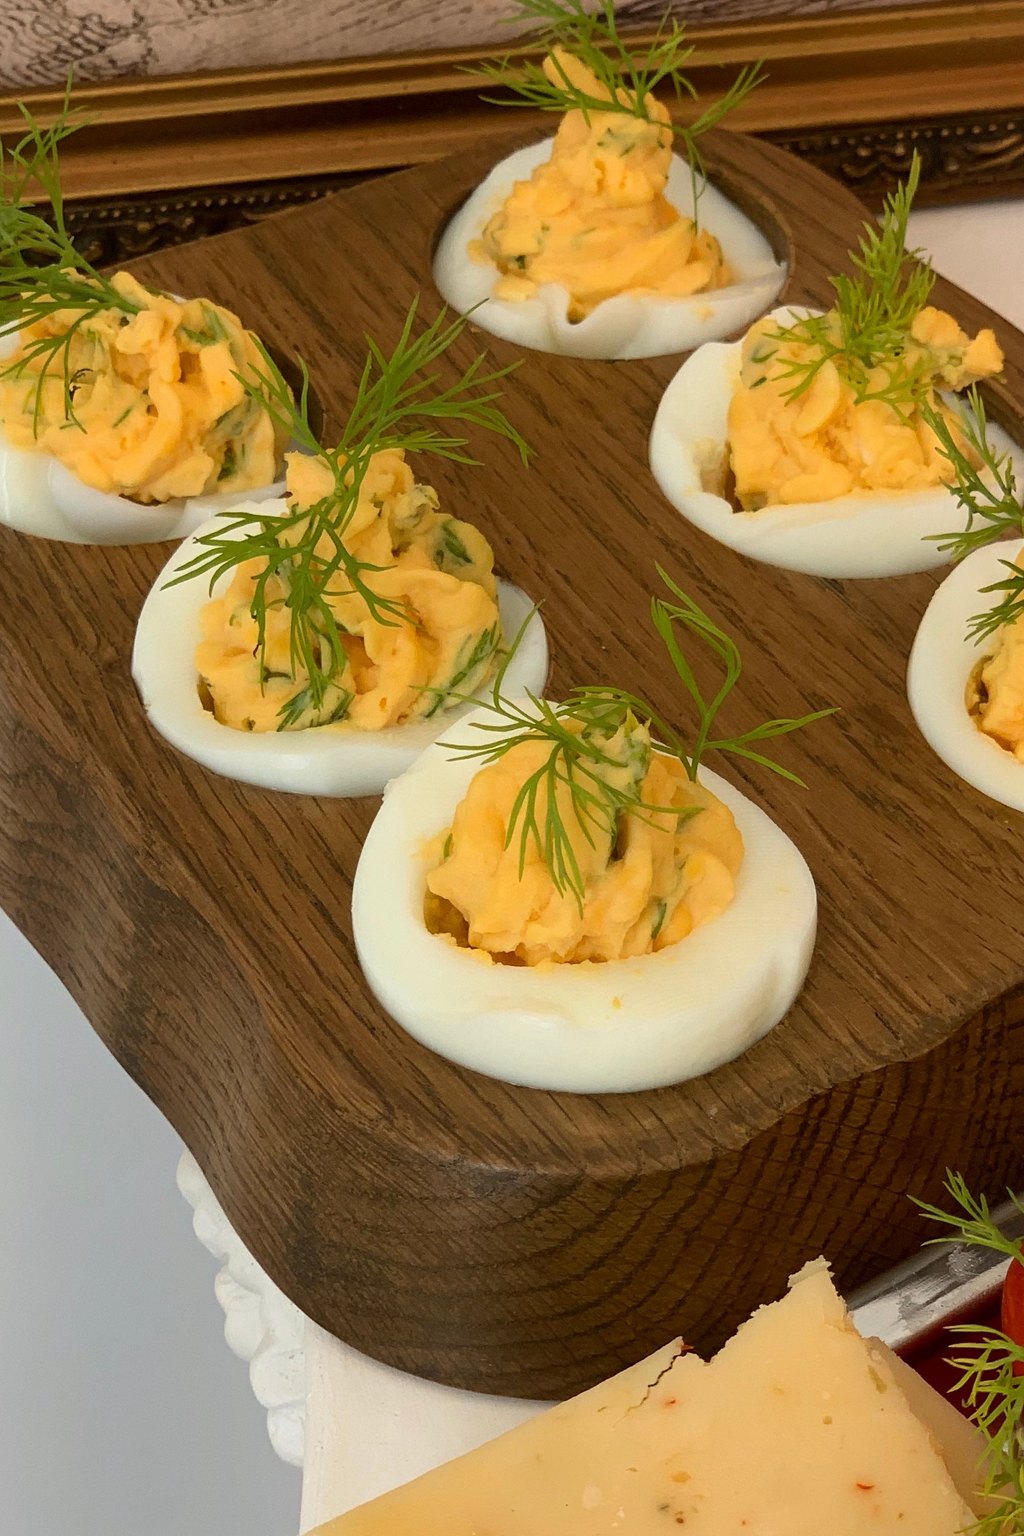
1) Classic Deviled Eggs
1) Classic Deviled Eggs
These are the creamy, tangy deviled eggs everybody reaches for first, with a smooth yolk filling seasoned with two mustards and a bit of sweet relish. Letting the eggs sit in hot water instead of boiling hard gives tender whites and bright yellow yolks with no gray edges. A dusting of paprika and some chives makes them look party ready.
I like to set these out on a platter lined with lettuce leaves the moment guests walk in, since they disappear long before the turkey is carved. A little bowl of olives and pickles alongside makes a simple relish tray that feels old fashioned in the best way. The grandkids love helping with the garnish, so I let them do the final sprinkle.
Ingredients
12 large eggs
1/2 cup mayonnaise
2 teaspoons yellow mustard
1 teaspoon Dijon mustard
1 teaspoon white vinegar
2 tablespoons sweet pickle relish
1/4 teaspoon kosher salt
1/8 teaspoon black pepper
1/8 teaspoon garlic powder
Paprika, for garnish
Chopped fresh chives, for garnish
Eggs that are a week or so old peel far more cleanly than very fresh ones, so I buy my dozen several days before the holiday. You can boil, peel and mix everything a full day ahead if you keep the whites and the filling in separate covered containers in the fridge. Fill them about an hour before guests arrive and they will look freshly made.
Instructions
Lay the eggs in one layer in a big saucepan and pour in cold water until it sits an inch above them. Set the pan over high heat and bring it to a boil.
The moment it boils, switch off the burner, put the lid on and leave the eggs alone for 12 minutes.
Move the eggs into a big bowl of ice water and let them chill for 10 minutes. The cold bath halts the cooking, keeps the yolks from turning gray around the edges and helps the shells slip off.
Tap the eggs gently and peel them under cool running water. Cut each one in half from end to end and pop the yolks out into a medium bowl.
Use a fork to break the yolks into fine crumbs. Add the mayonnaise, vinegar, relish, both mustards, garlic powder, salt and pepper and stir until the filling is smooth and creamy.
Spoon or pipe the filling back into the whites. If you do not own a piping bag, fill a zip top bag and snip off one corner.
Right before serving, sprinkle the eggs with paprika and chives. Keep them in the fridge until it is time to eat.
No matter how much food I put out, a platter of deviled eggs is always the first thing to empty. They also keep my hungry brothers out of the kitchen while the turkey finishes.
Cook and peel the eggs and mix the filling up to two days ahead, storing them separately. Fill the whites the morning of so they look fresh.
2) Hot Spinach Artichoke Dip
2) Hot Spinach Artichoke Dip
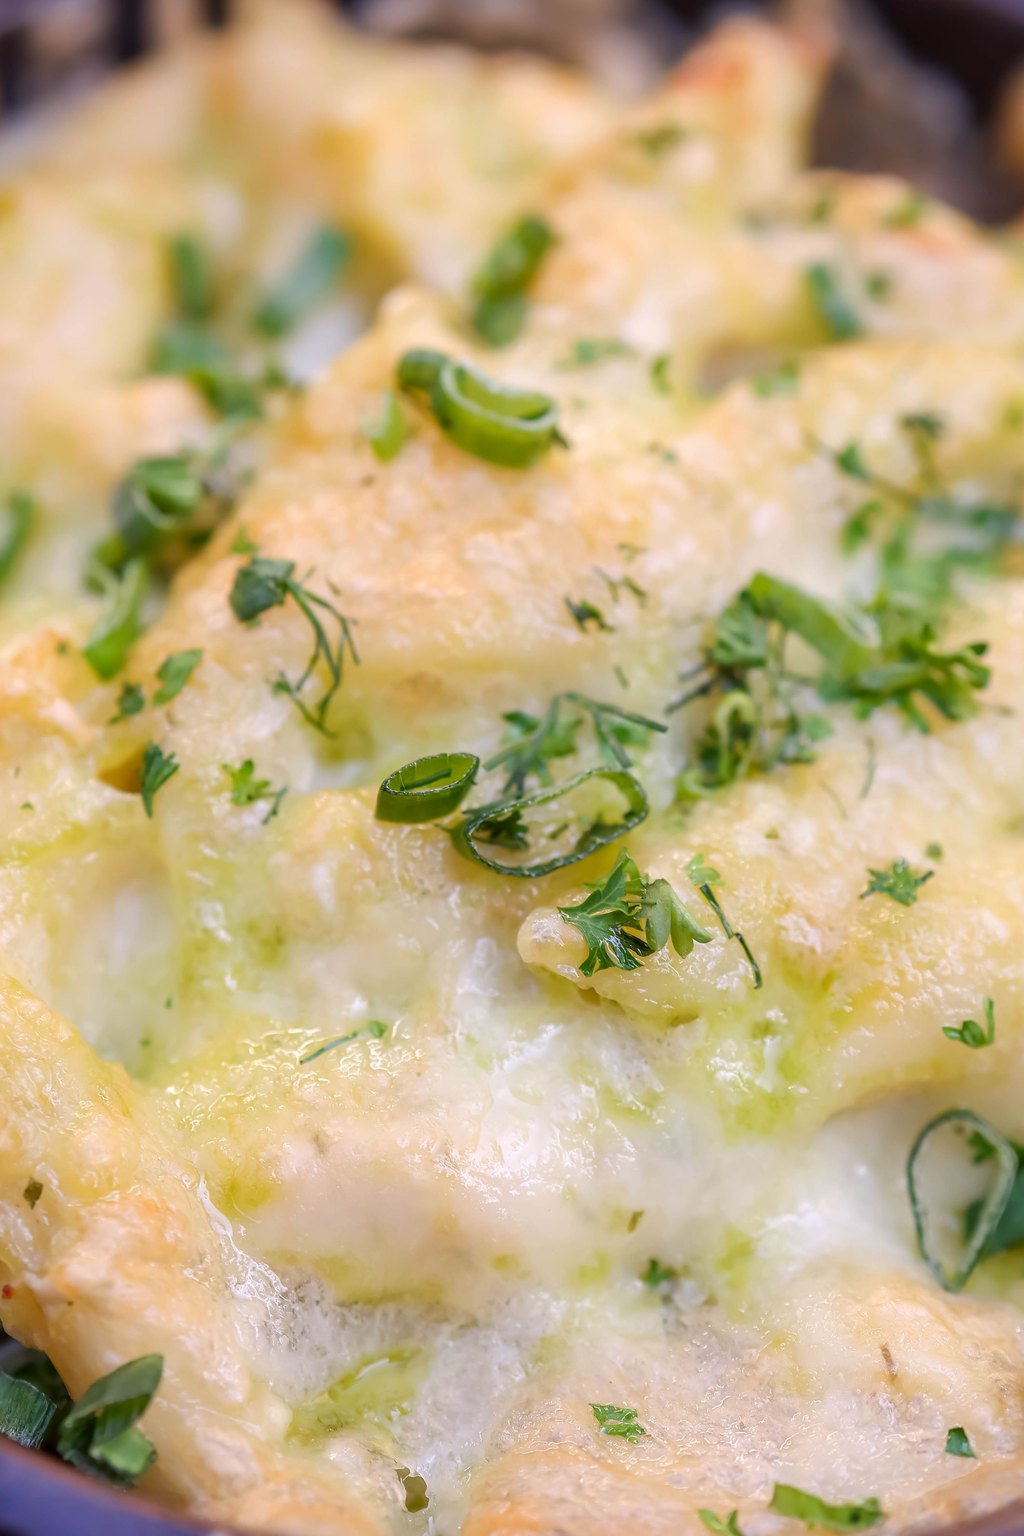
This warm, cheesy dip is loaded with spinach and chopped artichoke hearts in a creamy base of cream cheese, sour cream and two kinds of cheese. A small pinch of red pepper flakes adds just enough heat to keep people coming back. It bakes until golden and bubbling and is perfect for scooping with toasted bread.
Set the hot dish on a wooden board surrounded by toasted baguette, sturdy crackers and crisp celery and carrot sticks. It keeps the early arrivals happy while the turkey rests and the kitchen gets busy. When Tom and I have a little left over, we spoon it onto baked potatoes the next day for an easy lunch.
Ingredients
8 ounces cream cheese, softened
1/2 cup sour cream
1/4 cup mayonnaise
2 cloves garlic, minced
1 (10 ounce) package frozen chopped spinach, thawed and squeezed dry
1 (14 ounce) can artichoke hearts, drained and chopped
1 cup shredded mozzarella cheese, divided
1/2 cup grated Parmesan cheese
1/4 teaspoon crushed red pepper flakes
1/2 teaspoon kosher salt
1/4 teaspoon black pepper
Toasted baguette slices or crackers, for serving
Assemble the whole dip the night before, cover it and keep it chilled, then plan on about 10 extra minutes in the oven since it starts cold. Check that the center is truly hot by sliding a knife into the middle and feeling the blade. For just Tom and me, I split it between two small baking dishes and freeze one unbaked for another night.
Instructions
Preheat to 375F. Butter a shallow dish that holds about 1 1/2 quarts. A 9 inch pie plate works too.
Pile the thawed spinach in the middle of a clean dish towel, gather up the corners and wring it out hard over the sink. Get out every drop you can, because leftover water will make the dip soupy.
Put the garlic, mayonnaise, sour cream and softened cream cheese in a big bowl and mash them together with a spatula until smooth.
Add the spinach, chopped artichokes, Parmesan, 3/4 cup of the mozzarella, the red pepper flakes, salt and pepper and stir until well mixed.
Spread the dip into the prepared dish and top it with the rest of the mozzarella.
Bake 20 to 25 minutes. You want it piping hot with bubbles around the rim and the cheese melted and turning light golden. For a browner top, run it under the broiler for a minute or two, and do not walk away.
Give it about 5 minutes to cool a little, since it comes out scorching. Serve with toasted baguette, crackers or fresh vegetables.
This dip is how I keep everyone out of my kitchen while I finish the gravy. I set it in the living room with a basket of crackers and the whole crowd follows it.
Mix the dip, spread it in the dish and refrigerate it covered for up to two days. Add about 10 minutes to the baking time if it goes in cold.
3) Make Ahead Turkey Gravy
3) Make Ahead Turkey Gravy
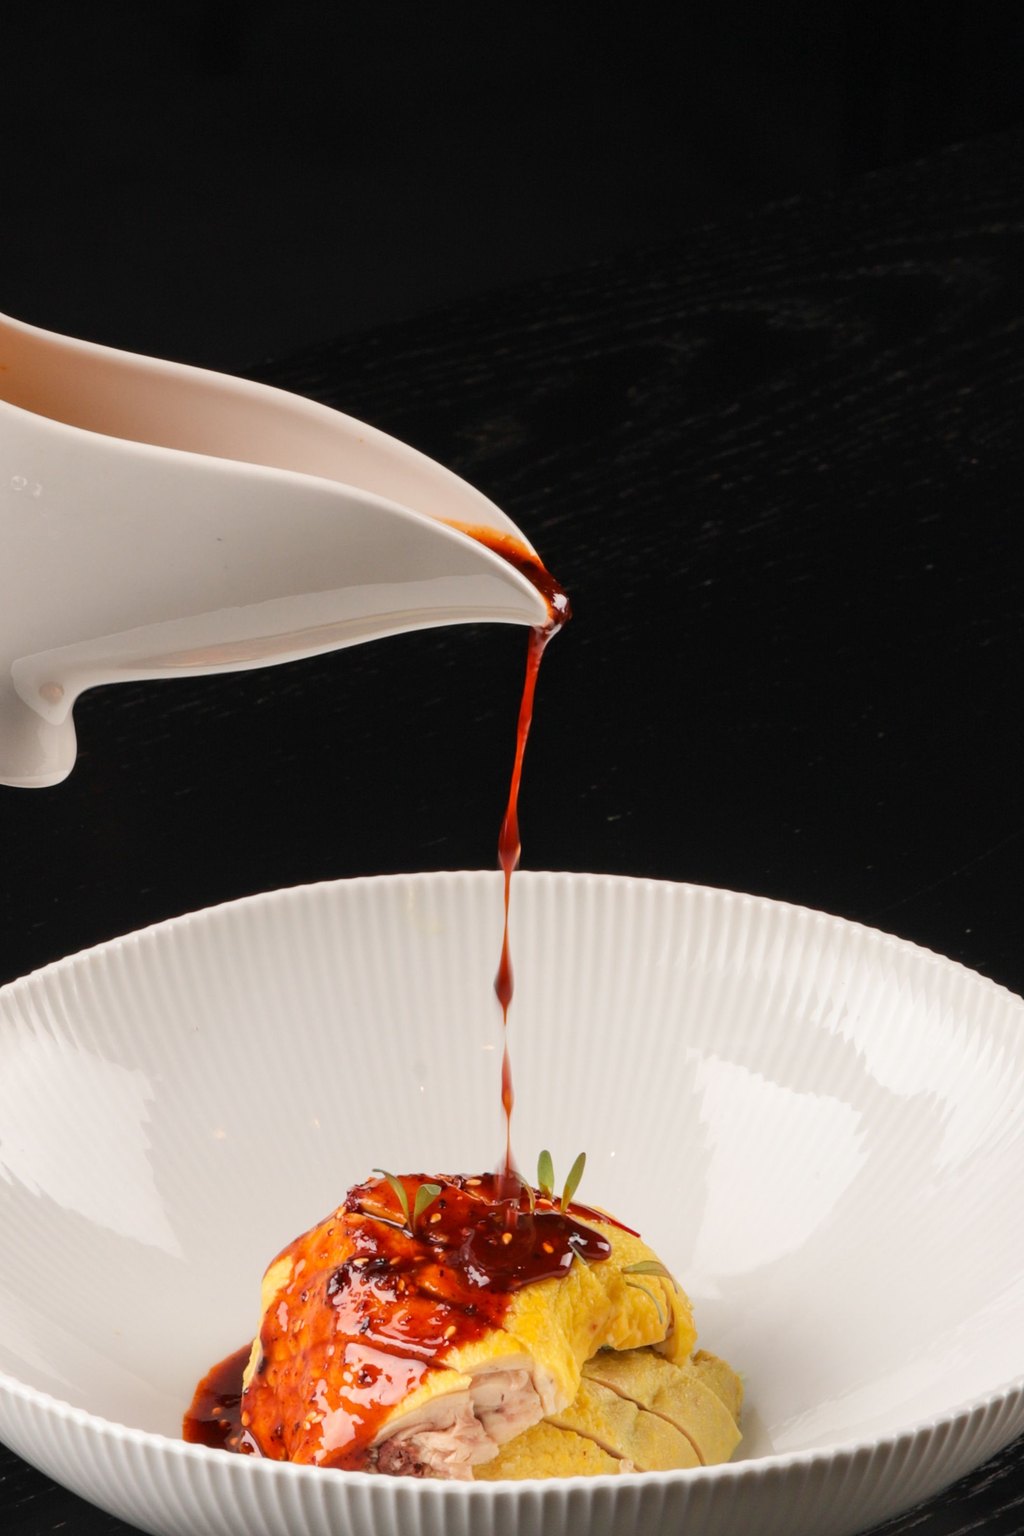
This rich, savory gravy starts with a homemade stock simmered from oven browned turkey wings and vegetables. A deep golden roux thickens it to a silky finish without any lumps. Since it is made days ahead, all you need to do on Thanksgiving is reheat it and whisk in a few pan drippings for a fresh roasted flavor.
Pour the warm gravy into a gravy boat or a small pitcher so people can cover their turkey, potatoes and stuffing however they like. I always keep a second pitcher warming on the stove, because the first one never lasts through the meal. Leftover gravy is wonderful the next morning spooned over split biscuits with a fried egg on top.
Ingredients
3 pounds turkey wings or drumsticks
1 medium yellow onion, quartered
2 medium carrots, cut into chunks
2 stalks celery, cut into chunks
1 tablespoon olive oil
8 cups low sodium chicken broth
4 sprigs fresh thyme
1 bay leaf
6 tablespoons unsalted butter
1/2 cup all purpose flour
1 teaspoon kosher salt
1/2 teaspoon black pepper
Chill the strained stock overnight before you make the roux, because the fat rises and hardens into a lid you can simply lift off. Save a few tablespoons of that fat and use it in place of some of the butter for an even richer gravy. Gravy thickens a lot in the fridge, so keep a little extra broth handy to loosen it as it warms.
Instructions
Preheat to 425F. Pile the wings and the chunks of celery, carrot and onion on a rimmed sheet pan, drizzle the oil over them and toss. Roast for 1 hour, flipping everything once, until the wings are a deep golden brown.
Transfer it all to a big pot. Splash a cup of broth across the hot pan and scrape loose all the browned bits, then add that liquid to the pot as well. Add the rest of the broth with the thyme sprigs and bay leaf.
Bring it to a boil, turn the heat down and let it simmer with the lid off for 1 1/2 hours. Pour the stock through a strainer and toss out the solids. You should end up with about 6 cups. Spoon off the fat from the surface.
In a big saucepan over medium heat, melt the butter. Whisk in the flour and keep whisking. In 3 to 4 minutes it will smell toasty and turn the color of light peanut butter.
Ladle in the hot stock one cupful after another, whisking smooth before the next goes in. Let it bubble gently for 10 minutes, whisking often, until it clings to a spoon. Add the salt and pepper.
Let it cool, then refrigerate for as long as 3 days. Warm it gently on the stove on Thanksgiving and whisk in a few spoonfuls of drippings from the roasting pan for extra flavor.
Making gravy at the last second with a crowd watching used to rattle me more than anything else all day. Now it is finished days early and I just warm it up, which feels like a small holiday miracle.
The gravy freezes well for up to three months. Thaw it in the fridge overnight and whisk it well as it heats, since it may look separated at first.
4) Sausage Herb Stuffing
4) Sausage Herb Stuffing
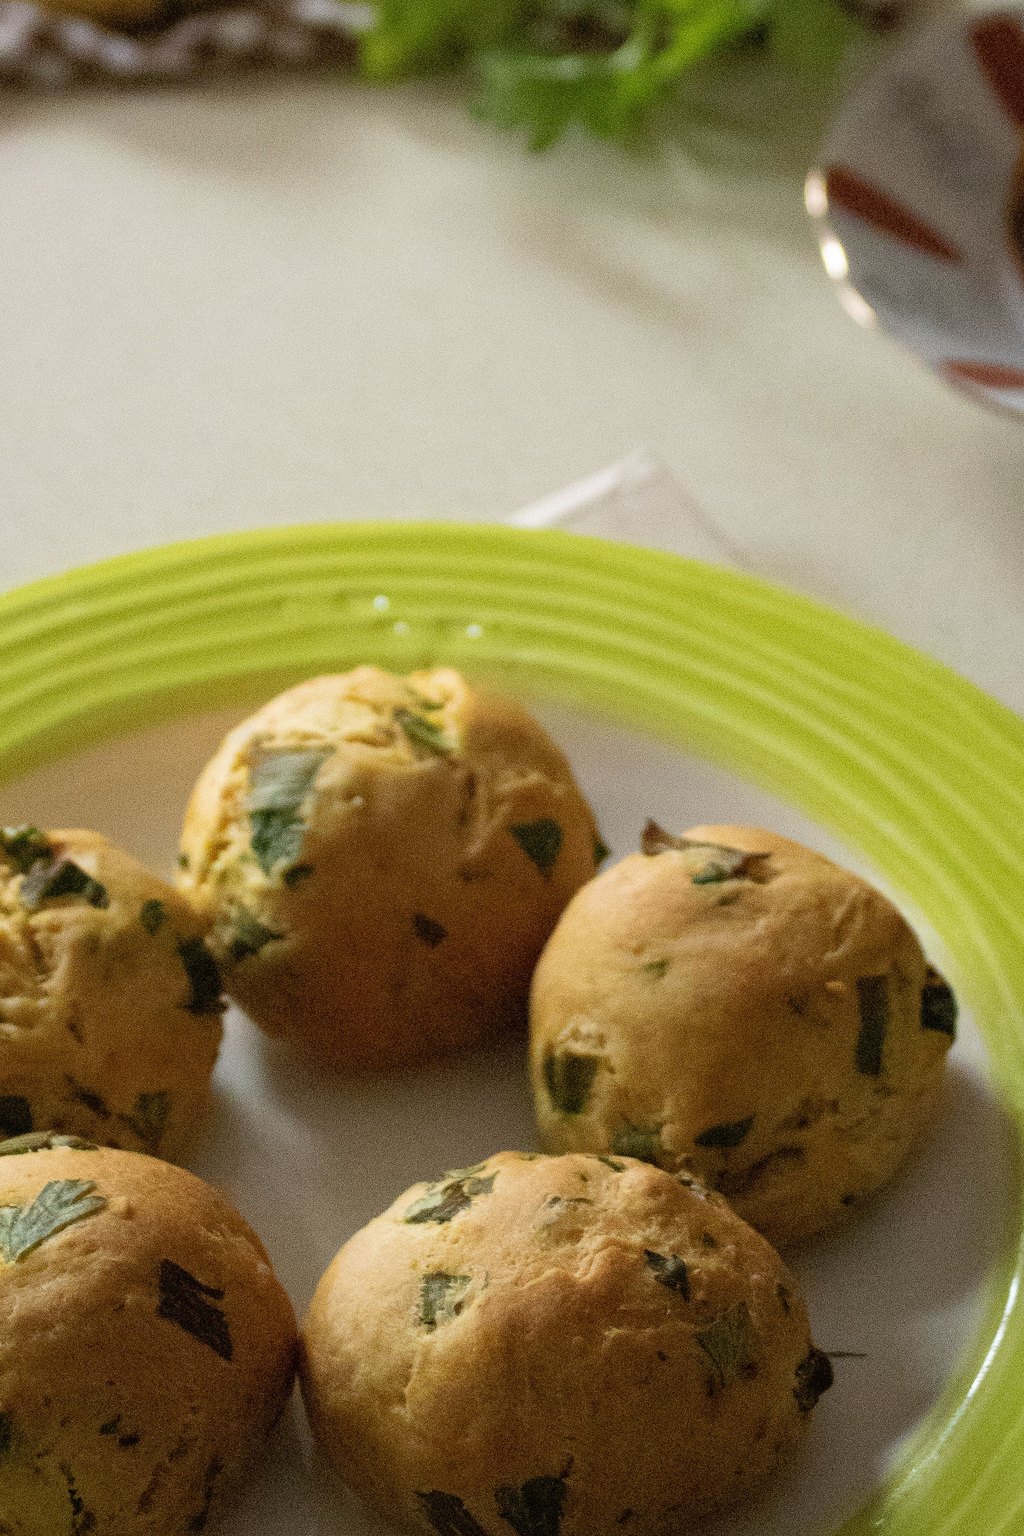
This classic stuffing combines toasted bread cubes with browned sausage, soft onion and celery, and plenty of fresh sage and thyme. Drying the bread in the oven first helps it soak up the broth without getting soggy. It bakes up with a crisp, golden top and a moist, savory center.
Stuffing earns its own spot right next to the turkey, and I serve it straight from the baking dish with a big spoon so the crispy corners go fast. Spoon a little warm gravy over each helping for the classic holiday plate. My son always asks for the leftovers pressed into a hot waffle iron the next day, which makes a fun Friday breakfast.
Ingredients
1 (1 pound) loaf sturdy white or French bread, cut into 3/4 inch cubes
1 pound bulk breakfast sausage
6 tablespoons unsalted butter
1 large yellow onion, diced
3 stalks celery, diced
3 cloves garlic, minced
2 tablespoons chopped fresh sage
1 tablespoon chopped fresh thyme
1/4 cup chopped fresh parsley
1 teaspoon kosher salt
1/2 teaspoon black pepper
2 large eggs
2 1/2 cups low sodium chicken broth
Day old bakery bread dries faster and holds its shape better than soft sandwich bread, which tends to turn to paste. You can toast the cubes up to 3 days ahead and keep them in a paper bag on the counter. If you assemble the whole dish the night before, plan on extra time under the foil and go by the 165F reading in the center rather than the clock.
Instructions
Preheat to 300F. Spread the bread cubes over two sheet pans and bake 25 to 30 minutes, stirring them once, until they are dry and crunchy but still pale. Let them cool, then turn the oven up to 375F.
Cook the sausage in a big skillet over fairly high heat, breaking it up as it browns, for about 8 minutes, until it reads 160F. Scoop it into your biggest mixing bowl with a slotted spoon.
Melt the butter in that same skillet. Soften the onion and celery for 8 minutes. Add the garlic, thyme and sage and stir for a minute.
Tip the cooked vegetables into the sausage bowl, then add the dried bread, parsley, salt and pepper and toss everything together.
In a separate bowl, whisk the eggs into the broth. Pour it over the bread mixture and toss gently until all the bread is evenly damp.
Spread the stuffing into a buttered 9×13 inch dish. Cover it with foil and bake for 25 minutes. Take off the foil and bake another 15 to 20 minutes, until the top is crisp and golden and the middle reaches 165F.
Stuffing is the one side my family would stage a protest over if I left it out. This is the version I grew up eating, and those crispy corner pieces get claimed before grace is over.
Put the whole dish together the day before, cover tightly and refrigerate. Add 10 to 15 minutes to the covered baking time.
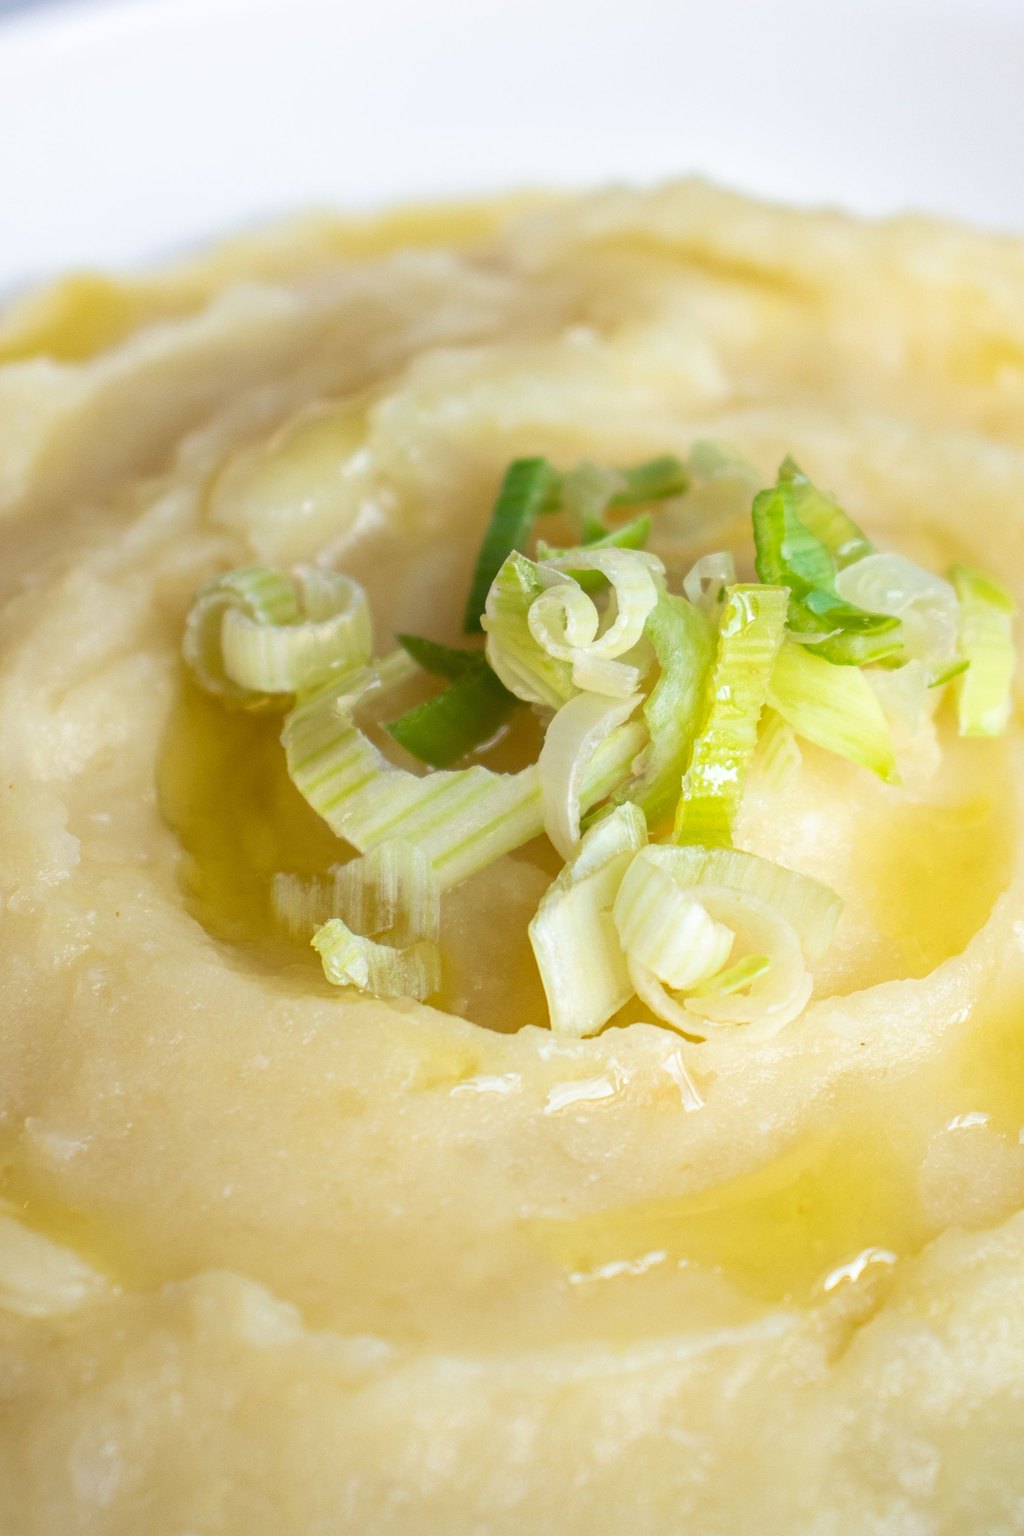
5) Make Ahead Mashed Potatoes
5) Make Ahead Mashed Potatoes
These creamy mashed potatoes are rich with cream cheese, sour cream and butter, which keeps them soft and fluffy even after a few days in the fridge. Buttery Yukon Golds give the best flavor and texture. They reheat in the oven right alongside the stuffing, freeing up your stovetop on the big day.
Make a little well in the top of each scoop for a pool of gravy, which is how my kids have eaten them since they were small. These belong on the table with the turkey, stuffing and green beans, but they are just as good beside a weeknight meatloaf. Leftovers make wonderful crispy potato cakes, so I always hope a little is left at the end of the night.
Ingredients
5 pounds Yukon Gold potatoes, peeled and cut into 2 inch chunks
1 tablespoon kosher salt, for the water
8 ounces cream cheese, softened
1 cup sour cream
1/2 cup unsalted butter, softened, plus 2 tablespoons for topping
1/2 cup whole milk, warmed
1 1/2 teaspoons kosher salt
1/2 teaspoon black pepper
1/2 teaspoon garlic powder
2 tablespoons chopped fresh chives
Yukon Golds are worth seeking out here because their buttery flesh reheats without going gluey the way some starchy potatoes can. Skip the food processor or electric beaters, which overwork the starch and leave you with paste instead of fluffy mashed potatoes. If the casserole looks a little dry after reheating, stir in a splash of warm milk right before the chives go on.
Instructions
Put the potato chunks into a big pot and add cold water until it covers them by an inch. Stir in 1 tablespoon of salt and bring it to a boil over high heat.
Lower the heat and let them bubble gently for 15 to 20 minutes. A fork should slide right through a chunk.
Drain the potatoes well and put them back in the warm pot. Leave them on a low burner for a minute or two so the extra moisture steams off.
Mash them smooth with a masher or push them through a ricer. Add the cream cheese, sour cream, warm milk, 1/2 cup of the butter, garlic powder, salt and pepper, and stir until creamy and well mixed. Taste and add more salt if you like.
Spread the potatoes into a buttered 9×13 inch dish and dot the top with the last 2 tablespoons of butter. Let them cool, cover them tightly and keep them in the fridge for as long as 3 days.
On serving day, let the dish lose its chill on the counter for half an hour. Bake it with foil on at 350F for 30 minutes, uncover and bake another 15 to 20 minutes, until heated through in the middle. Finish with the chives.
Peeling and mashing a mountain of potatoes on Thanksgiving morning is something I gave up years ago. These bake alongside the stuffing and come out tasting freshly mashed.
If they seem a little stiff after reheating, stir in a splash of warm milk before serving. They will loosen right up.
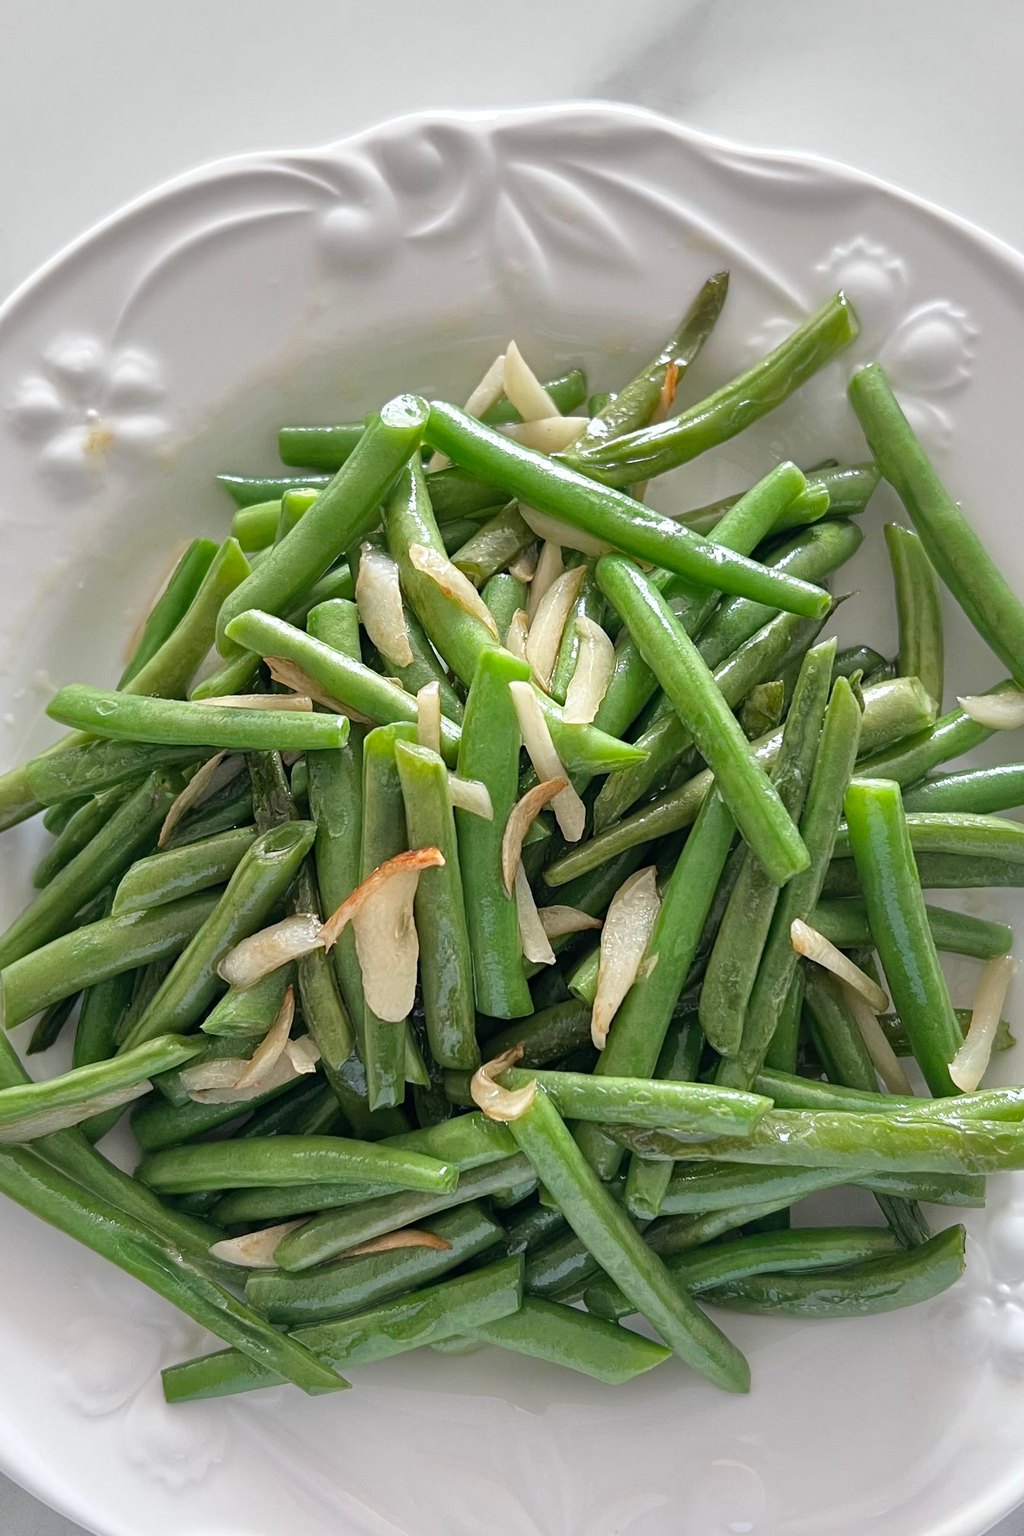
6) Homemade Green Bean Casserole
6) Homemade Green Bean Casserole
This version of the classic casserole uses crisp tender fresh green beans and a creamy mushroom sauce made from scratch. Browning the mushrooms well gives the sauce a deep, savory flavor that a can just cannot match. A thick layer of crispy fried onions on top still gives it that familiar crunch.
Bring this to the table bubbling hot and still in its dish, since that golden onion crust is half the fun. It fills the green vegetable spot on the holiday plate and pairs especially well with turkey and plenty of gravy. If you are heading to a potluck, wrap the dish in a thick towel and it will stay warm for a good half hour.
Ingredients
2 pounds fresh green beans, trimmed and cut into 2 inch pieces
4 tablespoons unsalted butter
8 ounces cremini mushrooms, sliced
1/2 small yellow onion, finely diced
2 cloves garlic, minced
1/4 cup all purpose flour
1 cup low sodium chicken broth
1 cup half and half
1 teaspoon kosher salt
1/2 teaspoon black pepper
1/4 teaspoon ground nutmeg
2 cups crispy fried onions
Pat the blanched beans completely dry on a towel before they meet the sauce, or their water will thin it out as the casserole sits in the fridge. Hold back the fried onions for the top until baking day, because they go soggy fast on a creamy casserole. For two, halve everything and bake it in a 1 quart dish, checking for bubbles a few minutes early.
Instructions
Get a big pot of well salted water boiling hard. Drop in the green beans and give them 4 to 5 minutes, just until they turn vivid green and still snap. Drain them, dunk them in ice water to stop the cooking and drain again.
In a large skillet over fairly high heat, melt the butter. Add the mushrooms and let them cook 6 to 8 minutes, until they brown and the pan is dry again. Add the onion and garlic and cook 2 minutes more.
Sprinkle the flour over the mushrooms and stir for a minute. Gradually whisk in the broth and then the half and half. Keep it at a low bubble for 3 to 5 minutes, stirring, until the sauce clings to a spoon. Season with the nutmeg, salt and pepper.
Fold the green beans and 1/2 cup of the fried onions into the sauce. Scrape it into a 2 quart dish or a 9×13 inch pan.
You can stop here, let it cool, cover it and refrigerate it for up to 2 days.
When you are ready to bake, preheat to 375F. Bake 20 minutes, or 30 to 35 minutes straight from the fridge, until bubbling. Top with the rest of the fried onions and bake 5 more minutes, until golden.
I still have a soft spot for the classic, but this from scratch sauce is a real upgrade for very little extra work. My father says it is the best he has ever had, and he has eaten a lot of green bean casserole.
Save the final layer of fried onions until right before baking. If they sit on the casserole overnight, they lose their crunch.
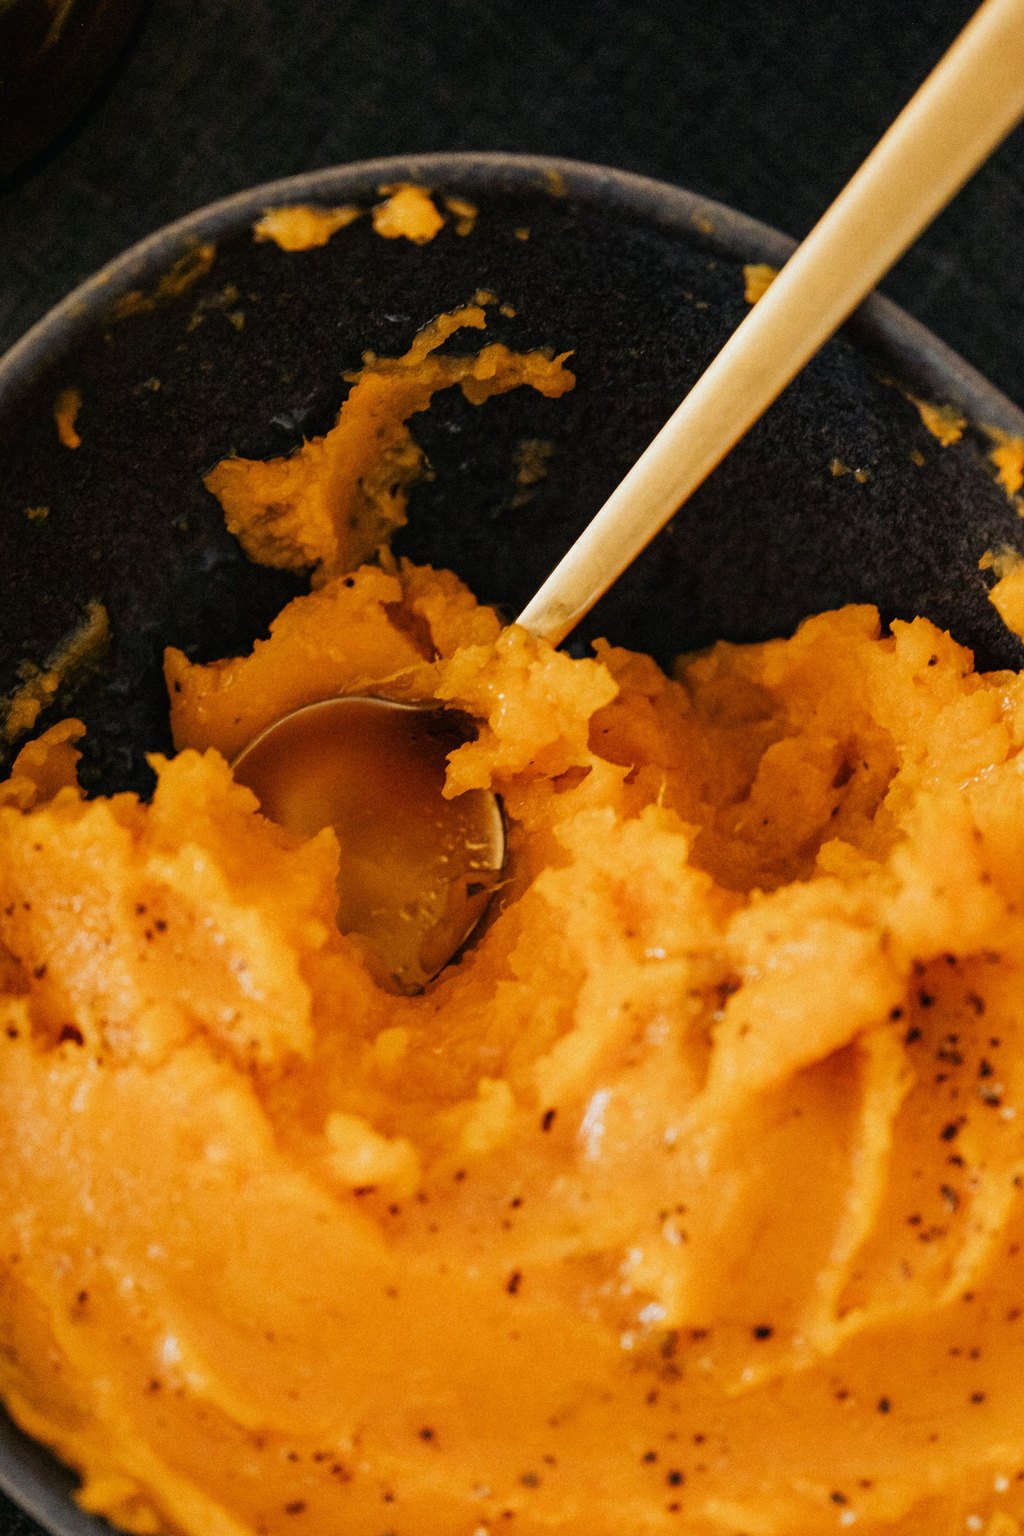
7) Sweet Potato Casserole with Pecan Topping
7) Sweet Potato Casserole with Pecan Topping
This sweet potato casserole has a smooth, lightly sweet filling under a crunchy brown sugar and pecan crumble. Baking the sweet potatoes whole in their skins gives a deeper, more caramel flavor than boiling. It can be assembled days ahead and baked on Thanksgiving, which makes it a host’s best friend.
Some families serve this as a side and others call it dessert, and at my house it happily does both. I spoon it next to the turkey and ham so the sweetness balances all the salty, savory dishes. A spoonful of tart cranberry sauce on the same plate keeps things from tasting too rich.
Ingredients
4 pounds sweet potatoes
1/2 cup granulated sugar
1/2 cup unsalted butter, melted
2 large eggs
1/2 cup whole milk
1 teaspoon vanilla extract
1/2 teaspoon salt
For the topping
1 cup packed light brown sugar
1/3 cup all purpose flour
1/3 cup unsalted butter, melted
1 cup chopped pecans
Roasting the sweet potatoes instead of boiling them concentrates their sugar and keeps the filling from turning watery. If you work ahead, store the crumbly pecan topping in its own covered container and scatter it on just before baking so it stays crunchy. A dish straight from the fridge needs those extra 10 to 15 minutes, so make sure the center is hot before you call it done.
Instructions
Preheat to 400F. Poke the sweet potatoes all over with a fork, set them on a sheet pan lined with foil and roast 50 to 60 minutes, until completely soft. Let them cool until you can handle them.
Drop the oven to 350F. Scoop the soft flesh into a big bowl and throw away the skins. Expect roughly 4 cups.
Add the melted butter, sugar, eggs, milk, vanilla and salt, then beat with a hand mixer until fluffy and smooth.
Spread it into a buttered 9×13 inch baking dish.
In a small bowl, mix the brown sugar, flour, melted butter and chopped pecans until crumbly. Sprinkle it evenly over the top.
Bake 30 to 35 minutes, until the topping bubbles and turns golden and the edges are set. If you put it together ahead of time, it keeps in the fridge for 2 days, and needs an additional 10 to 15 minutes in the oven.
This side is sweet enough that my grandkids treat it as a second dessert, and I do not blame them. Our family is split between marshmallow fans and pecan fans, and the pecans usually win.
For the marshmallow crowd, cover half the casserole with mini marshmallows during the last 10 minutes and let everyone choose.
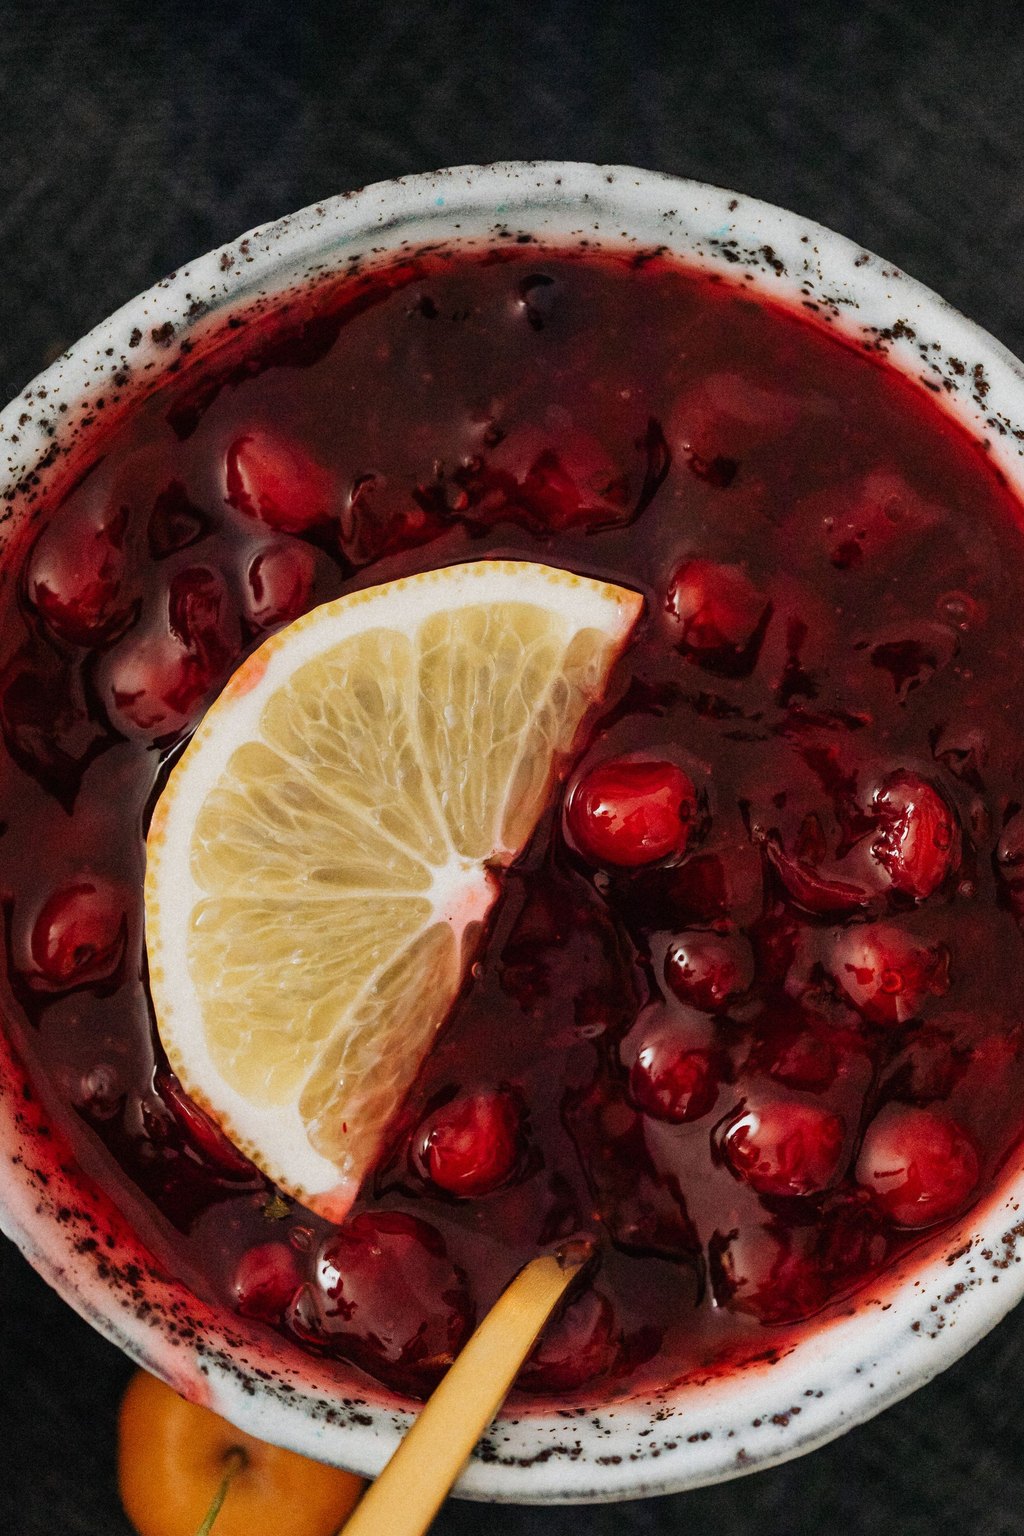
8) Homemade Cranberry Sauce
8) Homemade Cranberry Sauce
This bright, glossy cranberry sauce has the perfect balance of sweet and tart, with a little orange and cinnamon for warmth. It thickens naturally as it cools, so there is no cornstarch or gelatin needed. Making it a few days ahead actually improves the flavor and frees up a burner on the big day.
Spoon it into a pretty glass bowl so that deep ruby color can shine on the holiday table. Beyond turkey, it is lovely on a cheese board with soft brie and crackers, or swirled into plain yogurt for breakfast. My favorite use is the day after, layered into a leftover turkey sandwich with a little stuffing and mayonnaise.
Ingredients
1 (12 ounce) bag fresh or frozen cranberries
3/4 cup granulated sugar
1/4 cup packed light brown sugar
1/2 cup fresh orange juice
1/2 cup water
1 teaspoon finely grated orange zest
1 cinnamon stick
Pinch of salt
1/4 teaspoon vanilla extract
1/4 cup chopped toasted pecans, optional
Resist the urge to keep cooking until the sauce looks thick, or it will set up as firm as jelly once it chills. Frozen berries work just as well as fresh and need no thawing, so I tuck an extra bag in the freezer every November. This sauce actually tastes better after a day or two, which makes it the easiest thing to cross off my list early.
Instructions
Rinse the berries in a colander and pick out stems and any that are soft or wrinkled.
Put both sugars, the orange juice and the water in a medium saucepan. Bring to a boil over fairly high heat and stir until the sugar has dissolved.
Add the berries, cinnamon stick, orange zest and a pinch of salt. Let it come back to a boil, then lower the burner to medium. Cook it at a lively simmer for 10 to 12 minutes, stirring frequently.
You will hear the berries popping as they split open. Once most have burst and the sauce clings to a spoon, take it off the heat. It will still seem a bit runny at this point.
Fish out the cinnamon stick and add the vanilla. Leave it to cool to room temperature, which takes about 1 hour. The natural pectin in the cranberries makes it set up quite a bit as it cools.
Spoon it into a serving bowl, cover and chill for at least 1 hour or as long as a week. If you like some crunch, add the toasted pecans right before it goes to the table.
This is the simplest dish on my whole Thanksgiving menu, yet people are always amazed I make it myself. It takes fifteen minutes and makes the house smell like the holidays.
Leftovers are wonderful spooned over yogurt, stirred into oatmeal or spread on a turkey sandwich the next day.
9) Baked Macaroni and Cheese
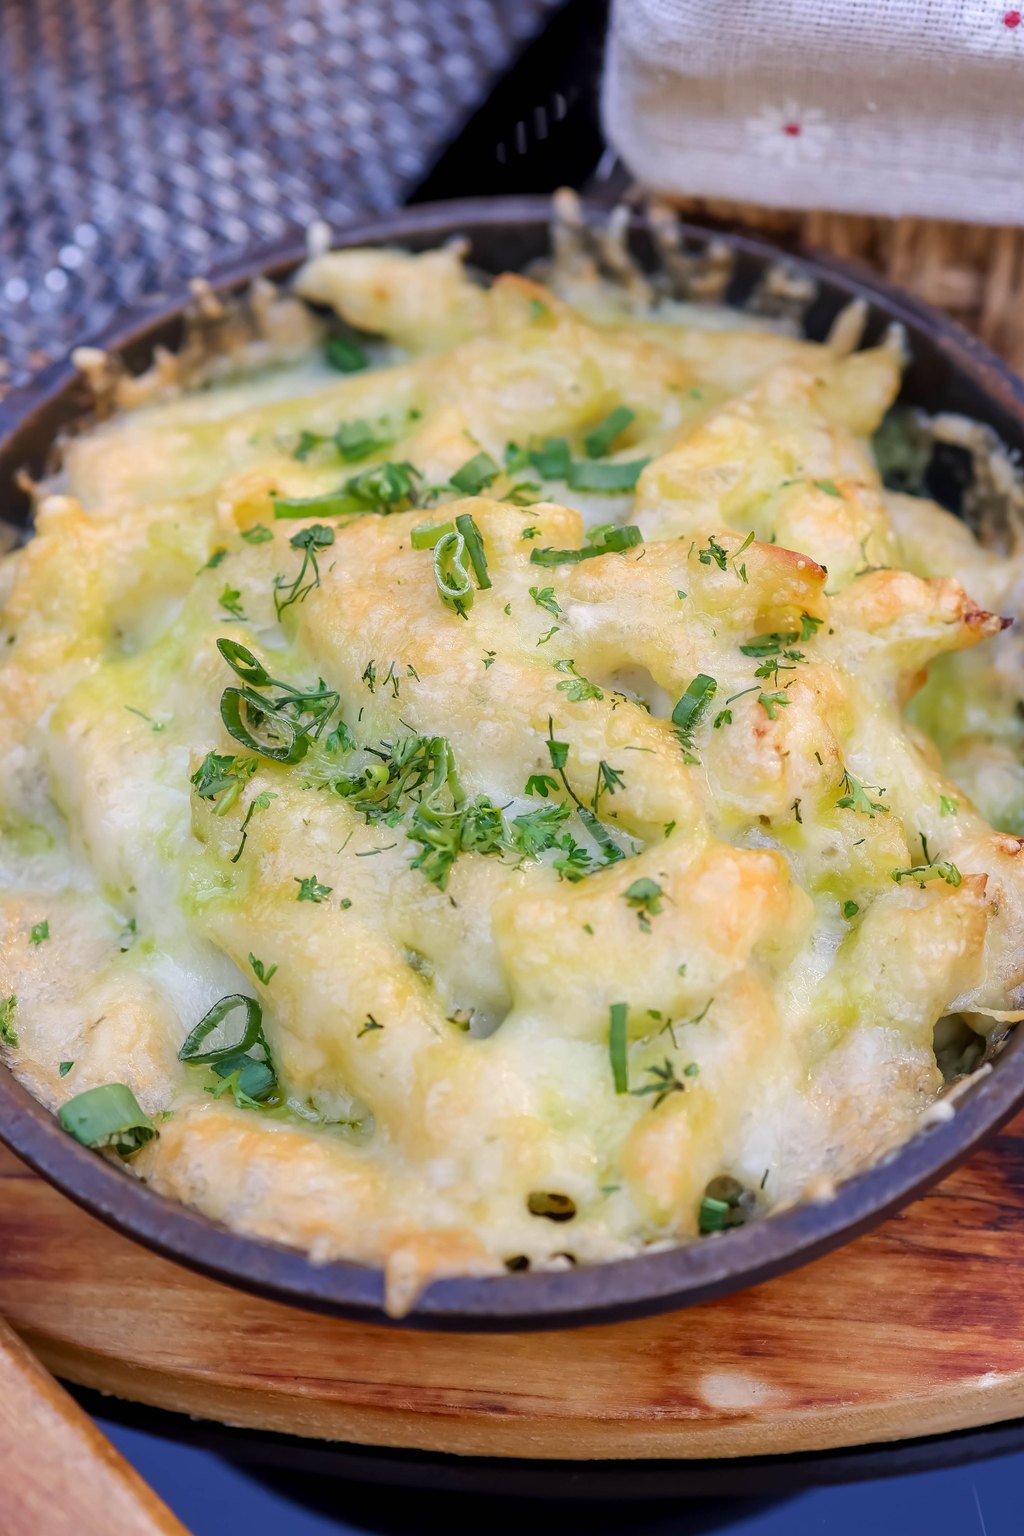
9) Baked Macaroni and Cheese
This baked mac and cheese has a silky, sharp cheddar and Gruyere sauce and a crisp, buttery panko topping. Cooking the pasta just short of done keeps it from going mushy in the oven. A bit of dry mustard and smoked paprika brings out the cheese flavor without stealing the show.
Kids and grownups alike fill their plates with this, so I make sure it sits at the front of the buffet line. It is rich enough that a small scoop goes a long way next to turkey or a glazed ham. On a regular night, Tom and I have it with a crisp green salad and some roasted broccoli for a simple, cozy dinner.
Ingredients
1 pound elbow macaroni
6 tablespoons unsalted butter
1/3 cup all purpose flour
3 cups whole milk
1 cup half and half
1 teaspoon kosher salt
1/2 teaspoon black pepper
1 teaspoon dry mustard
1/2 teaspoon smoked paprika
4 cups shredded sharp cheddar cheese, divided
2 cups shredded Gruyere or Monterey Jack cheese
3/4 cup panko breadcrumbs
2 tablespoons unsalted butter, melted
Undercooking the pasta matters even more when you make this ahead, since the noodles keep drinking up sauce as they sit. Shred your cheese from the block, because the bagged kind is coated with starch that can leave the sauce grainy. When I assemble it the day before, I keep the buttered panko in a separate bag and sprinkle it on right before baking.
Instructions
Boil the macaroni in heavily salted water, pulling it 2 minutes before the time on the box so it stays firm. Drain it and set it aside.
In a big pot over medium heat, melt 6 tablespoons of butter. Whisk in the flour and let it bubble for 1 to 2 minutes.
Pour in the milk and half and half a little at a time, whisking until smooth. Let it bubble gently for 5 to 7 minutes, whisking frequently, until it coats a spoon. Season with the paprika, mustard, salt and pepper.
Move the pot off the burner and add all of the Gruyere and 3 cups of the cheddar until the sauce is melted and smooth. Fold in the drained pasta.
Spread it into a buttered 9×13 inch dish and scatter the rest of the cheddar on top. Mix the panko and melted butter in a little bowl and sprinkle it over everything.
Give it 25 to 30 minutes at 350F, until the edges bubble and the top is golden. If you made it ahead and it is cold from the fridge, leave foil over it for the first 20 minutes and plan on 40 to 45 minutes in all.
In our family, a Thanksgiving with no mac and cheese hardly counts. It is the one side every grandchild at the table will eat without being asked twice.
Make the sauce a little looser than you think it should be. The pasta keeps absorbing it as it sits, especially if you make it ahead.
10) Creamy Corn Pudding
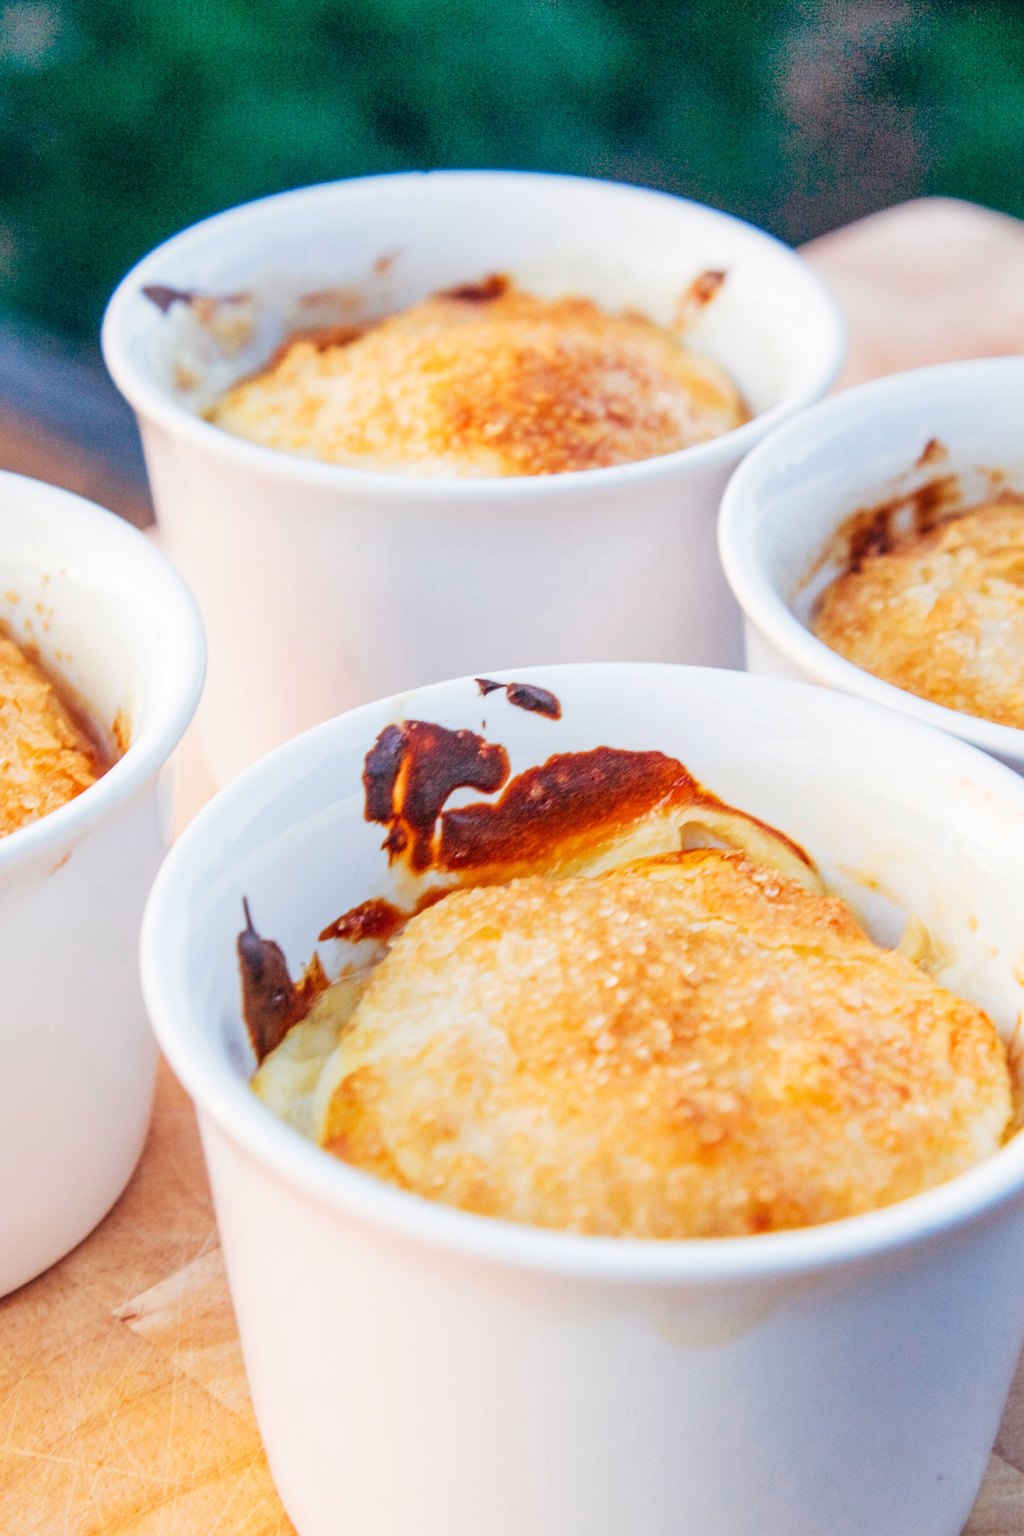
10) Creamy Corn Pudding
This old fashioned corn pudding is soft and custardy in the middle with golden edges, somewhere between cornbread and a casserole. It uses two kinds of canned corn plus sour cream and butter for a rich, slightly sweet side. It needs only one bowl and very little hands on time.
Scoop this onto plates right beside the turkey and let the soft middle soak up a little gravy. It is a natural match for baked ham and fried chicken too, and it rounds out a Sunday supper nicely. Folks who grew up in the South often tell me it tastes just like their grandmother's, which is the best compliment I know.
Ingredients
1 (15 ounce) can whole kernel corn, drained
1 (14.75 ounce) can cream style corn
1 cup sour cream
1/2 cup unsalted butter, melted
2 large eggs
1/2 cup yellow cornmeal
1/2 cup all purpose flour
2 tablespoons granulated sugar
2 teaspoons baking powder
1/2 teaspoon kosher salt
1 cup shredded cheddar cheese, optional
Stir in the dry ingredients gently and stop as soon as they disappear, because overmixing makes the pudding tough instead of soft and spoonable. Let the eggs and sour cream sit out for 20 minutes first so the melted butter blends in smoothly rather than clumping. For a smaller crowd, halve the recipe, bake it in an 8 inch square dish and start checking at about 35 minutes.
Instructions
Preheat to 350F. Butter a baking dish, either 8×11 inch or 9×13 inch.
In a big bowl, whisk the eggs, then add the melted butter, sour cream, both kinds of corn and whisk until well mixed.
In a small bowl, stir together the cornmeal, flour, sugar, salt and baking powder. Add it to the corn mixture and stir only until you no longer see dry patches.
If you are using cheese, fold it in now. Pour the batter into the dish and smooth the top.
Bake 45 to 55 minutes. When it is done, the top will be golden, the edges will have pulled away from the dish and the middle will be set with just a slight wobble when you nudge the pan. A knife pushed into the center should come out mostly clean.
Give it 10 minutes on the counter to firm up before you scoop it. To get ahead, bake it, cool it and refrigerate it for up to 2 days. Warm it under foil at 350F for 20 to 25 minutes.
My grandmother always had this on her holiday table, and now I keep the tradition alive on mine. It is almost too easy, and it makes even the fussiest eaters happy.
Stir in a diced jalapeno or a handful of crumbled bacon for a little twist on the classic.
11) Cheesy Broccoli Casserole
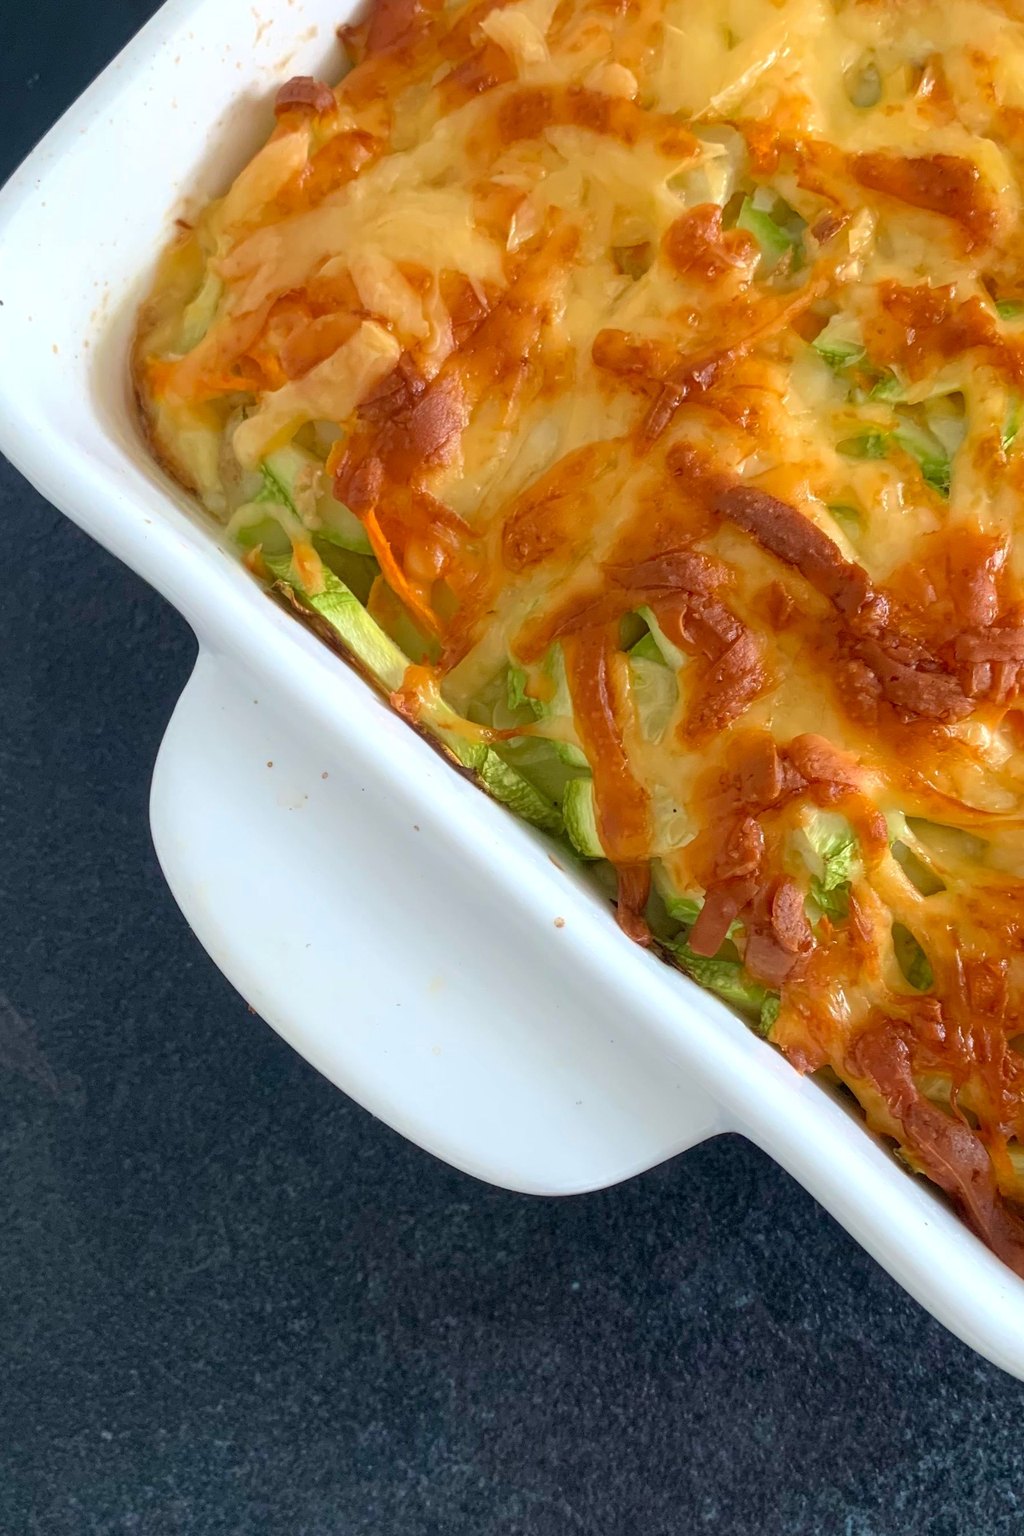
11) Cheesy Broccoli Casserole
This cozy casserole coats tender broccoli in a creamy homemade cheddar sauce and tops it with buttery cracker crumbs. A quick dip in boiling water keeps the broccoli bright green and stops it from getting mushy. It is a crowd pleasing way to get a green vegetable on the holiday table.
This is the dish I count on to get the grandkids to eat something green, since the cheese does all the convincing. Serve it alongside the turkey and stuffing, or bring it to a church supper where it always comes home empty. With a simple baked chicken breast, it also makes a cozy weeknight dinner for two.
Ingredients
2 pounds broccoli florets, cut into bite size pieces
4 tablespoons unsalted butter
1/2 small yellow onion, finely diced
1/4 cup all purpose flour
2 cups whole milk
1 teaspoon kosher salt
1/2 teaspoon black pepper
1/2 teaspoon garlic powder
2 cups shredded sharp cheddar cheese, divided
1/2 cup sour cream
1 cup crushed buttery round crackers
2 tablespoons unsalted butter, melted
Drying the blanched broccoli really well is the secret to a sauce that stays thick instead of weeping into the dish. Cut the florets into true bite size pieces with a little stem attached so they cook evenly in those short 2 to 3 minutes. If your family likes a little zip, a pinch of dry mustard or cayenne in the sauce brings the cheddar flavor forward.
Instructions
Bring a big pot of salted water to a boil. Cook the broccoli for 2 to 3 minutes, until it is bright green and barely tender. Drain it well and spread it out on a towel to dry.
Melt 4 tablespoons of butter in a saucepan over medium heat. Soften the onion for 4 minutes, then stir in the flour and cook for a minute.
Gradually whisk in the milk and let it simmer for 4 to 5 minutes, whisking all the while, until thick and smooth. Season with the garlic powder, salt and pepper.
Take the pan off the heat and stir in the sour cream and 1 1/2 cups of the cheddar. Once the cheese melts, fold in the broccoli and spread it into a buttered 9×13 inch dish. Scatter the rest of the cheese on top.
Toss the cracker crumbs with the melted butter. If you are working ahead, the covered casserole keeps 2 days in the fridge, and the buttered crumbs wait in a zipped bag.
Preheat to 350F. Scatter the crumbs across the top and bake 25 to 30 minutes, or about 40 minutes if it is coming straight from the fridge, until it bubbles and turns golden.
I always want something green on the Thanksgiving table, and this is the one that actually gets eaten. The grandkids barely notice the broccoli under all that cheese.
Frozen broccoli works in a pinch. Thaw it and pat it very dry so the sauce does not turn watery.
12) Make Ahead Dinner Rolls
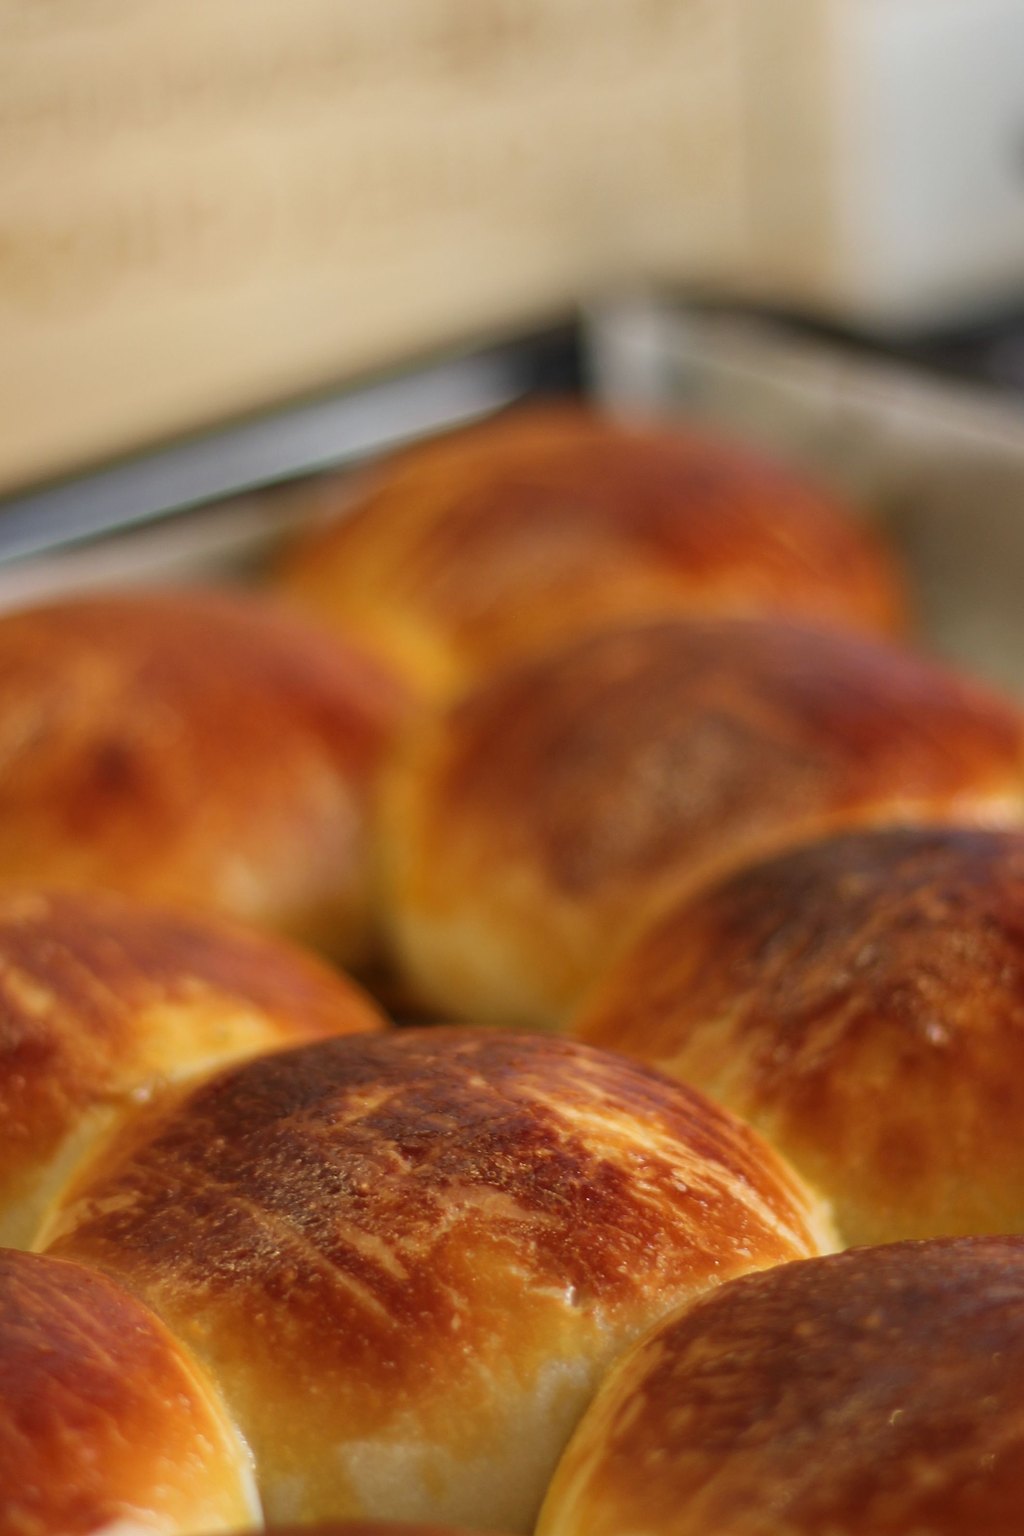
12) Make Ahead Dinner Rolls
These soft, fluffy dinner rolls are rich with butter, milk and eggs and have a golden, tender top. They pull apart easily and are perfect for sopping up gravy. They freeze beautifully, so you can bake them weeks ahead and simply warm them on Thanksgiving.
Pile the warm rolls in a basket lined with a cloth napkin and fold the corners over to keep them soft. Set out a dish of softened butter and a little honey butter for those who like something sweet. The next day, these make perfect little sandwiches with sliced turkey and a smear of cranberry sauce.
Ingredients
1 1/4 cups warm whole milk, about 110F
2 1/4 teaspoons instant yeast
1/4 cup granulated sugar
1/2 cup unsalted butter, melted, divided
2 large eggs, at room temperature
4 1/2 cups all purpose flour
1 1/2 teaspoons kosher salt
Flaky sea salt, for topping, optional
1 tablespoon honey, for brushing, optional
Extra flour, for kneading
Check the milk with a thermometer, since liquid much hotter than 110F can kill the yeast before the dough ever rises. For softer, fluffier rolls, let the dough stay slightly tacky instead of adding more flour every time it sticks to the counter. When I bake for just Tom and me, I freeze the cooled rolls in bundles of four so I can warm only what we need.
Instructions
In a big bowl, stir the warm milk together with the sugar and yeast and wait 5 minutes, until foamy. Whisk in the eggs and 6 tablespoons of the melted butter.
Add the salt and flour and stir until a rough dough comes together. Knead it on a dusted counter. It takes 8 to 10 minutes by hand to get smooth and stretchy, or let a stand mixer with a dough hook do it in about 6 minutes.
Put the dough into a greased bowl, cover it and leave it somewhere warm. Give it 1 to 1 1/2 hours to double.
Press the air out of the dough and cut it into 24 even pieces. Shape each piece into a smooth ball and set them in a greased 9×13 inch pan in four rows of six.
Cover the pan and let the rolls rise for 45 minutes, until they are puffy and pressed against each other. Preheat to 375F.
Bake 18 to 22 minutes. They are done when golden and the middle rolls read 190F. Stir the honey into the rest of the melted butter, brush it over the tops and sprinkle with flaky salt.
To bake ahead, cool the rolls completely, wrap them well and keep them frozen as long as a month. Let them thaw on the counter, then cover with foil and warm at 350F for 10 minutes.
Homemade rolls make the whole dinner feel special, and these are much easier than they look. Baking them weeks ahead and stashing them in the freezer is my favorite holiday trick.
Use a kitchen scale to divide the dough so all 24 rolls are the same size and bake evenly.
13) Cranberry Orange Bread
13) Cranberry Orange Bread
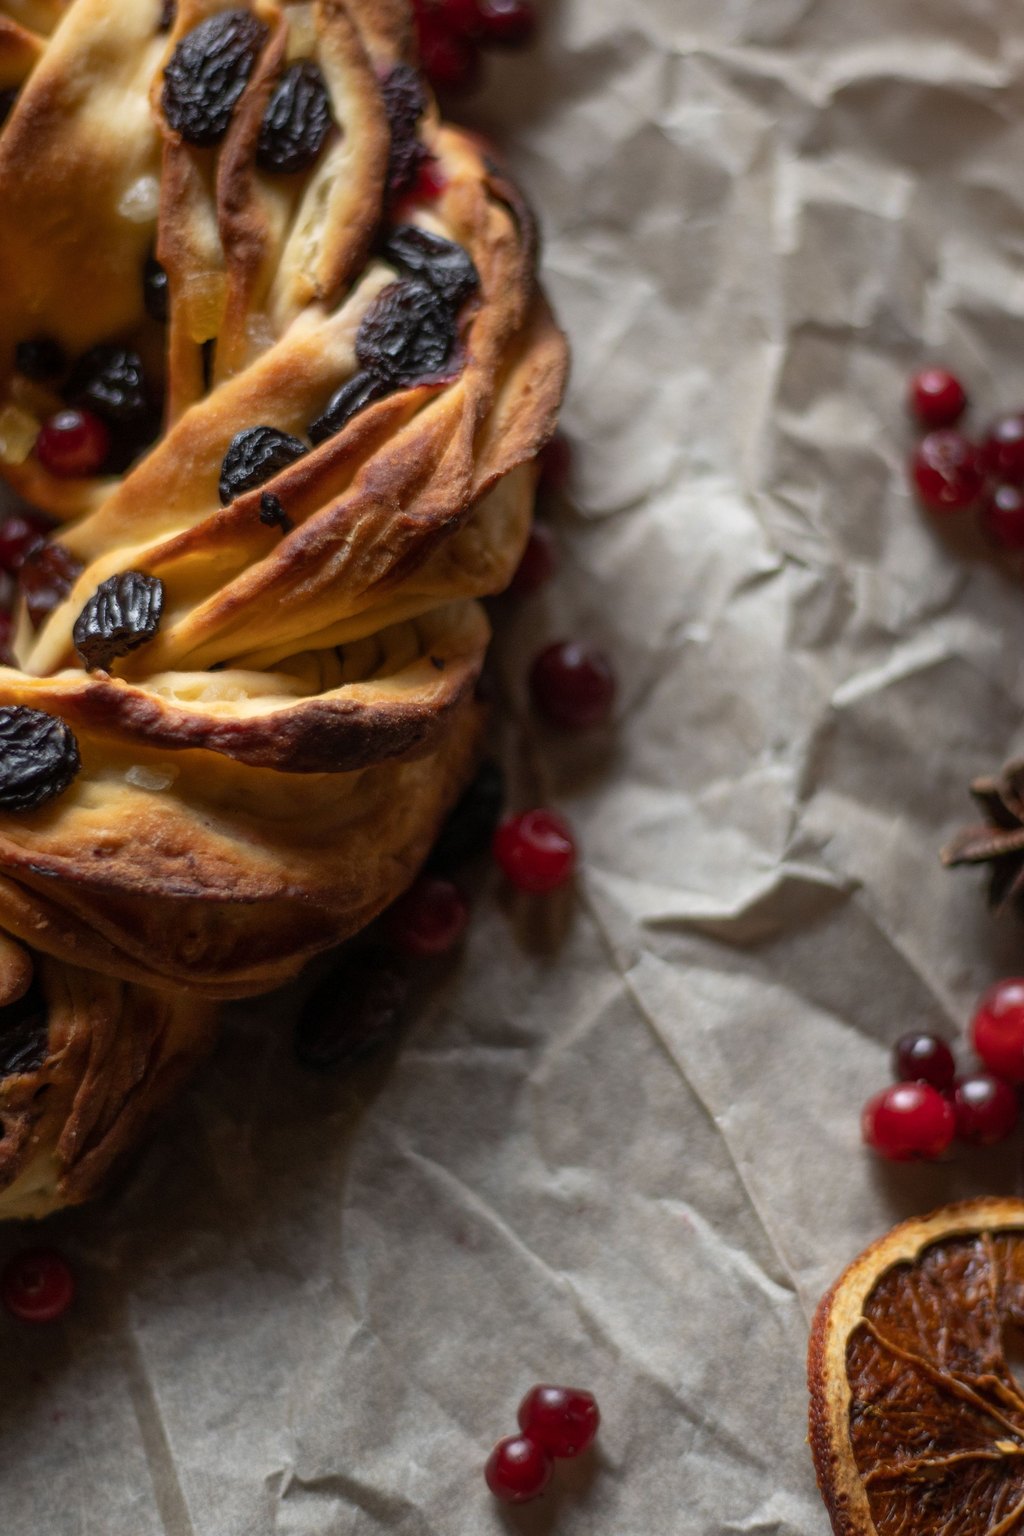
This bright quick bread is bursting with tart cranberries and fresh orange flavor in a tender, buttery crumb. Rubbing the orange zest into the sugar and flour releases its fragrant oils so the flavor fills every slice. It is lovely for breakfast, brunch or an afternoon treat with coffee.
Slices of this bread look festive on a breakfast tray on Thanksgiving morning, when everyone is too busy to cook. A spread of soft cream cheese or a little orange butter makes it feel special. Wrapped in parchment and tied with twine, a loaf also makes a sweet hostess gift or a thank you for a kind neighbor.
Ingredients
2 cups all purpose flour
1 cup granulated sugar
1 1/2 teaspoons baking powder
1/2 teaspoon baking soda
1/2 teaspoon salt
1 tablespoon finely grated orange zest
3/4 cup fresh orange juice
1/4 cup unsalted butter, melted
1 large egg
1 teaspoon vanilla extract
1 1/2 cups fresh or frozen cranberries, roughly chopped
1/2 cup chopped walnuts, optional
Chop the cranberries while they are still frozen, since they cut cleanly and do not bleed into the batter. Toss them with a spoonful of the flour mixture before folding them in, which helps keep them from sinking to the bottom of the loaf. This bread slices more neatly the day after baking, so it is a perfect one to make early in the week.
Instructions
Preheat to 350F. Butter a 9×5 inch loaf pan and lay a strip of parchment inside.
Stir the flour, sugar, salt, baking soda and baking powder together in a big bowl. Add the orange zest and rub it into the dry mixture with your fingertips to release its fragrant oils.
In a medium bowl, whisk together the orange juice, egg, vanilla and melted butter.
Add the wet mixture to the dry and stir gently with a spatula until no dry flour shows. Expect a stiff batter. Fold in the cranberries and the walnuts.
Scrape the batter into the lined pan and level it off. Bake 55 to 65 minutes. The loaf should be golden and a toothpick from the middle comes out with no wet batter. If the top darkens too quickly, lay a sheet of foil loosely over it.
Leave the bread in its pan for 10 minutes, then lift it out and let it cool all the way on a rack before you slice it.
Once cool, wrap it tightly. It will keep on the counter for up to 3 days or in the freezer for up to 3 months.
A few days before the holiday I bake a loaf and leave it on the counter for our overnight guests. They nibble on it with coffee all morning, which leaves me free to run the kitchen.
Toss the chopped cranberries with a spoonful of the flour mixture before folding them in. That keeps them from sinking to the bottom of the loaf.
14) Classic Apple Crisp
14) Classic Apple Crisp
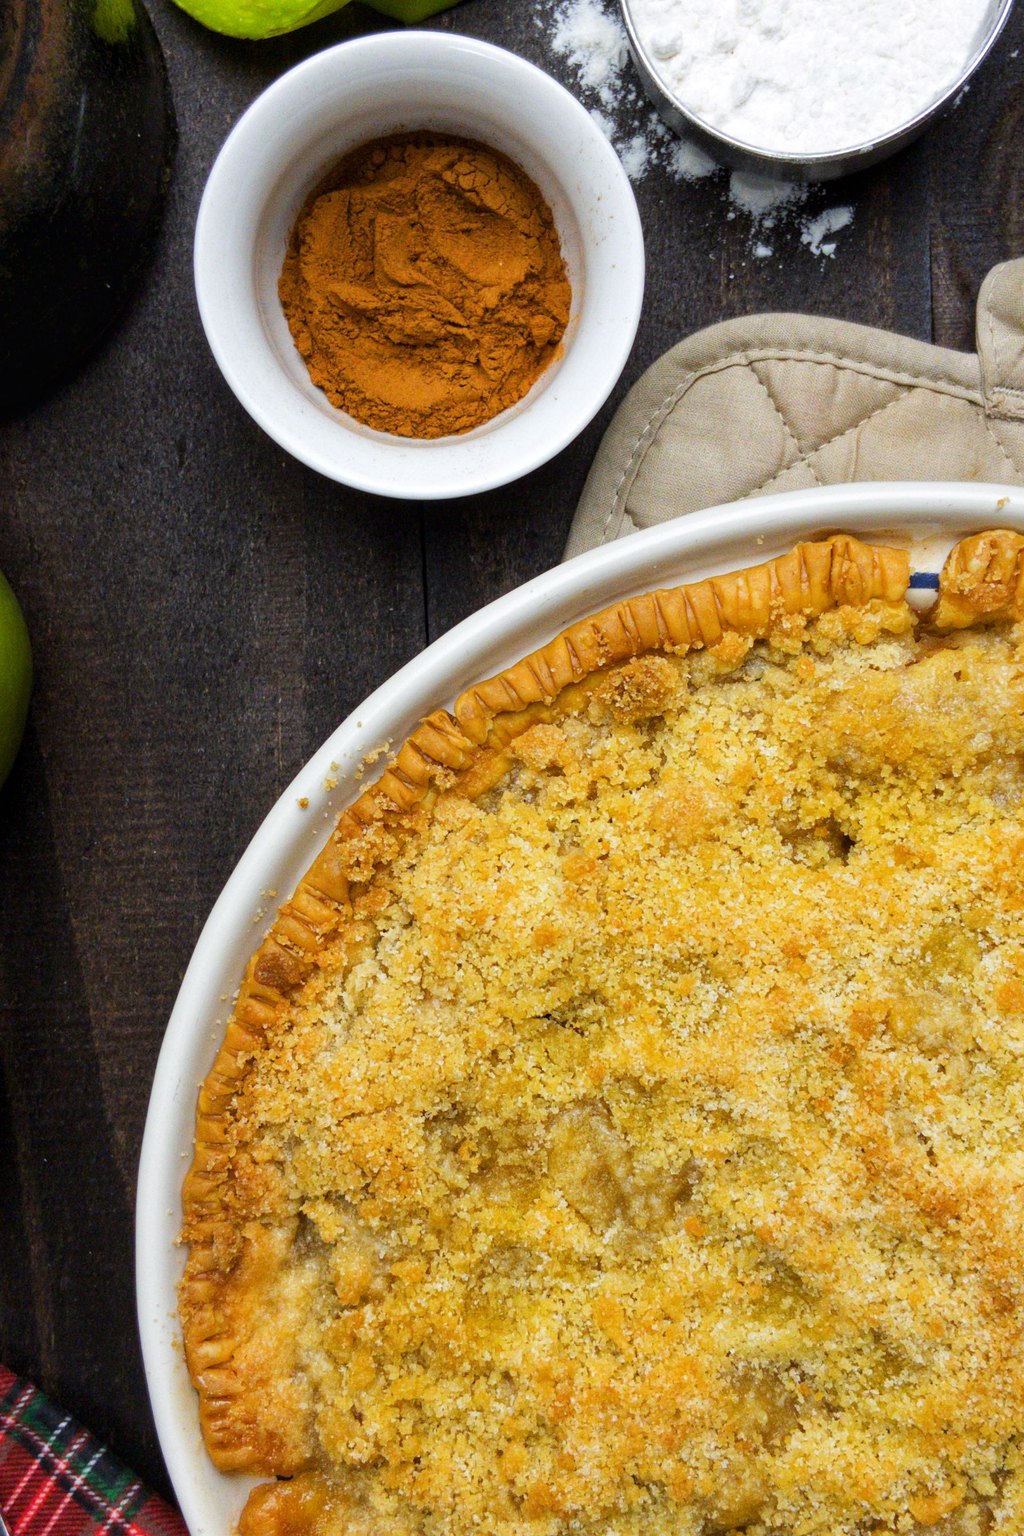
This old fashioned apple crisp has tender, cinnamon spiced apples baked under a crunchy brown sugar oat topping. It is easier than pie and just as comforting, with no crust to roll out. You can assemble it ahead, chill it and bake it while everyone is finishing dinner.
Warm from the oven, it goes right to the table in its baking dish so everyone can scoop their own. A drizzle of warm caramel sauce over the ice cream makes it feel extra special for a holiday crowd. It is also a nice choice for guests who are not fond of pie crust, so I often set it out next to the pies.
Ingredients
6 medium apples, peeled, cored and sliced 1/4 inch thick
2 tablespoons lemon juice
1/3 cup granulated sugar
1 tablespoon all purpose flour
1 teaspoon ground cinnamon, divided
1/4 teaspoon ground nutmeg
3/4 cup all purpose flour
3/4 cup old fashioned rolled oats
3/4 cup packed light brown sugar
1/2 teaspoon salt
1/2 cup cold unsalted butter, cubed
1/2 cup chopped pecans, optional
Vanilla ice cream, for serving
Mix firm tart apples with a sweeter variety so some slices hold their shape while others melt into a thick sauce. Keep the butter truly cold until you work it into the oats, because warm butter gives you a greasy, flat topping instead of crunchy clumps. Leftovers reheat well at 350F for about 15 minutes, which crisps the topping back up far better than the microwave.
Instructions
Preheat to 350F. Rub some butter over the inside of a 9 by 13 inch dish.
Toss the apple slices in a big bowl with the lemon juice, sugar, nutmeg, 1 tablespoon of flour and half of the cinnamon. Spread them out evenly in the dish.
In another bowl, stir together the oats, brown sugar, salt, 3/4 cup of flour and the rest of the cinnamon. Work in the cold butter with a pastry blender or your fingers until it looks like coarse crumbs about the size of peas, then mix in the pecans.
Sprinkle the topping over the apples, squeezing a few handfuls into bigger clumps. If you are making it ahead, cover the dish tightly and refrigerate it for up to 2 days.
Bake without a cover for 45 to 50 minutes. Look for a deeply browned topping and thick juices bubbling up around the sides. If it goes in cold from the fridge, give it about 10 extra minutes.
Wait 20 minutes or longer before serving so the juices have time to thicken. Serve it warm with big scoops of vanilla ice cream.
Not everyone at our table loves pie, so a pan of this crisp always sits beside the pies. It is usually the first dessert gone, especially when there is ice cream close by.
I like half tart green apples and half sweeter red ones, which gives the filling both tang and body.
Want the whole story, plus my storage and swap notes? Here is my full Classic Apple Crisp recipe.
15) Southern Pecan Pie
15) Southern Pecan Pie
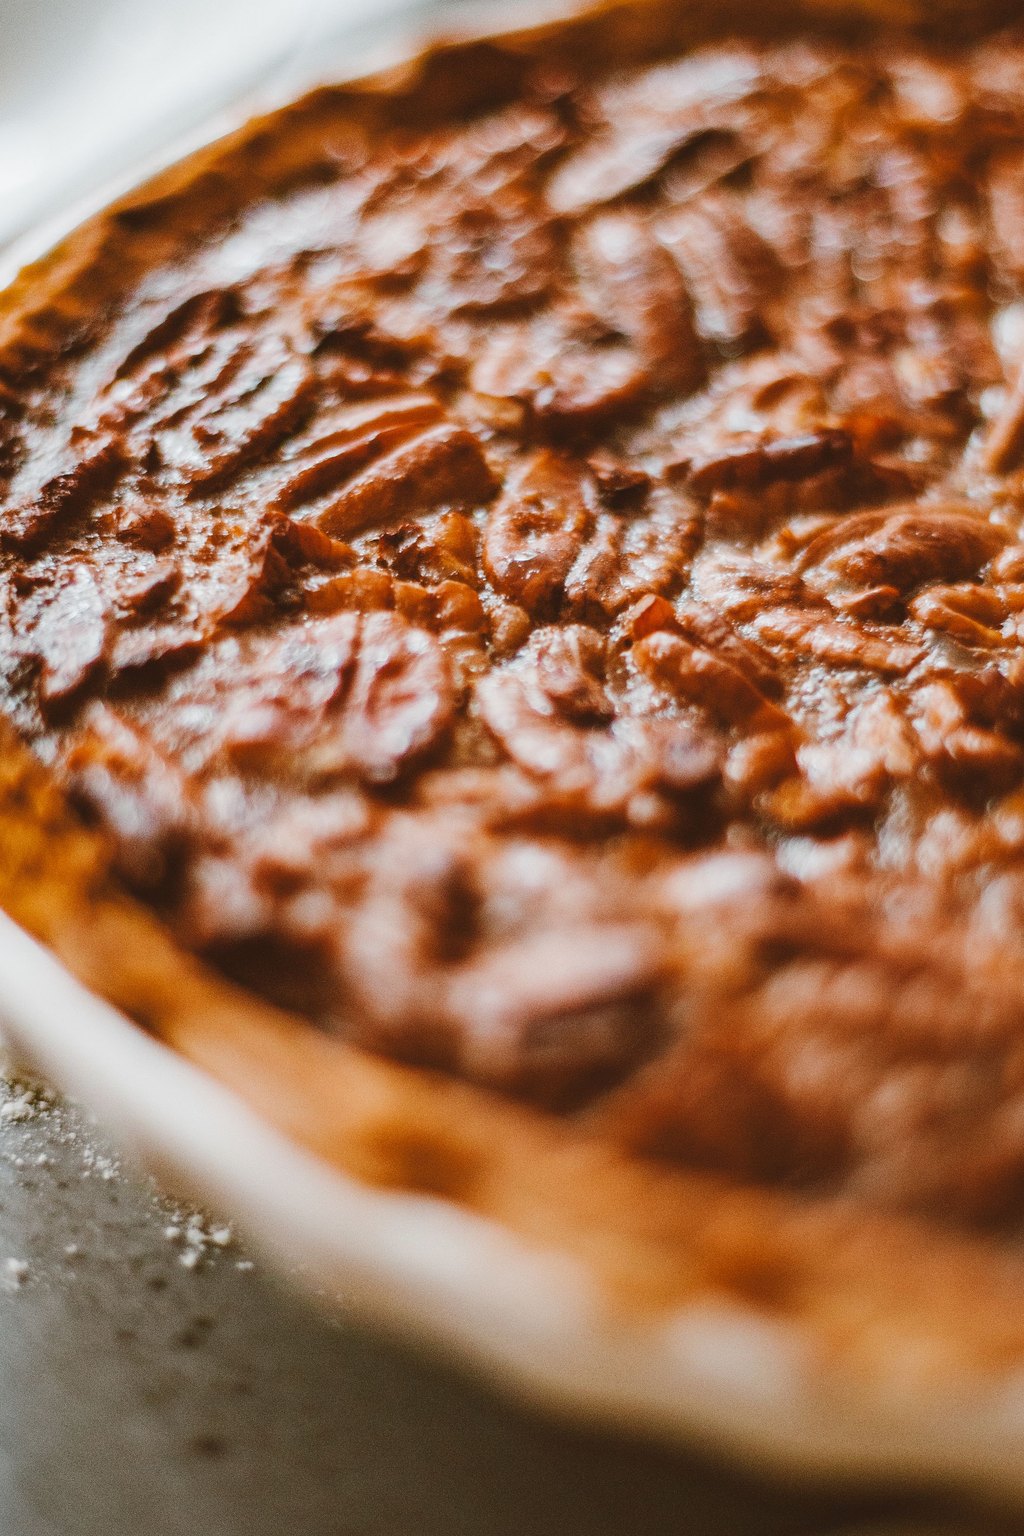
This classic pecan pie has a rich, gooey caramel filling and a crunchy layer of toasted pecans on top. Toasting the nuts first deepens their flavor and keeps them crisp. A spoonful of flour helps the filling set firmly so every slice holds its shape.
Cut this pie into thin slices, because it is very rich and folks like to sample more than one dessert. A dollop of lightly sweetened whipped cream or a scoop of vanilla ice cream balances all that sweetness. I like to serve it with hot coffee after the dishes are done and everyone has settled into the living room.
Ingredients
1 unbaked 9 inch pie crust, homemade or store bought
3 large eggs
1 cup light corn syrup
1/2 cup packed light brown sugar
1/4 cup granulated sugar
1/4 cup unsalted butter, melted
2 teaspoons vanilla extract
1/2 teaspoon salt
1 tablespoon all purpose flour
2 cups pecan halves
Whipped cream or vanilla ice cream, for serving
Pull the pie when the center still has that slight wobble, because it keeps cooking as it cools and an overbaked filling can crack and weep. Baking it on a low rack with the sheet pan underneath helps the bottom crust brown instead of staying pale and soggy. Once cooled, this pie keeps well in the fridge for up to 4 days.
Instructions
Set a rack low in the oven and preheat to 350F. Line a 9 inch pie plate with the crust, crimp the rim and refrigerate it for 15 minutes.
Spread the pecans on a sheet pan and toast them for 6 to 8 minutes, until they smell nutty. Let them cool a bit, then coarsely chop half and keep the other half whole.
Whisk the eggs in a big bowl until smooth. Add the flour, salt, vanilla, melted butter, both sugars and corn syrup and whisk until everything is evenly mixed.
Scatter the chopped pecans across the bottom of the crust, then slowly pour in the filling. Lay the whole pecans over the surface.
Put the pie on a rimmed sheet pan and bake 55 to 65 minutes. After about 25 minutes, shield the crust with foil if it is browning too fast.
It is finished when the edges look firm and puffy and the center has just a slight wobble. A thermometer in the middle should read about 200F.
Let it cool on a rack for 3 hours or more so the filling fully sets before you cut into it.
Pecan pie is the one dessert Tom insists on, and Thanksgiving would not feel complete without it. Luckily it holds up well when baked a couple of days early.
Bake it up to two days early and store it loosely covered at room temperature, or in the fridge if your kitchen is warm.
16) Sweet Potato Pie
16) Sweet Potato Pie
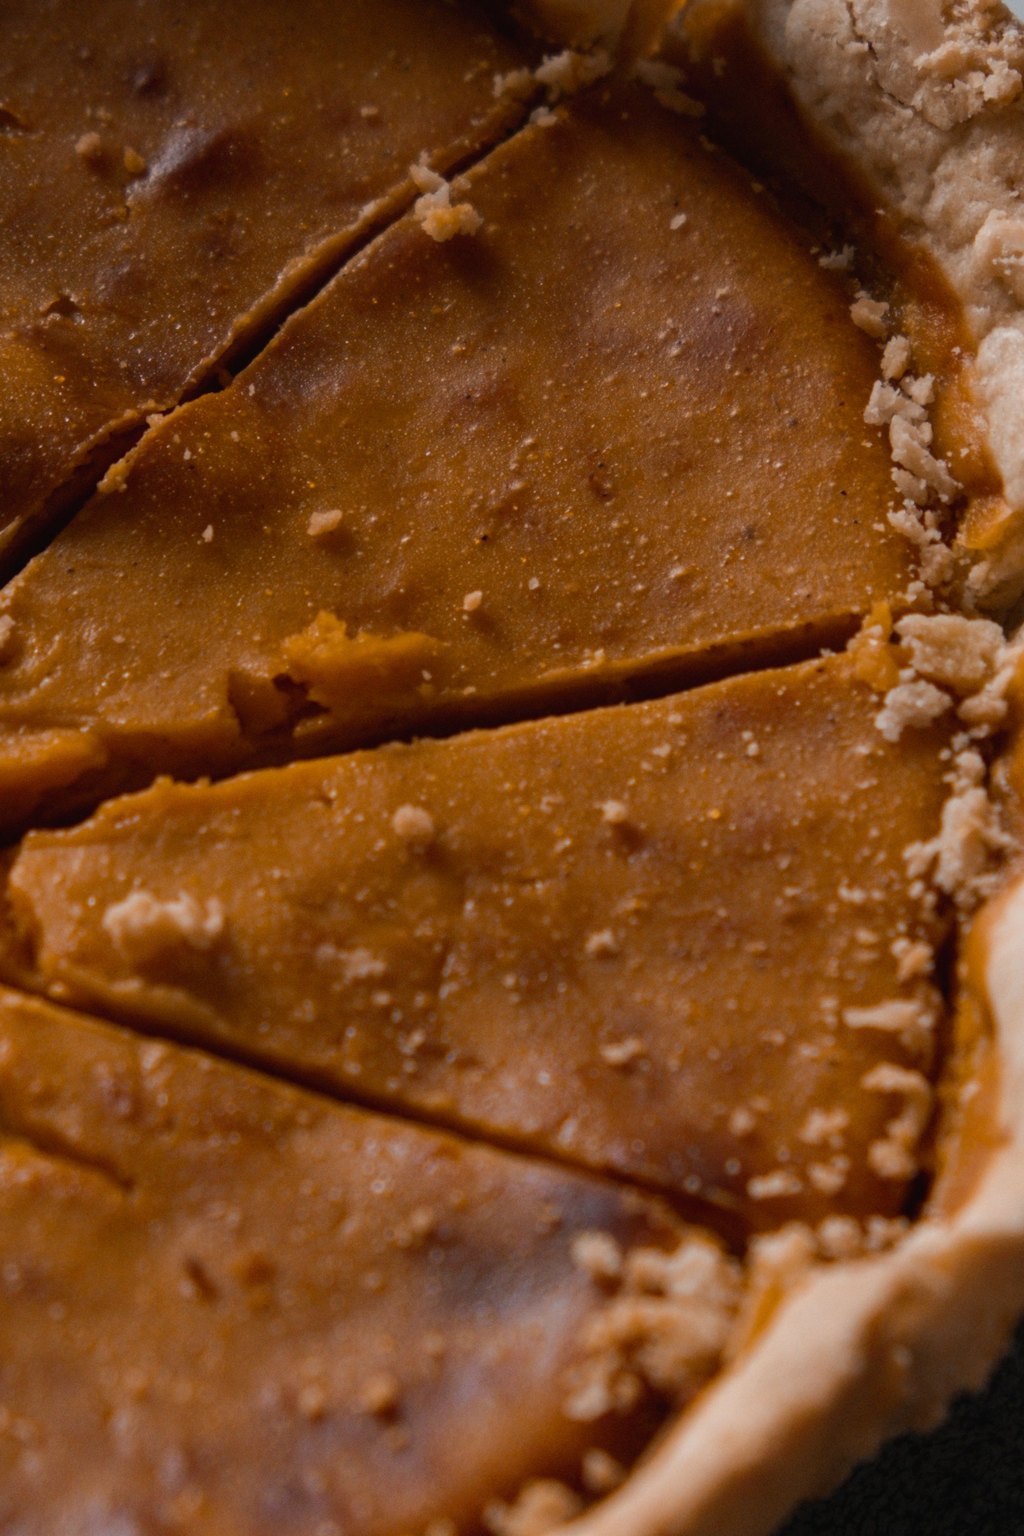
This silky sweet potato pie is a little richer and smoother than pumpkin, with warm notes of cinnamon, nutmeg and vanilla. Roasting the sweet potatoes concentrates their natural sweetness and gives the filling a deep flavor. A splash of lemon juice brightens it and keeps it from tasting too heavy.
Serve each slice cold or at room temperature with a light dusting of cinnamon over the cream. I like to set it next to the pumpkin pie and let my family taste the difference, since most end up asking for a sliver of both. It is also a lovely dessert to bring along when you are a guest at someone else's table.
Ingredients
1 unbaked 9 inch deep dish pie crust, homemade or store bought
1 1/2 pounds sweet potatoes
1/2 cup unsalted butter, softened
3/4 cup granulated sugar
1/4 cup packed light brown sugar
2 large eggs
1/2 cup evaporated milk
1 teaspoon vanilla extract
1 teaspoon ground cinnamon
1/2 teaspoon ground nutmeg
1/4 teaspoon salt
1 tablespoon fresh lemon juice
Bake this pie a day ahead and let it chill overnight, since the custard firms up and slices much more cleanly when cold. If stray fibers still show after beating, press the filling through a mesh strainer for a truly silky texture. Should the crust edge brown before the center sets, cover just the rim loosely with strips of foil.
Instructions
Preheat to 400F. Poke the sweet potatoes with a fork, place them on a foil lined pan and roast for 50 to 60 minutes, until completely soft. Once cool, peel them. You will need about 2 cups of flesh.
Turn the oven down to 350F. Press the crust into a deep 9 inch pie plate, crimp the rim and chill it while you make the filling.
Beat the warm sweet potato with the butter using a hand mixer until very smooth. Any stringy fibers will wrap around the beaters, so wipe them clean every so often.
Add the sugars, eggs, evaporated milk, vanilla, spices, salt and lemon juice and beat until the filling is silky.
Pour it into the crust and slide the pie, on a rimmed sheet pan, into the oven for 50 to 60 minutes. Look for edges that are firm and a middle that wobbles only a little. A knife slipped in near the center should come out clean.
Cool it on a rack for 2 hours or longer, then keep it cold until you are ready to serve. Top with whipped cream.
Tom’s mother brought this pie to our very first Thanksgiving together, and I have baked it every year since. Some years it disappears faster than the pumpkin.
It holds well in the refrigerator for two days. Take the chill off on the counter for half an hour before slicing.
Before You Start Cooking
My week usually looks like this. Monday is for cranberry sauce, gravy, rolls and the cranberry bread. Tuesday belongs to the pies. Wednesday I put together the casseroles, stuffing, potatoes and apple crisp. On Thursday the turkey takes the oven, and once it comes out to rest, the sides take turns heating through.
I hope this plan leaves you a little more time to sit down and laugh with the people around your table. From my kitchen to yours, have a warm and happy Thanksgiving with plenty of leftovers and not too many dishes.
Frequently Asked Questions
Which Thanksgiving sides can be made early, and how early?
Cranberry sauce and gravy hold beautifully for up to a week in the fridge. Casseroles like mashed potatoes, macaroni and cheese, green beans and sweet potatoes can be assembled two or three days before, then baked on the day. Rolls and quick breads freeze well for weeks, and most pies are best baked one or two days ahead.
What is the best way to reheat lots of sides with just one oven?
Bake the dishes that need the most time while the turkey rests, since a covered bird stays hot for close to an hour. Set the oven to 350F and stagger the casseroles on two racks. Keep mashed potatoes warm in a slow cooker and warm the gravy on the stovetop so the oven stays free.
Can a chilled casserole go straight into the oven?
It can, but you will get more even results if it sits on the counter for 30 minutes first. A dish that goes in cold needs another 10 to 20 minutes, and covering it with foil for the first stretch keeps the top from getting too dark. Glass and ceramic dishes should never move from the fridge into a very hot oven, because the sudden change can crack them.