14 Potluck Recipes That Survive the Car Ride
Fourteen dependable potluck dishes, from chilled salads and cheesy casseroles to slow cooker meatballs and sheet pan desserts, that arrive looking as good as they left.
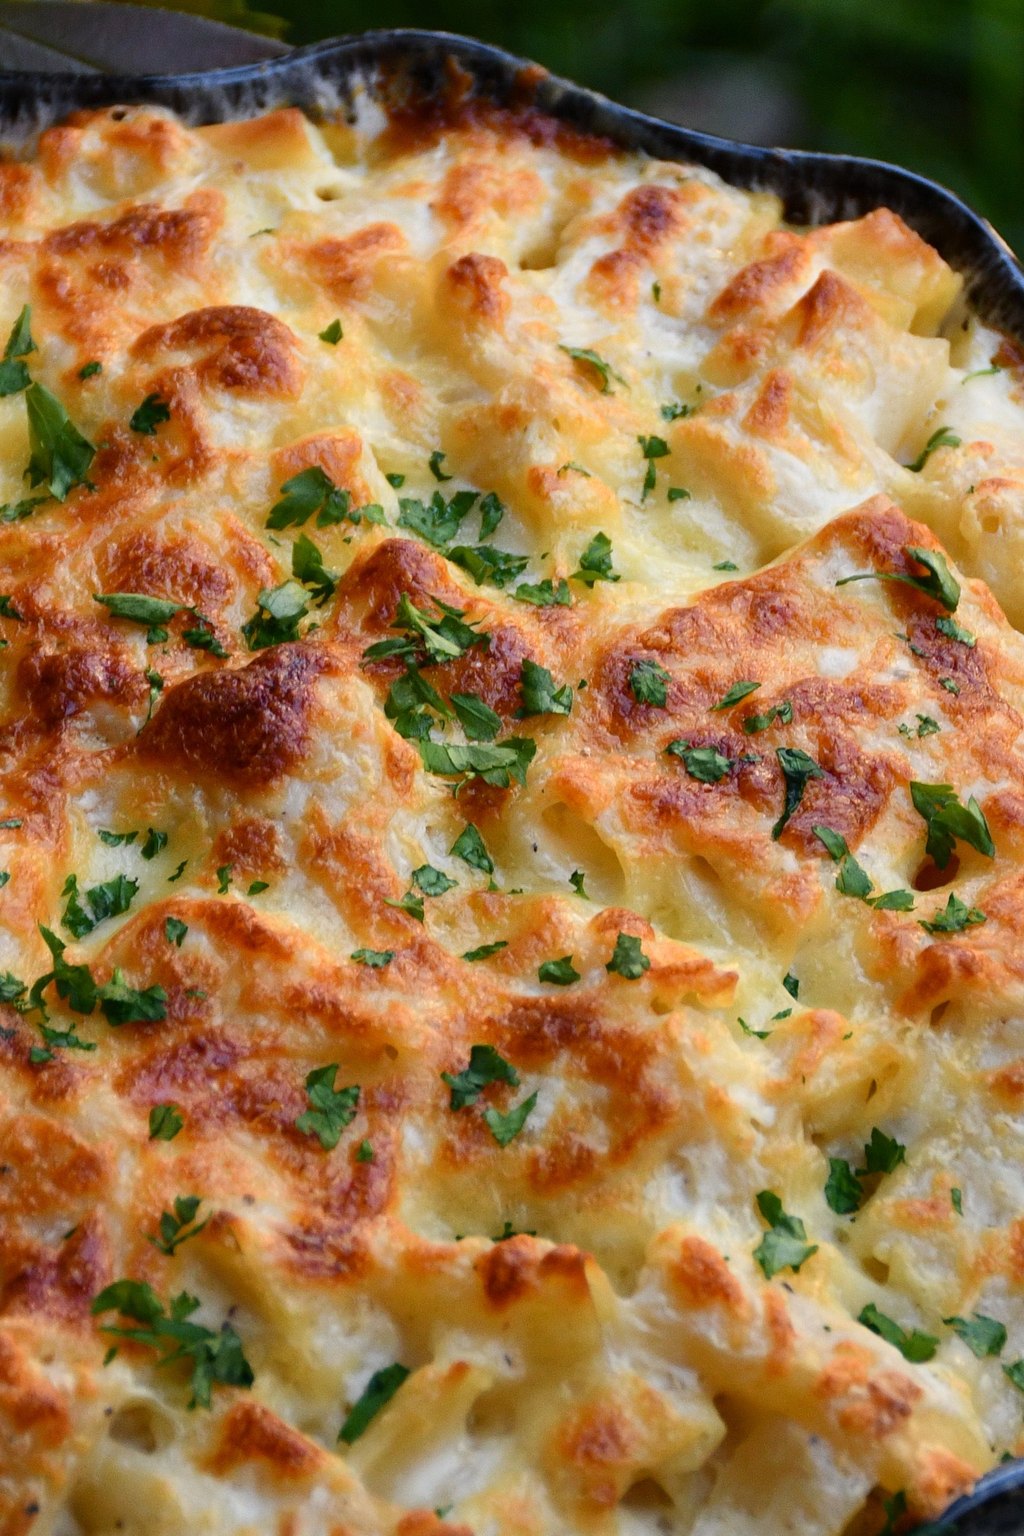
I have learned the hard way that a casserole sliding across the back seat is no way to start a party. These fourteen dishes are the ones I count on for church suppers, family reunions, graduation parties and the neighborhood block party every August. You will find cold salads that improve as they sit, hearty bakes that hold their heat, slow cooker favorites you simply plug in when you arrive and a couple of sturdy desserts. My rule is to pick food that tastes good at room temperature and carry it in its serving dish.
1) Cheesy Baked Ziti
1) Cheesy Baked Ziti
Saucy pasta and sausage get layered with a creamy ricotta center and a thick blanket of melted mozzarella. Cooking the pasta a little short keeps it from going soft while it bakes and waits on the buffet. It is cheesy and filling, and it stays hot for the drive to any get together.
Baked ziti is the dish I bring when I know there will be a crowd and plenty of hungry teenagers. Set it next to a big green salad and a basket of garlic bread, and you have a whole Italian dinner on the buffet. A few extra basil leaves on top make it look fresh even after the drive.
Ingredients
1 pound ziti pasta
1 pound Italian sausage or lean ground beef
1 small onion, diced
3 cloves garlic, minced
1 jar marinara sauce, 24 ounces
1 can crushed tomatoes, 15 ounces
1 teaspoon dried Italian seasoning
15 ounces whole milk ricotta cheese
1 large egg
1/2 cup grated Parmesan cheese, divided
3 cups shredded mozzarella cheese, divided
2 tablespoons chopped fresh basil
Wrap the hot dish in foil and then in a couple of thick towels, and it will stay warm for about an hour in the car. You can assemble it the night before and keep it chilled, then add 10 to 15 minutes to the covered bake. Pick sweet or hot sausage depending on your crowd, since hot sausage adds quite a kick.
Instructions
Butter a 9×13 inch dish and set the oven to 375F. Boil the ziti in salted water, pulling it 2 minutes before the box says it is done, and drain.
In a big skillet on medium high, brown the onion and sausage together for 7 to 8 minutes, crumbling the meat, until it hits 160F. Spoon off the grease and stir in the garlic for half a minute.
Pour in the crushed tomatoes and marinara, sprinkle in the Italian seasoning and let it bubble 5 minutes.
In a bowl, stir together the ricotta, the egg, 1 cup of mozzarella and half the Parmesan.
Stir the drained ziti into the sausage mixture. Layer half of that into the dish, drop spoonfuls of the ricotta mixture over it and smooth them out a little, then top with the remaining pasta.
Cover with the rest of the mozzarella and Parmesan. Bake under foil for 20 minutes, then take the foil off and bake another 15 to 20 minutes, until the cheese is golden and the sauce bubbles at the edges.
Let it stand 10 minutes so the layers firm up and cut cleanly, then scatter the basil over the top.
Baked ziti is the dish I trust most for a potluck, because everyone from toddlers to great aunts goes back for more. A single pan feeds a crowd and rides along in its own baking dish.
You can build it a day early, cover it and refrigerate it, then bake it covered 15 minutes longer. Wrap the hot pan in a couple of thick towels and it will stay warm on the way.
2) Classic Macaroni Salad
2) Classic Macaroni Salad
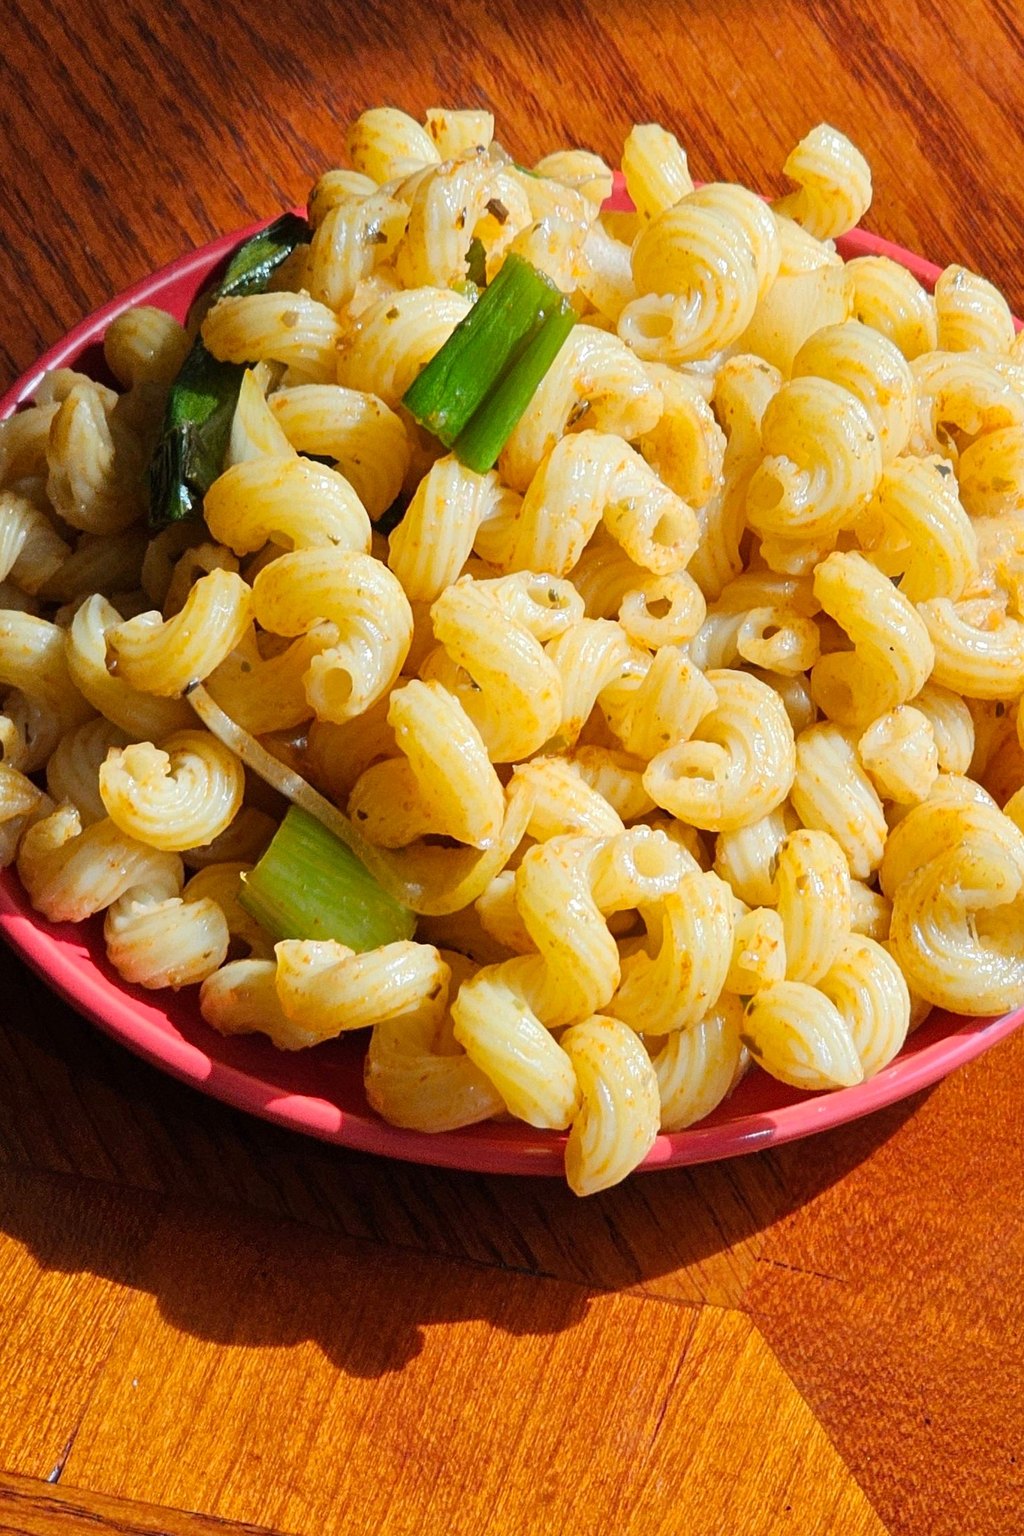
Tender elbow noodles get tossed with crunchy celery and red pepper in a creamy, tangy and slightly sweet dressing. Sweet relish and chopped hard boiled eggs give it that old fashioned picnic flavor. A splash of milk thins the dressing just enough that the salad stays creamy even after the noodles drink some in.
Macaroni salad belongs next to burgers, hot dogs and fried chicken at every summer picnic. I like to serve it in a big glass bowl so the bright bits of red pepper show through. A sprinkle of fresh chives or parsley on top makes it look extra fresh on the buffet table.
Ingredients
1 pound elbow macaroni
1 1/4 cups mayonnaise
2 tablespoons apple cider vinegar
1 tablespoon yellow mustard
2 tablespoons granulated sugar
1/4 cup milk
1 teaspoon kosher salt
1/2 teaspoon black pepper
2 celery ribs, finely diced
1/2 red bell pepper, finely diced
1/3 cup finely diced red onion
2 tablespoons sweet pickle relish
3 hard boiled eggs, chopped
1/4 teaspoon paprika, for garnish
Mix up a little extra dressing and carry it in a small jar, so you can freshen the salad right at the party. Cook the macaroni just to tender, because soft noodles turn mushy as they soak up the dressing. A fine dice on the celery, pepper and onion means every forkful gets a little crunch.
Instructions
Boil the macaroni in generously salted water for about 7 minutes, just until tender but not soft. Drain it, run cold water over it until it is completely chilled and drain it thoroughly.
Whisk the milk, mayonnaise, sugar, mustard, vinegar, pepper and salt in a big bowl until creamy.
Stir in the cold macaroni so every elbow gets coated.
Gently fold in the chopped eggs, relish, onion, bell pepper and celery.
Cover and chill for 2 hours or longer so the flavors can mingle. The noodles will drink up some of the dressing in the fridge.
Give it a stir before serving, adding a spoonful of mayo or a splash of milk if it seems dry. Taste for salt and add a pinch more if needed.
Dust the top with paprika and keep it cold. At the event, nestle the bowl inside a bigger bowl of ice and put it away after 2 hours on the table.
Our family reunion has never once gone without a giant bowl of this salad. It costs very little to make and I never bring any of it home.
Mix it up the night before and set aside a little extra dressing. Stir that in just before you head out the door so it looks freshly made.
3) Italian Pasta Salad
3) Italian Pasta Salad
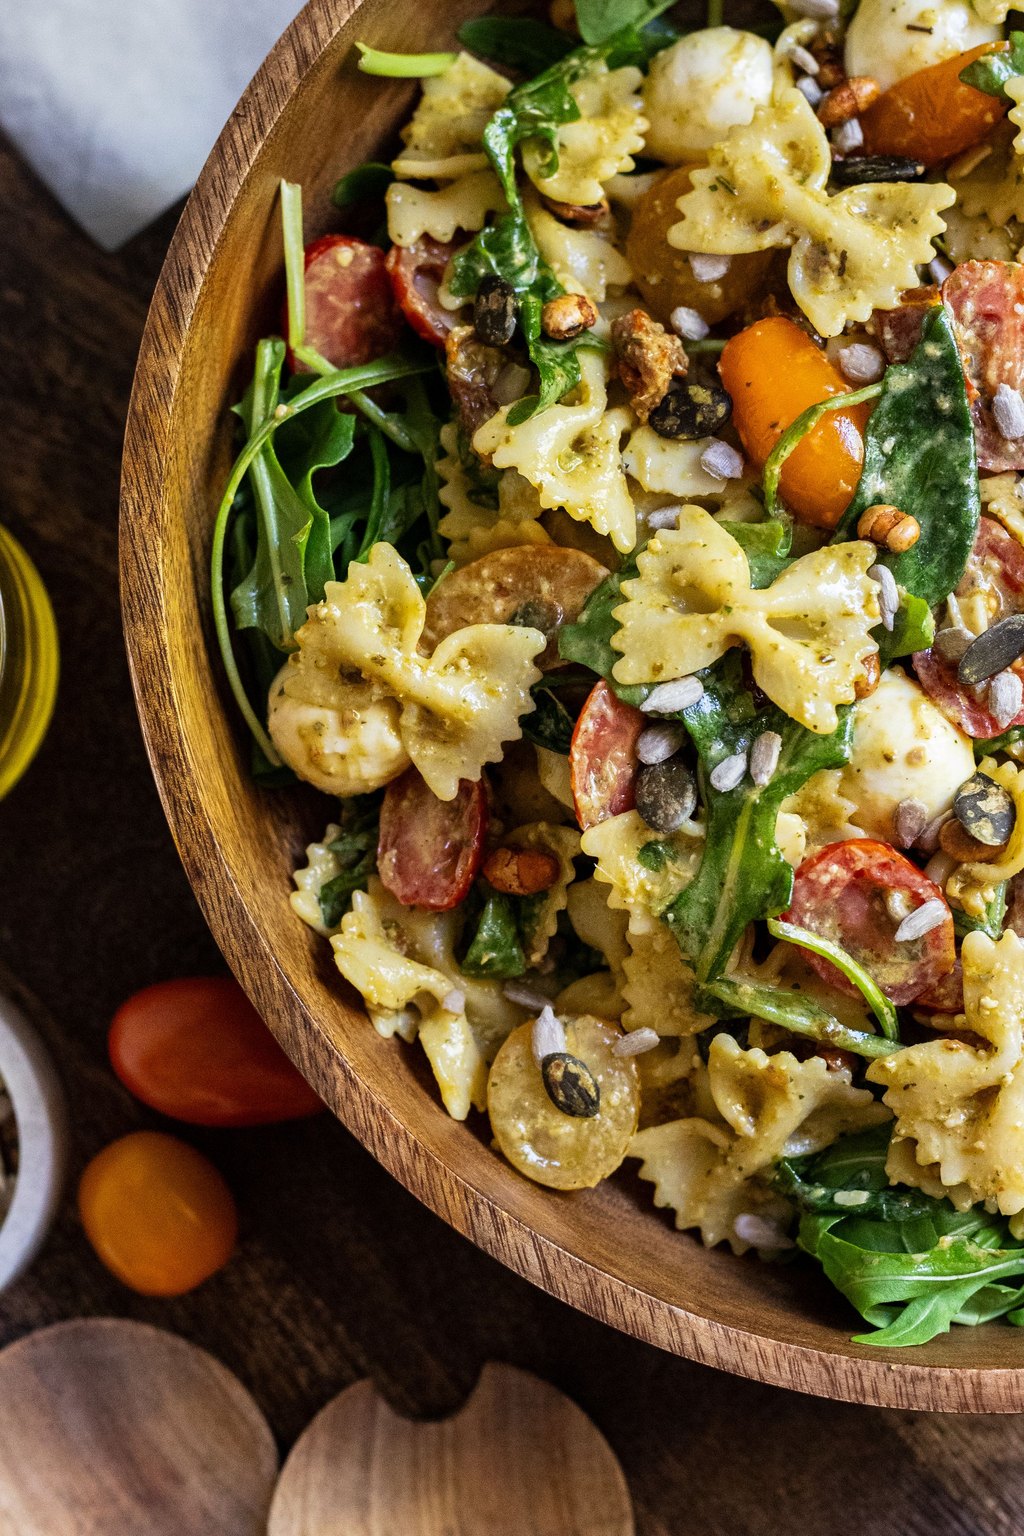
Spiral pasta, crisp vegetables, salami and little mozzarella balls all get tossed in a punchy homemade Italian vinaigrette. Adding the dressing in two rounds lets the pasta absorb plenty of flavor without turning oily. It tastes even better the next day, so it is perfect for making ahead.
This colorful salad is perfect for picnics, barbecues and church potlucks, and it pairs well with grilled chicken or burgers. Serve it in a wide, shallow bowl so all the bright vegetables show. It also makes a nice light lunch for Tom and me during the week.
Ingredients
1 pound rotini pasta
1 pint cherry tomatoes, halved
1 English cucumber, diced
1 red bell pepper, diced
1/2 red onion, thinly sliced
1 can sliced black olives, drained
6 ounces salami, diced
8 ounces fresh mozzarella pearls
1/2 cup grated Parmesan cheese
1/2 cup olive oil
1/4 cup red wine vinegar
1 teaspoon dried Italian seasoning
1 clove garlic, minced
1/2 teaspoon kosher salt
Rotini is a great choice because the spirals catch the dressing and little bits of cheese. If you make the salad a day ahead, wait to add the cucumber until the morning you serve it, so it stays crisp. Add a pinch of red pepper flakes to the dressing if your crowd likes a little heat.
Instructions
Boil the rotini in salted water until al dente. Drain it, rinse it under cold water until cool, drain well again and tip it into your largest bowl.
Put the garlic, vinegar, olive oil, Italian seasoning, salt and a pinch of pepper in a lidded jar and shake hard until it looks blended.
Drizzle roughly half of that dressing over the pasta and toss. As it sits, the pasta soaks it in and gets seasoned through and through.
Add the salami, olives, mozzarella pearls, onion, bell pepper, cucumber and tomatoes.
Pour on the remaining dressing, add the Parmesan and toss until everything looks evenly glossy.
Cover and refrigerate for 1 hour or as long as a day to let the flavors come together.
Toss it once more before serving. If it looks a little dry, add a drizzle of oil and a splash of vinegar. Because there is no mayo, it can sit out for up to 2 hours, which makes it ideal for outdoor parties.
With no mayo in sight, this is my pick for July cookouts where the food sits out in the sun. It is so colorful that it brightens up any buffet line.
If you are making it more than a day early, hold back the tomatoes and cucumbers and add them that morning. Bring a small jar of extra dressing to perk it up when you arrive.
4) Seven Layer Dip
4) Seven Layer Dip
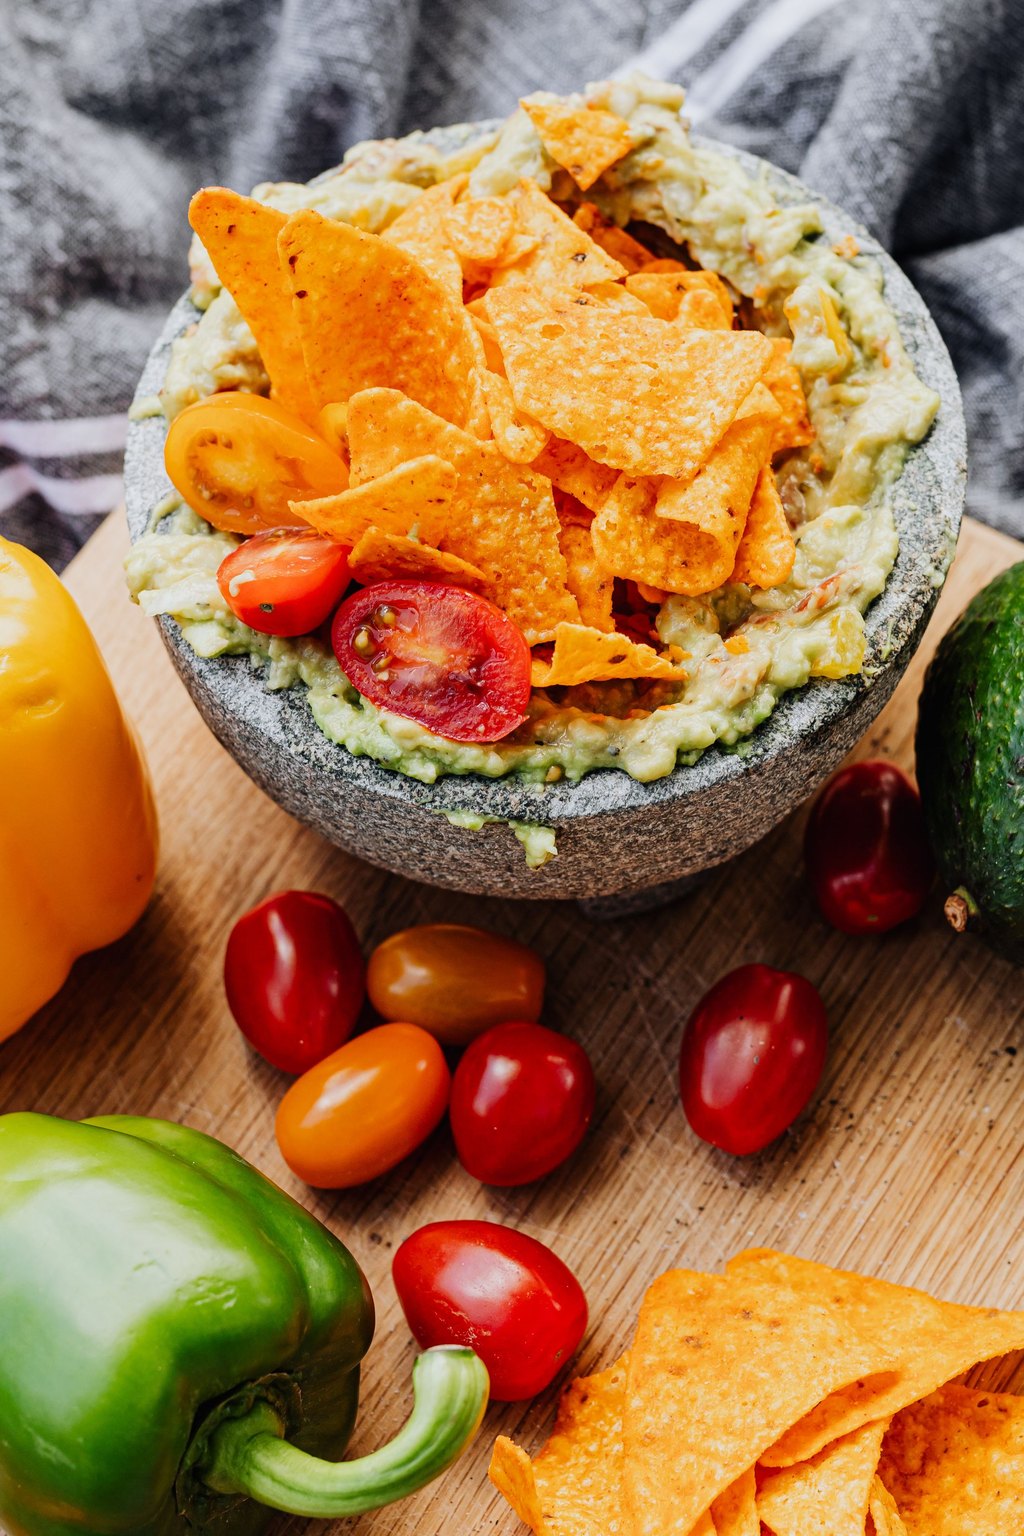
Refried beans, a taco spiced cream layer, guacamole, salsa, shredded cheese and a scatter of fresh toppings stack up into this party classic. A sturdy chip dragged through it picks up a bit of every layer. A little cream cheese in the sour cream layer keeps the dip firm, so it never turns runny.
Seven layer dip looks best in a clear glass dish so everyone can see all the colorful layers. Serve it with sturdy tortilla chips that can dig all the way to the bottom. It is a favorite at game day parties, graduation open houses and summer picnics.
Ingredients
1 can refried beans, 16 ounces
1 tablespoon taco seasoning
1 cup sour cream
4 ounces cream cheese, softened
1 1/2 cups guacamole
1 cup chunky salsa, drained
2 cups shredded cheddar or Mexican blend cheese
2 Roma tomatoes, seeded and diced
1 can sliced black olives, drained
3 green onions, sliced
2 tablespoons chopped fresh cilantro
Tortilla chips, for serving
Spread the refried beans while they are slightly warm, which makes them much easier to smooth. Use a small offset spatula or the back of a spoon for each layer, so the layers stay neat and do not mix. Pat the diced tomatoes dry with a paper towel, since extra juice can make the top layer soggy.
Instructions
Mix the refried beans with 1 teaspoon of taco seasoning until smooth. Smooth them into an even layer in a clear 2 quart dish or a 9×13 inch pan.
Beat the cream cheese, sour cream and the rest of the taco seasoning in a bowl until smooth, then spread it carefully over the beans.
Add the guacamole next and spread it right out to the sides of the dish, which seals it and helps keep it green.
Set the salsa in a sieve for several minutes to let the juice run off so the dip stays thick, then spoon it over the guacamole.
Cover the salsa with an even layer of the shredded cheese.
Top the cheese with the cilantro, green onions, olives and tomatoes.
Wrap it tightly in plastic and chill at least 1 hour and up to 8 hours. Serve it cold with a big basket of tortilla chips, and keep it in a cooler on the drive.
This is the first dish to vanish at every football party Tom and I host. In a clear glass dish, all the colorful layers look so festive.
Spread the guacamole all the way to the edges and lay plastic wrap right on top of it to keep it bright. Save the fresh toppings until just before you leave.
5) Classic Deviled Eggs
5) Classic Deviled Eggs
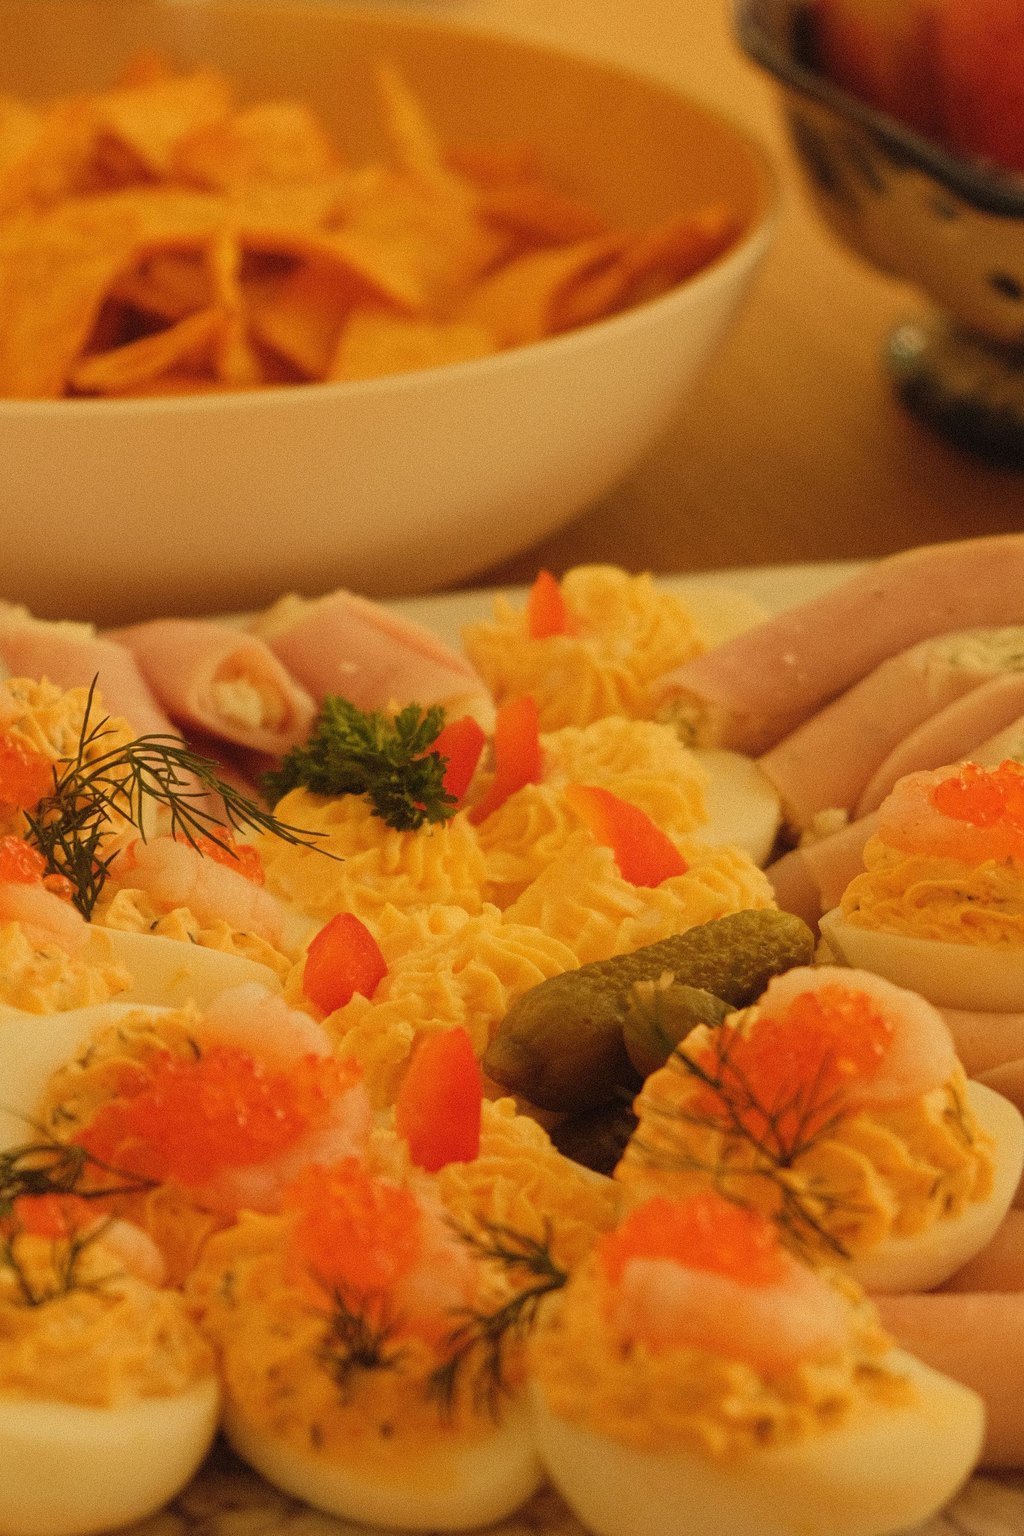
The creamy filling in these eggs blends mashed yolks with mayonnaise, two mustards and a little sweet relish. An ice bath right after cooking gives you tender whites, sunny yolks and shells that slide right off. A sprinkle of smoked paprika on top adds color and a gentle smoky note.
A platter of deviled eggs is always one of the first things to disappear at a potluck. I carry them in a special egg carrier, but a muffin tin lined with paper cups works just as well. Top a few with crumbled bacon or a slice of olive for a little variety.
Ingredients
12 large eggs
1/2 cup mayonnaise
1 1/2 teaspoons Dijon mustard
1 teaspoon yellow mustard
1 teaspoon white vinegar or pickle juice
1 tablespoon sweet pickle relish
1/4 teaspoon kosher salt
1/8 teaspoon black pepper
1/4 teaspoon garlic powder
1/2 teaspoon smoked paprika, for garnish
1 tablespoon chopped fresh chives
Older eggs, about a week from the store, peel far more cleanly than very fresh ones. For a long drive, pack the whites in a covered container and the filling in a zip top bag, then pipe them right at the party. Wipe your knife between cuts so the whites look neat and clean.
Instructions
Lay the eggs in a big pot in one layer and add cold water to cover them by an inch. Set it over high heat and bring it to a rolling boil.
Shut off the burner, put on the lid and leave the eggs in the hot water for 12 minutes.
Transfer them to a big bowl of ice water for 10 minutes. The cold bath stops them cooking, keeps the yolks bright with no gray ring and loosens the shells.
Peel the eggs, rinse away any bits of shell and dry them. Cut each egg in half the long way and ease the yolks out into a medium bowl.
Crush the yolks with a fork until fine. Stir in the relish, vinegar, both mustards, mayonnaise, garlic powder, pepper and salt until creamy.
Spoon or pipe the yolk mixture back into the whites. A plastic bag with one corner cut off makes a handy piping bag.
Dust them with smoked paprika and sprinkle on the chives. Keep them cold until serving and set the platter over ice at the party.
At every family gathering I can remember, deviled eggs were gone before anything else. They cost very little and are so easy to grab in one bite.
Make the filling and cut the whites a day early, but keep them apart. Take the yolk mixture along in a piping bag and pipe it in after you arrive so they look picture perfect.
6) Broccoli Salad with Bacon
6) Broccoli Salad with Bacon
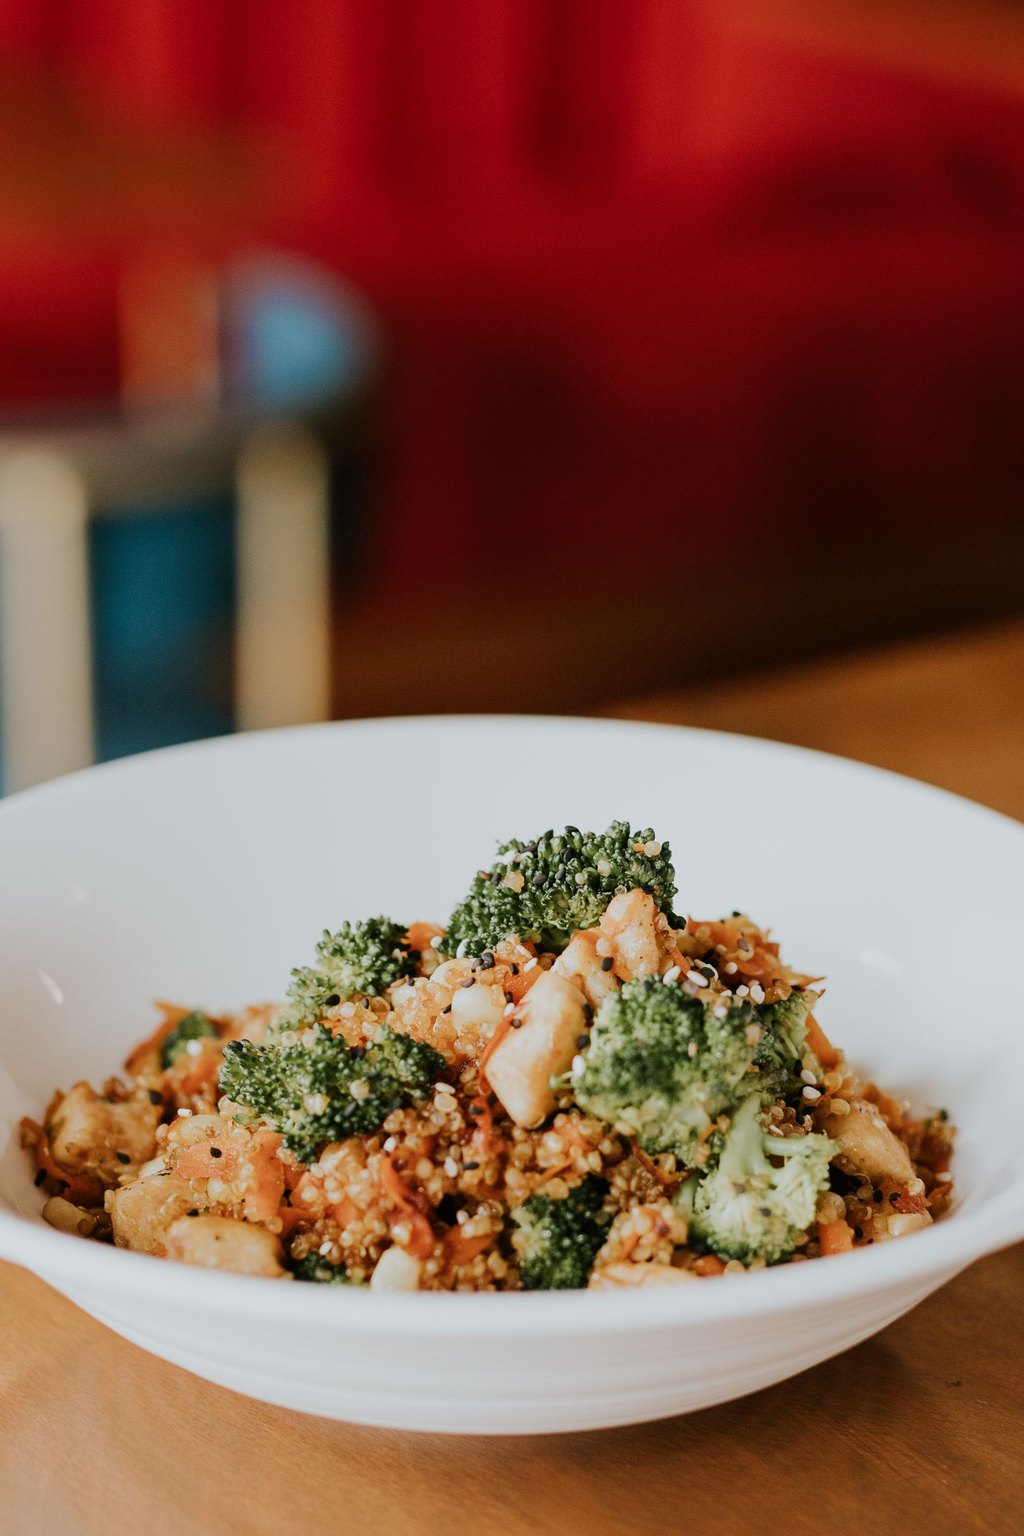
Raw broccoli florets get tossed with smoky bacon, sharp cheddar, dried cranberries and crunchy sunflower seeds in this creamy salad. A sweet and tangy dressing coats it all and slowly softens the raw florets as the bowl rests in the fridge. Every forkful brings something salty, sweet, creamy and crunchy.
Broccoli salad adds a fresh crunch next to heavier potluck dishes like baked beans, mac and cheese and fried chicken. I serve it in a big bowl with a slotted spoon so folks get just the right amount of dressing. It is also a great side for grilled burgers or a simple ham sandwich lunch.
Ingredients
6 cups small broccoli florets, about 2 large heads
8 slices bacon, cooked and crumbled
1 cup shredded sharp cheddar cheese
1/2 cup dried cranberries
1/2 cup roasted sunflower seeds
1/3 cup finely diced red onion
For the dressing
1 cup mayonnaise
2 tablespoons apple cider vinegar
2 tablespoons granulated sugar
1/4 teaspoon kosher salt
1/4 teaspoon black pepper
Golden raisins can stand in for the dried cranberries if that is what you have in the pantry. Bake the bacon on a sheet pan at 400F until crisp, which is easier than frying and keeps the slices flat for crumbling. Pack the bacon and sunflower seeds in a little bag and stir them in at the party.
Instructions
Trim the broccoli into tiny, bite size florets, since small pieces hold more dressing and are easier to eat. Rinse them and dry them completely in a salad spinner or with towels.
Put the cheddar, cranberries, onion and broccoli in your largest bowl so you have room to toss.
In a small bowl, whisk the pepper, salt, sugar, vinegar and mayonnaise for a minute or so, until you no longer feel any grit from the sugar.
Spoon the dressing over the bowl and fold with a big spoon until every floret is glossy.
Cover and refrigerate an hour or more, which gives the florets time to soften a touch and soak up flavor. Overnight is even better.
Just before serving, fold in the sunflower seeds and crumbled bacon so they stay crisp and do not go soft in the dressing.
Taste it and add a bit more vinegar if you like it tangier. Serve it cold and set it over ice if it will be outside for long.
No dish I bring to church suppers earns more recipe requests than this one. Folks who swear they do not eat broccoli always come back for another scoop.
Mix everything except the seeds and bacon up to a day ahead. Pack those two in a little bag and stir them in once you get there.
7) Cheesy Hash Brown Casserole
7) Cheesy Hash Brown Casserole
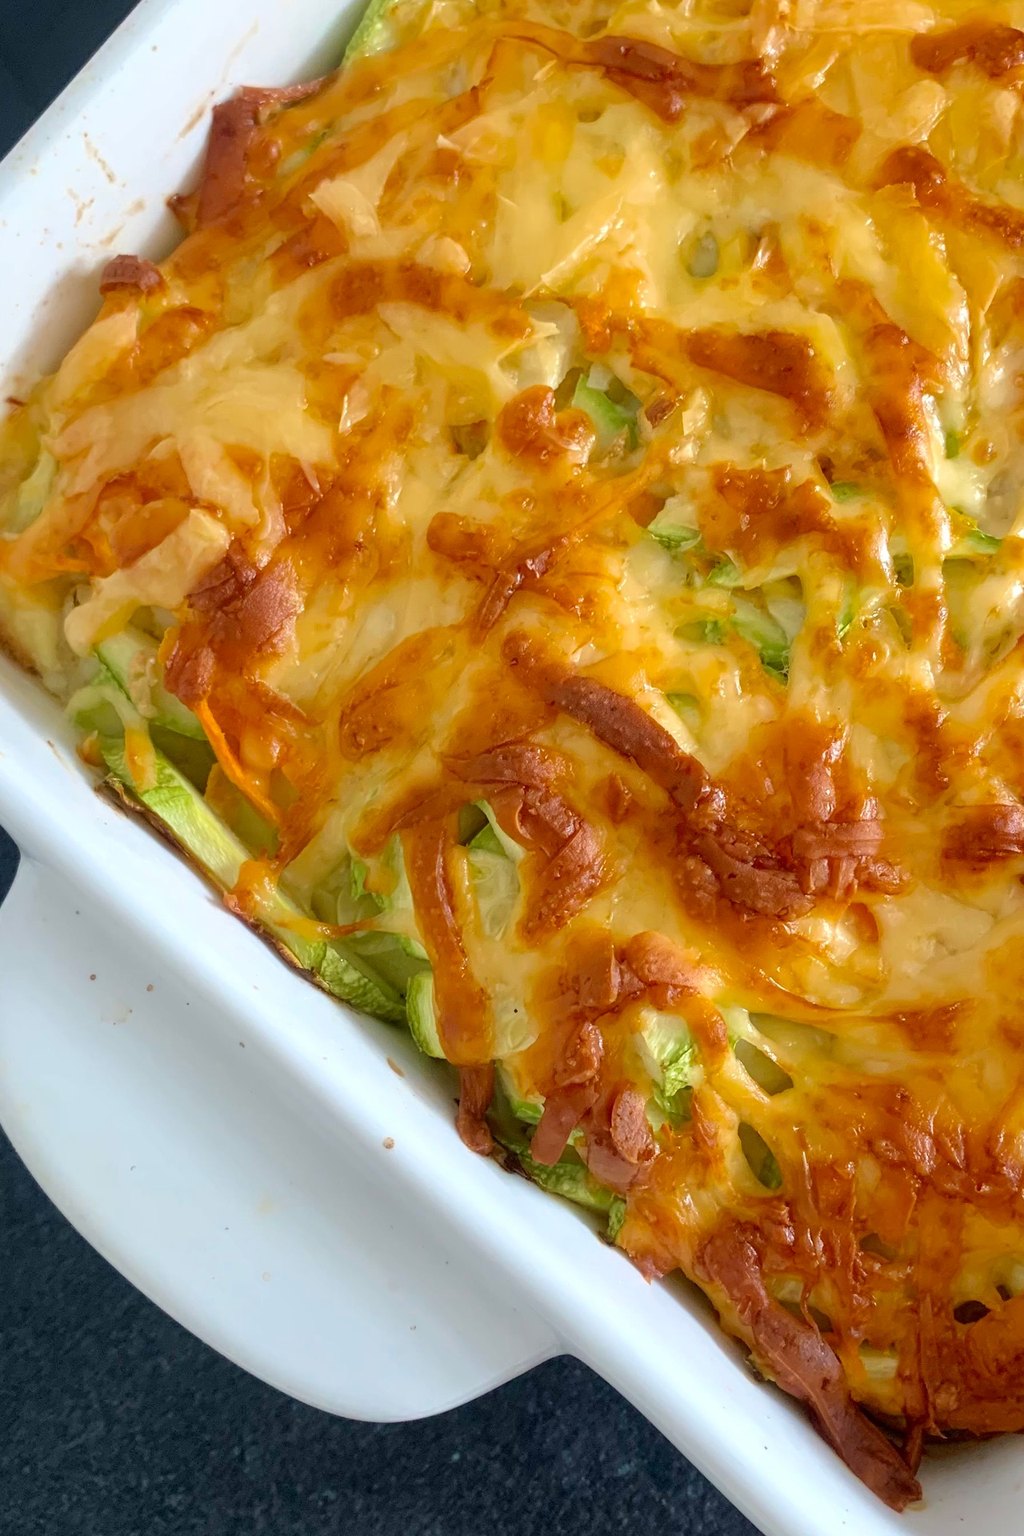
This rich, cheesy bake shows up at so many church suppers that plenty of folks call it funeral potatoes. Shredded potatoes bake in a sour cream and cheddar sauce under a crunchy, buttery cereal crust. It is cozy and filling, and it holds its warmth long after it leaves the oven.
Hash brown casserole is a classic side for ham, fried chicken or a big holiday brunch. Set it on the table in its baking dish with a big serving spoon, and the crispy corners will go first. It is a comforting dish to bring to a family after a loss, which is how it got its old nickname.
Ingredients
30 ounces frozen shredded hash brown potatoes, thawed
1/2 cup unsalted butter, melted and divided
1 can condensed cream of chicken soup, 10.5 ounces
2 cups sour cream
1 small onion, finely diced
2 cups shredded sharp cheddar cheese
1 teaspoon kosher salt
1/2 teaspoon black pepper
1/2 teaspoon garlic powder
2 cups crushed cornflakes cereal
2 tablespoons chopped fresh parsley
Thaw the hash browns in the refrigerator overnight so they are ready to blot dry in the morning. Assemble everything except the topping the night before, then add the buttered cereal right before baking. Add about 10 minutes to the bake if the dish goes straight from the refrigerator into the oven.
Instructions
Grease a 9×13 inch baking dish and heat the oven to 350F.
Spread the thawed potatoes on a clean kitchen towel and blot them dry. Getting rid of extra water keeps the casserole from being soupy.
In a large bowl, combine the sour cream, soup, cheddar, onion, garlic powder, pepper, salt and 1/4 cup of the melted butter.
Stir in the hash browns until they are coated, then spread it all into the dish.
Crush the cereal in a plastic bag with a rolling pin, keeping some chunky pieces, then toss it with the remaining 1/4 cup of butter and scatter it over the potatoes.
Bake without a cover for 45 to 55 minutes, until the sides bubble and the crumbs on top are deep golden and crunchy.
Rest it 10 minutes, sprinkle with parsley and serve. For the drive, cover it with foil and wrap it in towels or tuck it into an insulated carrier, and it will stay hot for about an hour.
When I know a big, hungry crowd is coming, this is what goes in my carrier. It sits happily next to ham, fried chicken, barbecue and everything else on the table.
Put it together the night before without the topping and keep it in the fridge. Add the buttery cereal right before it goes in the oven and bake it 10 minutes longer.
8) Slow Cooker Party Meatballs
8) Slow Cooker Party Meatballs
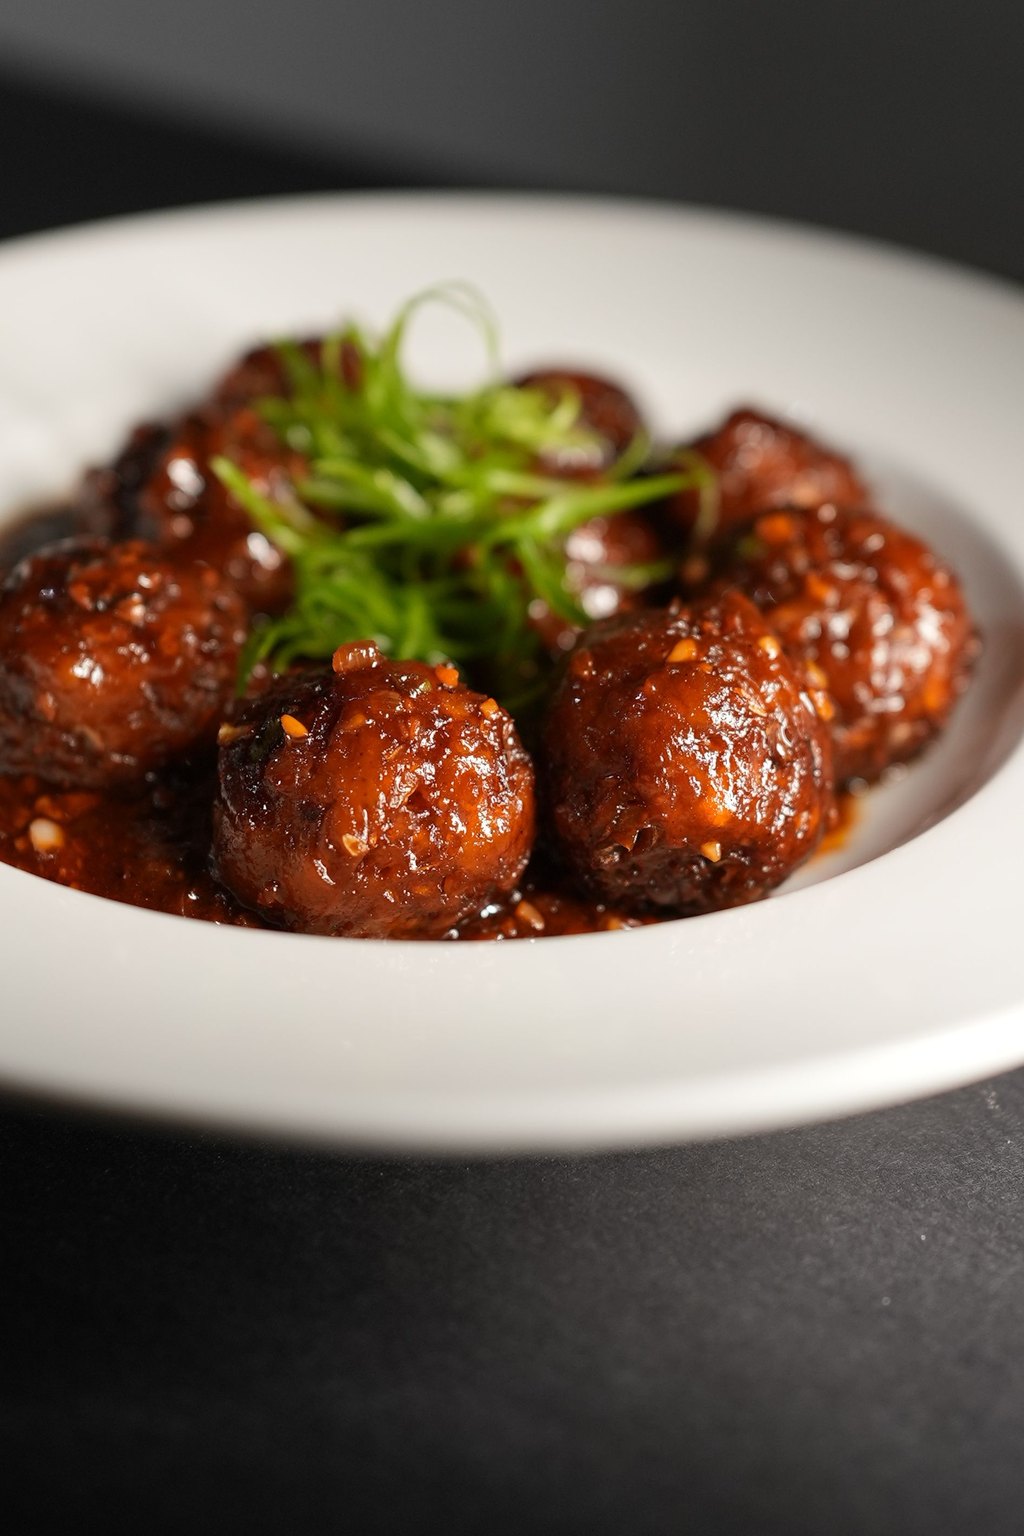
These meatballs bubble away in a sticky glaze that is equal parts sweet and tangy, built from grape jelly plus chili and barbecue sauces. Jelly may sound like a strange choice, but it melts into a shiny sauce that tames the spicy chili sauce beautifully. The meatballs go into the slow cooker frozen, so you only spend about five minutes on them.
For a heartier potluck dish, set out small slider rolls so people can make little meatball sandwiches. These are always a hit with kids and grownups alike at game day gatherings and church suppers. Any leftovers make an easy dinner served over white rice.
Ingredients
2 pounds frozen fully cooked meatballs
1 jar grape jelly, 18 ounces
1 bottle chili sauce, 12 ounces
1/2 cup barbecue sauce
1 tablespoon Worcestershire sauce
1 tablespoon apple cider vinegar
1/2 teaspoon garlic powder
1/4 teaspoon red pepper flakes
2 green onions, sliced
Toothpicks, for serving
Grape jelly is the classic, but apricot preserves or jellied cranberry sauce also make a tasty sauce. Avoid stirring too hard once the meatballs soften, or they will break apart. Bring a little extra sauce in a jar, since the meatballs soak up quite a bit during a long party.
Instructions
Spray the crock of your 6 quart cooker so washing up later is easier.
Put the chili sauce, jelly, barbecue sauce, vinegar, Worcestershire, red pepper flakes and garlic powder straight into the cooker and whisk until mostly smooth. Small lumps of jelly will melt away as it heats.
Add the meatballs while still frozen and stir gently to coat them. Thawing them first is not necessary.
Put on the lid and cook 4 hours on LOW or 2 1/2 to 3 hours on HIGH, stirring once or twice, until the sauce turns glossy and the meatballs register 165F in the center.
Taste the sauce and adjust, adding a splash more vinegar to cut the sweetness or a few more pepper flakes for more kick.
For the trip, clip the lid down or wrap it with plastic and a towel, nestle the cooker in a sturdy box or basket for the car and switch it to WARM once it is plugged in at the party.
Scatter the sliced green onions on top and set out toothpicks and little plates.
Nothing I bring to a potluck is easier than these, and the cooker is always empty before the main dishes are gone. Since they ride in the slow cooker, they stay hot the whole party.
Turkey meatballs make a lighter version, and little cocktail sausages are a fun change. Spoon any leftovers over rice or into sub rolls the next day.
9) Brown Sugar Baked Beans
9) Brown Sugar Baked Beans
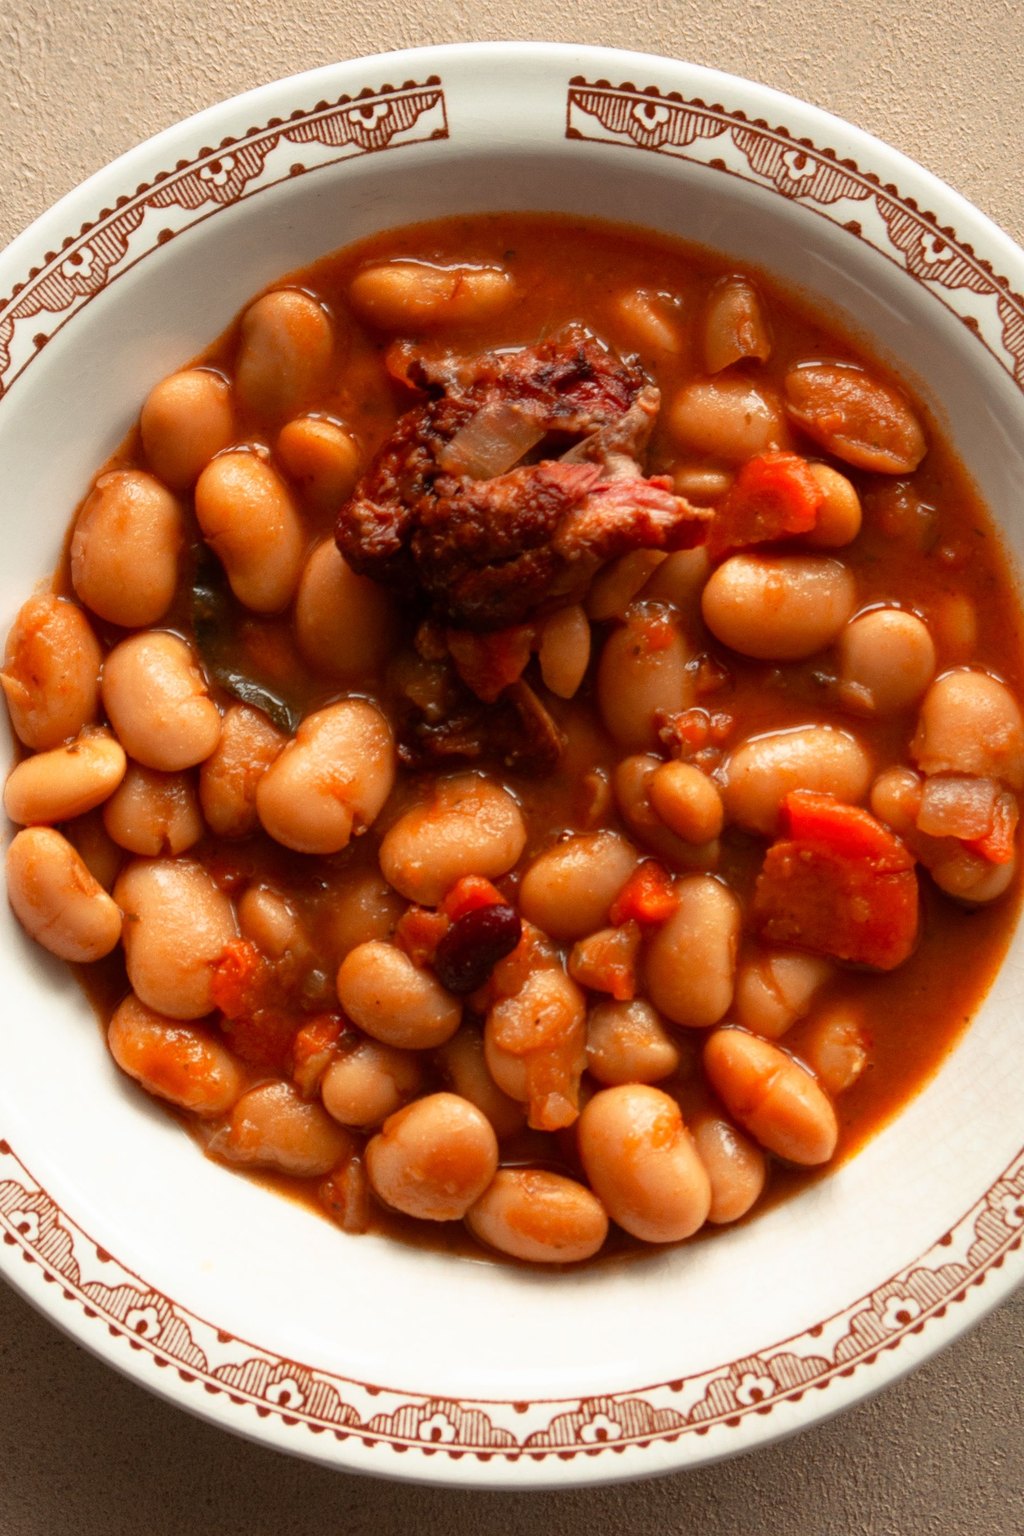
These beans bake slowly in a sweet, smoky sauce of brown sugar, molasses and a tangy bit of mustard. Bacon, onion and green pepper bring savory depth and a little smokiness to each spoonful. As it bakes, the sauce thickens and turns sticky and caramelized at the edges.
Beans like these are a must at any barbecue, sitting right next to the pulled pork, coleslaw and cornbread. Serve them in a bean pot or a sturdy casserole with a big ladle. They are hearty enough that I sometimes make them a meal for Tom and me with a pan of cornbread.
Ingredients
8 slices bacon, chopped
1 medium onion, diced
1/2 green bell pepper, diced
2 cans pork and beans, 28 ounces each
1 can kidney beans, 15 ounces, drained and rinsed
1/2 cup ketchup
1/2 cup packed brown sugar
1/4 cup molasses
2 tablespoons yellow mustard
1 tablespoon Worcestershire sauce
1 tablespoon apple cider vinegar
1/2 teaspoon smoked paprika
Make these a day ahead, since the flavor gets even richer overnight in the refrigerator. Reheat them covered at 350F for about 30 minutes, adding a splash of water if they seem thick. Regular molasses gives a gentle sweetness, while blackstrap tastes bitter and is too strong here.
Instructions
Grease a 3 quart casserole or a 9×13 inch pan and heat the oven to 350F.
Fry the bacon in a big skillet on medium for 5 to 6 minutes, just until browned but still soft. The oven will finish crisping it.
Add the bell pepper and onion to the pan and cook 5 minutes more, until tender. Pour off most of the drippings.
In a large bowl, combine both kinds of beans, keeping the sauce from the canned pork and beans, along with the molasses, brown sugar, ketchup, vinegar, mustard, smoked paprika and Worcestershire.
Stir in the bacon mixture and pour it all into the dish.
Bake uncovered for 60 to 75 minutes, giving it one stir halfway through, until the sauce is thick, bubbling and darker at the edges.
Let it sit 10 minutes before serving, because the sauce keeps thickening as it cools. To travel, cover it with foil and wrap it in towels, or move it to a slow cooker on WARM.
No cookout feels right without baked beans, and this dressed up version tastes like it started from dried beans. Whenever someone tells me to bring a side, this is what I make.
Bake them the day before and warm them covered at 350F for 30 minutes, since they taste even better the second day. They also keep well in a slow cooker on WARM.
10) Pulled Pork Sliders
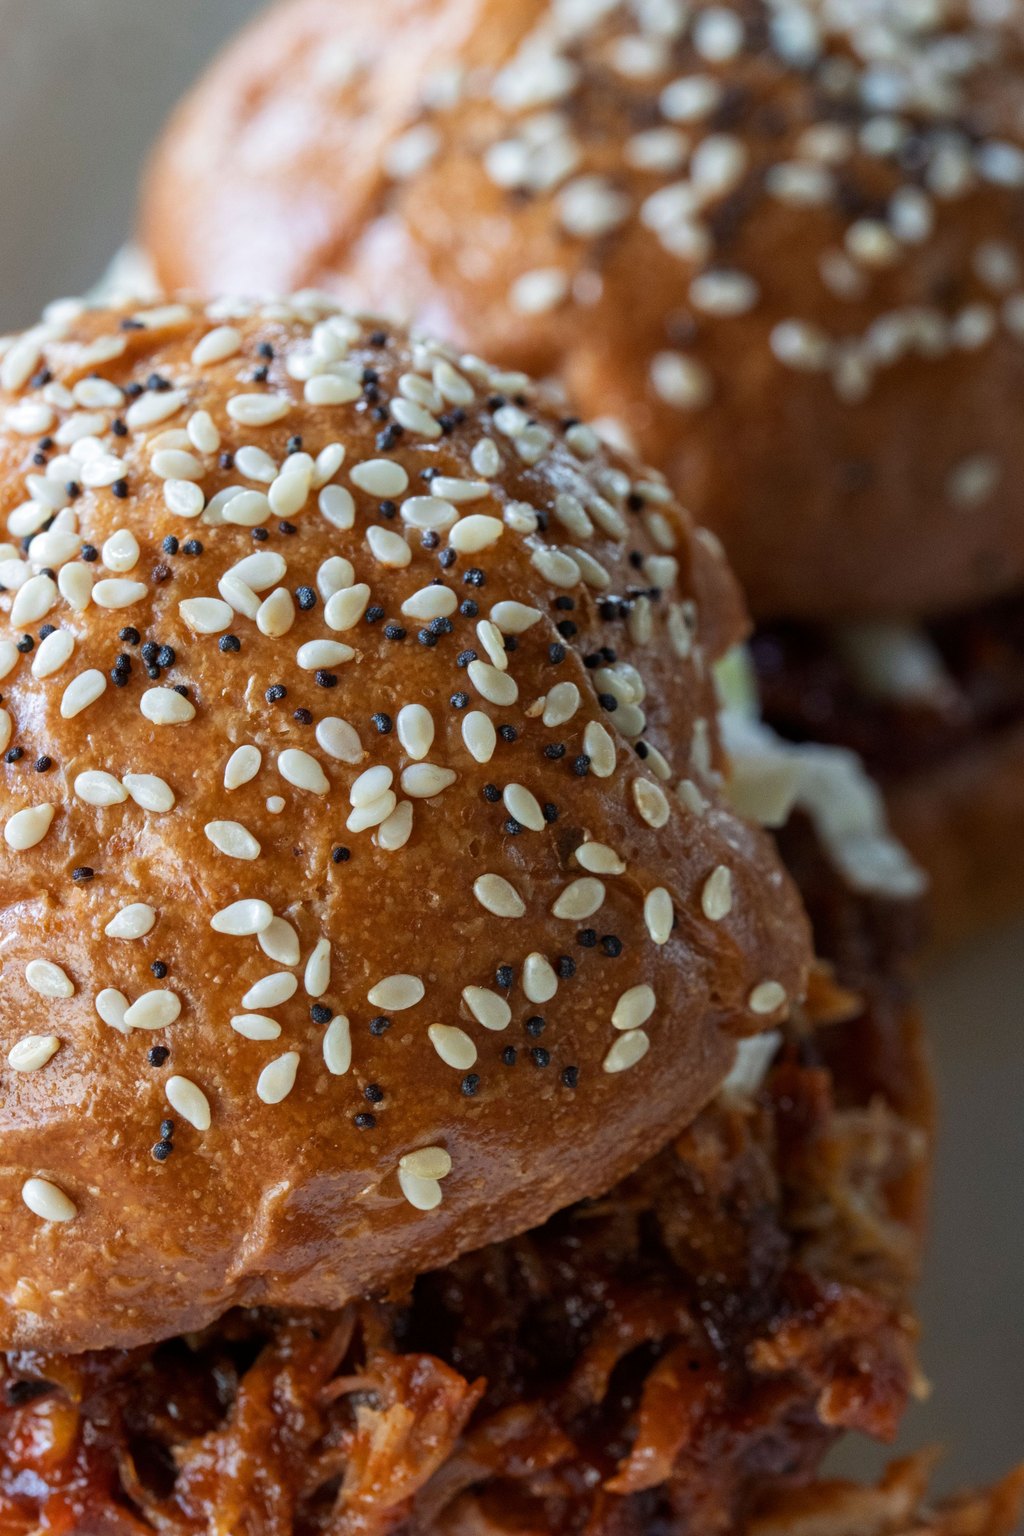
10) Pulled Pork Sliders
A pork shoulder cooks low and slow under a smoky brown sugar rub until a fork pulls it apart with no effort. Mixing the shredded pork with barbecue sauce and some of its own juices keeps it moist for hours. Piled onto soft little buns with crunchy slaw, it wins over every crowd.
Lay out the meat, buns and coleslaw on the buffet with a few kinds of barbecue sauce for everyone to try. Pickles, sliced jalapenos and crispy fried onions make a fun topping bar. These are perfect for a graduation party, a family reunion or a big tailgate.
Ingredients
1 boneless pork shoulder, 4 pounds
2 tablespoons brown sugar
1 tablespoon smoked paprika
2 teaspoons kosher salt
1 teaspoon garlic powder
1 teaspoon onion powder
1/2 teaspoon black pepper
1 medium onion, sliced
1/2 cup chicken broth
1/4 cup apple cider vinegar
1 1/2 cups barbecue sauce, divided
24 slider buns or dinner rolls
2 cups coleslaw, for topping
Cook the pork the day before, shred it and refrigerate it in its juices, then reheat it in the slow cooker on LOW until it reaches 165F. Lightly toast the buns if you can, because they hold up better under the juicy pork. Keep the coleslaw in a cooler until serving so it stays crisp and safe.
Instructions
Stir the pepper, onion powder, garlic powder, salt, smoked paprika and brown sugar together in a small bowl. Rub it into every side of the pork.
Spread the sliced onion over the floor of your 6 quart cooker. Set the pork on them and pour the vinegar and broth around the meat.
Cover and cook 8 to 10 hours on LOW or 5 to 6 hours on HIGH, until the pork is fall apart tender. It shreds best once the inside reaches 195F or higher.
Lift the pork onto a big cutting board and pull it apart with two forks, tossing out any large pieces of fat.
Skim the fat off the liquid in the cooker. Put the meat back in with 1 cup of barbecue sauce and roughly 1/2 cup of the juices and stir well.
Hold it on WARM until it is time to eat. It travels easily right in the cooker.
Lay out the buns, the coleslaw and the rest of the barbecue sauce and let everyone make their own sliders.
A single shoulder roast stretches to feed a crowd on a small budget, and the slow cooker handles the work. I have made these sliders for graduations, birthday parties and a few tailgates.
The pork can be cooked, pulled and refrigerated as much as 2 days early. To serve, add a little broth and let it heat through on LOW, which takes 2 to 3 hours.
11) Southern Potato Salad
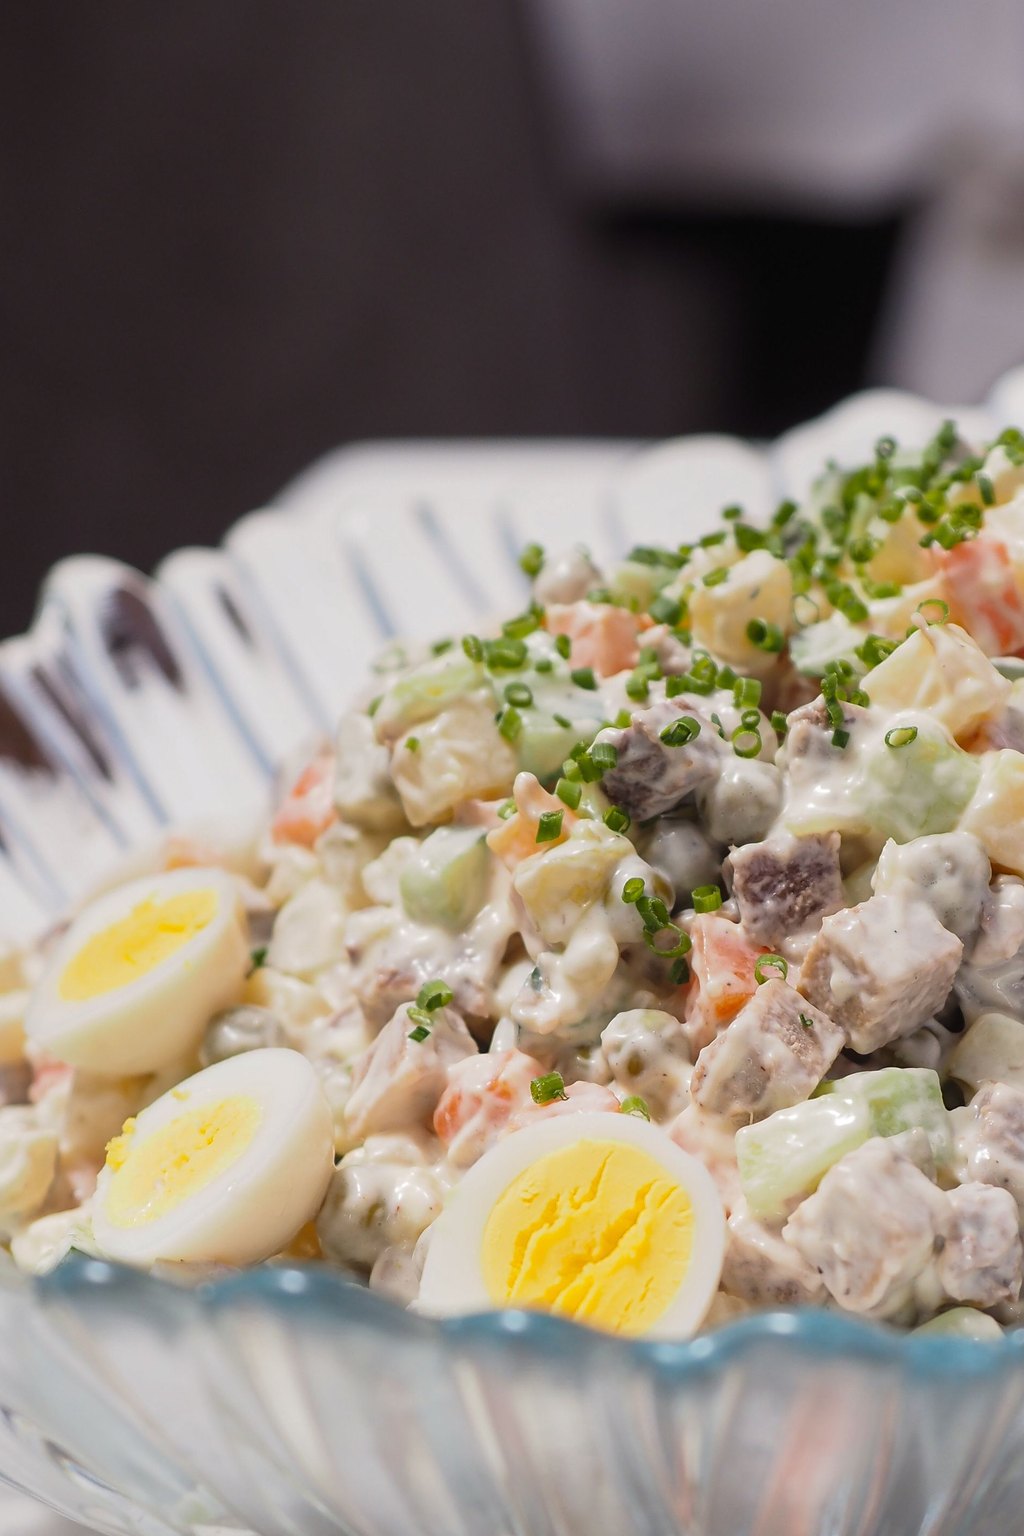
11) Southern Potato Salad
This southern potato salad is creamy and tangy with a little sweetness from relish, plus yellow mustard and chopped eggs. Splashing the warm potatoes with vinegar seasons them through and through. Diced celery and onion bring a fresh, clean crunch against the soft, tender potatoes.
Southern potato salad is a must with fried chicken, barbecue or a plate of grilled hot dogs. A sprinkle of paprika and a few sliced eggs on top make it look pretty on the buffet table. My family thinks no summer gathering is complete without a big bowl of it.
Ingredients
3 pounds russet potatoes, peeled and cut into 3/4 inch cubes
1 tablespoon kosher salt, for the cooking water
1 tablespoon apple cider vinegar
1 cup mayonnaise
2 tablespoons yellow mustard
3 tablespoons sweet pickle relish
1 teaspoon granulated sugar
1/2 teaspoon kosher salt
1/4 teaspoon black pepper
4 hard boiled eggs, chopped
2 celery ribs, finely diced
1/4 cup finely diced onion
1/2 teaspoon paprika, for garnish
Start the potatoes in cold water so the outsides do not cook faster than the centers. Russets turn a little fluffy and creamy, but Yukon Golds hold their shape better if you like firm cubes. Make it the night before if you can, since the flavors only get better as it rests.
Instructions
Place the potato cubes in a big pot, add cold water to reach an inch above them and stir in the tablespoon of salt. Boil 8 to 10 minutes, until a fork goes in easily but the cubes are still intact.
Drain them well and spread them on a sheet pan. Sprinkle the vinegar over them while they are still warm, since hot potatoes absorb it and get seasoned all the way through.
Leave them to cool for 20 minutes.
In a large bowl, whisk the relish, mustard, mayonnaise, pepper, salt and sugar.
Add the onion, celery, eggs and potatoes and fold gently until everything is dressed. Any potatoes that break up only make it creamier.
Cover and chill for 2 hours or overnight to let the flavors meld.
Stir it before serving, dust it with paprika and keep it cold. Outdoors, set the bowl inside a larger bowl filled with ice.
Every family seems to have its own potato salad, and this is the one from my grandmother’s table. My cousins make sure I am signed up to bring it to the reunion every year.
It tastes best made a full day ahead, because it really does get better overnight. Covered and chilled, it stays good for 3 days.
12) Sweet Corn Casserole
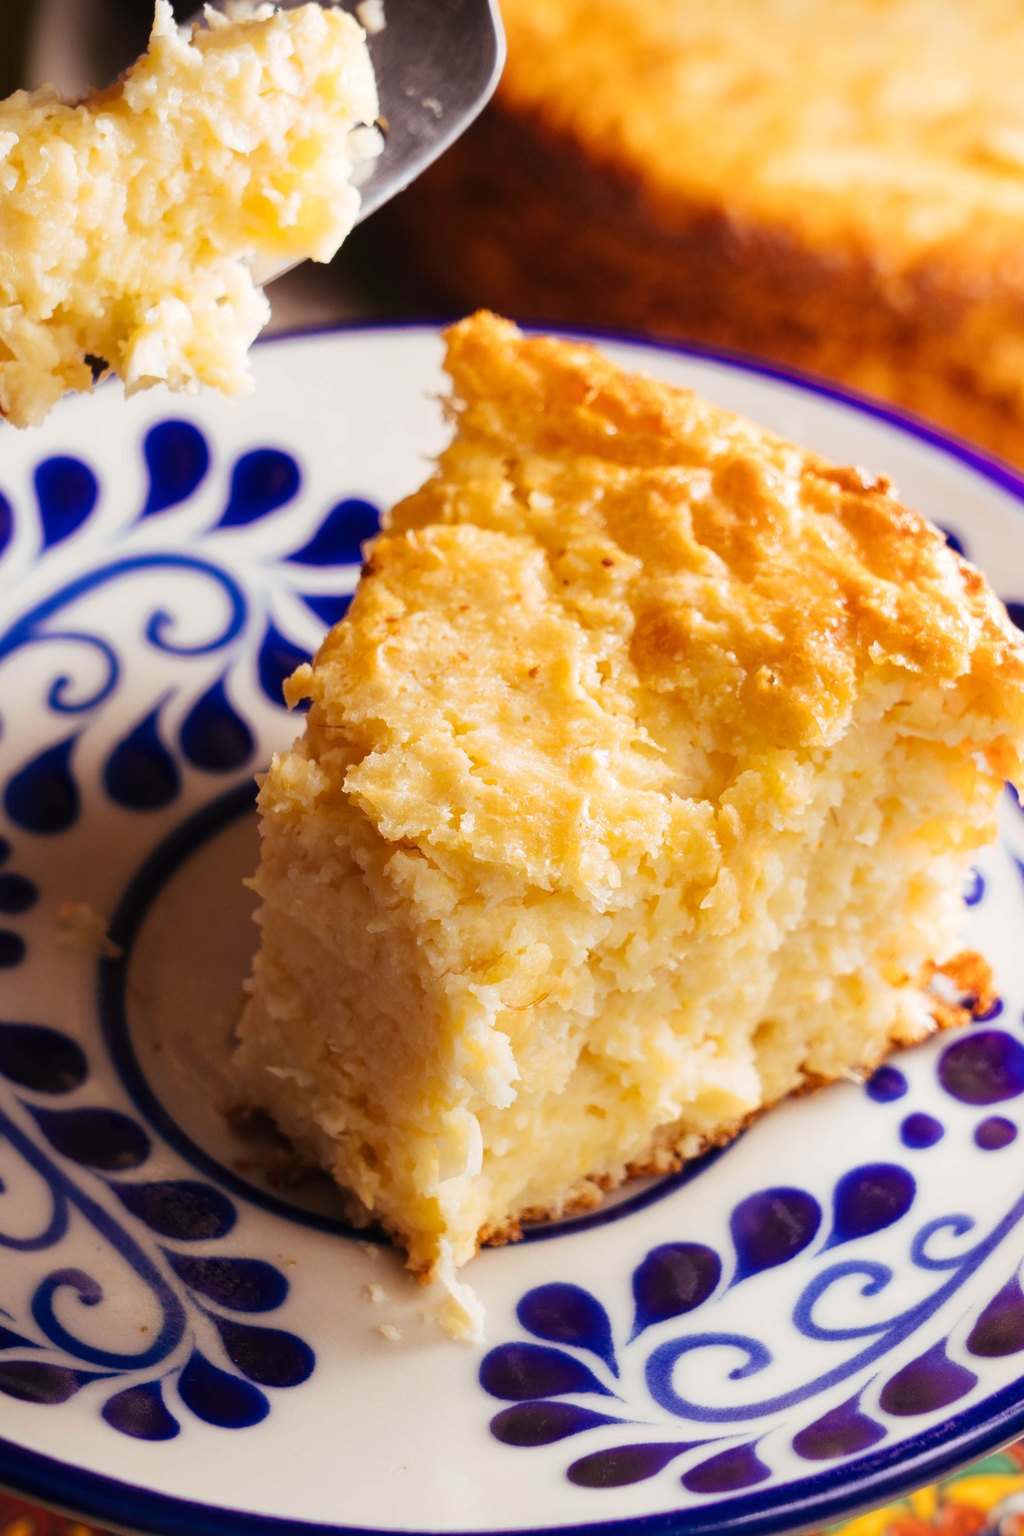
12) Sweet Corn Casserole
Part creamy corn pudding and part tender cornbread, this casserole mixes up in just one bowl. Two kinds of canned corn plus sour cream and butter make it moist and rich. The edges bake up golden and a little crisp while the middle stays soft, warm and spoonable.
Corn casserole is a classic side for Thanksgiving, Easter ham or a summer barbecue. Serve it warm right from the dish with a big spoon, and offer a little butter or honey on the side. Kids love its sweet, soft texture, and it pairs perfectly with chili or barbecue.
Ingredients
1 can whole kernel corn, 15 ounces, drained
1 can cream style corn, 15 ounces
1 box corn muffin mix, 8.5 ounces
1 cup sour cream
1/2 cup unsalted butter, melted
2 large eggs, beaten
2 tablespoons granulated sugar
1/4 teaspoon kosher salt
1 cup shredded cheddar cheese, optional
1 tablespoon chopped fresh chives
Butter or nonstick cooking spray, for greasing the dish
Drain the whole kernel corn very well, but keep every bit of the cream style corn, since it adds the moisture. You can mix it the night before and bake it in the morning, adding a few minutes to the time. Stir in a diced jalapeno if your crowd likes a little heat, because it pairs nicely with the sweet corn.
Instructions
Butter a 2 1/2 quart casserole or a 9×13 inch dish and get the oven heating to 350F.
In a large bowl, stir the cream style corn and the drained kernels together.
Add the eggs, butter, sour cream, salt and sugar and mix until smooth.
Stir in the muffin mix just until there are no dry pockets left. It will be thick and a little lumpy, and that is exactly right.
Pour it into the prepared dish and level it out. Top with the cheddar if you are using it.
Bake 45 to 50 minutes, until the edges turn golden, the middle is set and a knife in the center comes out nearly clean. The inside should stay a bit soft and creamy.
Let it rest 10 minutes so it firms up, then sprinkle with chives. To keep it warm on the road, cover it in foil and wrap the dish in towels.
This might be the simplest side I bring anywhere, with one bowl and five minutes of stirring. It vanishes at Thanksgiving and at summer picnics alike.
Bake it the day before, let it cool and refrigerate it. Reheat it under foil in a 350F oven, which takes 20 to 25 minutes to warm the center.
13) Texas Sheet Cake
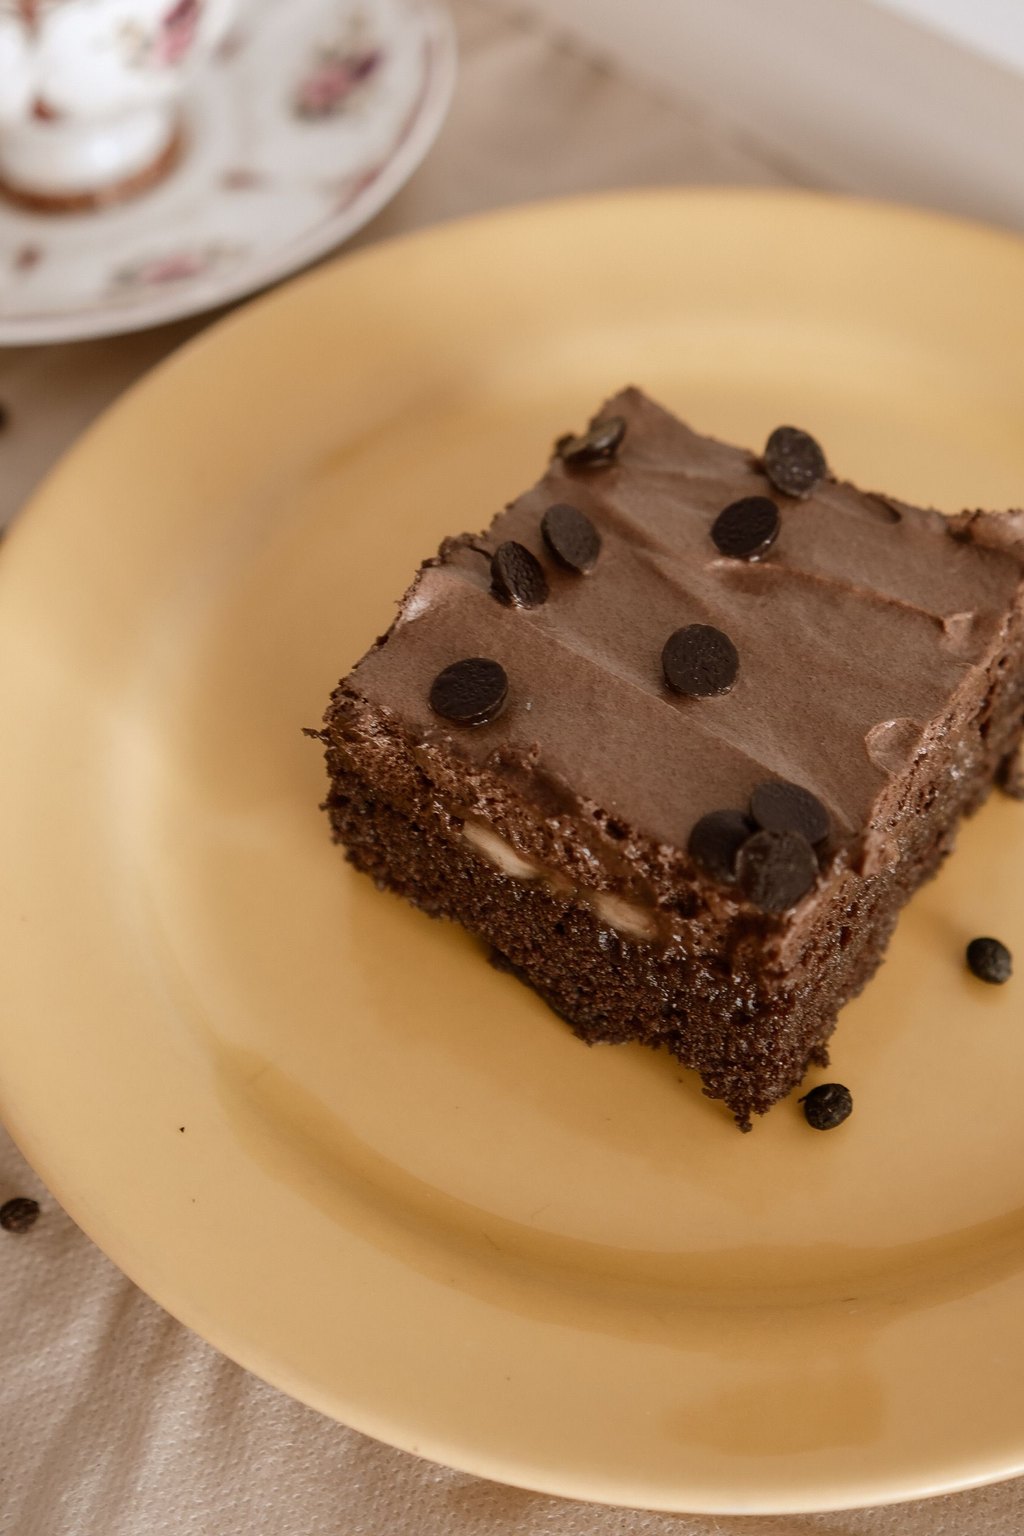
13) Texas Sheet Cake
This thin, fudgy chocolate cake bakes in a big sheet pan and gets a warm, shiny chocolate pecan frosting on top. Spreading the frosting on while the cake is hot lets it sink in a little and set like fudge. It is moist and rich, and one pan serves a whole crowd.
Texas sheet cake is the dessert I bring when I need to feed a big crowd without fuss. Cut it into small squares right in the pan and set it out with a stack of napkins. A scoop of vanilla ice cream makes it extra special at a summer gathering.
Ingredients
2 cups all purpose flour
2 cups granulated sugar
1 teaspoon baking soda
1/2 teaspoon kosher salt
1 cup unsalted butter
1/4 cup unsweetened cocoa powder
1 cup water
1/2 cup sour cream
2 large eggs
1/2 cup unsalted butter, for the frosting
6 tablespoons milk, for the frosting
1/4 cup unsweetened cocoa powder, for the frosting
4 cups powdered sugar
1 teaspoon vanilla extract
1 cup chopped pecans
Use a rimmed sheet pan, because the thin batter will run right off a flat cookie sheet. Sift the powdered sugar if it looks lumpy, so the frosting pours smooth and glossy. Toast the pecans first for a deeper nutty flavor in the frosting.
Instructions
Grease a rimmed 13×18 inch pan and set the oven to 350F.
In a large bowl, whisk together the salt, baking soda, sugar and flour.
Combine the water, cocoa and butter in a medium saucepan and bring it to a boil, stirring as the butter melts. Pour it into the dry mixture and whisk until smooth.
Whisk in the eggs and sour cream until the batter looks shiny and even. It will be quite thin.
Pour it into the pan and nudge it into the corners. Bake 18 to 22 minutes, until the middle springs back and a toothpick comes out clean.
When the cake has about 5 minutes left, start the frosting. Boil the cocoa, milk and butter together in a saucepan, take it off the heat and whisk in the vanilla and powdered sugar until smooth. Stir in the pecans.
The second the cake leaves the oven, pour on the warm frosting and spread it fast. Cool it at least 30 minutes before cutting it into squares.
If I need a dessert to feed a houseful, this is the one I bake. It rides to the party right in its pan with foil tucked over the top.
It tastes even better the next day, so baking it the night before is a smart move. Skip the pecans if you think nut allergies might be an issue.
14) Lemon Bars
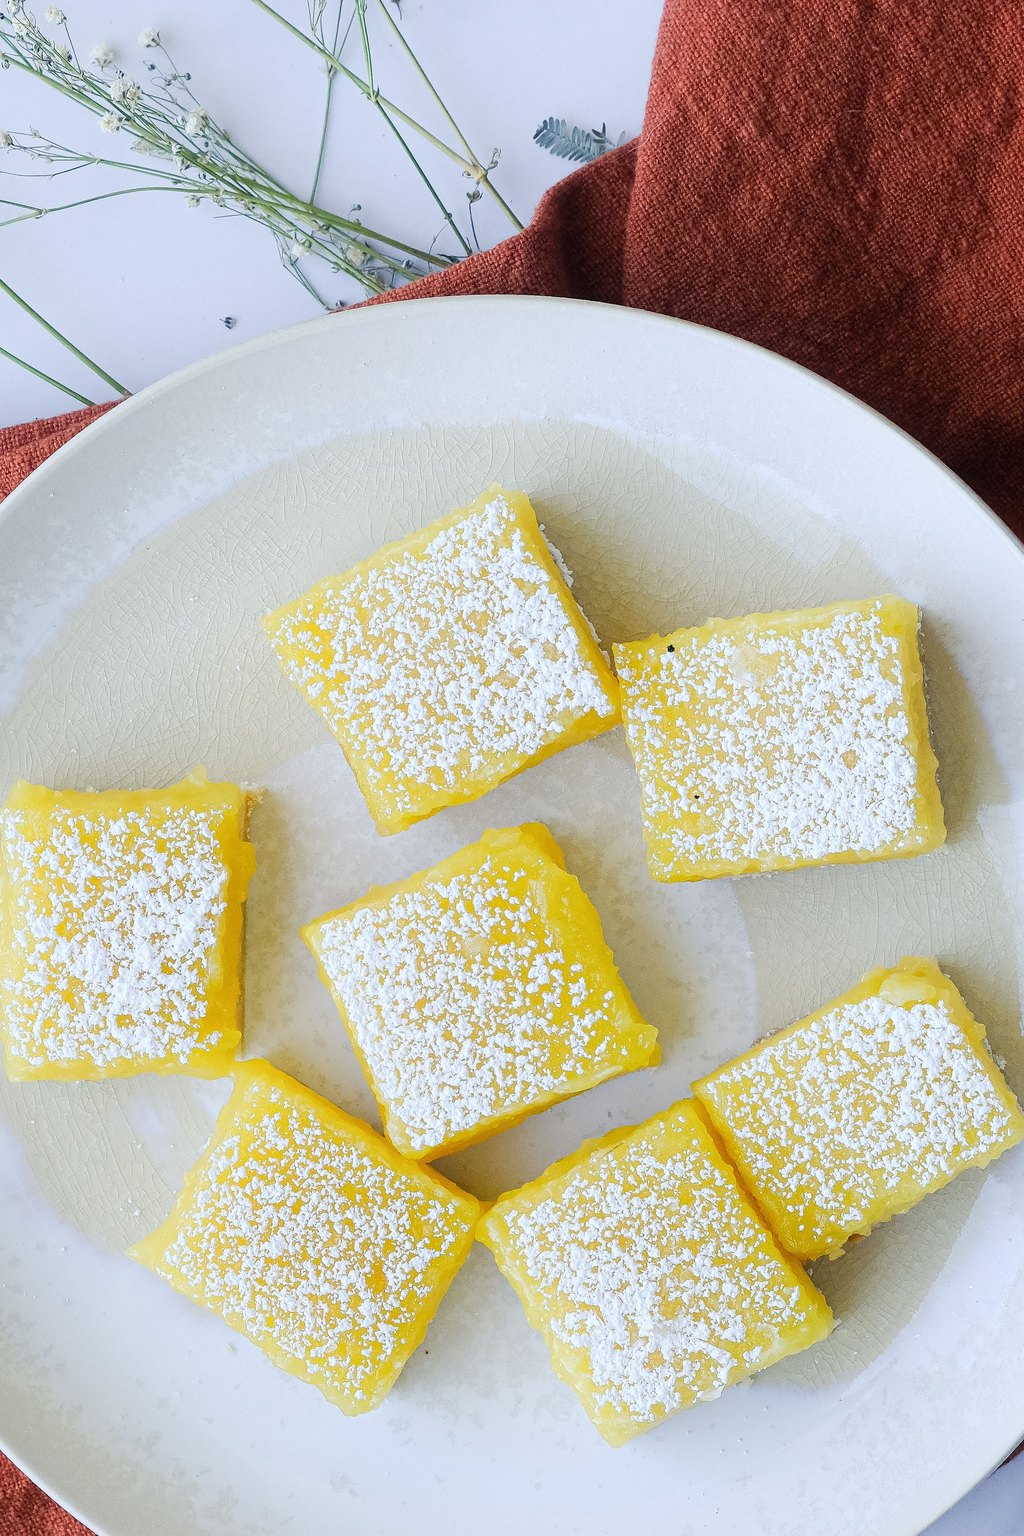
14) Lemon Bars
A buttery shortbread base sits under a bright, tart lemon filling that firms up smooth and silky in the fridge. Lots of fresh juice and zest give them a bold, sunny taste. A snowy dusting of powdered sugar softens the tang and makes them look like they came from a bakery.
Lemon bars bring a bright, fresh finish to any potluck spread, especially after barbecue or fried chicken. Cut them into small squares and arrange them on a pretty platter lined with a doily. They are wonderful for bridal showers, Easter dinners and summer picnics.
Ingredients
For the crust
1 cup unsalted butter, softened
1/2 cup granulated sugar
2 cups all purpose flour
1/4 teaspoon kosher salt
For the filling
4 large eggs
1 1/2 cups granulated sugar
1/4 cup all purpose flour
2 tablespoons fresh lemon zest
2/3 cup fresh lemon juice
2 tablespoons powdered sugar, for dusting
Fresh lemons make all the difference here, since bottled juice tastes flat and a little bitter. Roll each lemon firmly on the counter before squeezing to get more juice. Pull the bars as soon as the center stops wobbling, because overbaking can turn the filling rubbery and brown.
Instructions
Heat the oven to 350F. Fit parchment into a 9×13 inch pan and leave some hanging over the long sides to use as handles.
Beat the sugar and soft butter together until creamy, then add the salt and flour and keep mixing until it clumps into a soft, sandy dough.
Press it into an even layer across the bottom of the pan. Bake 18 to 20 minutes, until the edges just turn golden.
While the crust is in the oven, whisk the lemon zest, flour, sugar and eggs until smooth, then whisk in the lemon juice.
Pour the filling onto the hot crust and bake 20 to 25 minutes more, until the middle no longer wobbles.
Cool them on the counter for about 1 hour, then chill at least 2 hours more, until firm. Cold bars are the secret to neat squares.
Lift the whole slab out by the parchment and cut it with a sharp knife, wiping the blade clean between cuts. Sift powdered sugar over them right before serving and transport them in a firm lidded box or right in the baking pan.
On a dessert table crowded with chocolate, lemon bars are a welcome change. They hold their shape nicely and look lovely lined up on a platter.
They keep in the fridge for 2 days, so you can make them early. Hold off on the powdered sugar until you serve them, because it melts into the filling over time.
Before You Start Cooking
For the ride, chilled dishes go in a cooler packed with ice and bundle hot ones in thick towels or an insulated carrier. Put a strip of tape with your name on both the dish and the serving spoon, and remember that creamy salads should come off the table after 2 hours.
I hope these make your next potluck feel fun and easy instead of stressful. Sharing a meal with neighbors, friends and family is one of my very favorite things, and I love picturing these dishes on your table too.
Frequently Asked Questions
What makes a good potluck dish?
Look for something that feeds a lot of people, holds up at room temperature or stays warm easily and is simple to scoop onto a plate. Sheet cakes, meatballs, pasta salad, cheesy potatoes and baked ziti rarely let you down. A quick message to the host about what others are bringing keeps the table from ending up with four potato salads.
How can I keep a hot casserole warm on the drive?
Time the baking so it comes out right before you leave, cover it snugly with foil and wrap the dish in a few thick towels. An insulated carrier or an empty cooler also does a great job. Packed this way, most casseroles stay hot for roughly an hour.
How long is it safe to leave potluck food out?
Perishable dishes should be put away after 2 hours at room temperature, or after just 1 hour if it is hotter than 90F outside. Set cold salads over a bowl of ice and keep hot food in a slow cooker on WARM. If you are not sure how long something has been sitting, it is best to throw it out.