15 Make Ahead Freezer Meals Worth Stocking Up On
Fifteen homemade freezer meals that reheat like a dream, each with clear notes on wrapping, thawing and baking so dinner is always one step away.
When our three kids were teenagers, a stocked freezer kept me sane, and I still lean on one now that it is mostly just Tom and me. One quiet afternoon of cooking can cover a whole month of easy suppers, with plenty left to send home with whoever stops by. Below are fifteen dishes that truly survive the deep freeze, including lasagna, enchiladas, hearty soups, meatballs and a golden pot pie, and every one comes with freezing and reheating notes. Before anything goes in, I write the name, date and oven temperature right on the lid.
1) Classic Beef Lasagna
1) Classic Beef Lasagna
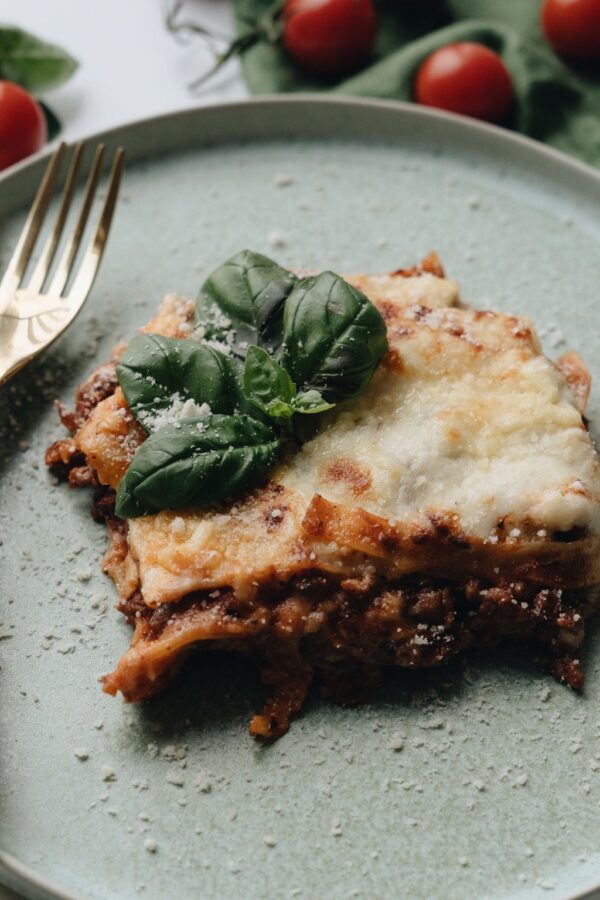
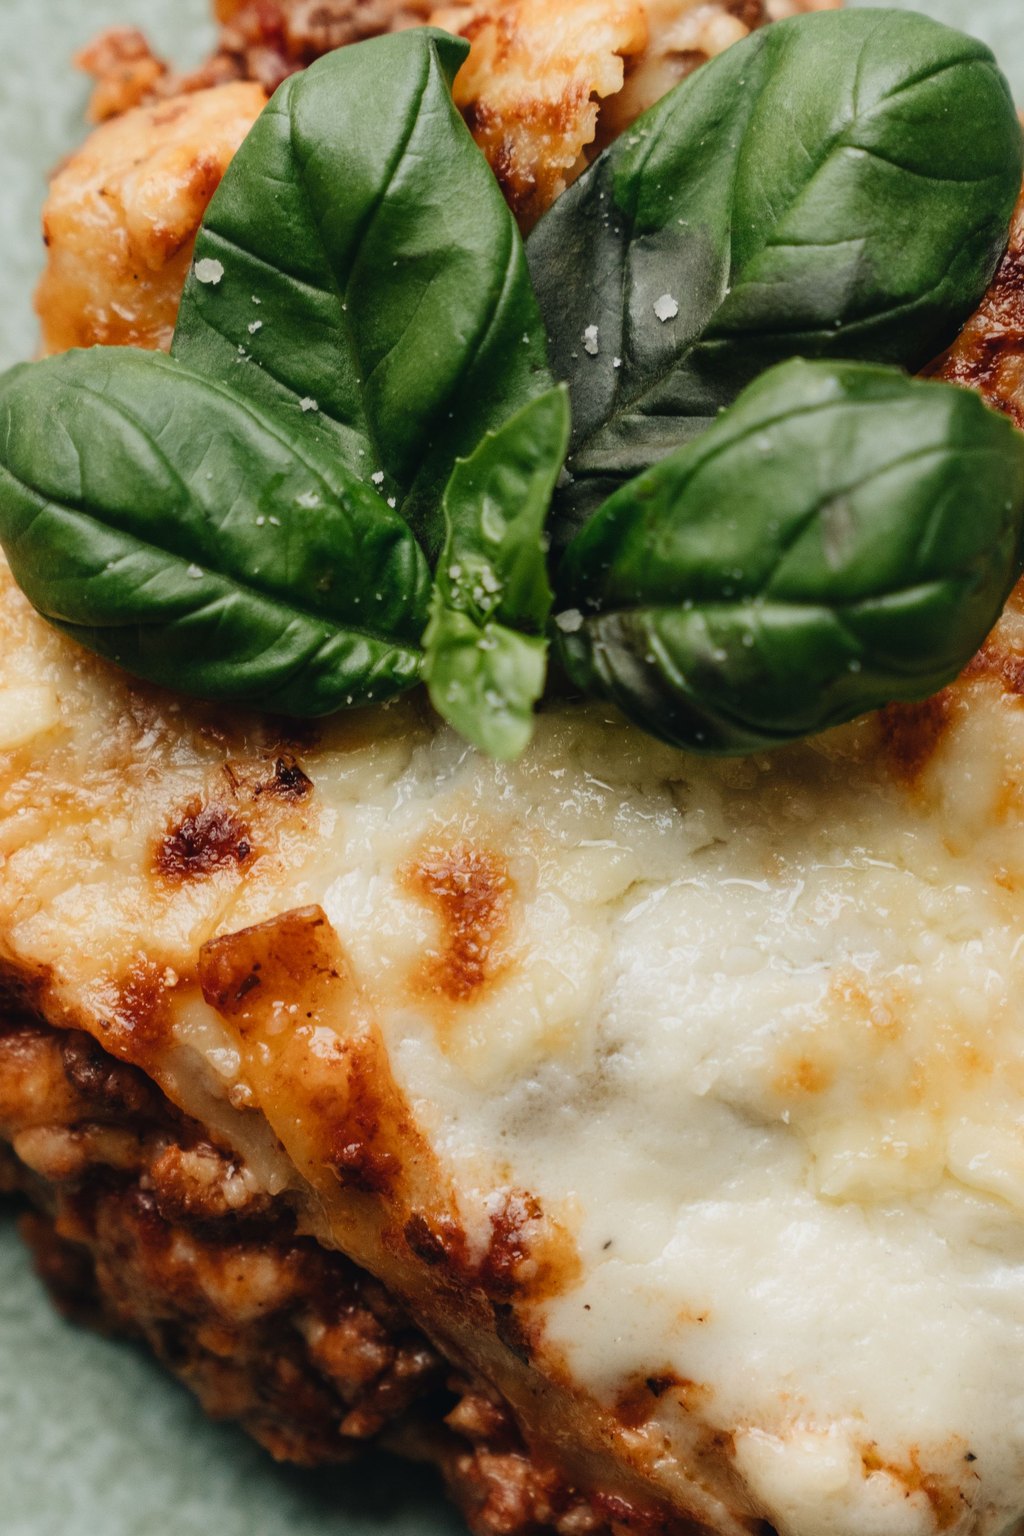
Layers of rich beef and sausage sauce, creamy ricotta and stretchy mozzarella make this the definition of a hearty pan of pasta. Pulling the noodles early means they stay pleasantly firm through freezing and a second trip into the oven. After a good rest it cuts into tall, tidy squares, and the flavor deepens overnight.
Lasagna is my favorite thing to carry to a friend with a new baby or a neighbor who is under the weather. At home I serve it with a crisp Caesar salad and warm garlic bread, and that is a full Sunday dinner. A big square on a warm plate with a little fresh basil on top makes it look special.
Ingredients
1 pound lean ground beef
1/2 pound mild Italian sausage, casings removed
1 medium onion, diced
3 cloves garlic, minced
1 jar marinara sauce, 24 ounces
1 can crushed tomatoes, 15 ounces
12 lasagna noodles
15 ounces whole milk ricotta
1 large egg
1/2 cup grated Parmesan cheese
4 cups shredded mozzarella cheese
2 teaspoons dried Italian seasoning
1 teaspoon salt
1/2 teaspoon black pepper
When it is just the two of us, I split this between two 8 inch foil pans so one goes in the oven and one goes in the freezer. Let the meat sauce cool a bit before layering, because very hot sauce makes the ricotta loose and runny. Label each pan with the date and the baking times so nobody has to look them up later.
Instructions
Preheat the oven to 375F. Boil the noodles in well salted water for 2 minutes less than the box suggests, then drain and spread them on a piece of foil brushed with oil.
Set a big skillet over medium high heat and add the beef, sausage and onion. Crumble the meat as it cooks, about 10 minutes, until no pink remains and it reads 160F. Pour off the grease, stir in the garlic and give it 1 more minute.
Pour in the marinara and the crushed tomatoes, season with the Italian herbs, salt and pepper, and let the sauce bubble gently for 10 minutes.
In a separate bowl, stir the ricotta together with the egg and Parmesan.
Smear 1 cup of the meat sauce across the bottom of a 9×13 inch dish. Add 4 noodles, a third of the ricotta mixture, 1 cup of mozzarella and about a quarter of the sauce that is left. Build two more layers the same way, then top with the final sauce and the last cup of mozzarella.
To serve it tonight, cover the dish with foil and bake for 25 minutes. Remove the foil and bake another 20 to 25 minutes, until browned and bubbling. Give it 15 minutes to rest before cutting.
For the freezer, build it in a foil pan, cool it, and wrap it snugly in plastic and foil. It keeps for up to 3 months. Thaw it in the refrigerator overnight, bake covered for 45 minutes and uncovered for 20, until the middle hits 165F.
This is always the first thing I cook when the freezer looks bare, because a single pan gives Tom and me two or three suppers. It is also what I carry over when a neighbor has a new baby or a rough week.
Divide it between two 8 inch square foil pans rather than one large dish. The smaller pans thaw faster and are the perfect size for a couple or a small family.
2) Cheesy Chicken Enchiladas
2) Cheesy Chicken Enchiladas
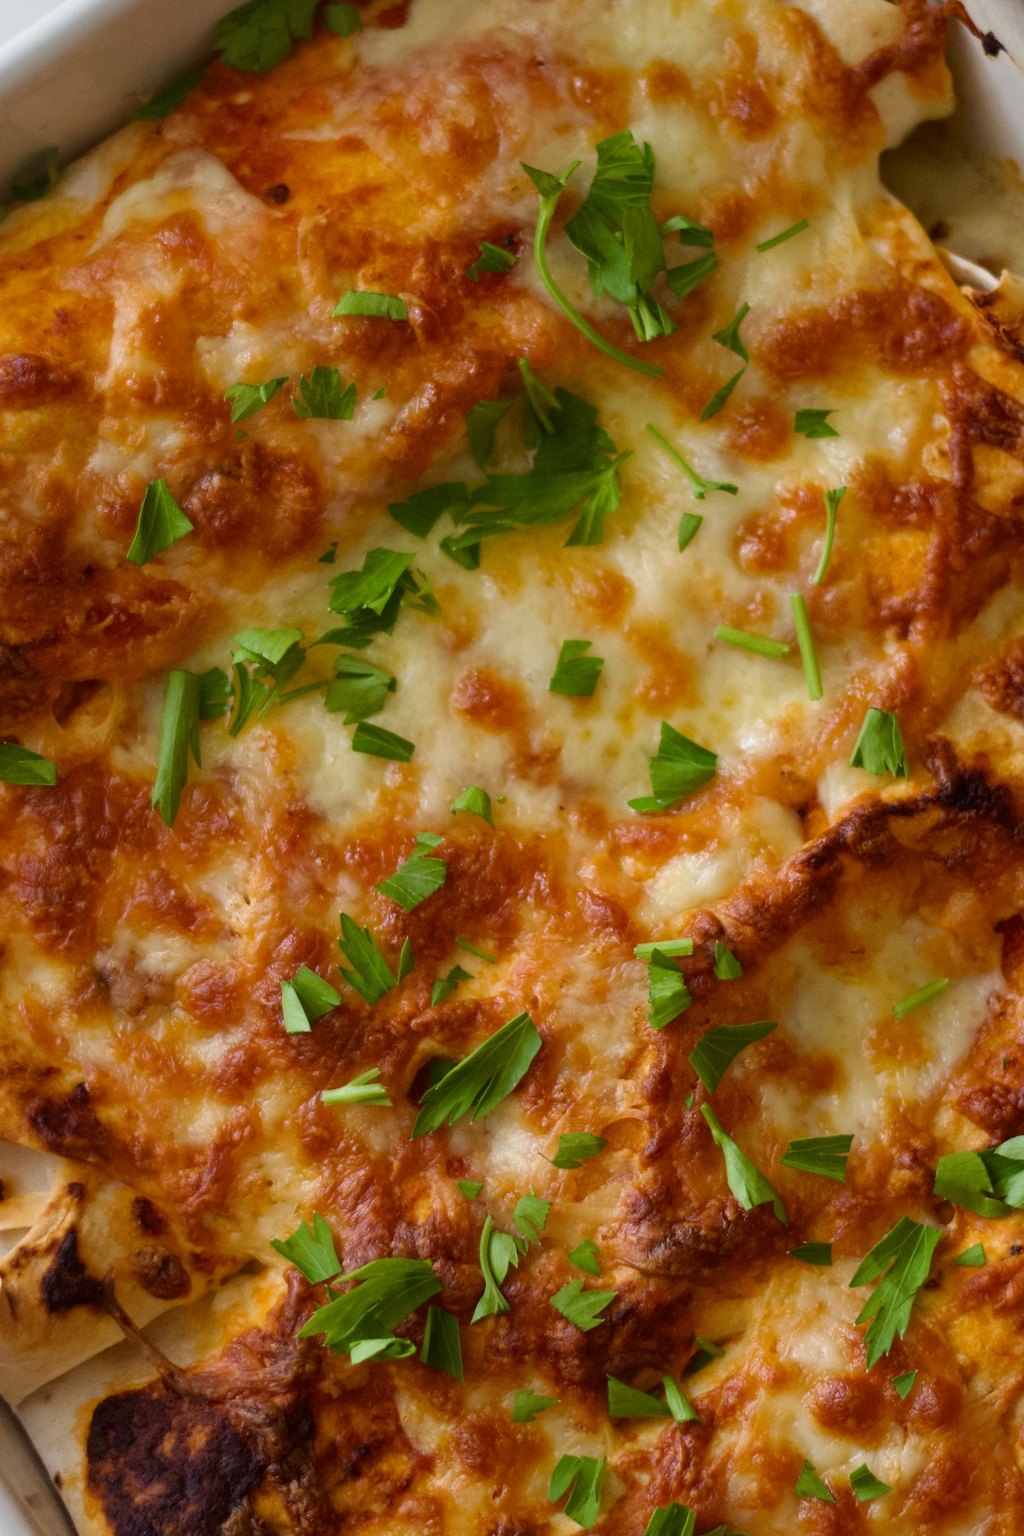
Soft flour tortillas wrap around tender chicken, mild green chiles and a bit of cream cheese in these crowd pleasing enchiladas. That cream cheese keeps the filling moist and luscious even after weeks in the freezer. Red sauce and Monterey Jack bake together into a bubbling, golden blanket on top.
Set out little bowls of sliced jalapenos, diced tomatoes, shredded lettuce and avocado so everyone can top their own. A side of rice and refried beans turns it into a real Mexican night at home. These are mild enough for the grandkids, and the grownups can add as much hot sauce as they like.
Ingredients
3 cups shredded cooked chicken
1 tablespoon olive oil
1 small onion, diced
1 can diced green chiles, 4 ounces
1 teaspoon ground cumin
1/2 teaspoon garlic powder
4 ounces cream cheese, softened
2 1/2 cups shredded Monterey Jack cheese, divided
1 can red enchilada sauce, 19 ounces
10 flour tortillas, 8 inch
1/2 teaspoon salt
1/4 cup chopped fresh cilantro
Sour cream for serving
Warm the tortillas for a few seconds in the microwave before rolling, because cold flour tortillas crack and tear. Rotisserie chicken is a great shortcut here, and one bird gives you about the 3 cups you need. Make sure the filling has cooled before you wrap the pan, so ice crystals do not form and turn the tortillas soggy.
Instructions
Preheat the oven to 375F and lightly grease a 9×13 inch baking dish.
Warm the oil in a frying pan on medium. Add the onion and let it soften for about 5 minutes. Stir in the green chiles, salt, cumin and garlic powder and cook for 1 more minute so the spices wake up.
Pull the skillet off the burner. Add the shredded chicken and cream cheese along with 1 cup of the Monterey Jack, then stir until the filling looks even and creamy.
Pour 1/2 cup of the enchilada sauce into the dish and spread it around. Lay a tortilla flat, spoon roughly 1/3 cup of filling down the middle, roll it snugly and set it in the dish with the seam facing down. Repeat with the rest.
Cover the enchiladas with the remaining sauce, making sure the tortilla edges are coated so they stay soft, then scatter the rest of the cheese across the top.
To serve right away, cover with foil and bake for 20 minutes. Take off the foil and give it 10 minutes longer, until the cheese bubbles and the filling is piping hot. Sprinkle with cilantro and pass the sour cream.
To freeze, assemble everything in a foil pan but save the final layer of cheese. Wrap tightly and freeze for up to 3 months. Let it thaw overnight, add the cheese, then bake covered for 35 minutes and uncovered for 10, until the center reaches 165F.
I grab a rotisserie chicken from the store on the way home, and the pan is assembled in about 30 minutes. When the kids were young they requested these every week, and now the grandkids do too.
Flour tortillas hold up in the freezer much better than corn, which tends to split. If corn is your favorite, warm the tortillas first so they bend without tearing.
3) Baked Turkey Meatballs
3) Baked Turkey Meatballs
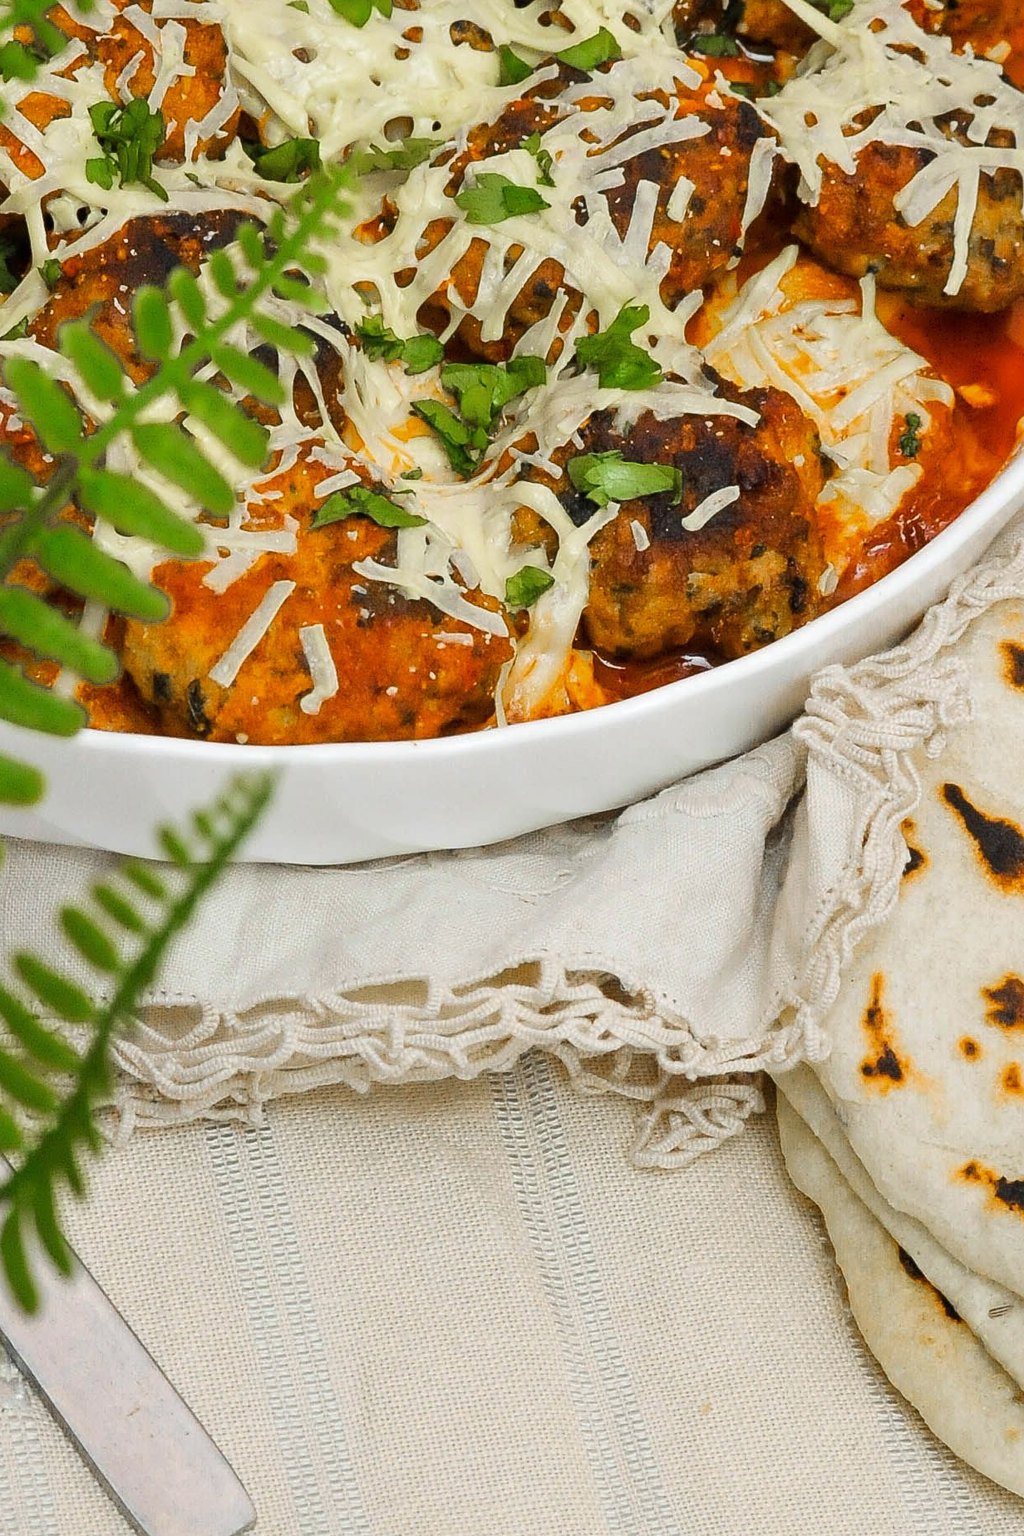
Soaking breadcrumbs in milk first is the old trick that keeps these turkey meatballs soft and juicy. Parmesan, garlic and fresh herbs load them with flavor, so nobody thinks of them as the light option. Baking them on sheet pans means you make three dozen at once with no grease spattering the stove.
I keep a bag of these in the freezer for nights when I want a quick, light dinner for Tom and me. Spooned over spaghetti with plenty of marinara and Parmesan, they make the grandkids just as happy as beef meatballs. They also make tasty little appetizers on toothpicks with a bowl of warm sauce for dipping.
Ingredients
2 pounds ground turkey
2/3 cup plain breadcrumbs
1/3 cup whole milk
2 large eggs
1/2 cup grated Parmesan cheese
3 cloves garlic, minced
1/4 cup chopped fresh parsley
1 teaspoon dried oregano
1 teaspoon onion powder
1 1/4 teaspoons salt
1/2 teaspoon black pepper
Olive oil spray
Choose ground turkey that is about 93 percent lean, because the extra lean kind tends to bake up dry. A small cookie scoop keeps the meatballs the same size so they all finish at the same time. Cool them on a rack rather than piled in a bowl, which keeps the bottoms from steaming and turning soggy.
Instructions
Preheat the oven to 400F. Cover two rimmed sheet pans with foil and give the foil a light mist of olive oil.
In a large bowl, combine the breadcrumbs and milk and leave them for 5 minutes, until the crumbs turn soft and soggy.
Crack in the eggs, then add the garlic, Parmesan, oregano, parsley, onion powder, pepper and salt and stir everything together. Add the ground turkey and work it in with your hands, stopping as soon as it looks evenly mixed. Too much handling makes the meatballs heavy and tight.
With damp hands, roll the mixture into balls about 1 1/2 inches across. You should end up with roughly 36. Set them on the pans with a bit of room between each one.
Bake for 18 to 20 minutes, swapping and turning the pans at the halfway mark, until they are lightly browned and a thermometer pushed into the center of one reads 165F.
Spoon them over pasta with marinara, stuff them into sub rolls, or serve them alongside rice and roasted vegetables.
To freeze, let the meatballs cool fully, then spread them on a sheet pan and freeze for 2 hours until hard. Move them into freezer bags and keep for up to 3 months. Drop them still frozen into simmering sauce and cook for 15 to 20 minutes, until heated all the way through.
A bag of these tucked in the freezer has rescued more of our suppers than I could ever count. I toss a handful into sauce or soup and dinner is all but finished.
Freezing them spread out on a pan first stops them from fusing into one big lump. Then you can pull out four for two people or forty for the whole family.
4) Chicken Pot Pie
4) Chicken Pot Pie
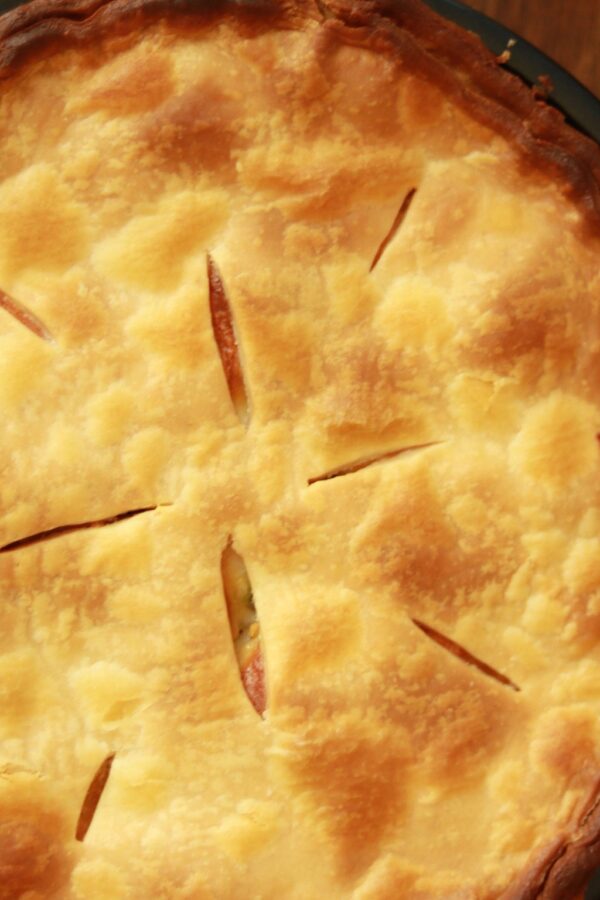
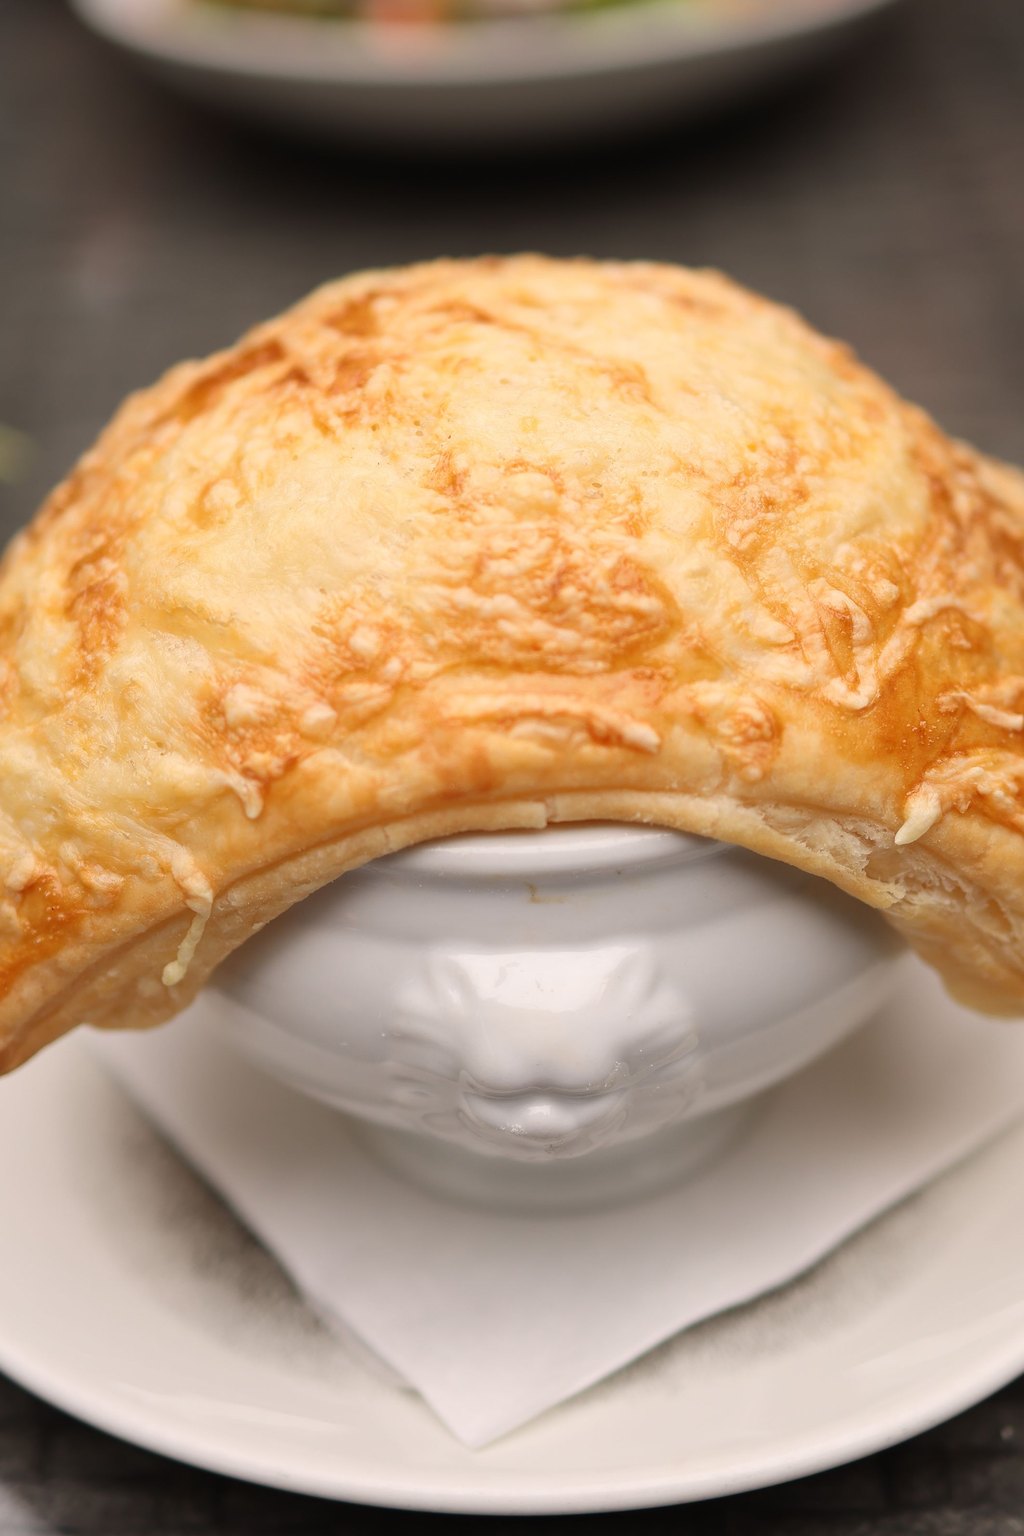
A flaky top and bottom crust hug a creamy filling of chicken, vegetables and thyme in this cozy classic. Cooking the flour in butter before the liquid goes in gives a smooth gravy that thickens nicely and never turns pasty. Baked straight from the freezer, the crust comes out crisp and golden like it was made that morning.
A golden pot pie on the table feels like a hug on a cold night, and it needs nothing more than a simple green salad. I like to bring it out whole so everyone can admire the crust before I cut it. It also makes a thoughtful gift for a friend who just got home from the hospital.
Ingredients
1 box refrigerated pie crusts, 2 crusts
1/3 cup unsalted butter
1 medium onion, diced
2 carrots, diced
2 celery ribs, diced
1/3 cup all purpose flour
1 3/4 cups chicken broth
2/3 cup whole milk
3 cups diced cooked chicken
1 cup frozen peas
1 teaspoon dried thyme
3/4 teaspoon salt
1/2 teaspoon black pepper
1 large egg, beaten
Use a metal or foil pie pan for any pie you plan to freeze, because a cold glass dish can crack when it goes into a hot oven. Always set the frozen pie on a sheet pan to catch drips and help the bottom crust brown. For two, make a pair of small 6 inch pies and freeze one for another night.
Instructions
Preheat the oven to 400F and press one of the crusts into a deep 9 inch pie plate.
In a large saucepan over medium heat, melt the butter. Stir in the diced onion, carrots and celery and let them cook for about 8 minutes, until tender.
Sprinkle the flour over the vegetables and stir for 1 minute to cook out the raw taste. Gradually whisk in the broth and the milk, then let it simmer while you stir, about 5 minutes, until the sauce is thick enough to coat the back of a spoon.
Add the chicken, peas, thyme, salt and pepper and stir. Give the filling 10 minutes to cool down so it does not soften the bottom crust.
Spoon the filling into the crust and lay the second crust over it. Trim the overhang, pinch the two edges together and crimp them, then cut 4 little vents in the top. Brush the surface with the beaten egg.
To bake it now, place the pie on a sheet pan and bake for 30 to 35 minutes. Look for a crust that is a deep golden brown and you can see filling bubbling up through the vents. Let it rest for 15 minutes before slicing.
To freeze, skip the egg wash and wrap the unbaked pie well in plastic and foil. It keeps for up to 3 months. Bake it without thawing at 400F for 60 to 75 minutes, tenting the edges with foil once they brown, until the center reads 165F.
Few dinners feel as comforting as pot pie, and finding one ready in the freezer is like a little present to myself. It is also the meal I bring to friends recovering from surgery.
Freeze it in a metal or foil pie pan, because glass can crack going from icy cold into a hot oven. After a holiday, leftover roast turkey stands in beautifully for the chicken.
Want the whole story, plus my storage and swap notes? Here is my full Easy Chicken Pot Pie From Scratch recipe.
5) Shepherd’s Pie
5) Shepherd’s Pie
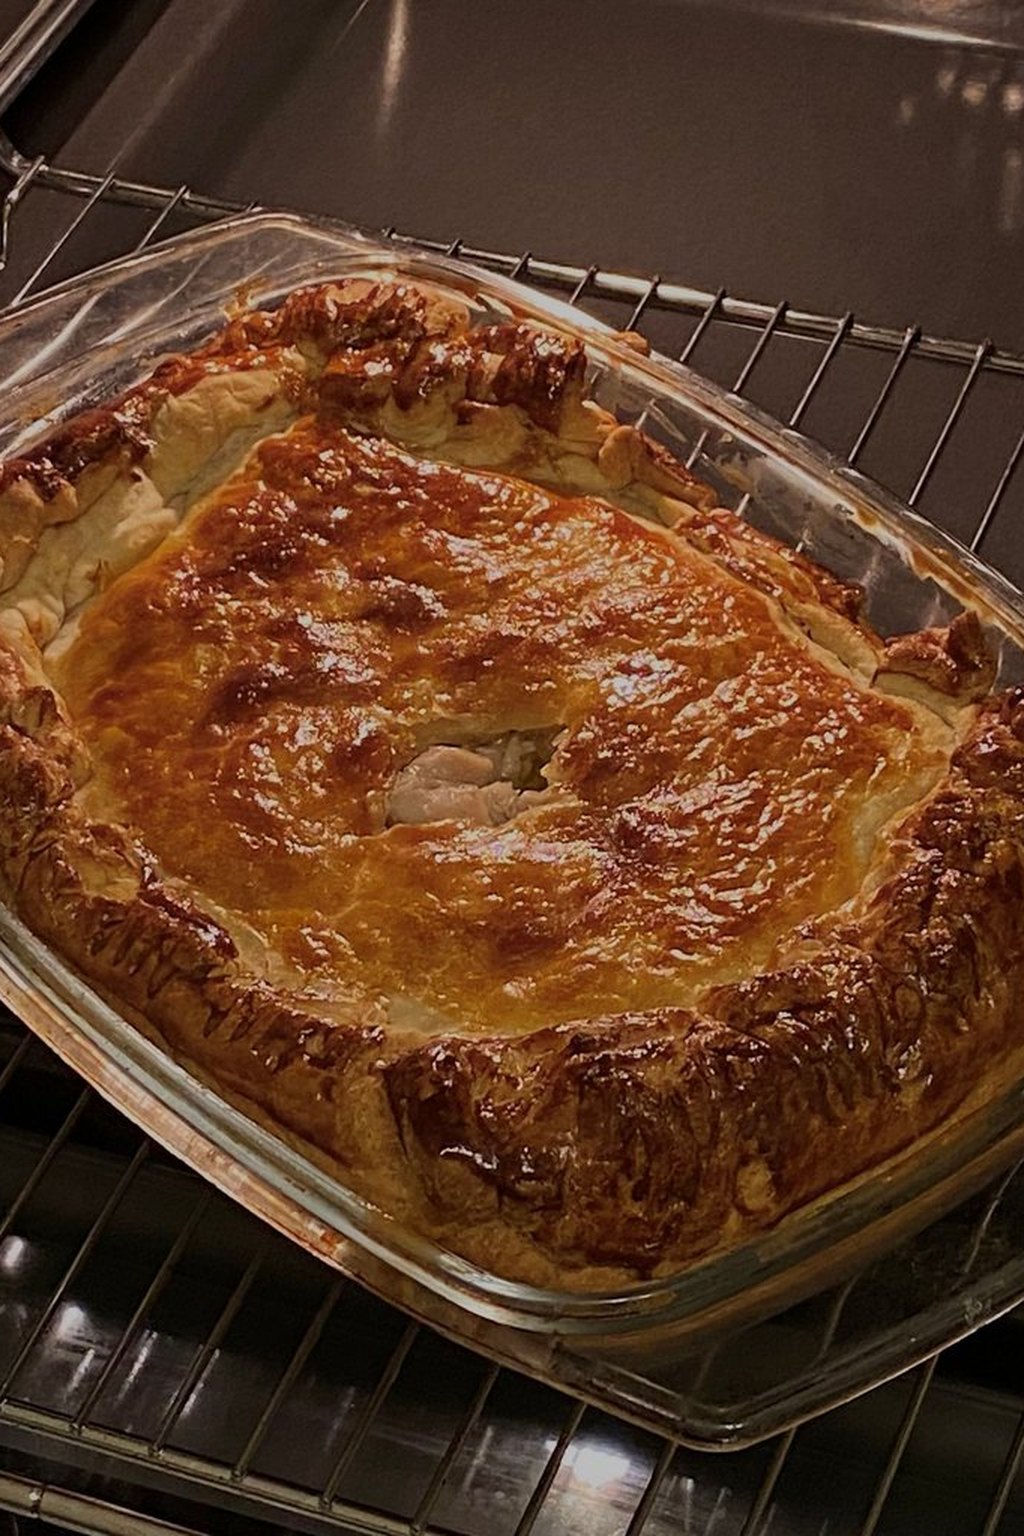
This homey dish layers savory ground beef or lamb in a thick gravy beneath a deep blanket of buttery mashed potatoes. A spoonful of tomato paste and a splash of Worcestershire sauce lend the filling a rich, rounded flavor with a hint of sweetness. The ridges you drag into the potatoes with a fork turn crisp and golden in the oven.
Bring the dish to the table and scoop big portions onto warm plates, making sure everyone gets some of the crispy potato ridges. Buttered green beans or glazed carrots round out the meal nicely. It is pure comfort food, and it is the dinner Tom asks for most when the weather turns cold.
Ingredients
2 1/2 pounds russet potatoes, peeled and cubed
1/2 cup whole milk, warmed
4 tablespoons unsalted butter
1 1/2 pounds ground beef or lamb
1 medium onion, diced
2 carrots, diced
2 cloves garlic, minced
2 tablespoons tomato paste
2 tablespoons all purpose flour
1 cup beef broth
1 tablespoon Worcestershire sauce
1 cup frozen peas
1 1/2 teaspoons salt, divided
1/2 teaspoon black pepper
Let the mashed potatoes cool a little before spreading them, so they sit on top instead of sinking into the filling. Russets make the fluffiest topping, while waxy potatoes can turn gluey when you mash them. Brush the top with a little melted butter before baking for an even deeper golden color.
Instructions
Preheat the oven to 400F. Put the cubed potatoes in a pot, cover them with cold salted water and bring it to a boil. Cook about 15 minutes, until a fork slides in easily. Drain, then mash with the warm milk, the butter and 1 teaspoon of salt.
While the potatoes cook, brown the meat along with the onion and carrots in a big skillet over medium high heat, about 10 minutes, until the meat registers 160F. Spoon off the fat.
Add the garlic and the tomato paste and cook for 1 minute. Dust the flour over the pan and stir it in, then add the broth, Worcestershire sauce, the rest of the salt and the pepper. Let it simmer for about 5 minutes until it thickens, then fold in the peas.
Spread the meat filling in a 2 quart or 9×9 inch dish. Dollop the mashed potatoes on top, smooth them all the way out to the sides to seal in the filling, then drag a fork across the top to make ridges.
If you are eating it tonight, set the dish on a sheet pan and bake for 25 minutes, until the filling bubbles around the sides and the ridges of potato are golden. Let it sit for 10 minutes.
To freeze, let it cool all the way, then wrap it well in plastic and foil and store for up to 3 months. Thaw in the refrigerator overnight, then bake covered at 375F for 40 minutes and uncovered for 15, until the center reaches 165F.
As soon as the first frost hits the garden, Tom starts asking for this. Meat, vegetables and potatoes all land in every spoonful, so it is supper in a single dish.
A mash made with plenty of butter freezes best and stays smooth. Hold back on extra milk, because a thinner mash tends to weep once it thaws.
Want the whole story, plus my storage and swap notes? Here is my full Simple Shepherd’s Pie recipe.
6) Creamy White Chicken Chili
6) Creamy White Chicken Chili
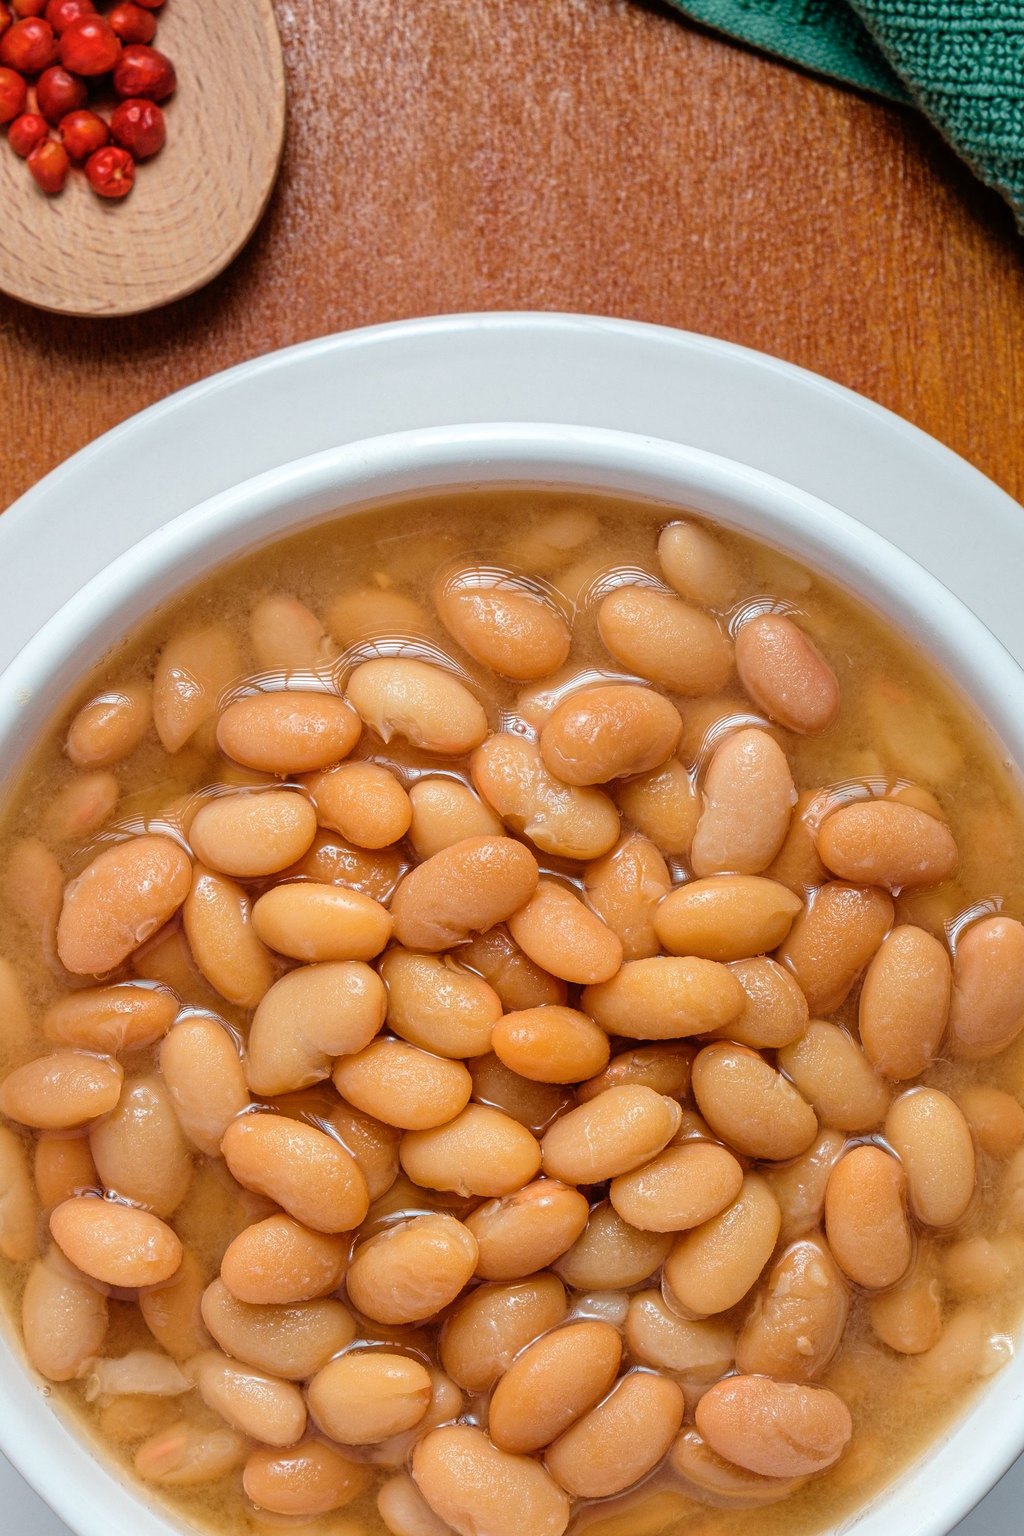
This creamy, mild chili brings together tender white beans, shredded chicken and green chiles in a silky broth. Mashing part of the beans and melting in cream cheese gives it real body without hours on the stove. A last squeeze of lime lifts the warm cumin and chile notes.
Ladle this into big bowls and set out a topping bar so everyone can make it their own. A pan of warm cornbread or a basket of tortilla chips makes it a full meal. It is mild enough for kids and makes a nice change from red chili on game day or a chilly fall evening.
Ingredients
1 tablespoon olive oil
1 medium onion, diced
3 cloves garlic, minced
2 cans diced green chiles, 4 ounces each
2 teaspoons ground cumin
1 teaspoon dried oregano
4 cups chicken broth
3 cans cannellini beans, 15 ounces each, drained and rinsed
3 cups shredded cooked chicken
4 ounces cream cheese, cubed
1 cup frozen corn
1 tablespoon lime juice
1 teaspoon salt
1/4 cup chopped fresh cilantro
Portion the chili into 2 cup containers so you can pull out just enough for two on a busy night. Cream cheese can look a little grainy after freezing, so stir well as it reheats and it will turn smooth again. Add a fresh squeeze of lime and a little more cilantro after reheating, since both fade in the freezer.
Instructions
Pour the oil into a large pot and set it on medium. Once it shimmers, cook the onion for about 5 minutes, until soft. Stir in the garlic, green chiles, cumin and oregano and cook for 1 minute more, until the kitchen smells wonderful.
Pour in the broth and the beans and bring the pot to a boil. Grab a potato masher and use it to crush roughly a cup of the beans along the wall of the pot, which thickens the chili naturally.
Turn the heat down and let it simmer with the lid off for 15 minutes, giving it a stir every so often.
Add the chicken, corn and salt and simmer for 5 minutes, until the chicken is warmed through to 165F.
Drop in the cubes of cream cheese and stir until they melt away and the broth turns smooth and creamy. Add the lime juice and cilantro, then taste and add more salt if it needs it.
Ladle it into bowls and let everyone add shredded cheese, avocado slices, a dollop of sour cream or a handful of tortilla chips.
To freeze, cool the chili completely, then portion it into freezer containers or bags with 1 inch of space at the top. Freeze for up to 3 months. Thaw it overnight and warm it on the stove over medium heat, stirring frequently, until it is gently bubbling.
It is mild enough for the pickiest grandchild and still has plenty of flavor for the grownups. It is ready in about 45 minutes, and a double batch is no extra trouble.
Lay quart bags of chili flat in the freezer so they stack neatly like files and thaw in a hurry. If it seems thick after reheating, loosen it with a little broth.
7) Homemade Sloppy Joes
7) Homemade Sloppy Joes
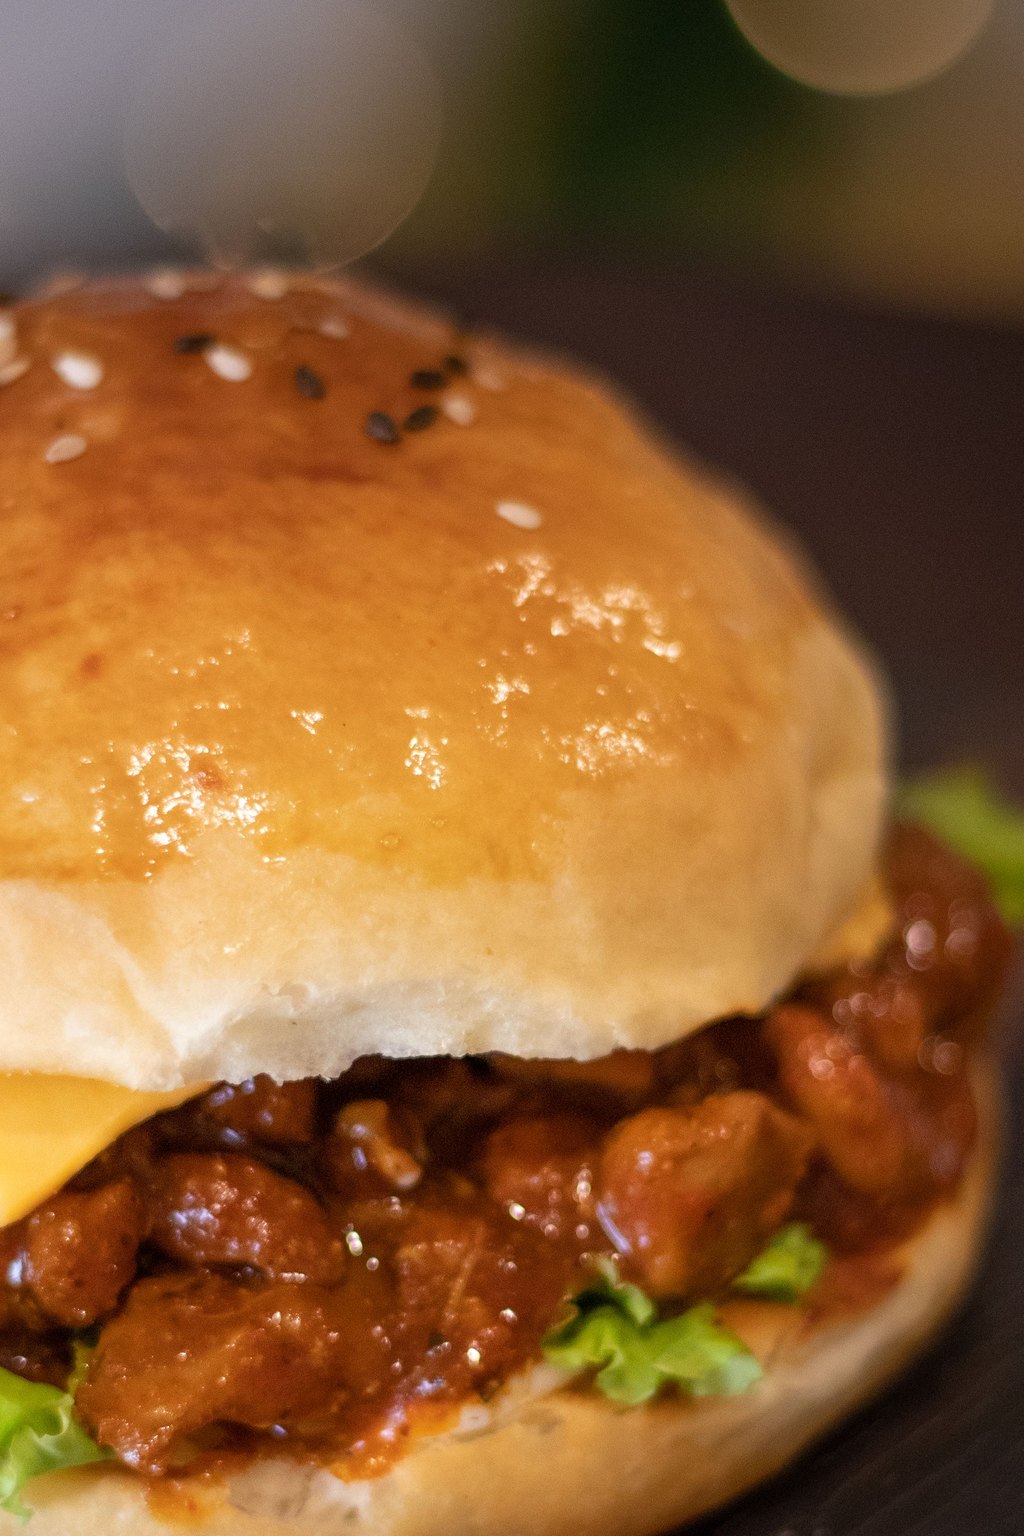
Ground beef simmers in a tangy and sweet mix of ketchup, tomato sauce, brown sugar and mustard for these homemade sandwiches. Chopping the onion and pepper very small lets them disappear into the sauce, so choosy eaters never spot them. The filling cooks down until it sits on a toasted bun without sliding off.
Sloppy joes are a casual weeknight dinner that the grandkids always cheer for. Serve them with a pile of potato chips, pickle spears and a crunchy coleslaw on the side. For a fun twist, spoon the filling over baked potatoes or tortilla chips with shredded cheese on top.
Ingredients
2 pounds lean ground beef
1 medium onion, finely diced
1 green bell pepper, finely diced
3 cloves garlic, minced
1 cup ketchup
1 can tomato sauce, 8 ounces
2 tablespoons brown sugar
1 tablespoon Worcestershire sauce
1 tablespoon yellow mustard
1 teaspoon chili powder
1 teaspoon salt
1/2 teaspoon black pepper
8 hamburger buns
Freeze the filling flat in quart bags so it stacks neatly and thaws much faster. For two, pull out one bag and warm just enough for a couple of sandwiches. If the reheated mixture seems too thick, stir in a splash of water or tomato sauce to loosen it.
Instructions
Set a large skillet on medium high and add the beef along with the chopped onion and bell pepper. Break the beef apart with a wooden spoon and cook for about 10 minutes, until it has no pink left and registers 160F.
Tip out the fat, add the garlic and stir for 1 minute, until it smells fragrant.
Add the ketchup and tomato sauce, then the brown sugar, mustard, Worcestershire sauce, chili powder, salt and pepper, and stir until the meat is evenly coated.
Let it come to a simmer, then lower the heat to medium low and cook without a lid for 10 to 15 minutes. Stir from time to time until the sauce thickens enough to hold a mound on a spoon.
Give it a taste and add a little extra brown sugar or salt if you think it needs it.
Toast the buns for 1 to 2 minutes, either under the broiler or in a dry pan. Heap the meat onto the bottom halves and cap them with the tops.
To freeze, let the meat mixture cool completely and divide it into freezer bags or containers. It keeps for up to 3 months. Thaw it in the refrigerator overnight, then warm it in a frying pan on medium for about 8 minutes, until it is steaming throughout.
These taste like childhood to me and take only 30 minutes. They are wonderfully cheap, and 2 pounds of beef stretches to feed the whole gang on a Sunday.
I pack the meat into 2 cup portions, and each one makes about four sandwiches. Leftovers are also great spooned over a baked potato or a bowl of macaroni.
8) Slow Cooker Pulled Pork
8) Slow Cooker Pulled Pork
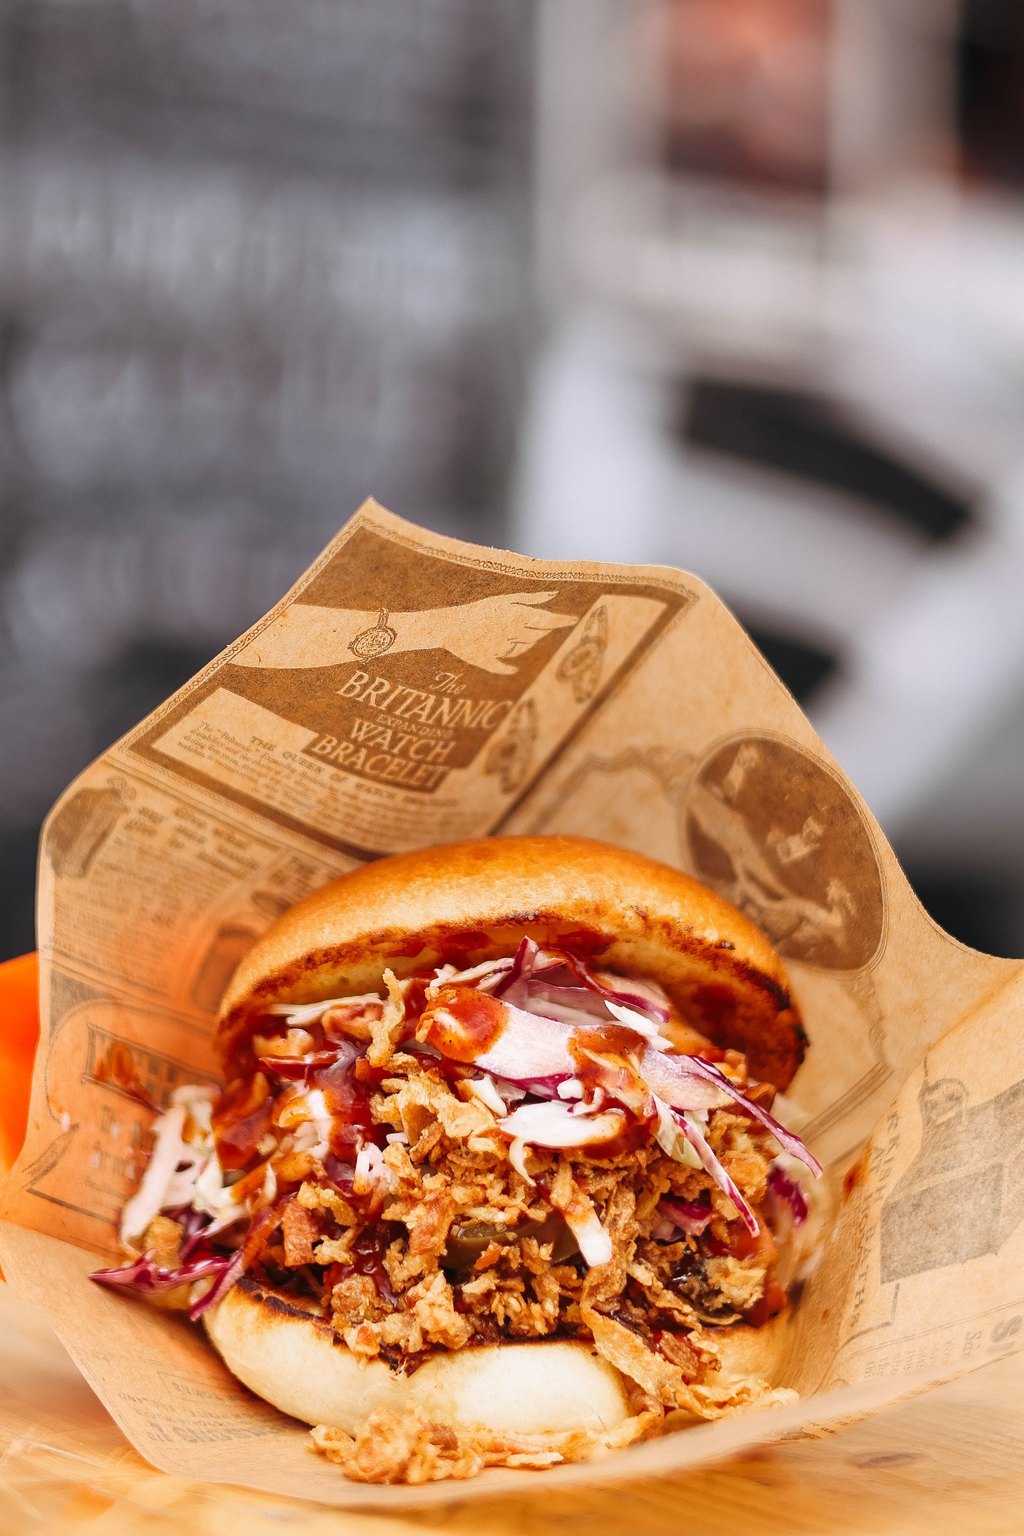
Pork shoulder cooks slowly for hours until it turns impossibly tender and falls apart at the touch of a fork. A sweet and smoky rub seasons the outside, while a splash of broth and vinegar keeps the meat juicy. Tossing the shredded pork in its own juices before adding sauce makes every bite moist.
Pile the pork on soft buns with coleslaw on top, and set out pickles and extra sauce on the side. It also makes great tacos, nachos or a topping for baked potatoes, so one batch stretches across several meals. When the whole family visits, I set up a sandwich bar and everyone builds their own.
Ingredients
1 boneless pork shoulder, about 4 pounds
2 tablespoons brown sugar
1 tablespoon smoked paprika
2 teaspoons garlic powder
2 teaspoons onion powder
1 teaspoon ground cumin
2 teaspoons salt
1 teaspoon black pepper
1 medium onion, sliced
1/2 cup chicken broth
1/4 cup apple cider vinegar
1 1/2 cups barbecue sauce, divided
Boneless shoulder, sometimes sold as Boston butt, has the fat this recipe needs, so do not swap in a lean loin. Keep the lid on during cooking, since every peek lets out heat and adds time. Pack it in small bags with plenty of juice so the meat stays moist when you warm it for two.
Instructions
Stir the seasonings together in a small bowl, meaning the brown sugar, smoked paprika, cumin, onion powder, garlic powder, salt and pepper.
Trim off any thick layer of fat and cut the pork shoulder into 2 or 3 big pieces. Rub the spice blend over every side of the meat.
Spread the sliced onion in a 6 quart slow cooker. Lay the pork on top, then pour the broth and vinegar around the meat.
Cover and let it go for 8 to 10 hours on LOW, or 5 to 6 hours on HIGH. It is done when the pork falls apart and pulls apart easily with a fork. Safe pork only needs 145F, but for shredding you want it closer to 195F.
Transfer the pork to a cutting board and pull it apart with two forks, tossing out any big pieces of fat. Skim the fat off the liquid left in the cooker.
Put the shredded pork back in the cooker along with 1 cup of the cooking juices and 1 cup of barbecue sauce and toss well. Pile it onto buns and pass the rest of the sauce at the table.
To freeze, let the pork cool, then pack it into freezer bags with a little of the cooking liquid. It keeps up to 3 months in the freezer. Let it thaw overnight, then reheat with a lid on over medium low heat until steaming.
A single pork shoulder turns into sandwiches, tacos, nachos and stuffed potatoes for weeks around here. The slow cooker handles everything while I putter in the garden.
Always pack the pork with a spoonful or two of its cooking juices. That liquid guards against freezer burn and keeps the meat tender when you warm it up.
9) Beef and Rice Stuffed Peppers
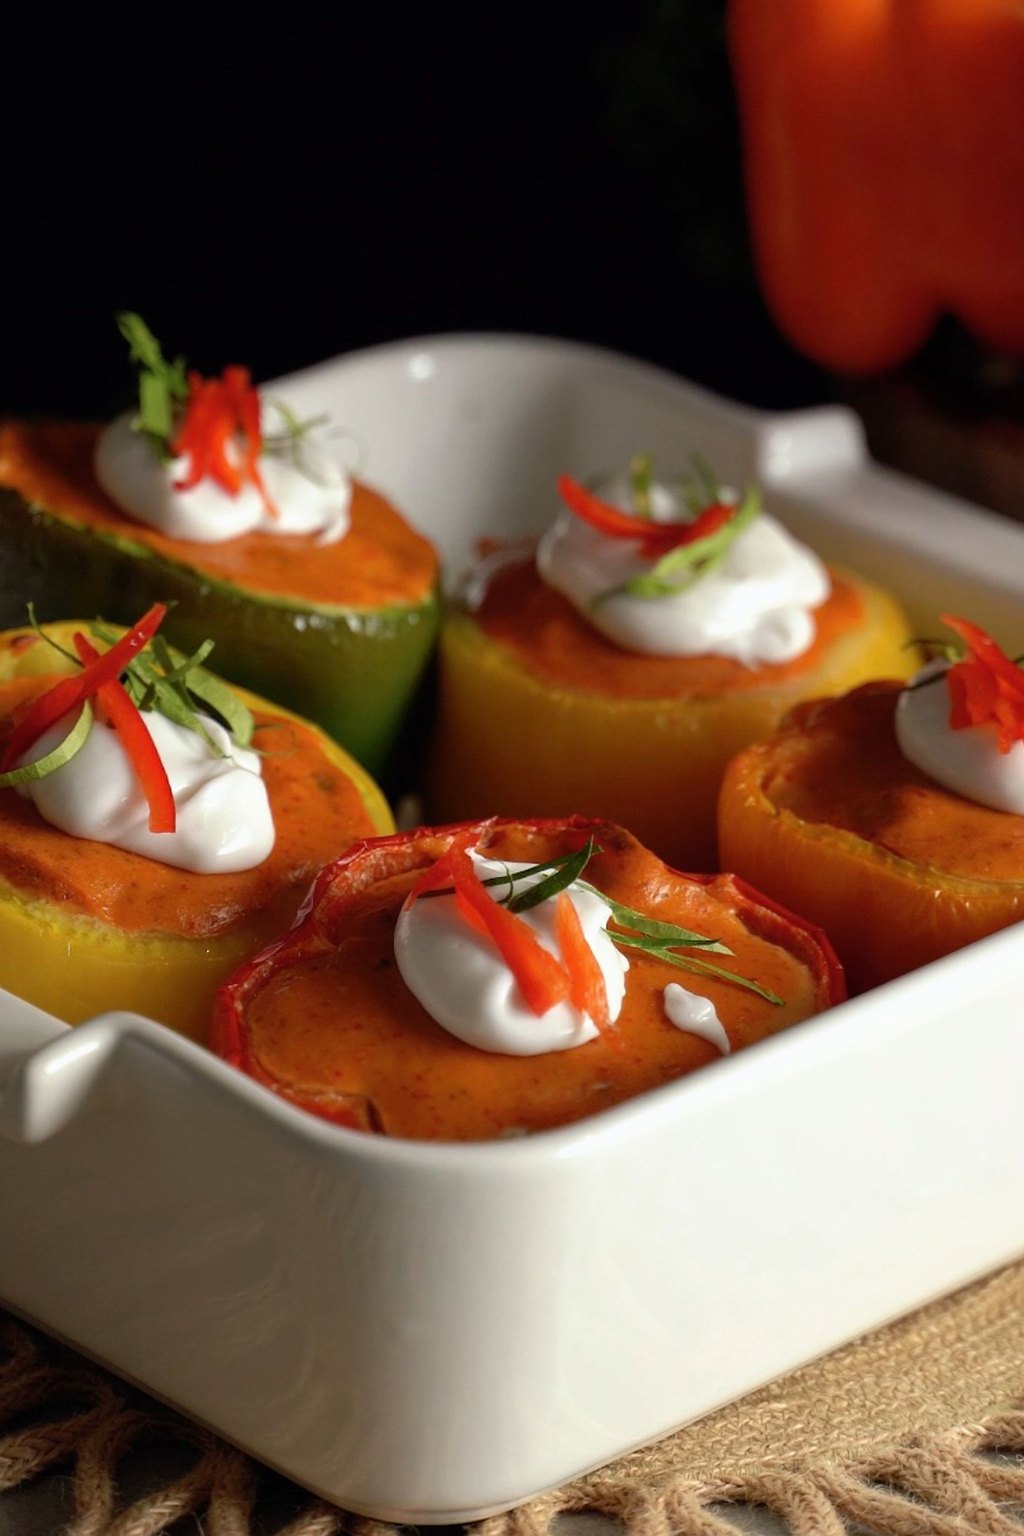
9) Beef and Rice Stuffed Peppers
Sweet bell peppers bake until soft around a filling of seasoned ground beef, rice and tomatoes. A cap of melted mozzarella makes each one feel like a little casserole served in a bowl you can eat. A splash of water in the dish creates steam, so the peppers turn tender evenly.
These look so pretty on the table, especially if you use a mix of red, yellow and orange peppers. Each pepper is a full serving, so I just add a simple salad or some crusty bread on the side. They make a nice dinner for two, and any extras turn into a hearty lunch the next day.
Ingredients
6 large bell peppers, any color
1 pound lean ground beef
1 small onion, diced
2 cloves garlic, minced
1 1/2 cups cooked white rice
1 can diced tomatoes, 15 ounces, drained
1 can tomato sauce, 8 ounces, divided
1 teaspoon dried Italian seasoning
1 teaspoon salt
1/2 teaspoon black pepper
1 1/2 cups shredded mozzarella cheese, divided
2 tablespoons chopped fresh parsley
Cook the rice a day ahead and use it cold, because day old rice holds its shape and does not turn mushy in the filling. If your peppers are large and thick walled, they may need a few extra minutes under the foil to soften. Pick peppers with flat bottoms so they stand up without any trimming.
Instructions
Preheat the oven to 375F. Slice the tops off the peppers and pull out the seeds and white ribs. If a pepper wobbles, shave a thin piece off the bottom so it can stand on its own.
Brown the ground beef with the chopped onion in a frying pan on medium high for about 8 minutes, until the beef reaches 160F. Pour off the fat, add the garlic and stir for 1 minute.
Take the skillet off the heat. Stir in the cooked rice, the drained tomatoes, half of the tomato sauce, 1 cup of mozzarella, and the Italian seasoning, salt and pepper.
Stand the peppers up in a 9×13 inch dish and fill each one generously with the beef mixture. Spoon the leftover tomato sauce on top of each one, then add 1/4 cup of water to the bottom of the dish.
If dinner is tonight, cover the dish with foil and bake for 35 minutes. Uncover, sprinkle the remaining cheese on top and bake 10 to 15 minutes longer, until the peppers are soft and the cheese has melted. Finish with chopped parsley.
To freeze, fill the uncooked peppers but leave off the final cheese. Wrap each pepper on its own in plastic and foil and freeze for up to 3 months. Thaw overnight, then bake covered for 50 minutes. Add the cheese and bake uncovered for 10 more minutes, until the filling hits 165F.
Everyone gets a pepper of their own, which makes these easy to portion for lunches. They are also a clever way to use up leftover rice from the night before.
Wrap and freeze them one by one so you can bake just a couple when it is only the two of you. Red, yellow and orange peppers bake up sweeter than green ones.
10) Chicken Tortilla Soup

10) Chicken Tortilla Soup
This brothy soup has a gentle kick and is packed with shredded chicken, black beans, sweet corn and fire roasted tomatoes. Simmering the chicken breasts right in the spiced broth seasons the meat and the soup together. Crisp tortilla strips and creamy avocado on top make each bowl feel like a party.
Let everyone pile on their own toppings at the table, from crunchy tortilla strips to sliced avocado and lime wedges. A warm cheese quesadilla on the side makes it a hearty dinner. It is a nice soup to bring a friend who is feeling under the weather, along with a little bag of toppings.
Ingredients
1 tablespoon olive oil
1 medium onion, diced
1 jalapeno, seeded and minced
3 cloves garlic, minced
2 teaspoons chili powder
1 teaspoon ground cumin
6 cups chicken broth
1 can fire roasted diced tomatoes, 15 ounces
1 can black beans, 15 ounces, drained and rinsed
1 cup frozen corn
1 1/2 pounds boneless skinless chicken breasts
1 teaspoon salt
2 tablespoons lime juice
Tortilla strips, avocado and shredded cheese for topping
Cut any very thick chicken breasts in half before simmering so they cook through evenly and stay tender. For a milder soup, scrape out every seed and white rib from the jalapeno. Make your own crispy strips by baking thin slices of corn tortilla at 400F for about 10 minutes.
Instructions
Warm the oil in a big pot on medium. Stir in the onion and jalapeno and let them cook for about 5 minutes, until they soften.
Add the garlic, chili powder and cumin and stir for 1 minute, until the spices smell toasty.
Pour in the broth, tomatoes, black beans, corn and salt and bring it all to a boil. Tuck the whole chicken breasts down into the liquid, lower the heat, cover and simmer for 18 to 20 minutes, or until a thermometer in the thickest part of the chicken reads 165F.
Lift the chicken out onto a board, pull it into shreds with two forks and stir it back into the pot. Let the soup simmer for 5 more minutes.
Add the lime juice and check the salt. Serve in bowls and pile on crispy tortilla strips, avocado and cheese, plus a little sour cream.
To freeze, cool the soup fully, leaving off every topping, and ladle it into freezer containers with 1 inch of room at the top. Freeze for up to 3 months. Thaw it overnight, reheat over medium heat until it simmers and add the toppings fresh.
It is light yet satisfying, and somehow it is the one soup every person in our family agrees on. Setting out a topping bar lets each person build the bowl they like best.
Freeze the soup completely plain and store the toppings on their own. Adding crunchy strips and fresh avocado at the end makes reheated soup taste brand new.
11) Glazed Classic Meatloaf
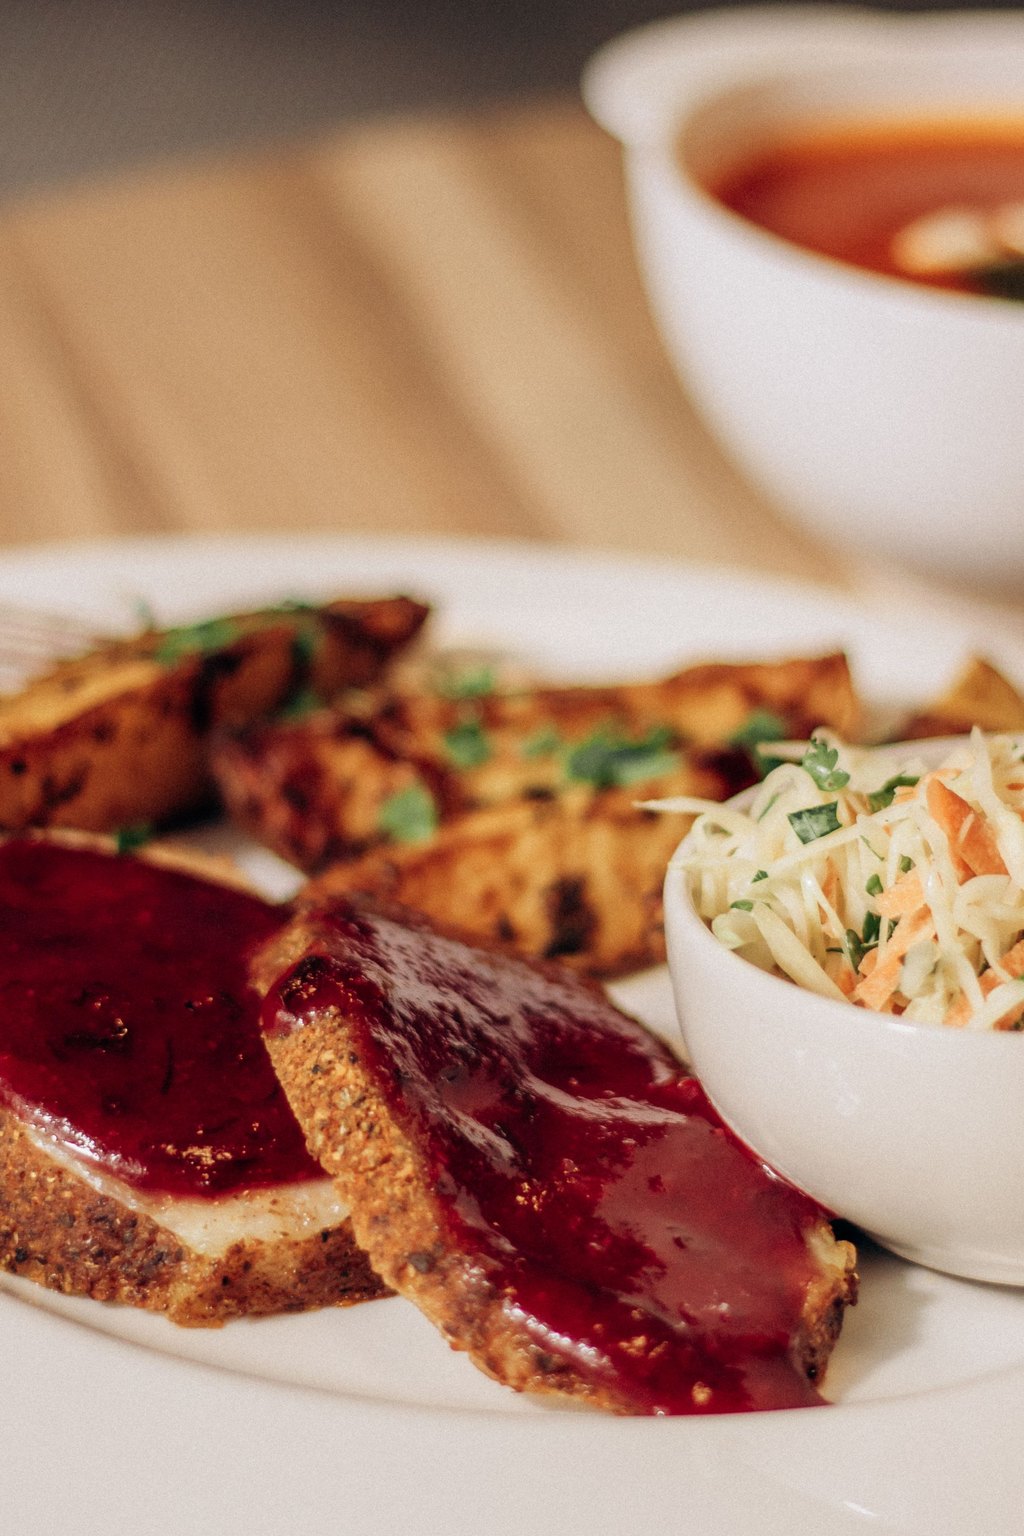
11) Glazed Classic Meatloaf
This old fashioned meatloaf stays soft and juicy inside under a shiny, sweet and tangy glaze. Grating the onion instead of chopping it lets it melt right into the meat with no crunchy pieces. Shaping it by hand on a sheet pan gives you caramelized edges on every side instead of just the top.
Meatloaf and mashed potatoes is a classic pairing, and I like to add buttered peas or green beans for color. Thick slices on a warm platter with extra glaze on the side look like a real Sunday supper. Leftover slices make the best sandwiches on soft white bread with a little ketchup.
Ingredients
2 pounds ground beef, 85 percent lean
1 cup plain breadcrumbs
3/4 cup whole milk
2 large eggs
1 small onion, grated
2 cloves garlic, minced
1 tablespoon Worcestershire sauce
1 1/2 teaspoons salt
1/2 teaspoon black pepper
For the glaze
3/4 cup ketchup
3 tablespoons brown sugar
1 tablespoon apple cider vinegar
Stick with 85 percent lean beef, because leaner meat makes a dry loaf. Grate the onion on the large holes of a box grater right over the bowl so you catch all the juice. If the glaze starts to darken too much near the end, lay a piece of foil loosely over the top.
Instructions
Preheat the oven to 350F and cover a rimmed baking sheet with foil.
In a large bowl, let the breadcrumbs soak in the milk for 5 minutes. Stir in the eggs, grated onion, garlic, Worcestershire sauce, salt and pepper until combined.
Add the ground beef and blend it in gently with your hands, stopping once everything looks uniform. Pat the mixture into a loaf about 9 by 5 inches right on the baking sheet.
For the glaze, whisk the ketchup with the brown sugar and vinegar. Brush half of it over the top of the meatloaf.
Bake for 45 minutes. Spread on the rest of the glaze and return it to the oven for 15 to 20 minutes, until an instant read thermometer in the center shows 160F.
Let the loaf sit for 10 minutes before you slice it, which gives the juices time to settle so the slices stay in one piece.
To freeze, cool it fully. Wrap the whole loaf, or freeze slices with parchment between them, then wrap in plastic and foil and keep for up to 3 months. Thaw overnight. Warm covered slices at 350F, allowing 15 to 20 minutes, or give a whole loaf about 40 minutes, until it is heated all the way through.
Meatloaf with a pile of mashed potatoes is real comfort food at our table, and Tom swears the cold leftovers make the best sandwiches. It is also one of my most economical suppers.
Freezing single slices lets you grab just one or two for lunch. Another option is to freeze the shaped raw loaf and bake it once it has thawed.
12) Crispy Baked Chicken Taquitos
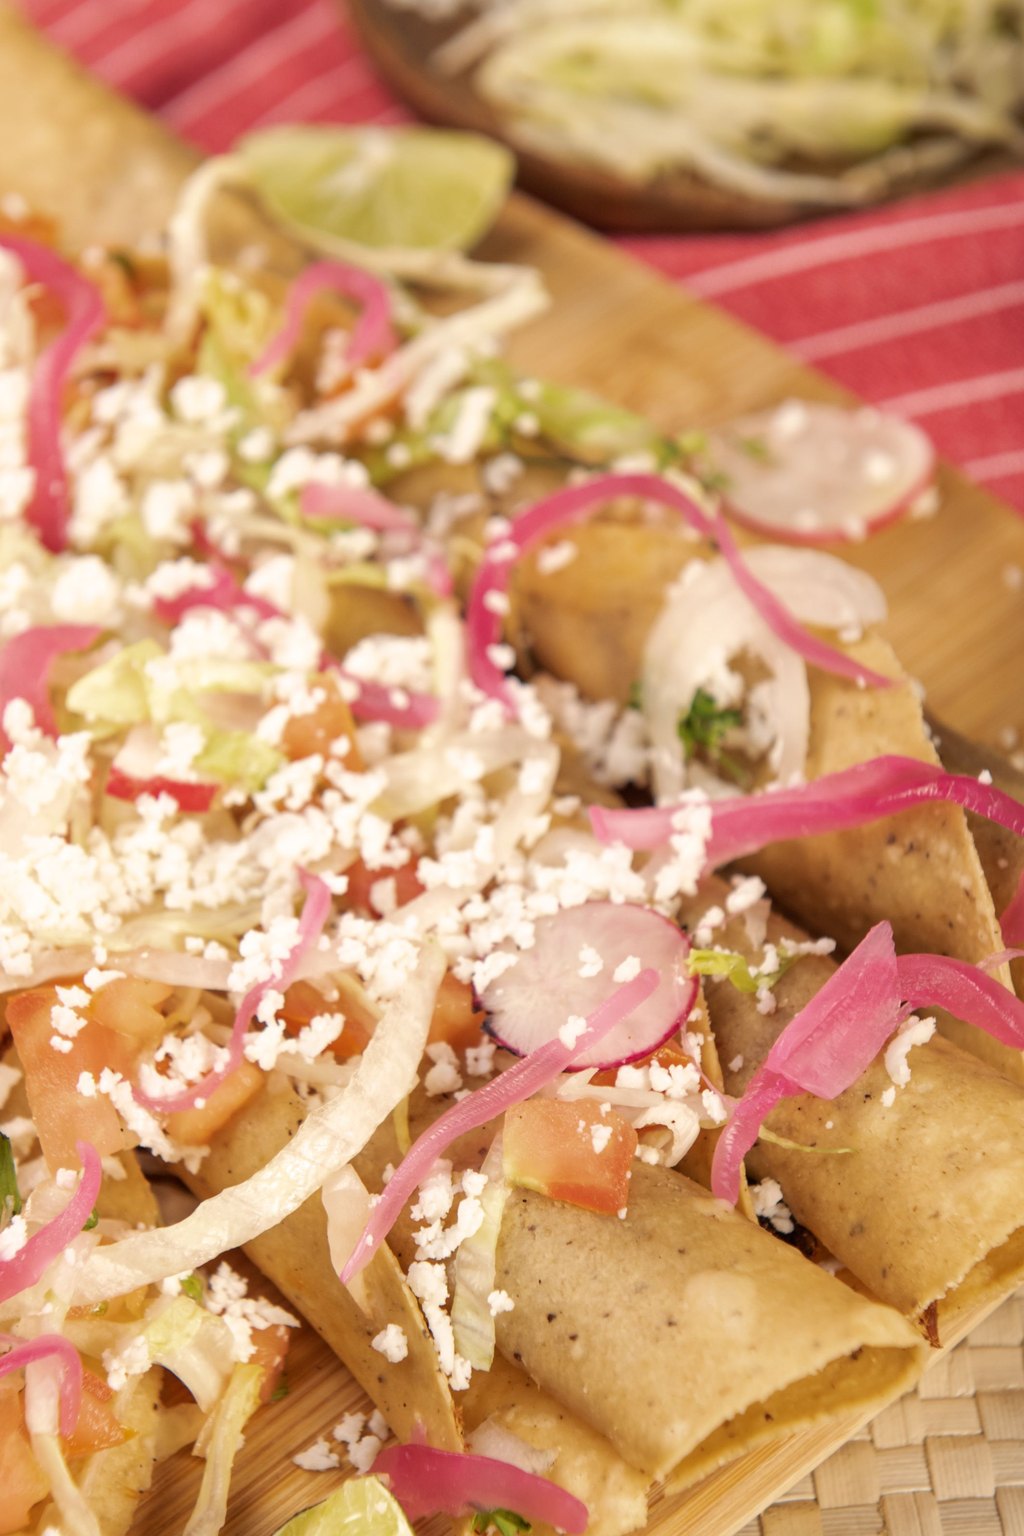
12) Crispy Baked Chicken Taquitos
These taquitos wrap a creamy, cheesy chicken filling in tortillas that turn crunchy in a very hot oven. Cream cheese and tangy salsa verde keep the inside moist with a little zip. A generous spritz of cooking spray gives them a golden, crackly shell with no frying at all.
Taquitos are great finger food for game day or a casual movie night with the grandkids. Set them on a platter with bowls of salsa, guacamole and sour cream for dipping. For a simple dinner, serve them with rice and a crunchy cabbage slaw.
Ingredients
3 cups shredded cooked chicken
4 ounces cream cheese, softened
1/2 cup salsa verde
1 1/2 cups shredded Mexican blend cheese
1 teaspoon ground cumin
1 teaspoon chili powder
1/2 teaspoon garlic powder
1/2 teaspoon salt
2 tablespoons chopped fresh cilantro
1 tablespoon lime juice
18 small flour tortillas, 6 inch
Cooking spray
Salsa and sour cream for serving
Roll the filling tightly and keep the strip thin, because overstuffed taquitos split open in the oven. Corn tortillas work too, but they need a little extra warming to keep from cracking. Spray every surface generously, since dry spots stay pale and chewy instead of turning crisp.
Instructions
Get the oven heating to 425F. Line a large rimmed sheet pan with parchment and give it a light coat of cooking spray.
In a large bowl, beat the cream cheese with the salsa verde and lime juice, then add the spices and salt and beat until creamy.
Fold in the shredded chicken, the cheese and the cilantro and stir until the filling looks evenly mixed.
Cover the stack of tortillas with a damp paper towel and microwave them for 30 seconds so they turn soft and bendable.
Spoon about 3 tablespoons of the filling in a thin strip along one side of a tortilla and roll it up snugly. Set it on the pan with the seam on the bottom. Repeat with the rest, then spray the tops of all of them well.
To bake them now, cook for 15 to 18 minutes, until the edges turn golden and crunchy. Cool them for 5 minutes, then set out bowls of salsa and sour cream for dipping.
To freeze, line up the raw taquitos on a tray and freeze for 1 hour until solid. Transfer them to freezer bags, where they keep for up to 3 months. Bake them without thawing at 425F, giving them 20 to 25 minutes, until crispy and the filling reaches 165F.
When the grandkids sleep over, these are my secret weapon for snack time and easy Friday suppers. Everyone loves dunking them, and they go into the oven right from the freezer.
Little flour tortillas are easier to roll than corn ones, and they stay soft rather than cracking in the cold. Make a double batch, because they disappear fast.
13) Hearty Minestrone Soup
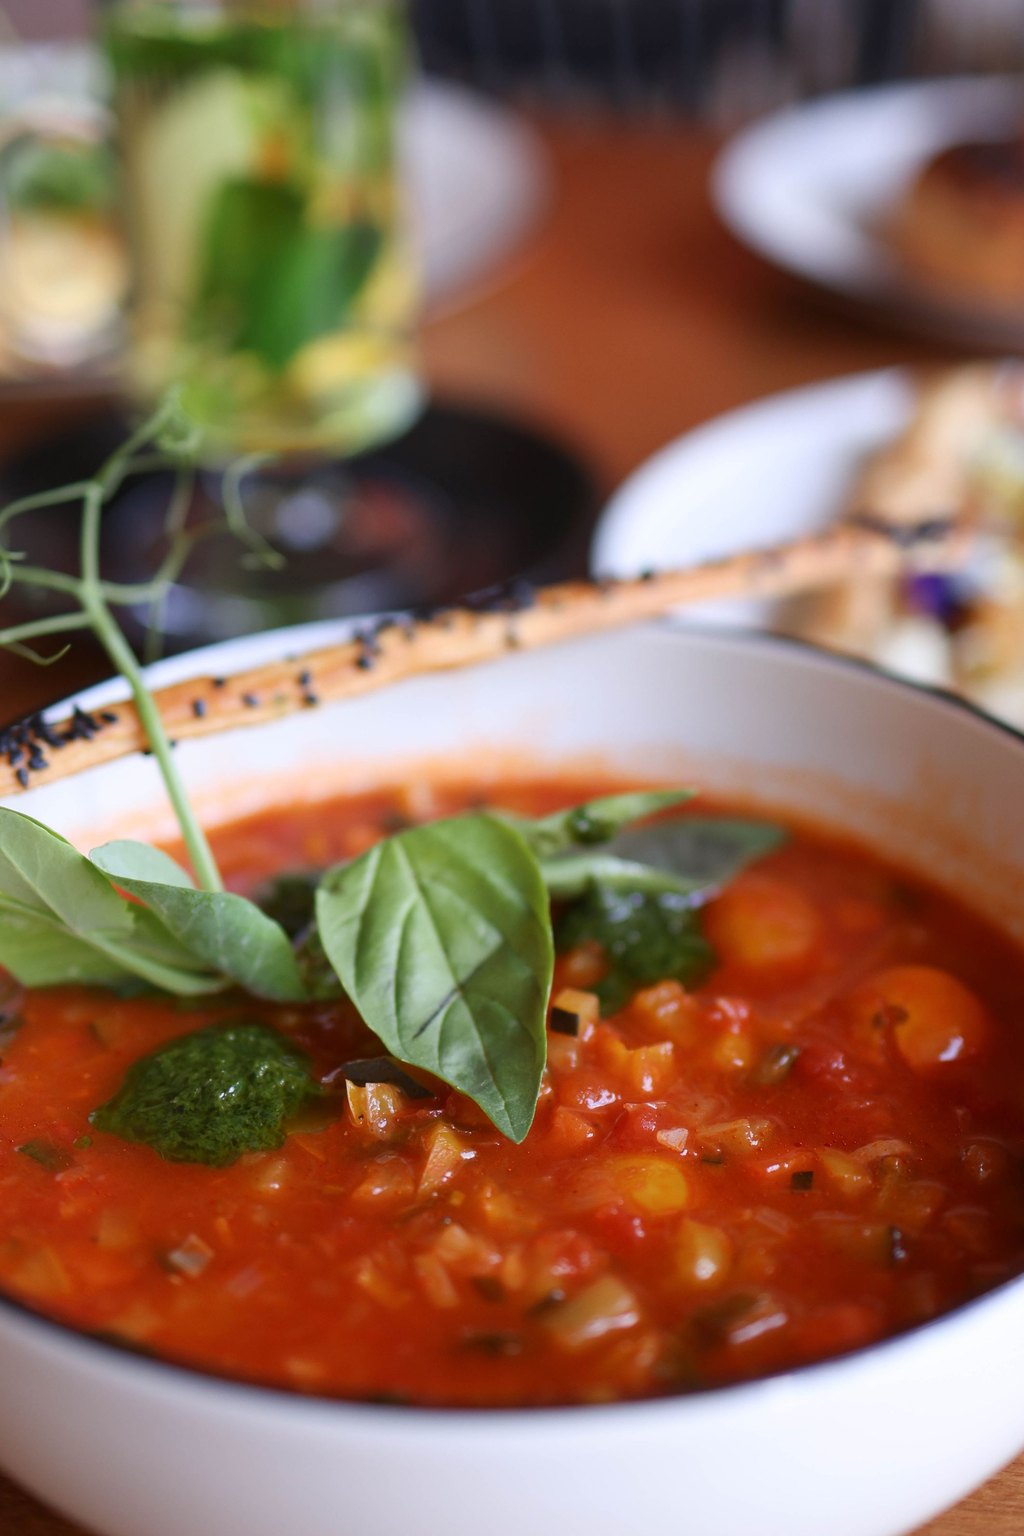
13) Hearty Minestrone Soup
This filling Italian vegetable soup brings beans, tomatoes and little pasta shells together in a savory, warming broth. Letting the onion, carrots and celery soften slowly at the start builds a mellow, sweet foundation. Boiling the pasta in its own pot keeps it from drinking up the broth or turning mushy.
Serve this in wide bowls with a big piece of crusty bread or warm garlic toast for dunking. A simple grilled cheese on the side makes it a cozy lunch the grandkids enjoy. It is a lovely light supper for two, with a sprinkle of Parmesan and a glass of red wine.
Ingredients
2 tablespoons olive oil
1 medium onion, diced
2 carrots, diced
2 celery ribs, diced
1 medium zucchini, diced
3 cloves garlic, minced
1 can diced tomatoes, 28 ounces
6 cups vegetable broth
1 can kidney beans, 15 ounces, drained and rinsed
2 cups chopped fresh spinach
1 teaspoon dried Italian seasoning
1 teaspoon salt
1 cup small pasta shells
Grated Parmesan cheese for serving
Chop all the vegetables about the same small size so every spoonful has a little of everything. Save a Parmesan rind in the freezer and drop it into the simmering soup for a rich, savory flavor, then fish it out before serving. Hold back the spinach from any batch headed for the freezer and add fresh greens when you reheat.
Instructions
Warm the olive oil in a big pot on medium. Tip in the diced onion, celery and carrots and cook them for about 8 minutes, stirring every so often, until they start to turn tender.
Stir in the zucchini and garlic and let them cook for 2 more minutes.
Add the tomatoes along with their juice, plus the broth, Italian seasoning and salt. Bring the pot to a boil, then turn the heat down, set the lid partway on and simmer for 20 minutes, until the vegetables are soft.
Add the kidney beans and spinach and let it simmer for 5 minutes, until the greens have wilted.
While the soup simmers, boil the pasta shells in a second pot of salted water for about 8 minutes, until al dente, then drain. Put a scoop of pasta into each bowl and ladle the hot soup over the top.
Finish every bowl with grated Parmesan and a thin drizzle of olive oil.
To freeze, cool the soup without any pasta and portion it into containers, allowing 1 inch of space at the top. It keeps for up to 3 months. Thaw it overnight, warm it over medium heat until simmering, then stir in pasta you have just cooked.
In late summer, when the garden is bursting with zucchini and greens, this is where most of them end up. It is meatless, filling and costs next to nothing for a big pot.
Pasta goes soft and bloated when frozen, so keep it out of the soup you plan to store. Drop a Parmesan rind into the pot as it simmers for a deeper, savory taste.
14) Spinach and Ricotta Stuffed Shells
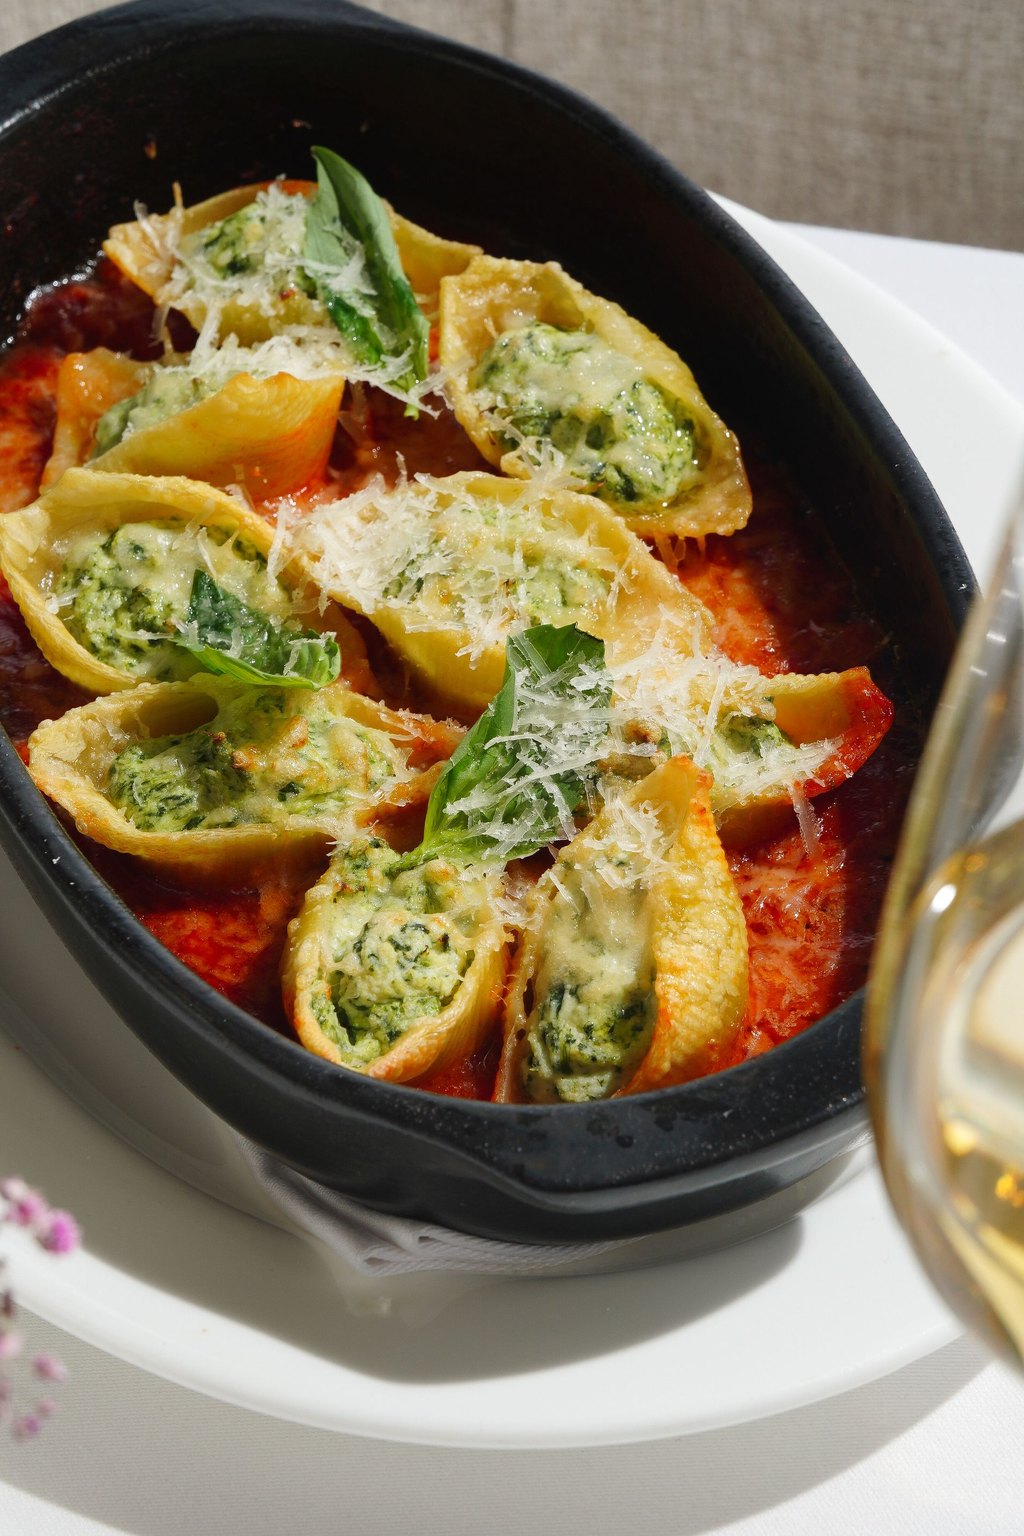
14) Spinach and Ricotta Stuffed Shells
Big pasta shells get stuffed with a creamy mix of ricotta and spinach, then baked in marinara under a layer of melted mozzarella. A little nutmeg is the old Italian secret that makes the cheese and greens taste fuller. Cooking the shells a bit short keeps them firm through the freezer and the oven.
Carry the dish right to the table so everyone can see the bubbling cheese and sauce. A crisp green salad and some garlic bread are all it needs for a meatless dinner. Three or four shells make a good serving, so a full pan feeds the whole family on a Sunday.
Ingredients
1 box jumbo pasta shells, 12 ounces
30 ounces whole milk ricotta
10 ounces frozen chopped spinach, thawed and squeezed dry
2 cups shredded mozzarella cheese, divided
3/4 cup grated Parmesan cheese, divided
1 large egg
2 cloves garlic, minced
1 teaspoon dried Italian seasoning
1/2 teaspoon salt
1/4 teaspoon black pepper
1/8 teaspoon ground nutmeg
1 jar marinara sauce, 24 ounces
Squeeze the spinach until it is truly dry, or the filling will weep and turn the sauce watery. A zip top bag with the corner snipped off makes filling the shells fast and tidy. Boil a few extra shells, since some always tear in the pot.
Instructions
Preheat the oven to 375F. Boil the jumbo shells in salted water for 2 minutes less than the box says, drain them and lay them out on an oiled sheet pan so they stay separate.
In a large bowl, stir together the ricotta, spinach, 1 cup of mozzarella, 1/2 cup of Parmesan, the egg and garlic, plus the nutmeg, Italian seasoning, salt and pepper, until well blended.
Pour 1 cup of the marinara into a 9×13 inch dish and spread it over the bottom.
Spoon a heaping tablespoon of the cheese filling into each shell and set it in the dish with the open side facing up. The batch should fill about 30 shells.
Spoon the rest of the marinara over and around the shells, then sprinkle the remaining mozzarella and Parmesan across the top.
To bake now, cover the dish with foil and bake for 25 minutes. Remove the foil and bake 10 to 15 minutes longer, until the sauce bubbles and the cheese is lightly browned.
To freeze, put the dish together in a foil pan, wrap it securely in plastic and foil and freeze for up to 3 months. Thaw it overnight in the refrigerator, then bake covered for 45 minutes and uncovered for 15, until the center registers 165F.
These meatless shells feel a little special but take hardly more effort than a lasagna. Whenever I bring them to a church supper, the pan comes home empty.
Wring the thawed spinach out in a clean dish towel until it stops dripping. Any leftover water will make the filling runny once it thaws.
15) Creamy Baked Macaroni and Cheese
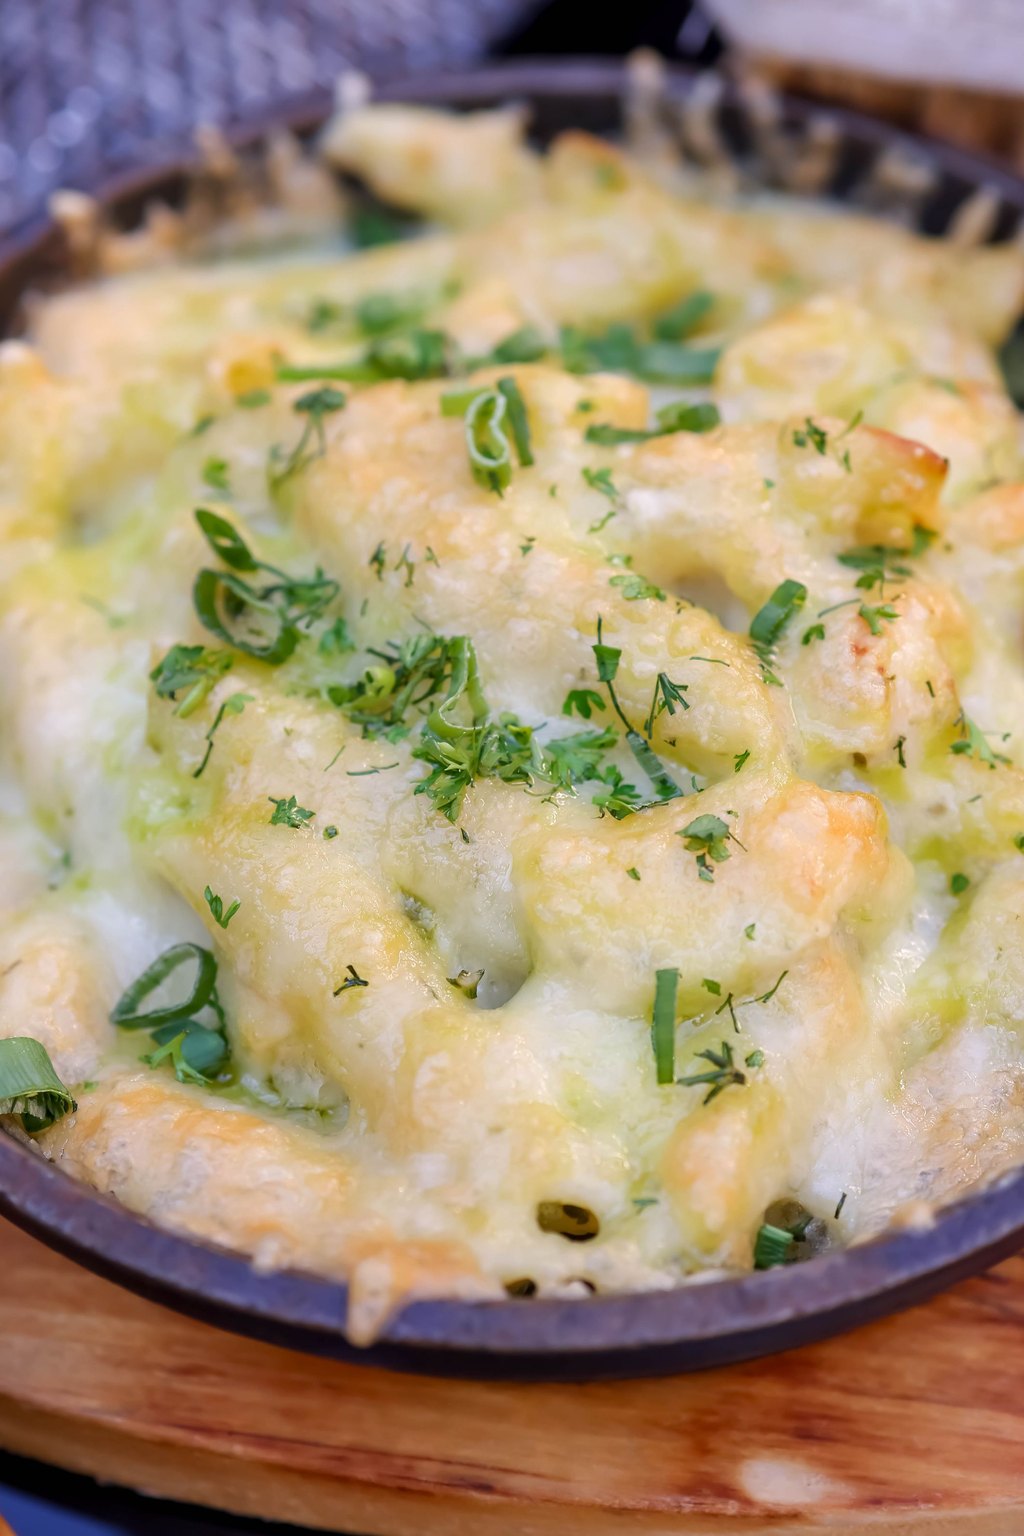
15) Creamy Baked Macaroni and Cheese
Underneath, this oven baked mac and cheese is extra creamy, and on top sits a crown of crunchy, buttery crumbs. A generous sauce built on milk and half and half keeps the noodles saucy, even after a stint in the freezer. Sharp cheddar gives it that familiar tang, and Gruyere melts in smooth with a mild nutty flavor.
This mac and cheese is a meal on its own, but it also makes a perfect side for ham, fried chicken or barbecue. Serve it straight from the dish so everyone gets some crunchy topping with each scoop. The grandkids think it is the best part of any holiday dinner.
Ingredients
1 pound elbow macaroni
1/2 cup unsalted butter, divided
1/3 cup all purpose flour
3 1/2 cups whole milk
1 cup half and half
4 cups shredded sharp cheddar cheese, divided
1 cup shredded Gruyere or Monterey Jack cheese
1 teaspoon dry mustard
1/2 teaspoon garlic powder
1/4 teaspoon smoked paprika
1 1/2 teaspoons salt
1 cup panko breadcrumbs
Shred the cheese from a block, because preshredded cheese has a coating that keeps the sauce from turning smooth. Warm the milk a bit before adding it, which helps the sauce thicken without lumps. For two, bake it in a few small foil pans so you can pull out one at a time.
Instructions
Grease a 9×13 inch dish with butter and preheat the oven to 375F. Boil the macaroni in salted water for 2 minutes less than the package directions and drain it.
In a large pot over medium heat, melt 6 tablespoons of the butter. Whisk in the flour and cook for 1 minute. Gradually pour in the milk and half and half, whisking as you go, and let it cook for about 8 minutes, whisking often, until it thickens enough to coat a spoon.
Take the pot off the heat. Add 3 cups of the cheddar, the Gruyere, dry mustard, garlic powder, smoked paprika and salt and stir until the sauce is velvety.
Fold the cooked macaroni into the sauce and pour everything into the dish. Scatter the remaining cheddar on top.
Melt the last 2 tablespoons of butter, toss it with the panko until the crumbs are coated, and sprinkle them evenly over the cheese.
To serve now, bake for 20 to 25 minutes, until the edges bubble and the top turns golden. Let it sit for 5 minutes before scooping.
To freeze, assemble it in a foil pan without the panko, let it cool, wrap it tightly and freeze for up to 3 months. Thaw it overnight, sprinkle on the buttered crumbs and bake covered for 30 minutes and uncovered for 15, until the middle is hot.
Every family needs one great mac and cheese, and this is the one I make for holidays and plain old Tuesdays alike. It sits happily next to meatloaf, ham or pulled pork.
When freezing, make the sauce a touch looser than seems right, since the pasta keeps soaking it up. Grate your own cheese for the smoothest possible sauce.
Before You Start Cooking
The simplest way I know to build a freezer stash is to double whatever you are cooking anyway and tuck the extra pan away. Let it cool fast, squeeze out the air, label it clearly and keep a running list taped to the freezer door so nothing hides in the back.
I hope these dishes buy you a few slower evenings and some breathing room when life gets hectic. It is such a comfort to know a good homemade supper is already waiting, ready whenever you are.
Frequently Asked Questions
How long will homemade freezer meals keep?
Most cooked casseroles, soups and meat dishes taste their best for about 3 months in a freezer held at 0F. They remain safe beyond that, but flavor and texture slowly decline and ice crystals can creep in. Wrap everything well, remove as much air as possible and date each package so the oldest ones get eaten first.
Do I need to thaw a freezer meal before it goes in the oven?
Casseroles bake most evenly and quickly after a night thawing in the refrigerator. Pot pie, taquitos and meatballs are fine going directly from the freezer into the oven or a pot of sauce, as long as you allow extra cooking time. Either way, use an instant read thermometer to confirm the middle reaches 165F.
Which foods are better left out of the freezer?
Raw potatoes, pasta sitting in soup, crunchy fried coatings, tender salad greens and sauces thickened only with sour cream usually suffer in the freezer. Salads bound with mayonnaise and hard cooked egg whites turn watery or rubbery too. Freeze soups without the noodles and add any crisp or fresh toppings after you reheat.