15 Festive Holiday Appetizers for Your Next Party
Fifteen festive holiday appetizers for parties, from bubbling warm dips to bite size nibbles and make ahead finger foods that keep a crowd happy all night.
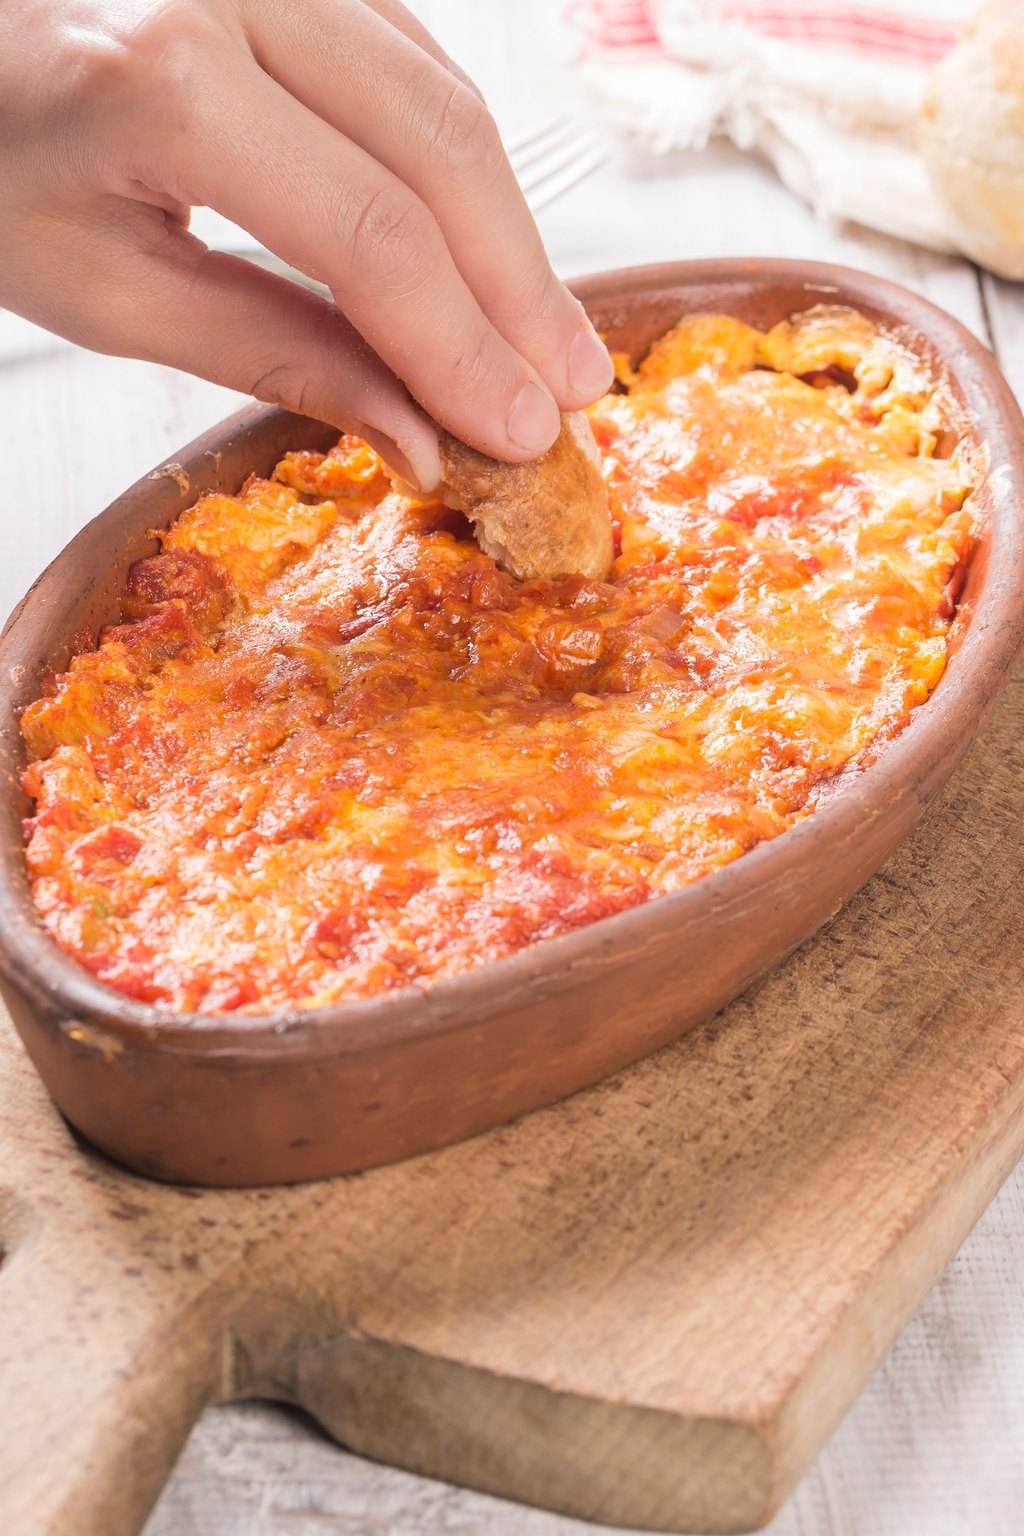
Our holiday open house is the one night a year when every room in the house is full, and I would much rather pass around little plates than plan a sit down dinner. These fifteen appetizers are the ones I lean on, from warm cheesy dips and silky hummus to flaky pastry bites, saucy meatballs and a few bright, fresh plates to round out the table. Most can be prepped the day before. My rule is to mix hot and cold so the oven never holds more than two pans when guests arrive.
1) Hot Spinach Artichoke Dip
1) Hot Spinach Artichoke Dip
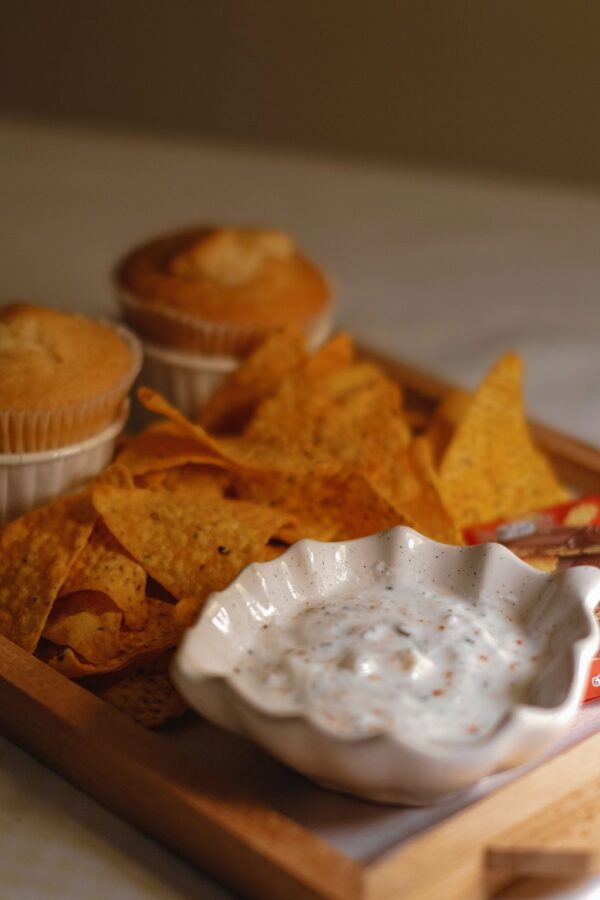
Every scoop of this warm dip is creamy, cheesy and full of tender spinach and artichoke hearts. Cream cheese, sour cream and a little mayonnaise work together to keep it rich and smooth without any greasiness. Two kinds of cheese melt into a bubbly golden top that people scrape right down to the bottom of the dish.
I set this out first at any party, right in the middle of the table where everyone can reach it. A mix of dippers keeps things interesting, so try sturdy pita chips, celery sticks and sliced bell peppers next to the bread. It is mild enough for the grandkids and cozy enough to feel like a treat for the grownups.
Ingredients
8 ounces cream cheese, softened
1/2 cup sour cream
1/4 cup mayonnaise
10 ounces frozen chopped spinach, thawed and squeezed dry
1 can artichoke hearts, 14 ounces, drained and chopped
1 cup shredded mozzarella cheese, divided
1/2 cup grated Parmesan cheese
2 cloves garlic, minced
1/4 teaspoon red pepper flakes
1/2 teaspoon salt
1/4 teaspoon black pepper
Tortilla chips, crackers or toasted baguette for serving
You can mix the dip a day ahead, spread it in the dish and keep it covered in the refrigerator. Add 5 to 10 minutes to the bake when it goes in cold, and look for bubbling sides before you pull it. For just the two of us, I bake half in a small ramekin and save the rest for later in the week.
Instructions
Preheat the oven to 375F and grease a 9 inch pie plate or a 1 1/2 quart baking dish.
Wrap the thawed spinach in a clean dish towel and wring it out hard until it stops dripping. Getting rid of that water keeps the dip thick and creamy rather than runny.
Put the cream cheese in a large bowl with the sour cream and mayonnaise. Beat with a hand mixer until perfectly smooth and no little lumps of cream cheese remain.
Add the spinach and chopped artichokes, then 3/4 cup of the mozzarella along with the Parmesan, garlic, pepper flakes, salt and black pepper. Stir until everything looks evenly mixed.
Scrape the dip into the prepared dish, smooth the top and scatter the rest of the mozzarella over it.
Bake for 20 to 25 minutes. It is ready when the sides are bubbling and the cheese on top has melted and picked up a few golden spots.
Give it 5 minutes to cool a little, then set it out warm with tortilla chips, crackers or toasted slices of baguette. To keep it warm through the party, set the dish on a trivet or move the dip into a little slow cooker turned to warm.
I bring this to almost every gathering, because it is always the first dish emptied. It feels like a splurge, and the vegetables let us pretend it is a little bit healthy.
Assemble it right in the baking dish as much as 2 days early, cover it and refrigerate. When it goes into the oven cold, add 5 to 10 minutes to the baking time.
2) Cranberry Brie Pastry Bites
2) Cranberry Brie Pastry Bites
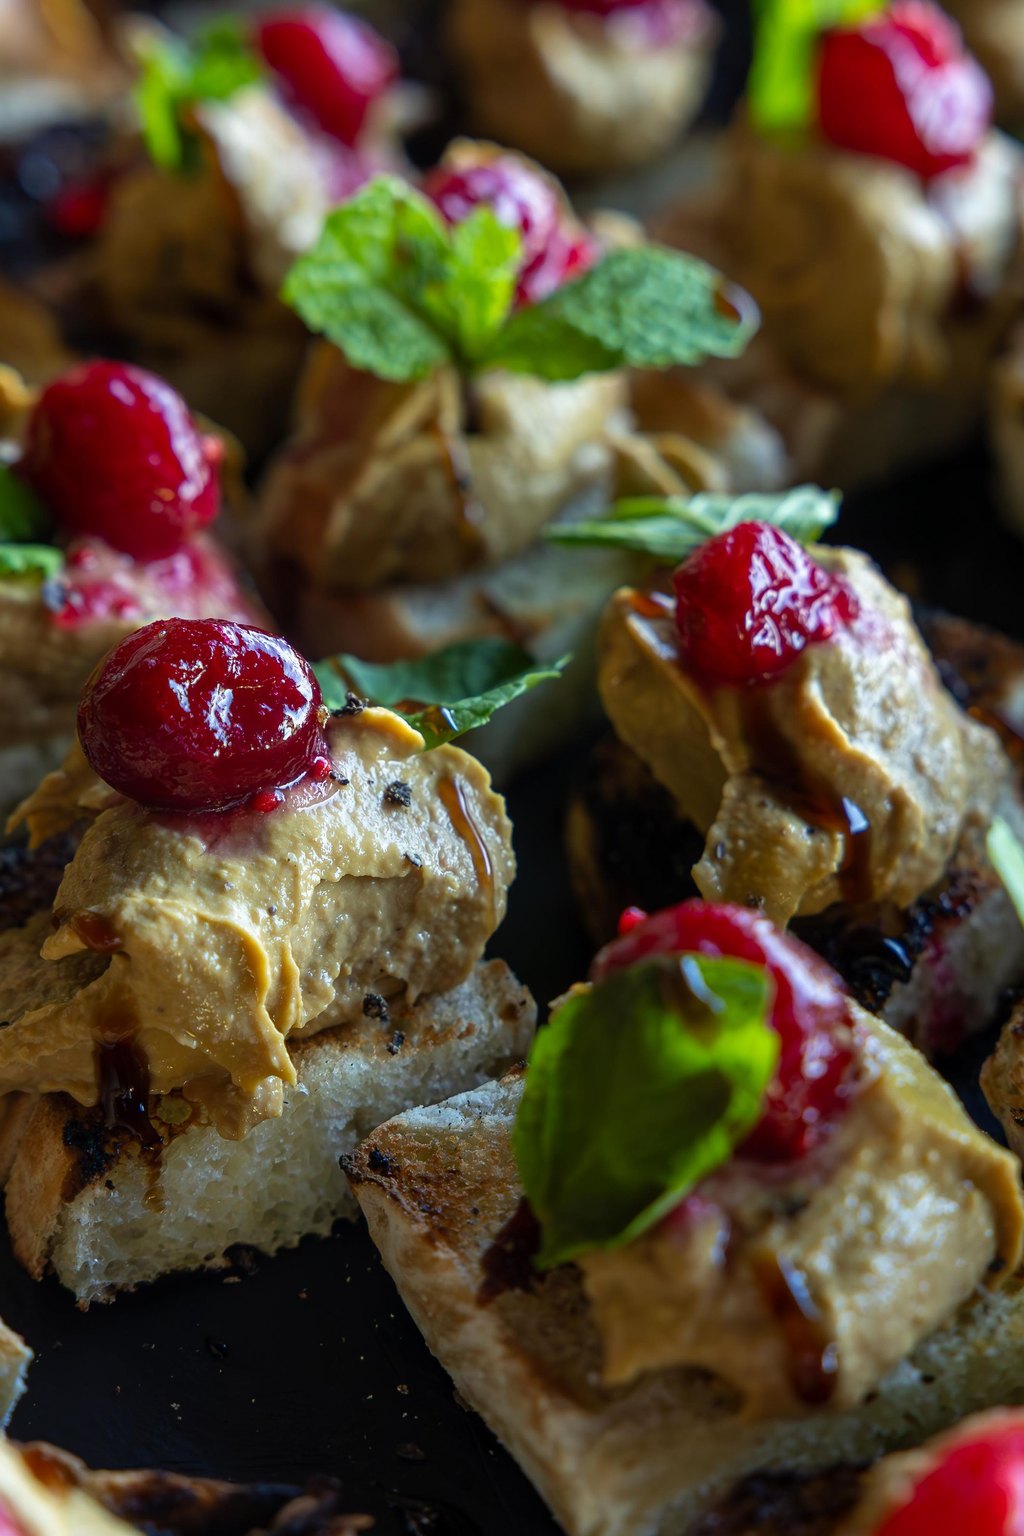
Each little cup holds flaky puff pastry, melted Brie and tart cranberry sauce, all in one perfect bite. A thread of honey, a few toasted pecans and fresh rosemary bring sweetness, crunch and a piney holiday scent. A mini muffin tin does the shaping for you, so no pastry skills are needed at all.
These little cups look so pretty lined up on a wooden board with sprigs of rosemary tucked between them. I like to serve them next to a bowl of grapes and some sliced pears, which go nicely with the creamy cheese. They are an easy bite to hold with a glass of sparkling cider in your other hand.
Ingredients
1 sheet frozen puff pastry, thawed
8 ounces Brie cheese
1/2 cup whole berry cranberry sauce
1/4 cup chopped toasted pecans
2 tablespoons honey
1 tablespoon fresh rosemary, finely chopped
1 large egg, beaten
2 tablespoons all purpose flour for rolling
Flaky sea salt
Cooking spray
Keep the puff pastry cold until the moment you cut it, because warm pastry gets sticky and will not puff as high. Brie cuts much more cleanly straight from the refrigerator, so cube it before it has a chance to soften. You can fill the cups a few hours ahead and keep the tin chilled, then bake them right before guests arrive.
Instructions
Preheat the oven to 375F and coat a 24 cup mini muffin tin with cooking spray.
Dust the counter with a little flour and roll the thawed puff pastry out into a square about 12 inches across. Cut it into 24 small squares of roughly 2 inches each.
Gently push one square into each muffin cup so the corners point up around the sides. Brush the pastry edges with the beaten egg.
Cut the Brie into 24 little cubes, leaving the rind on, and drop one into every pastry cup. Spoon about 1 teaspoon of cranberry sauce over each piece of cheese.
Bake for 15 to 18 minutes, until the pastry has puffed up and turned a deep golden brown and the Brie has melted.
Leave them in the pan for 5 minutes to settle, then lift each one out with a small offset spatula or the tip of a butter knife.
Scatter the toasted pecans and chopped rosemary over the tops, add a thin drizzle of honey and a final pinch of flaky salt. Arrange them on a platter and serve them warm or at room temperature.
These look so elegant on a platter, yet they take only about 15 minutes of real work. Better still, they put the leftover cranberry sauce from Thanksgiving to good use.
Pop the Brie in the refrigerator for 20 minutes so it cuts cleanly. You can fill the pastry cups a few hours early, chill them, and bake just before the doorbell rings.
3) Cheesy Sausage Balls
3) Cheesy Sausage Balls
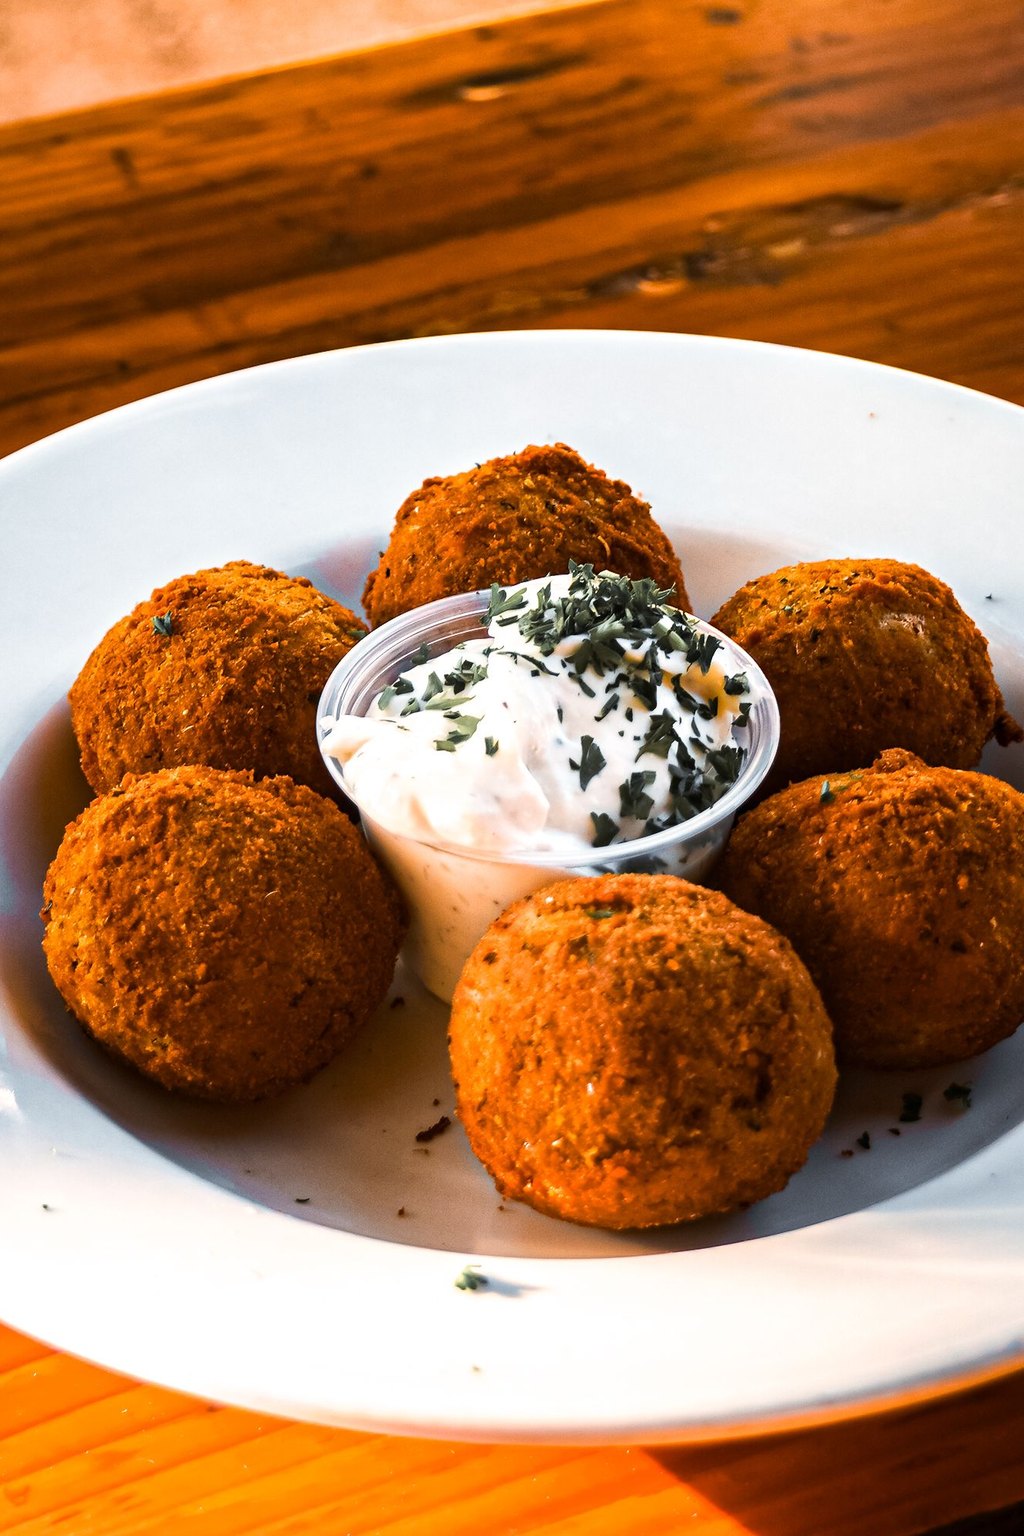
These savory little bites bring together pork sausage, sharp cheddar and biscuit mix in one easy dough. Cream cheese keeps them soft and juicy, unlike the dry, crumbly versions many of us grew up with. They bake up crisp outside and tender inside, which makes them perfect for dunking.
Pile these into a big bowl with toothpicks and a few small dishes of dipping sauce around them. They are just as good at room temperature, which makes them perfect for a holiday open house or a game day spread. Tom likes them for breakfast too, alongside scrambled eggs and a cup of coffee.
Ingredients
1 pound breakfast pork sausage, uncooked
2 cups biscuit baking mix
4 cups shredded sharp cheddar cheese
4 ounces cream cheese, softened
1/4 cup whole milk
1/2 teaspoon garlic powder
1/2 teaspoon onion powder
1/4 teaspoon cayenne pepper
1/4 teaspoon black pepper
Cooking spray
Shred the cheddar yourself, because the bagged kind is coated and does not bind the dough as well. Let the cheese and cream cheese come to room temperature first, since cold ingredients make a stiff dough that is hard to mix. You can freeze the unbaked balls on a tray and bake them straight from frozen, adding about 5 minutes.
Instructions
Preheat the oven to 375F. Cover two rimmed sheet pans with parchment and mist them lightly with cooking spray.
In a large bowl, combine the uncooked sausage with the softened cream cheese and the milk, and mix until the cream cheese is worked all the way through the meat.
Add the biscuit mix and shredded cheddar, then the spices, which are the garlic and onion powders, the cayenne and the black pepper. Work everything together with your hands for a couple of minutes, until it forms a thick dough that is just a little sticky.
Roll the dough into balls about 1 inch across and line them up on the pans with roughly 1 inch between them. The batch should give you around 48.
Bake for 18 to 22 minutes, switching the pans halfway through. They should turn a deep golden brown and a thermometer in the center of one reads 160F.
Let them rest on the pans for 5 minutes so they firm up before you move them.
Pile them on a platter and serve them warm or at room temperature, with small bowls of honey mustard, ranch or pepper jelly alongside for dipping.
Sausage balls are a Southern holiday staple, and a big plate shows up at our house every Christmas Eve. They are just as welcome at a holiday brunch as at a cocktail party.
Freeze the raw balls on a sheet pan, then move them to a bag for up to 3 months. Bake them straight from the freezer at 375F and add 5 to 8 minutes.
4) Bacon Wrapped Stuffed Dates
4) Bacon Wrapped Stuffed Dates
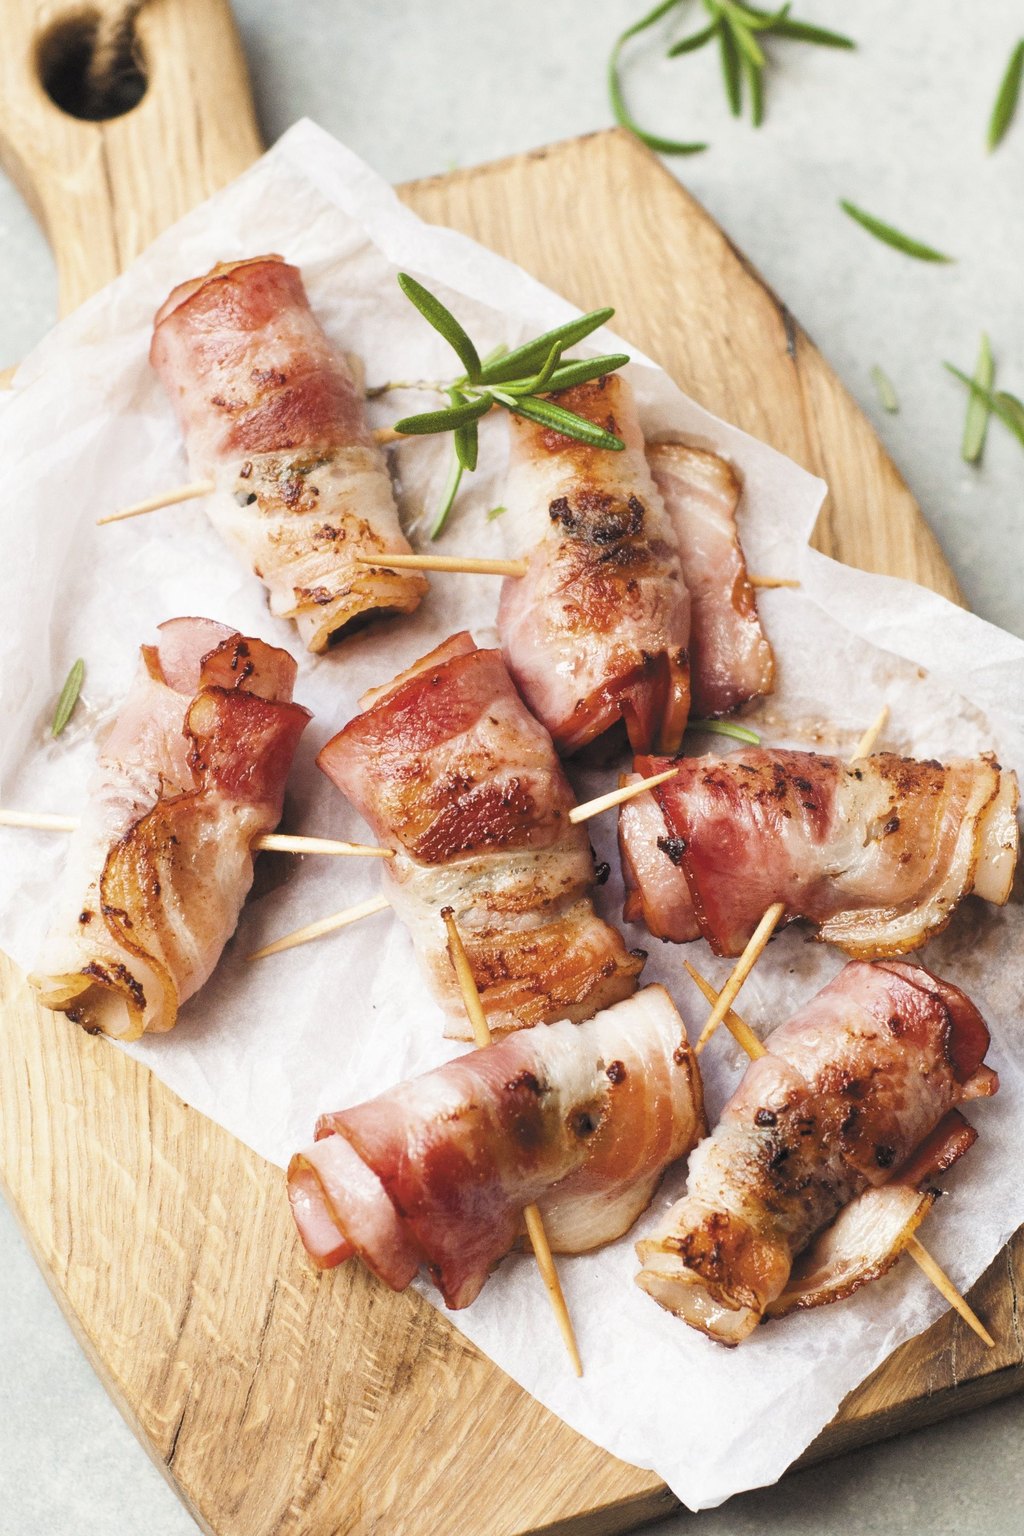
Sweet, caramel flavored dates meet salty, crisp bacon and a soft, tangy goat cheese filling in this little party favorite. A whole almond hidden inside gives each bite a surprising crunch. A light coat of spiced maple syrup turns the bacon shiny and just a bit sticky.
Bacon wrapped dates disappear fast, so I make a full tray even for a small gathering. Line them up on a slate board or a white platter with a little bowl nearby for the used toothpicks. They bring a nice salty and sweet bite next to a cheese board, and they pair well with a glass of red wine or sparkling water.
Ingredients
24 large pitted Medjool dates
4 ounces goat cheese, softened
24 whole roasted almonds
12 slices regular cut bacon, halved crosswise
2 tablespoons maple syrup
1/4 teaspoon cayenne pepper
1/4 teaspoon black pepper
1 tablespoon chopped fresh chives
24 wooden toothpicks
Parchment paper for the pan
Thin regular cut bacon works best, since thick bacon will not crisp before the dates start to scorch. Assemble them earlier in the day and keep them covered in the refrigerator, then brush on the maple glaze just before baking. If a few finish sooner, move them to a plate so the sugar on the bacon does not burn.
Instructions
Preheat the oven to 400F. Cover a rimmed baking sheet with parchment, and if you own a wire rack, set it on top so the bacon can crisp on every side.
Cut a slit along one side of each date, keeping the other side joined like a hinge, and check for any stray pits.
Spoon about 1/2 teaspoon of goat cheese into each date and push a whole almond into the cheese. Pinch the date shut around the filling.
Wrap a half strip of bacon snugly around each date so the ends overlap, then pin it in place with a toothpick. Set them on the rack with the seams facing down.
In a small bowl, combine the maple syrup with the cayenne and black pepper, then brush a thin coat over the bacon.
Bake for 20 to 25 minutes, flipping them once at the halfway point, until the bacon is crisp and browned all over.
Let them rest for 5 minutes before serving, because the cheese inside gets very hot. Scatter the chopped chives over the top and serve them warm.
These taste like something from an upscale restaurant, yet the idea could not be simpler. Even friends who swear they do not like dates come back for another.
Fill and wrap them as much as a day early, cover and refrigerate. Bake them right before guests arrive so the bacon is as crisp as possible.
5) Caprese Skewers with Balsamic Glaze
5) Caprese Skewers with Balsamic Glaze
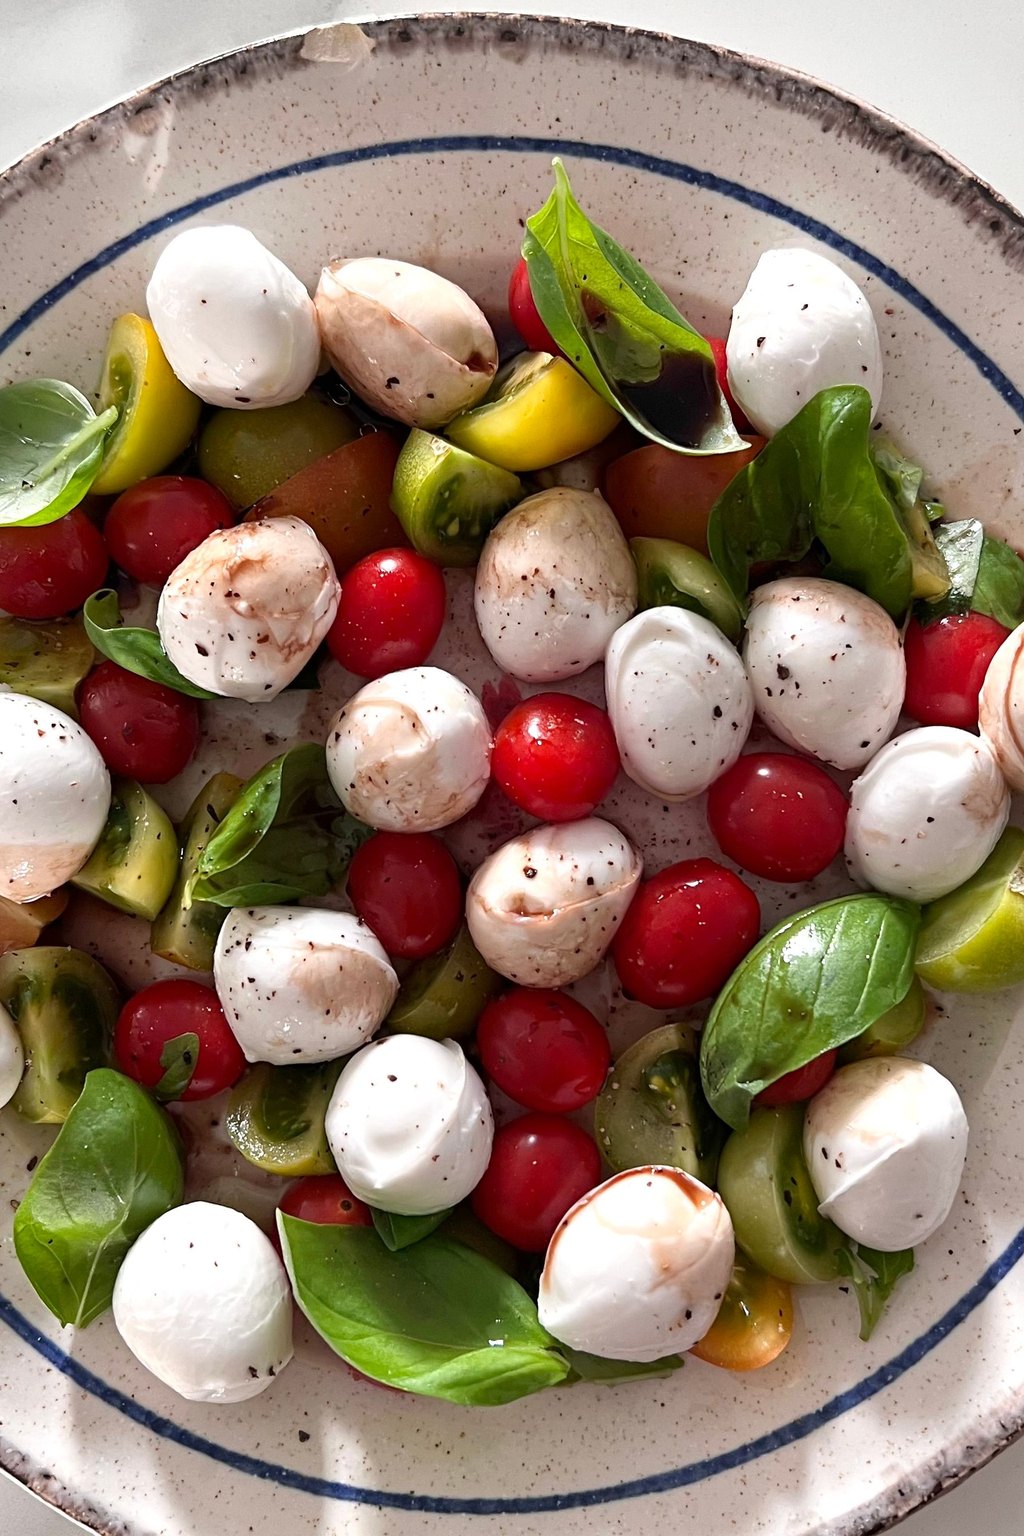
These skewers take the beloved Italian salad of ripe tomato, fresh mozzarella and basil and put it on a stick. A fast homemade balsamic glaze adds a sweet and tangy finish that pulls the flavors together. With their red, white and green colors, they look naturally festive on a holiday spread.
Arranged in a circle like a wreath, these make a striking centerpiece on a holiday buffet. They are light and fresh, which gives guests a break from all the rich, cheesy dips on the table. In summer I make a small handful for Tom and me and call it lunch with a little crusty bread.
Ingredients
24 cherry tomatoes
24 small fresh mozzarella balls
24 fresh basil leaves
1/3 cup balsamic vinegar
1 tablespoon honey
2 tablespoons extra virgin olive oil
1/4 teaspoon flaky sea salt
1/4 teaspoon black pepper
24 short wooden skewers or long toothpicks
1 small bowl for the glaze
Watch the balsamic closely as it reduces, because it can go from syrupy to scorched in the last few minutes. If it turns too thick once cool, stir in a few drops of warm water to loosen it. Pick tomatoes about the same size as the mozzarella balls so the skewers look neat and lie evenly on the platter.
Instructions
Pour the balsamic vinegar into a small saucepan with the honey and set it over medium heat. Let it bubble gently for 8 to 10 minutes, stirring once in a while, until it has cooked down by about half and is thick enough to cling to a spoon.
Transfer the glaze to a little bowl to cool all the way. It will thicken even more as it sits.
Wash and dry the tomatoes and basil leaves. Drain the mozzarella balls and blot them with paper towels, since wet cheese makes the glaze slide right off.
Slide a tomato, a folded basil leaf and a mozzarella ball onto each skewer. Keep going until you have used everything.
Lay the skewers on a round platter in a circle to look like a wreath, or line them up in neat rows if you prefer.
Just before serving, drizzle the skewers with the olive oil and the cooled balsamic glaze, then sprinkle on the flaky salt and black pepper.
Serve them right away, or chill them for up to 2 hours and wait to add the glaze until the very last minute.
Among all the rich, cheesy dishes on a holiday table, I always want one fresh plate, and this is it. The grandkids are happy to help thread the skewers.
Circle the skewers on a round platter for an easy edible wreath. The glaze can be made up to a week ahead and kept at room temperature.
6) Classic Deviled Eggs
6) Classic Deviled Eggs
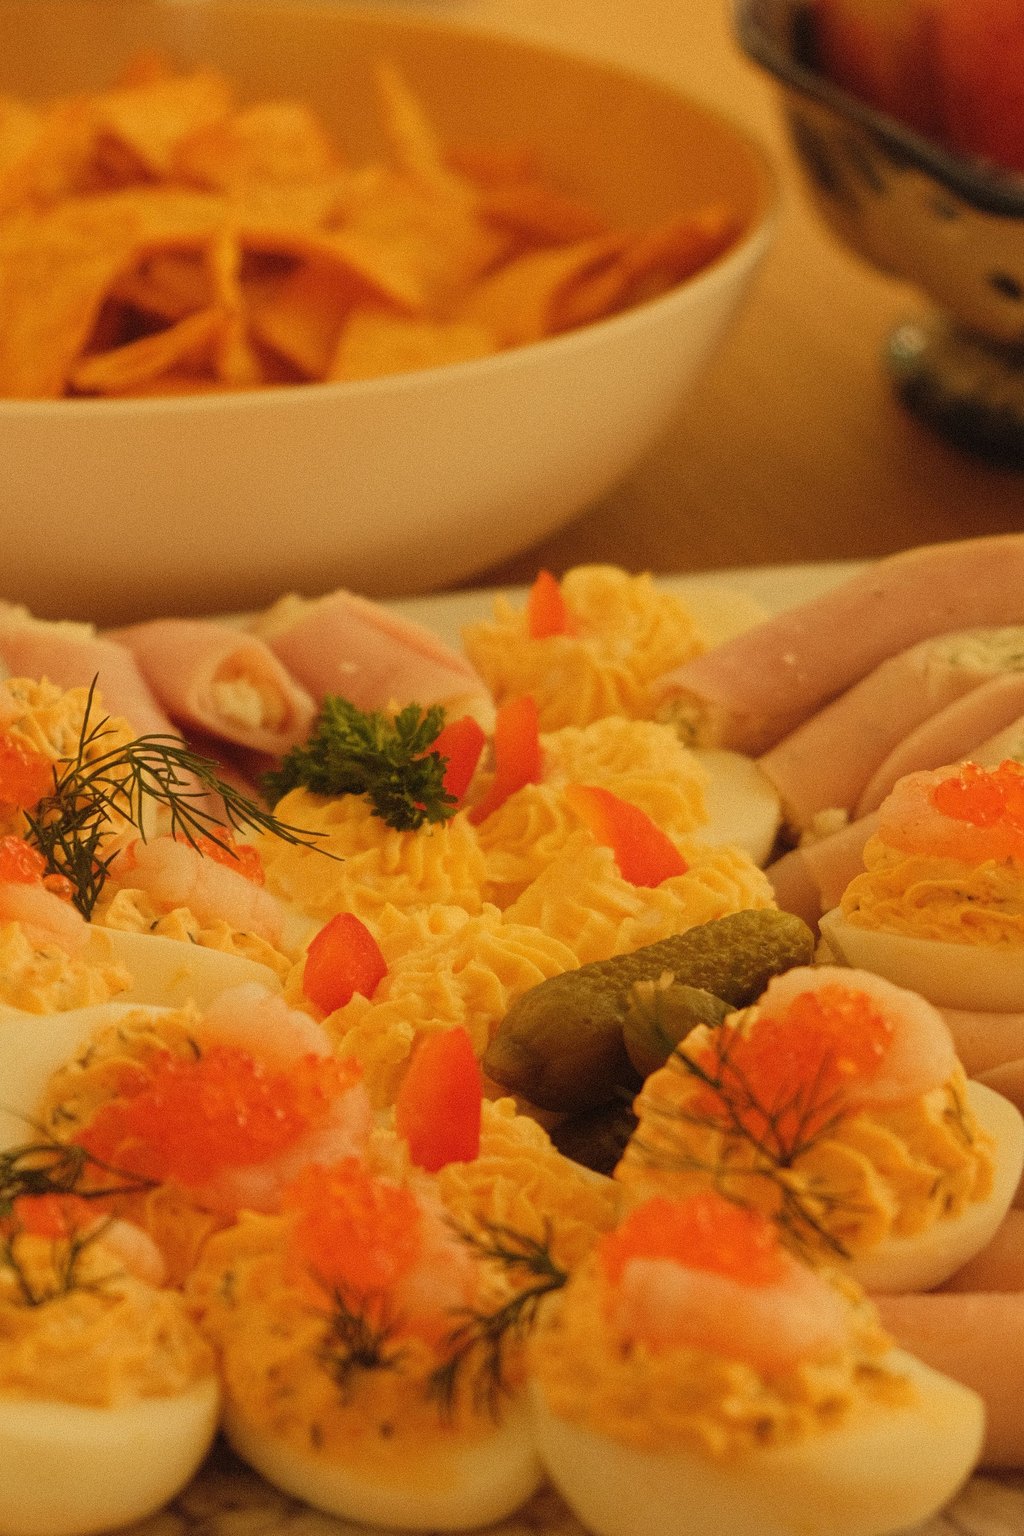
These are halved hard cooked eggs piled with a creamy, tangy filling made from the yolks. Two kinds of mustard, a splash of vinegar and a bit of sweet relish give the filling its familiar zip. A dusting of smoked paprika adds a pop of color and a gentle warmth.
A deviled egg platter is always one of the first things to empty at our family gatherings. I nestle them on a bed of lettuce or in a special egg plate so they do not slide around. Top a few with crumbled bacon or a pinch of cayenne for the folks who like a little extra flavor.
Ingredients
12 large eggs
1/2 cup mayonnaise
2 teaspoons Dijon mustard
1 teaspoon yellow mustard
1 teaspoon white vinegar
1 tablespoon sweet pickle relish
1/4 teaspoon salt
1/8 teaspoon black pepper
1/4 teaspoon smoked paprika for garnish
1 tablespoon chopped fresh chives for garnish
1 large bowl of ice water
Eggs that are a week or two old peel much more easily than very fresh ones. Cook the eggs and make the filling up to a day ahead, but store the whites and the filling separately and pipe right before serving. A drop of juice from the relish jar will loosen a filling that seems too stiff.
Instructions
Lay the eggs in one layer in a large saucepan and add cold water until they are covered by 1 inch. Set the pan over medium high heat and bring it to a boil.
The moment it boils, turn off the burner, put the lid on and leave the eggs in the hot water for 12 minutes.
Lift the eggs into a bowl of ice water and let them chill for 10 minutes. The cold bath halts the cooking and helps the shells slip off.
Peel the eggs, cut each one in half from end to end and ease the yolks out into a bowl. Set the whites on a serving platter.
Mash the yolks with a fork until they are fine and crumbly. Add the mayonnaise, both mustards, the vinegar and the relish, then season with salt and pepper and stir until creamy.
Spoon or pipe the yolk mixture back into the whites. If you do not own a piping bag, a zip top bag with one corner snipped off does the job nicely.
Dust the tops with smoked paprika and scatter the chives over them. Keep them in the refrigerator until it is time to serve.
No matter how many I make, the platter is always empty by the end of the party. They are cheap, easy to prep early and loved by everyone from toddlers to great aunts.
Eggs bought a week or more ahead peel much more easily than very fresh ones. Keep the filling and the whites in separate containers for up to 2 days and fill them just before serving.
7) Creamy Homemade Hummus
7) Creamy Homemade Hummus
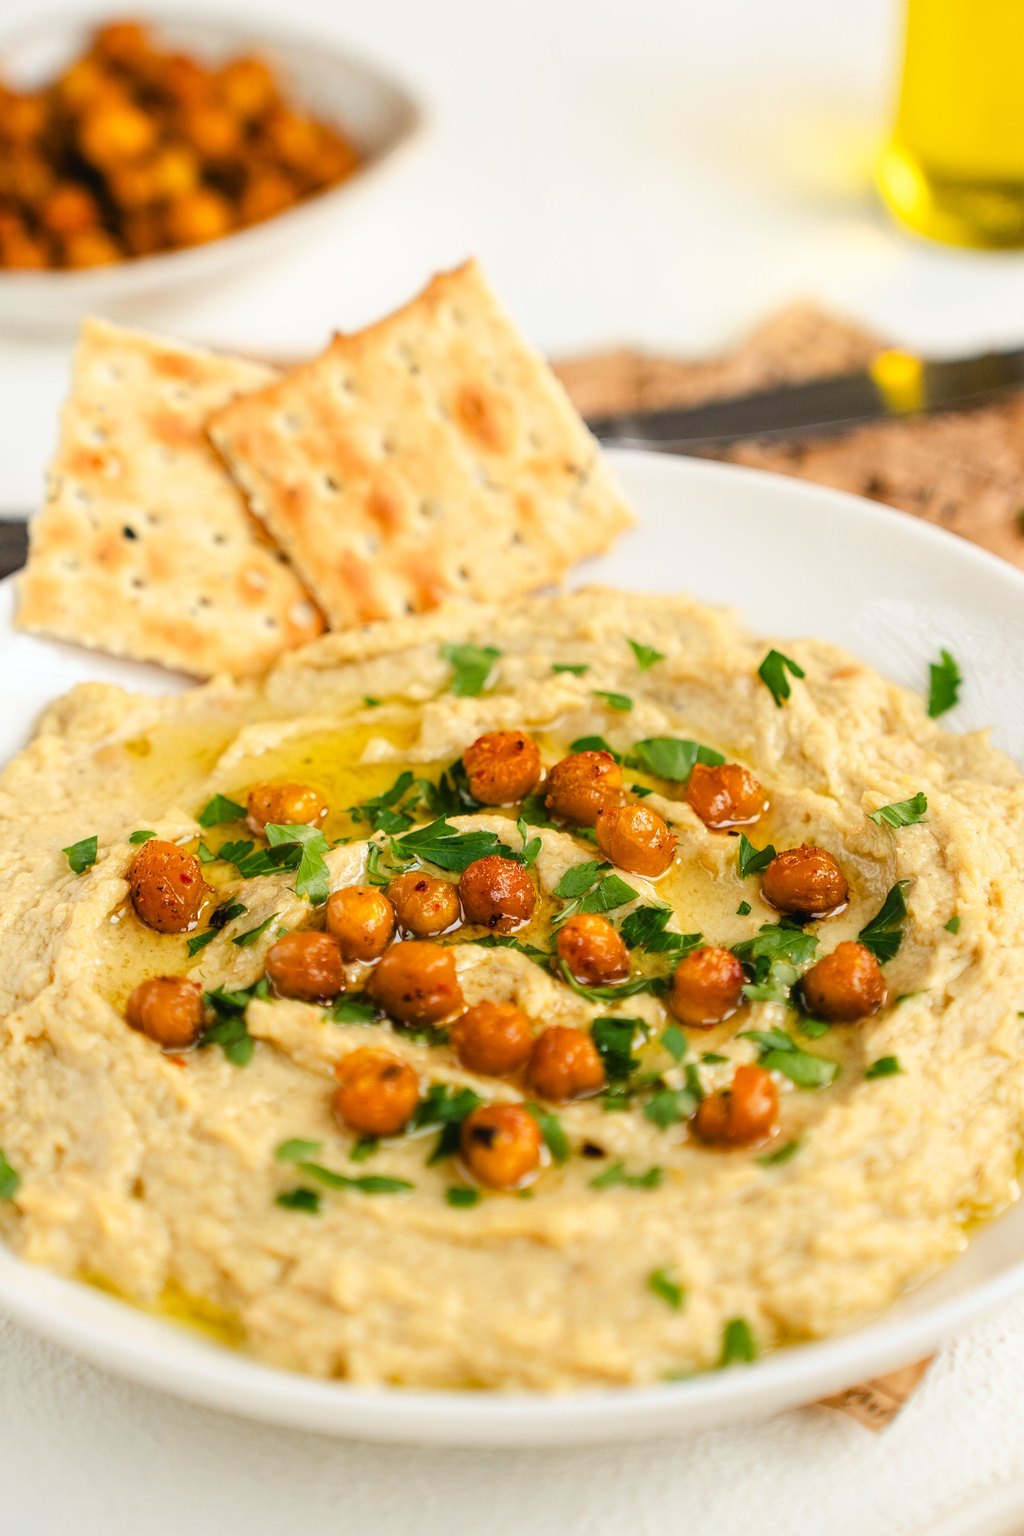
This hummus whirls chickpeas with tahini, garlic and lemon until it tastes silky, nutty and fresh. Blending the tahini and lemon on their own first, then adding ice water at the end, makes it wonderfully light. A topping of pomegranate seeds and parsley dresses it in holiday red and green.
Spread on a wide platter with all those bright toppings, this hummus looks like it came from a restaurant. Surround it with carrot sticks, cucumber rounds, cherry tomatoes and warm pita wedges for a colorful spread. It is a good choice for guests who want something light, and leftovers make an easy lunch for two.
Ingredients
2 (15 ounce) cans chickpeas, drained and rinsed
1/2 cup tahini
1/4 cup fresh lemon juice
2 cloves garlic
1/2 teaspoon ground cumin
1 teaspoon salt
4 to 6 tablespoons ice water
1/4 cup extra virgin olive oil, divided
1/2 teaspoon smoked paprika
2 tablespoons pomegranate seeds
1 tablespoon chopped fresh parsley
Pita chips and sliced vegetables, for serving
Real ice water matters here, because the cold helps whip the hummus into a fluffy, pale texture. If your garlic tastes sharp, let the cloves soak in the lemon juice for 10 minutes before blending to mellow them. Stir the tahini well in its jar before measuring, since the oil separates and settles on top.
Instructions
Cover the drained chickpeas with water in a bowl and gently rub them between your palms to loosen the thin skins. Scoop off as many skins as you can, since this step makes the hummus far smoother.
In a food processor, whirl the tahini and lemon juice for 1 minute, until thick and creamy, stopping once to scrape the sides.
Add the garlic, cumin and salt and blend for 30 seconds longer.
Add the chickpeas along with 2 tablespoons of the olive oil and run the processor for 2 to 3 minutes, stopping to scrape the bowl whenever needed.
With the motor going, add the ice water one tablespoon at a time until the hummus turns fluffy, silky and easy to spread. Taste it and adjust with more salt or lemon if you like.
Spoon it into a container and chill it for a minimum of 30 minutes to let the flavors meld.
To serve, spread it over a shallow platter and drag a spoon through it to make a wide swirl. Drizzle on the rest of the olive oil, sprinkle with paprika and top with pomegranate seeds and parsley. Set out pita chips and cut vegetables alongside.
I always want one lighter dish on the party table, and this is my pick. It costs very little, keeps the vegetarians happy and looks gorgeous beside all the cheesy dips.
The hummus keeps covered in the refrigerator for up to 4 days. Add the oil, paprika and toppings right before guests come so it looks freshly made.
8) Sausage Stuffed Mushrooms
8) Sausage Stuffed Mushrooms
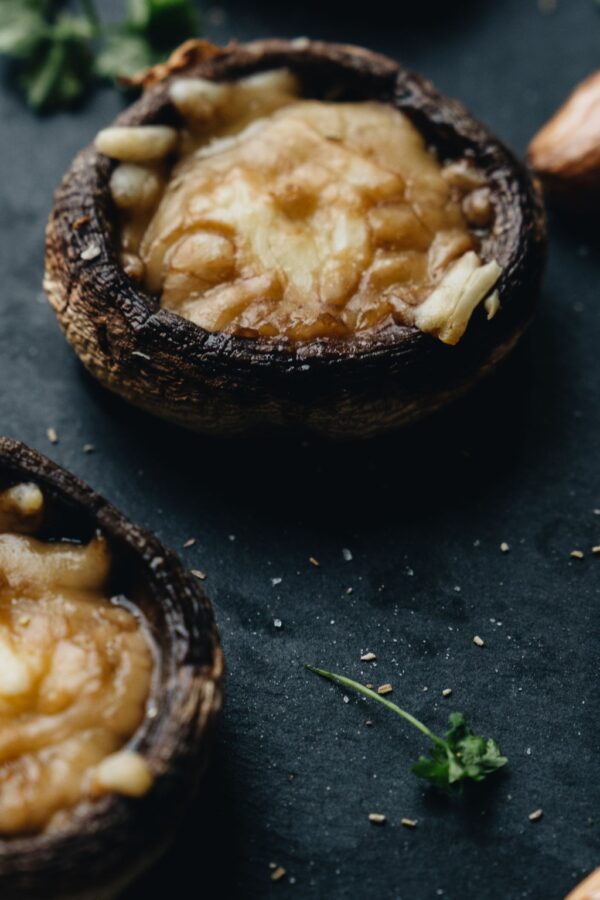
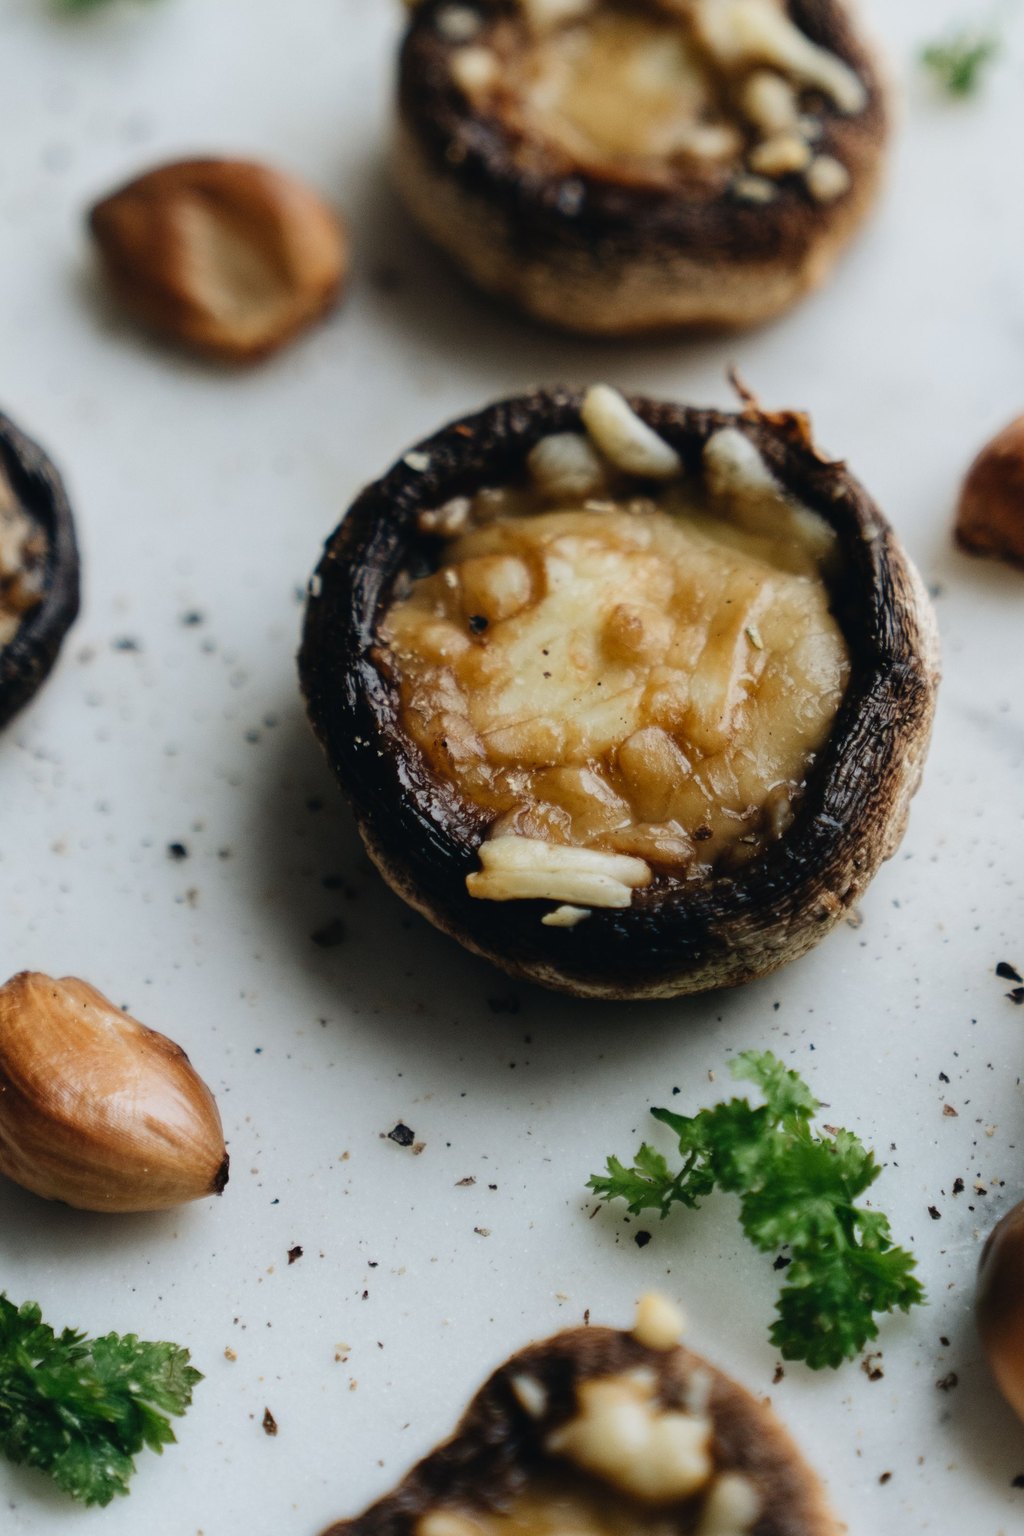
Juicy mushroom caps are heaped with a savory mix of Italian sausage, cream cheese and Parmesan in these hearty bites. Cooking the chopped stems right along with the sausage adds an earthy depth and nothing goes to waste. A sprinkle of breadcrumbs bakes into a golden, lightly crisp crown.
Stuffed mushrooms are hearty enough to feel like a little meal, so I count on them for guests who skip dinner before a party. Set them on a platter lined with fresh parsley and offer small forks or napkins. They also make a nice side dish for steak night when it is just Tom and me.
Ingredients
24 large white button or cremini mushrooms
1/2 pound mild Italian sausage, casings removed
2 cloves garlic, minced
4 ounces cream cheese, softened
1/3 cup grated Parmesan cheese
1/4 cup plain breadcrumbs
2 tablespoons chopped fresh parsley
1/4 teaspoon salt
1/4 teaspoon black pepper
2 tablespoons olive oil
Cooking spray
Never soak mushrooms in water, because they drink it up and turn soggy in the oven. You can stuff the caps a day ahead and keep them covered in the refrigerator, then bake them a few minutes longer. Choose caps about the same size so they all turn tender at the same time.
Instructions
Preheat the oven to 375F and mist a rimmed baking sheet with cooking spray. Clean the mushrooms with a damp towel, twist out the stems and chop the stems very finely.
Brush the caps all over with olive oil, season them with a little salt and arrange them on the pan with the hollow side facing up.
Brown the sausage in a frying pan on medium heat for about 8 minutes, breaking it into small pieces, until it reaches 160F. Stir in the chopped stems and garlic and cook another 3 minutes, until the liquid they release has cooked off.
Take the pan off the burner. Add the cream cheese, Parmesan, breadcrumbs, parsley and black pepper and stir until well mixed.
Spoon a generous amount of filling into each cap, mounding it up high.
Bake for 18 to 20 minutes, until the caps are soft and juicy and the filling has turned golden on top.
Allow them to cool for 5 minutes, then finish with a little more chopped parsley and serve them warm.
My son in law eats these by the handful at every family get together. They are filling enough to keep hungry guests satisfied until dinner.
Stuff the caps up to a day early, cover and refrigerate, then bake just before serving. For a meatless batch, use chopped spinach in place of the sausage.
9) Slow Cooker Party Meatballs
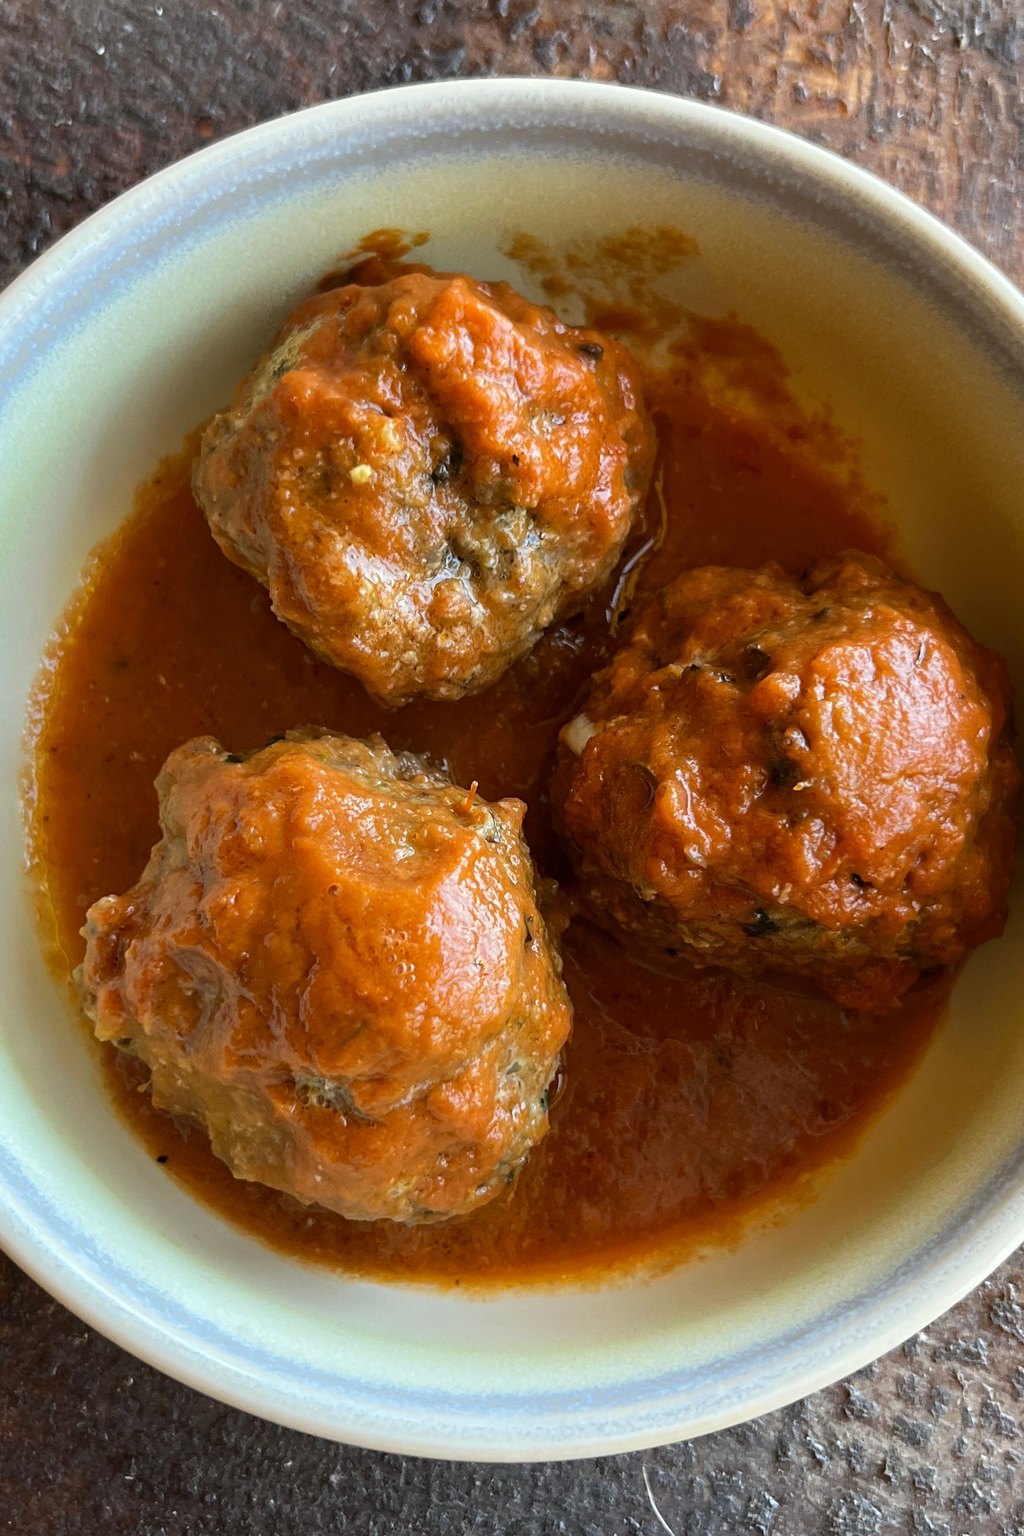
9) Slow Cooker Party Meatballs
These meatballs bubble away in a famously easy sauce made from grape jelly and chili sauce, which cooks down to a sweet, tangy shine. The slow cooker handles all the cooking and then keeps everything warm for the length of the party. It sounds odd, but the result tastes like a rich, sticky barbecue glaze.
Just set the slow cooker on the counter with toothpicks and napkins and let guests help themselves. These are the first thing the grandkids head for, and the grownups are never far behind. Leftovers make a quick dinner spooned over rice or tucked into soft rolls for little sliders.
Ingredients
2 pounds frozen fully cooked meatballs
1 cup grape jelly
1 cup chili sauce
1/4 cup barbecue sauce
1 tablespoon Worcestershire sauce
1 teaspoon garlic powder
1/2 teaspoon onion powder
1/4 teaspoon red pepper flakes
1 tablespoon chopped fresh parsley
Toothpicks for serving
Do not thaw the meatballs first, since they hold their shape better and soak up more sauce when they go in frozen. Stir gently near the end so you do not break them apart. If the sauce looks too thick after a few hours on warm, stir in a splash of water to loosen it.
Instructions
Put the grape jelly, chili sauce and barbecue sauce right into the crock of a slow cooker that holds 4 to 6 quarts, and whisk. Add the Worcestershire sauce, the pepper flakes and both onion and garlic powders and whisk again until blended.
Tip in the frozen meatballs and stir carefully until each one is coated in sauce.
Put the lid on and cook for 3 to 4 hours on LOW or 2 to 3 hours on HIGH, giving them a stir once or twice. As it warms, the jelly melts into a shiny, thick sauce.
Use an instant read thermometer to make sure the centers of the meatballs have reached 165F.
Stir once more so every meatball is covered in the thickened sauce. Taste it, and if you want more heat, add another pinch of pepper flakes.
Turn the cooker to the warm setting for the party and scatter the chopped parsley over the top.
Put a cup of toothpicks and a stack of small plates beside the slow cooker so people can serve themselves. On the warm setting, the meatballs stay hot and saucy for up to 3 hours.
Nothing on this list is easier, and few things are more popular, which is my favorite kind of recipe. I start the pot after lunch and do not think about it again until company comes.
If you have homemade meatballs in the freezer, they work perfectly here too. Any leftovers make a quick supper spooned over rice the next day.
10) Classic Shrimp Cocktail
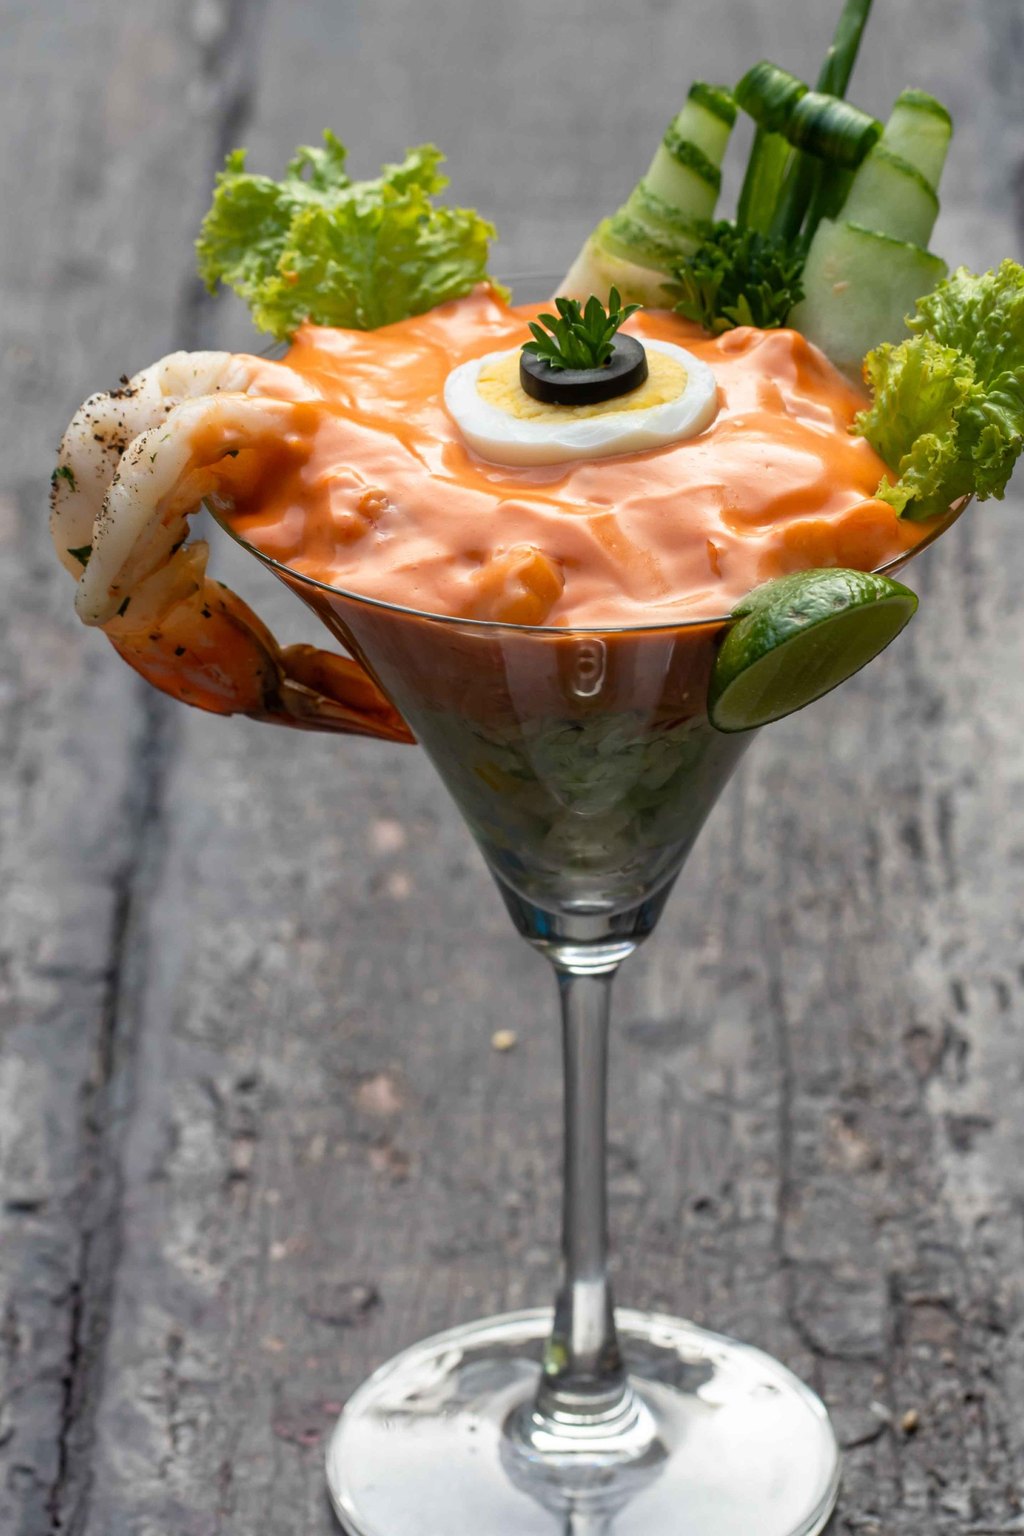
10) Classic Shrimp Cocktail
Shrimp cocktail pairs chilled, tender poached shrimp with a zippy horseradish sauce for dipping. Cooking the shrimp gently in lemony water after the heat is off keeps them sweet and never rubbery. The homemade sauce takes about two minutes to mix and has far more punch than anything from a jar.
For a classic look, hang the shrimp over the rim of a pretty glass bowl filled with crushed ice. It makes an elegant start to a holiday dinner and feels special without much fuss. For two, I spoon a little sauce into small glasses and hook a few shrimp over the edge for a date night appetizer.
Ingredients
2 pounds large shrimp, 21 to 25 per pound, peeled and deveined with tails on
2 lemons, halved
2 bay leaves
1 tablespoon salt
1 teaspoon whole black peppercorns
For the cocktail sauce
3/4 cup ketchup
3 tablespoons prepared horseradish
1 tablespoon lemon juice
1 teaspoon Worcestershire sauce
1/4 teaspoon hot sauce
1 large bowl of ice water
Thaw frozen shrimp overnight in the refrigerator or under cold running water, never on the counter. Check one shrimp at the 3 minute mark, because larger shrimp may need the full 4 minutes to turn opaque. The cocktail sauce tastes even better made a day ahead, and you can stir in more horseradish if you like a bigger kick.
Instructions
For the sauce, mix the ketchup and horseradish in a small bowl with the lemon juice, hot sauce and Worcestershire sauce. Cover it and refrigerate so the flavors can come together.
Pour 3 quarts of water into a big pot. Squeeze the juice from the lemon halves into the water and toss the rinds in too, then drop in the bay leaves, peppercorns and salt. Bring it to a boil and let it bubble for 5 minutes.
Shut off the burner, add the shrimp and give them a stir. Leave them in the hot liquid for 3 to 4 minutes, until they turn pink and opaque and curl into a loose C. They should register 145F.
Drain the shrimp and plunge them straight into a bowl of ice water to stop the cooking. Let them chill for 5 minutes.
Drain them again and blot them dry with paper towels. Cover and refrigerate them for a minimum of 30 minutes until they are icy cold.
To serve, set the bowl of cocktail sauce in the middle of a platter of crushed ice or a well chilled plate, ring the shrimp around it and tuck lemon wedges along the side.
A platter of shrimp cocktail always feels like a party, and it is a lighter choice next to all the cheesy dips. It also frees up the oven, which is priceless on a busy night.
Cook the shrimp and stir together the sauce up to 1 day early, and keep both covered in the refrigerator. Serving them over ice keeps the shrimp cold all evening.
11) Pigs in a Blanket with Honey Mustard

11) Pigs in a Blanket with Honey Mustard
This party classic wraps small smoky sausages in buttery, flaky crescent dough. Brushing on beaten egg and adding a shake of everything bagel seasoning leaves the tops glossy and full of savory flavor. A quick homemade honey mustard dip makes them feel grown up while still keeping the kids delighted.
Everyone pretends these are for the kids and then eats them by the handful. I pile them on a platter around the honey mustard and set out a little bowl of ketchup for the grandkids. They are a fun addition to a game day spread or a casual holiday movie night.
Ingredients
1 can refrigerated crescent roll dough, 8 ounces
24 cocktail sausages
1 large egg
1 tablespoon water
1 tablespoon everything bagel seasoning
1 teaspoon sesame seeds
For the dipping sauce
1/3 cup Dijon mustard
2 tablespoons honey
1 tablespoon mayonnaise
Parchment paper for the pan
Work with the crescent dough cold until you are ready to roll, because warm dough tears and gets sticky. Wrap each sausage snugly but not too tight, so the dough has room to puff. You can wrap them a few hours ahead and chill them on the pan, then add the egg wash and seasoning right before baking.
Instructions
Preheat the oven to 375F and cover a baking sheet with parchment.
Unroll the crescent dough and pinch the seams together to form one big rectangle. Slice it into 24 narrow strips about 1 inch wide.
Blot the little sausages with paper towels so the dough will cling to them. Roll a strip of dough around the center of each one, letting the ends peek out, and set them on the pan with the seam on the bottom.
Beat the egg with the tablespoon of water and brush a thin coat over the dough. Sprinkle the everything bagel seasoning and sesame seeds on top.
Bake for 15 to 18 minutes, until the wrappers are puffy and deeply browned and the sausages are sizzling.
While they bake, make the dip by stirring together the honey, mayonnaise and Dijon mustard in a small bowl.
Let them cool for 3 minutes, then heap them on a platter and set the bowl of honey mustard in the middle for dunking.
However fancy the rest of the table is, these always vanish first at our house. The grownups go for them just as fast as the grandkids do.
You can wrap them up to 4 hours early, cover and refrigerate, then brush with egg and bake. Strips of puff pastry make an even flakier version.
12) Whipped Feta Dip with Honey
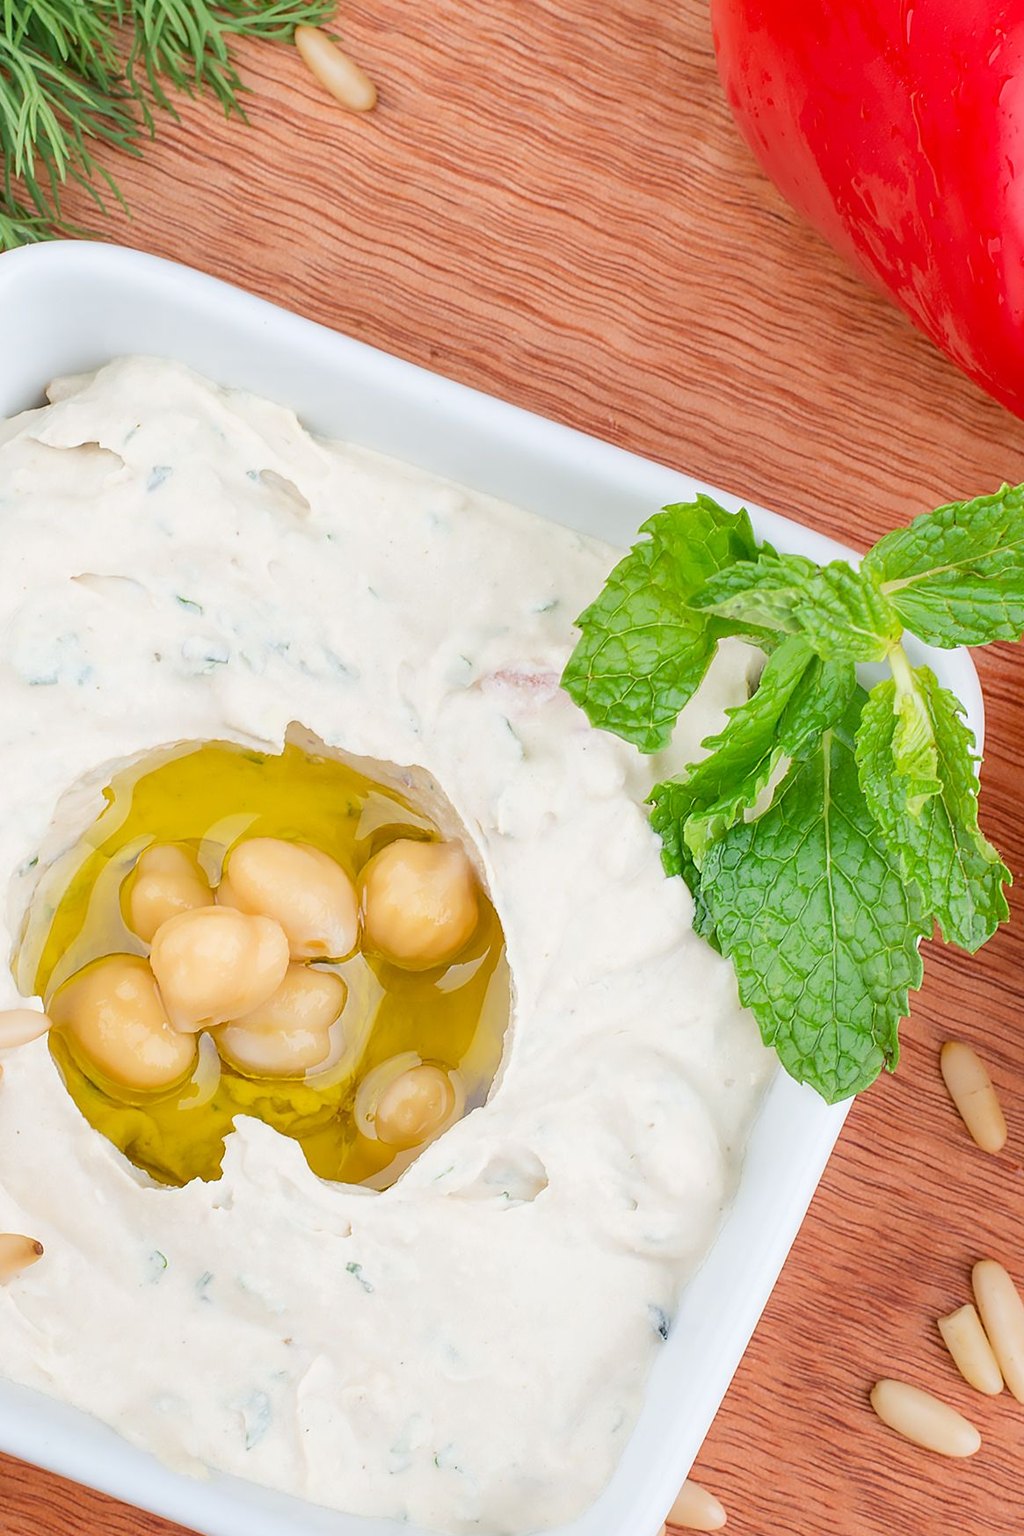
12) Whipped Feta Dip with Honey
This dip whips salty feta into a light, creamy spread with the help of tangy Greek yogurt and a squeeze of lemon. A drizzle of honey tames the saltiness, while pomegranate seeds burst with sweet and tart juice. With its red and green toppings, it is one of the prettiest bowls you can set on a holiday table.
This dip is so pretty that I serve it in my favorite shallow bowl right in the center of the table. Fresh cucumber slices, cherry tomatoes and warm pita make a cool, crisp contrast to the salty cheese. It also works as a spread for a lunch sandwich or alongside roasted vegetables at dinner.
Ingredients
8 ounces feta cheese, crumbled
4 ounces cream cheese, softened
1/3 cup plain Greek yogurt
3 tablespoons extra virgin olive oil, divided
1 tablespoon lemon juice
1 small clove garlic, grated
2 tablespoons honey
1/4 cup pomegranate seeds
2 tablespoons chopped pistachios
1 teaspoon fresh thyme leaves
1/4 teaspoon black pepper
Pita chips and sliced cucumbers for serving
Buy feta in a block packed in brine and crumble it yourself, because it is creamier and less dry than the precrumbled kind. Let the cream cheese soften fully, or tiny lumps will keep the dip from turning silky. Make it a day ahead if you like, since the flavor gets even better overnight in the refrigerator.
Instructions
Put the crumbled feta, softened cream cheese, Greek yogurt, lemon juice and grated garlic into a food processor, along with 2 tablespoons of the olive oil.
Run the processor for 2 to 3 minutes, scraping the sides down once or twice, until the dip is perfectly smooth, airy and light. If it seems too stiff, blend in a tablespoon of water.
Give it a taste and stir in the black pepper. Skip the salt, because feta brings plenty of its own.
Spoon the dip into a wide, shallow bowl and use the back of a spoon to make a big swirl across the surface.
Drizzle the last tablespoon of olive oil and the honey over the top so they collect in the grooves of the swirl.
Right before serving, scatter the pomegranate seeds, chopped pistachios and fresh thyme leaves over the dip.
Serve it with warm pita chips, cucumber slices and crackers. Covered in the refrigerator, the plain dip keeps for up to 4 days, so add fresh toppings each time you bring it out.
The food processor does the work in about 15 minutes, and somebody always asks me for the recipe. It is a fresh, bright change from the usual baked cheese dips.
The whipped base can be made up to 3 days early and kept covered in the refrigerator. Let it sit out for 15 minutes, then add the toppings as guests arrive.
13) Hot Baked Crab Dip
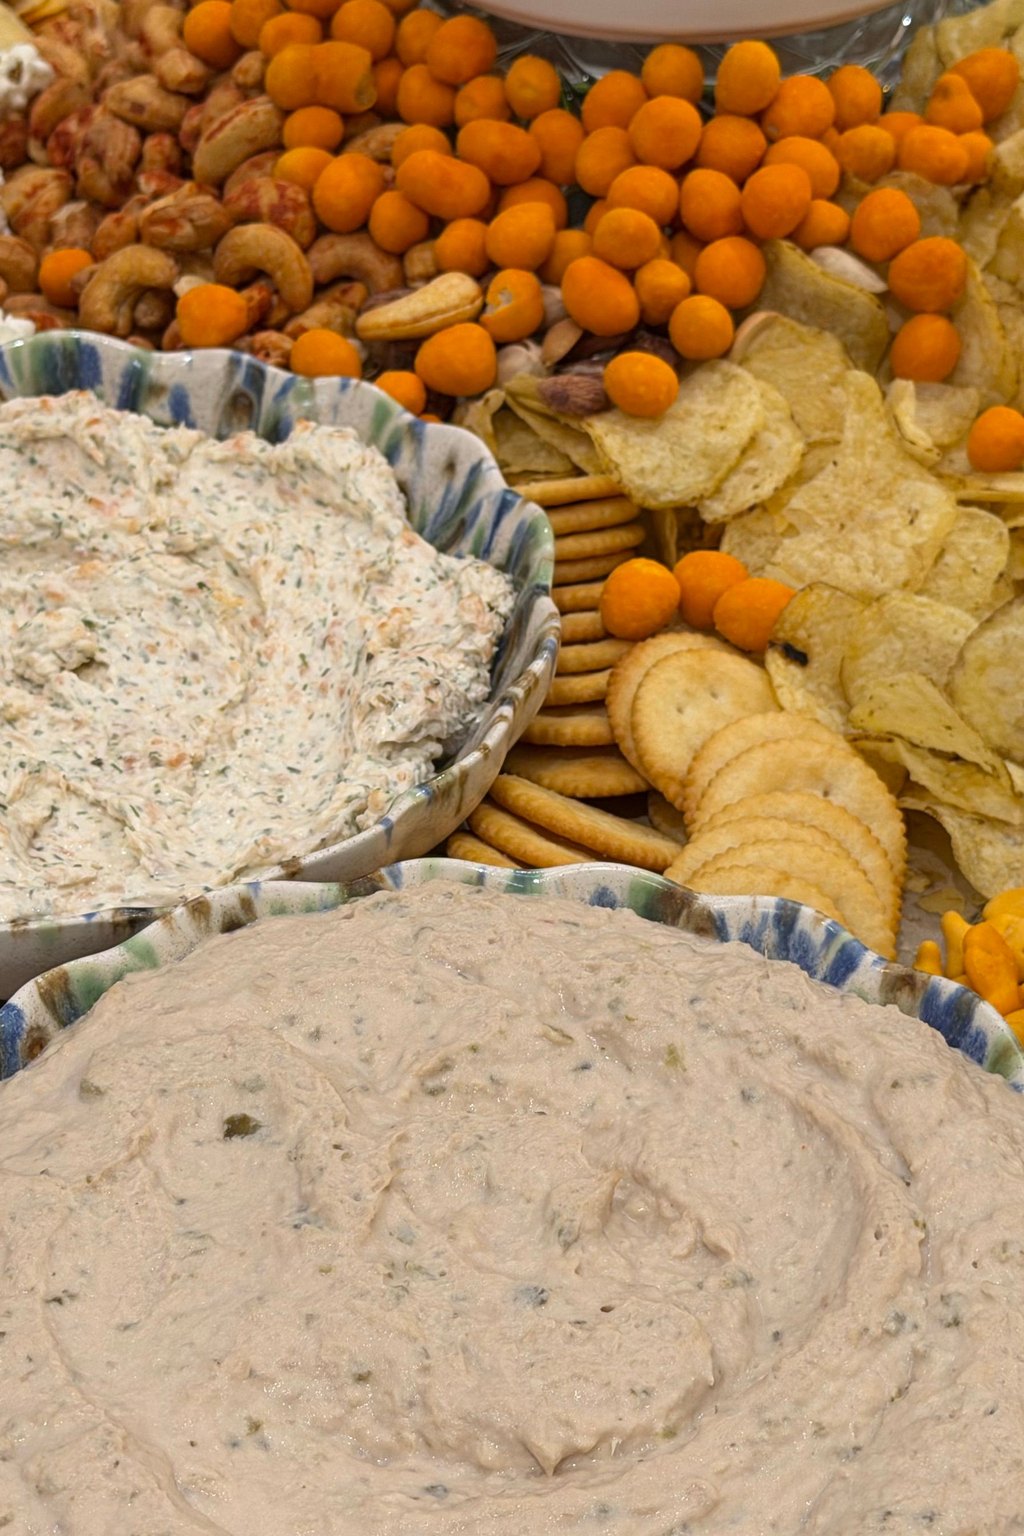
13) Hot Baked Crab Dip
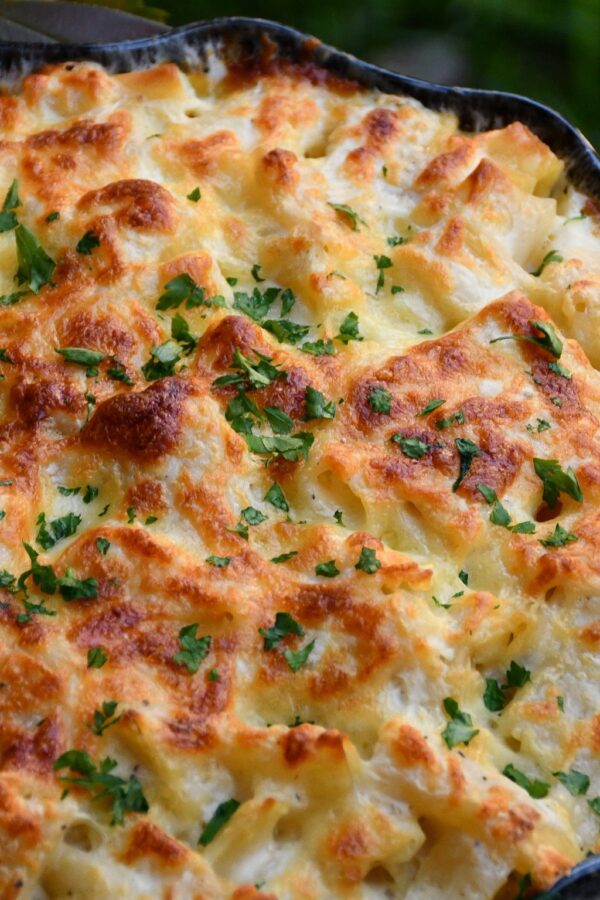
This baked dip is rich, creamy and full of sweet lump crab warmed with a classic seafood seasoning. A little lemon, Dijon and Worcestershire sauce cut through all that richness so every bite tastes lively. Folding the crab in gently leaves big, meaty pieces scattered all through the dish.
Bring this to the table bubbling hot with a basket of crackers and toasted baguette slices. Celery sticks and endive leaves make a nice fresh scoop for anyone watching their carbs. It feels a little fancy, so I save it for special nights like New Year's Eve with friends.
Ingredients
8 ounces cream cheese, softened
1/2 cup sour cream
1/4 cup mayonnaise
1 tablespoon lemon juice
2 teaspoons Worcestershire sauce
1 teaspoon Dijon mustard
1 1/2 teaspoons seafood seasoning, divided
1/4 teaspoon garlic powder
1 pound lump crab meat, picked over
1 cup shredded white cheddar cheese, divided
2 green onions, thinly sliced
Crackers and toasted baguette slices for serving
Pick through the crab gently on a plate to find any bits of shell, but keep the lumps as whole as you can. Assemble it up to a day ahead, then bake it straight from the refrigerator for an extra 5 to 10 minutes. Canned lump crab works fine too, as long as you drain it well so the dip does not turn watery.
Instructions
Preheat the oven to 375F and grease a 9 inch pie plate or a 1 1/2 quart baking dish.
In a large bowl, beat the softened cream cheese together with the mayonnaise and sour cream until smooth.
Stir in the lemon juice and Worcestershire sauce, then the Dijon, garlic powder and 1 teaspoon of the seafood seasoning, mixing until well blended.
With a rubber spatula, carefully fold in the crab, 3/4 cup of the cheddar and most of the sliced green onions. Go easy so you do not shred the crab, because those big chunks are the best part.
Spread the dip into the prepared dish, cover it with the rest of the cheddar and sprinkle the remaining seafood seasoning on top.
Bake for 20 to 25 minutes, until it is hot all the way through, bubbling around the sides and lightly golden on top.
Let it cool for 5 minutes, then scatter the last of the green onions over it and serve warm with crackers and slices of toasted baguette.
I save this for the most special gatherings because it feels truly luxurious. Tom asks for it every New Year’s Eve without fail.
For the best flavor, buy lump crab from the refrigerated seafood counter. Assemble the dip up to 1 day early and bake it just before serving.
14) Fresh Tomato Bruschetta
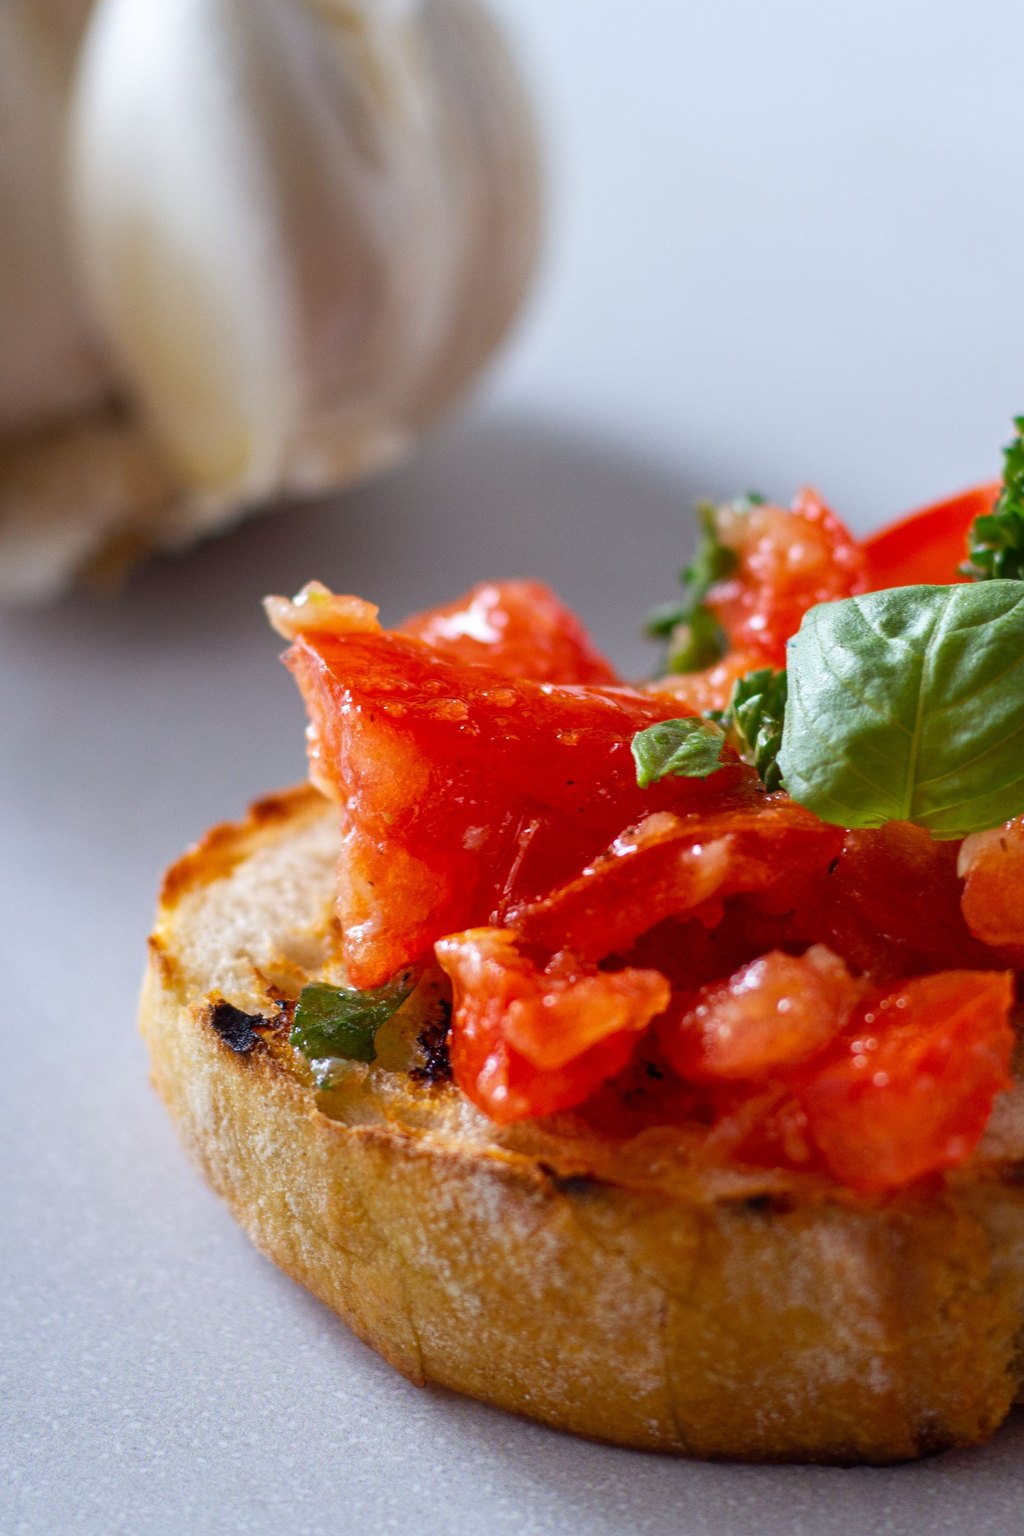
14) Fresh Tomato Bruschetta
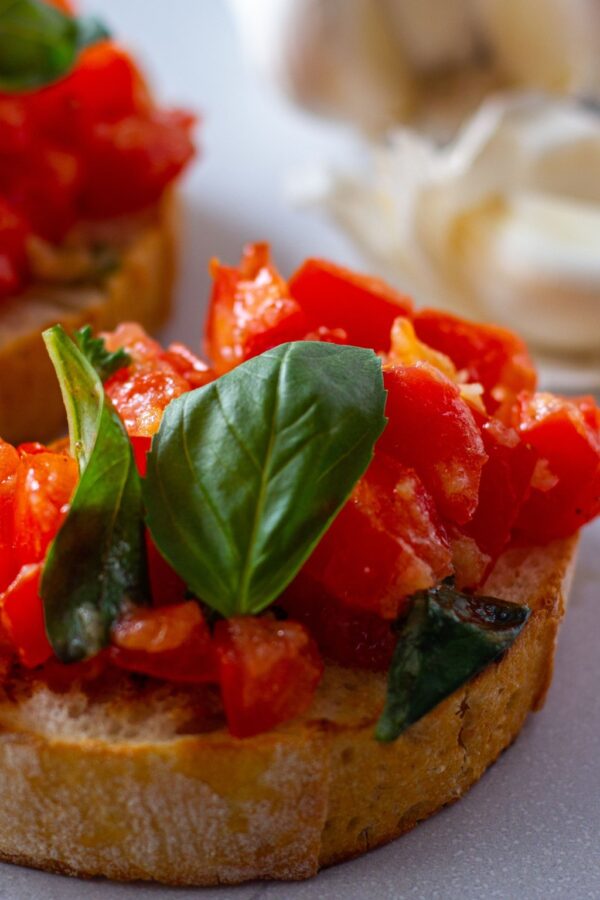
Bruschetta is crisp, garlic rubbed toast heaped with a fresh blend of tomatoes, basil and balsamic vinegar. Running a raw garlic clove over the warm bread gives a soft, fragrant garlic note without any harshness. A short rest after mixing pulls juice from the tomatoes and makes the flavor richer.
Letting guests top their own toasts keeps the bread crisp and makes the table feel relaxed and fun. A board with a little cheese, olives and salami turns it into a simple Italian spread. For a quiet supper for two, I pile it on bigger slices and serve it with a green salad.
Ingredients
1 baguette, sliced 1/2 inch thick on a diagonal
1/4 cup extra virgin olive oil, divided
1 clove garlic, peeled and halved
6 Roma tomatoes, seeded and diced
1/4 cup thinly sliced fresh basil
1 small shallot, finely minced
1 clove garlic, minced
1 tablespoon balsamic vinegar
1/2 teaspoon salt
1/4 teaspoon black pepper
1/4 cup shaved Parmesan cheese
Roma tomatoes are meaty and less watery, which keeps the topping from making the toasts soggy. Toast the bread up to a day ahead and store it in a sealed container once completely cool. Avoid putting the tomato mixture in the refrigerator, since the cold dulls the flavor and turns the texture mealy.
Instructions
In a bowl, combine the diced tomatoes, sliced basil, shallot and minced garlic. Add the balsamic vinegar, 2 tablespoons of the olive oil, the salt and the pepper and stir. Leave it on the counter for 15 minutes so the flavors can mingle.
While that rests, preheat the oven to 400F. Spread the bread slices over a sheet pan and brush each top with the leftover olive oil.
Toast the bread for 6 to 8 minutes, until the edges are golden and crisp but the centers still have a little give.
While the toasts are still warm, take the garlic clove you halved and rub its cut face gently across each one. The crunchy surface acts like a grater and leaves behind a lovely garlic flavor.
Pour off any extra juice from the tomato mixture so the bread stays crunchy.
Just before serving, spoon the tomatoes onto the toasts and add a few shavings of Parmesan.
Arrange them on a platter and serve right away, or put out the bowl of topping next to the toasts and let guests make their own.
Bruschetta adds a bright, fresh bite to a table crowded with rich food. With its red and green colors, it fits perfectly on a Christmas buffet.
Toast the bread up to 2 days early and store it in a sealed container. In winter, Roma tomatoes are your best bet because they have more flavor than most others.
15) Baked Ham and Swiss Sliders
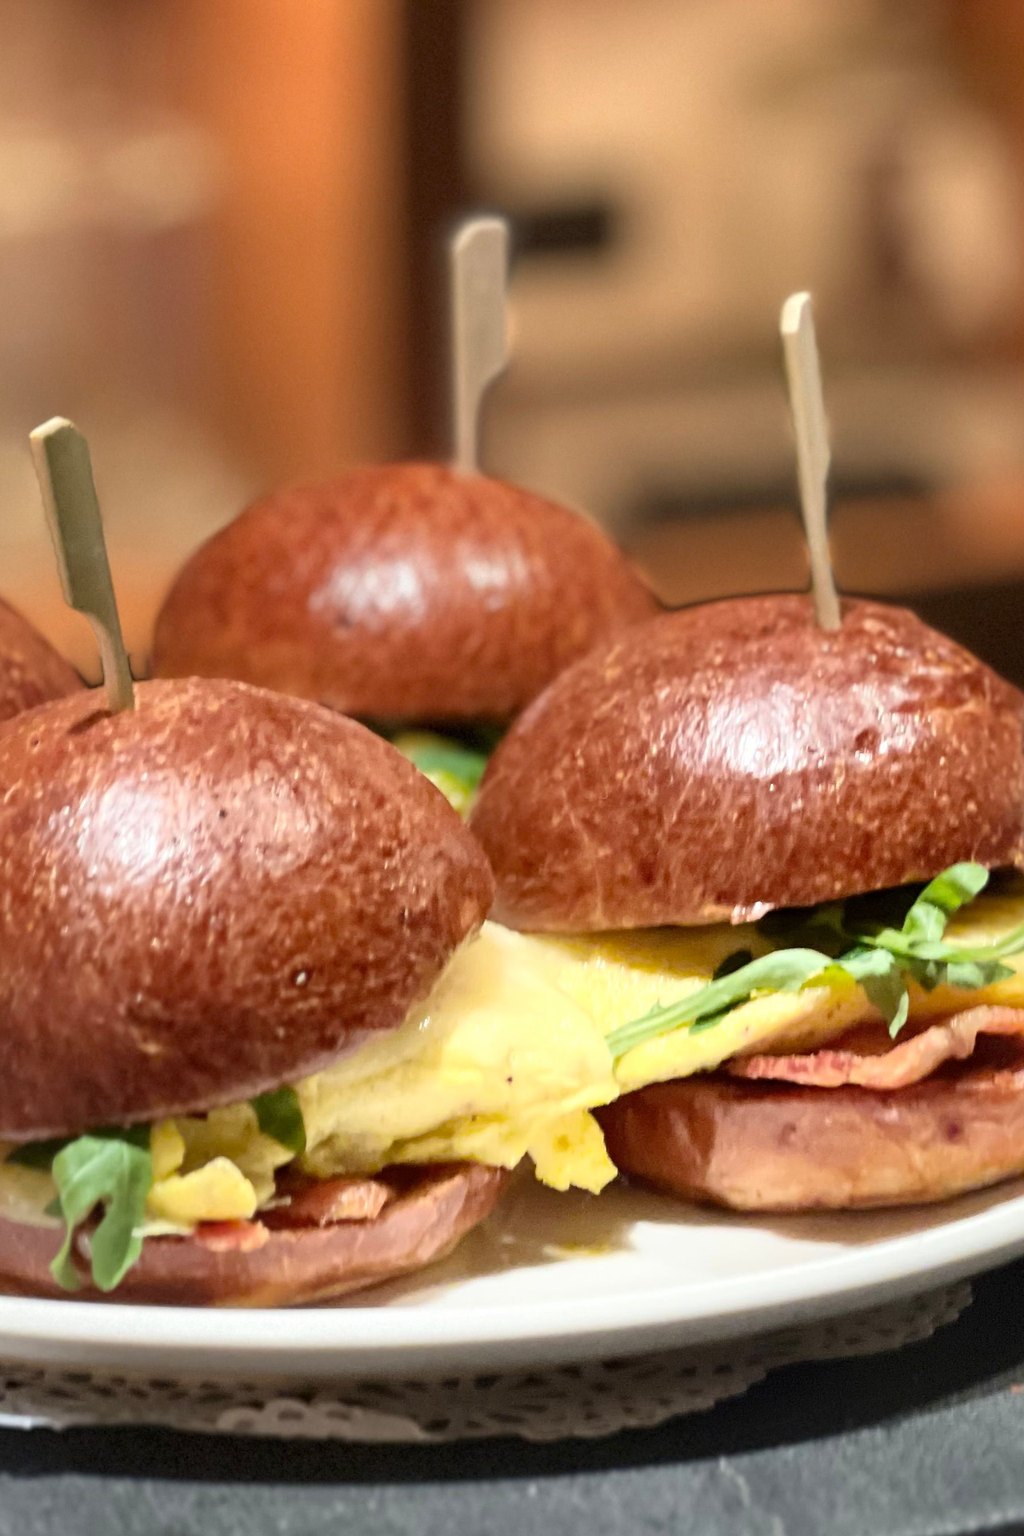
15) Baked Ham and Swiss Sliders
Smoky ham and melted Swiss cheese are tucked into soft, sweet dinner rolls in these crowd pleasing sliders. A buttery mustard and poppy seed topping seeps into the rolls and turns golden and savory in the oven. Baking them as one big slab keeps the middles warm and gooey while the tops turn a little crisp.
Carry the whole pan straight to the table and let people pull the sliders apart themselves. A bowl of pickles and some potato chips on the side make it a casual party meal. They are perfect for feeding a crowd after a holiday event or for game day with the kids and grandkids.
Ingredients
1 package Hawaiian sweet rolls, 12 count
3/4 pound thinly sliced deli ham
8 slices Swiss cheese
1/2 cup unsalted butter, melted
1 tablespoon Dijon mustard
1 tablespoon Worcestershire sauce
1 tablespoon poppy seeds
1 tablespoon dried minced onion
1/2 teaspoon garlic powder
2 tablespoons mayonnaise
Cooking spray
Assemble the sliders and pour on the topping up to a day ahead, then keep the dish covered in the refrigerator. Add a few extra minutes to the covered bake if they go in cold, so the cheese melts all the way through. Leftover holiday ham works beautifully in place of deli ham, as long as you slice it thin.
Instructions
Preheat the oven to 350F. Spray a 9×13 inch baking dish so nothing sticks.
Leave the rolls joined together and cut the whole slab in half through the middle with a long serrated knife. Place the bottom half in the dish.
Spread the mayonnaise across the cut side of the bottom half, then layer the ham and Swiss cheese evenly over it. Set the top half of the rolls back in place.
For the topping, whisk the melted butter with the Dijon and Worcestershire sauce, then stir in the poppy seeds, dried onion and garlic powder. Spoon it evenly over the rolls, letting some run down into the edges.
Lay foil over the dish and let it stand for 10 minutes so the rolls can soak up the butter. Bake, still covered, for 15 minutes.
Uncover and return it to the oven for another 5 to 8 minutes. The tops should be golden brown and the cheese fully melted.
After a 5 minute rest, slice the sliders apart along the seams of the rolls and serve warm.
Sliders make sure guests get something substantial between all the little bites and dips. They are also the best way I know to use leftover holiday ham.
Build them and spoon on the butter topping up to 1 day ahead, then chill them covered. Bake a few extra minutes, about 5, while the foil is on.
Before You Start Cooking
For a calm party, write your menu down and note a prep day beside every dish. The hummus, whipped feta and tomato topping can all be finished a day early, while the sausage balls and sliders wait in the refrigerator to bake right before guests walk in.
I hope these recipes keep you out of the kitchen and in the middle of the fun with the people you love. Fix yourself a festive drink, turn up the music and enjoy your own party. Tom and I wish you a cozy, happy holiday season filled with good food and good company.
Frequently Asked Questions
How many appetizers should I plan for each guest?
When appetizers are the whole meal, count on 10 to 12 bites per guest over a few hours. If a full dinner follows, 4 to 6 bites each is enough. For about 20 people, offer 5 to 7 different choices and balance warm dips, cold bites and at least one fresh option.
What can I prepare the day before the party?
Hummus, whipped feta, deviled egg filling, shrimp cocktail and the bruschetta topping can all be finished a day early and refrigerated. Both baked dips, the sliders and the stuffed mushrooms can be put together ahead and baked shortly before guests arrive. Hold back anything crunchy until serving time.
What is the best way to keep party food warm?
A small slow cooker set to warm is the simplest way to hold dips and meatballs for hours. Baked bites can wait in a 200F oven on a tray so you can refill the platter a little at a time. Try not to leave hot dishes sitting at room temperature longer than 2 hours.