15 Game Day Snacks to Feed a Hungry Crowd
Fifteen easy game day snacks for a houseful of fans, including hot buffalo chicken dip, oven baked wings, sliders, sheet pan nachos and homemade pretzel bites.
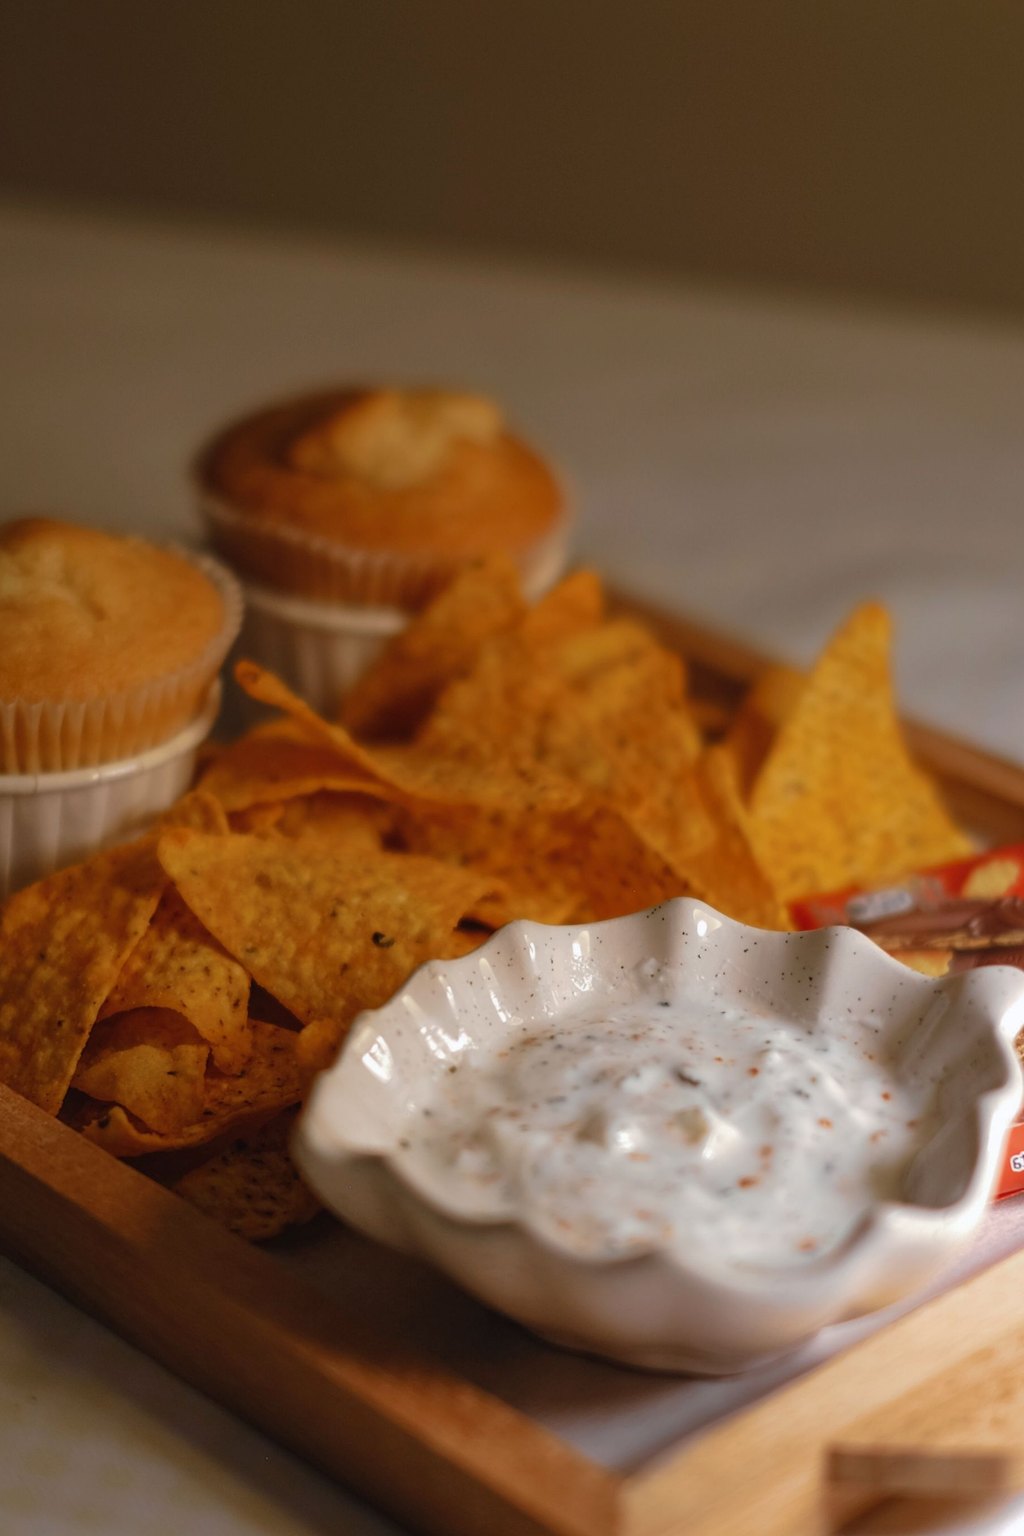
When football season rolls around, Tom claims the recliner every Sunday and our kids and grandkids drift in and out all afternoon, so the snack table never really closes. Here are the fifteen game day bites I keep making, from warm buffalo chicken dip and homemade queso to oven crisped wings, cheeseburger sliders, a loaded sheet pan of nachos and soft pretzel bites. Each one doubles without fuss and packs up nicely for a tailgate. My formula is a pair of dips, a couple of warm bites and one big platter, with the dips stirred together the night before.
1) Buffalo Chicken Dip
1) Buffalo Chicken Dip
Buffalo chicken dip packs the zippy heat of wings into a creamy, cheesy dip you can scoop with a chip. Cream cheese and ranch soften the hot sauce so it stays lively without overpowering anyone. A scattering of blue cheese over the top adds a salty, tangy bite that wing fans adore.
Buffalo chicken dip is the first thing to disappear at our football parties, so I usually make two batches. Set out sturdy dippers like pita chips and thick celery sticks that will not snap in the thick dip. For little ones or anyone shy about heat, a small bowl of plain ranch on the side lets them cool each bite.
Ingredients
3 cups shredded cooked chicken
8 ounces cream cheese, softened
1/2 cup ranch dressing
1/2 cup hot sauce
1/2 cup sour cream
1 1/2 cups shredded cheddar cheese, divided
1/2 cup crumbled blue cheese
1/2 teaspoon garlic powder
2 green onions, sliced
Tortilla chips, for serving
Celery sticks, for serving
Shred the chicken finely with two forks so it blends into the dip instead of sliding off the chip in big chunks. A store bought rotisserie chicken gives you about 3 cups of meat and saves a step. You can assemble the dip a day ahead and refrigerate it, then add 5 to 10 minutes to the bake since it goes in cold.
Instructions
Heat your oven to 350F. Butter a 9 inch pie plate or any 2 quart dish.
Put the softened cream cheese in a big bowl and beat it with a sturdy spatula or a hand mixer until it is completely smooth.
Stir in the ranch, the garlic powder, the sour cream and the hot sauce until it all turns one even shade of orange.
Add the chicken and 1 cup of the cheddar, folding until every shred is coated.
Scrape the dip into the prepared dish and smooth the top. Scatter the blue cheese and the last 1/2 cup of cheddar over it.
Bake with no cover for 20 to 25 minutes. It is ready when the sides are bubbling, the center is 165F and the cheese on top has melted.
Top with the green onions and let it sit for 5 minutes, because it comes out of the oven extremely hot.
Set it out with chips, crackers and crunchy vegetables for scooping. For a dip that stays hot all game long, spoon it into a small slow cooker set on WARM.
No matter what else is on the table, this is always gone first. I have learned to make two pans and set aside a little bowl just for me.
You can mix the dip a day early, cover it and refrigerate it before baking. Because it goes into the oven cold, plan on 5 to 10 extra minutes.
2) Crispy Baked Chicken Wings
2) Crispy Baked Chicken Wings
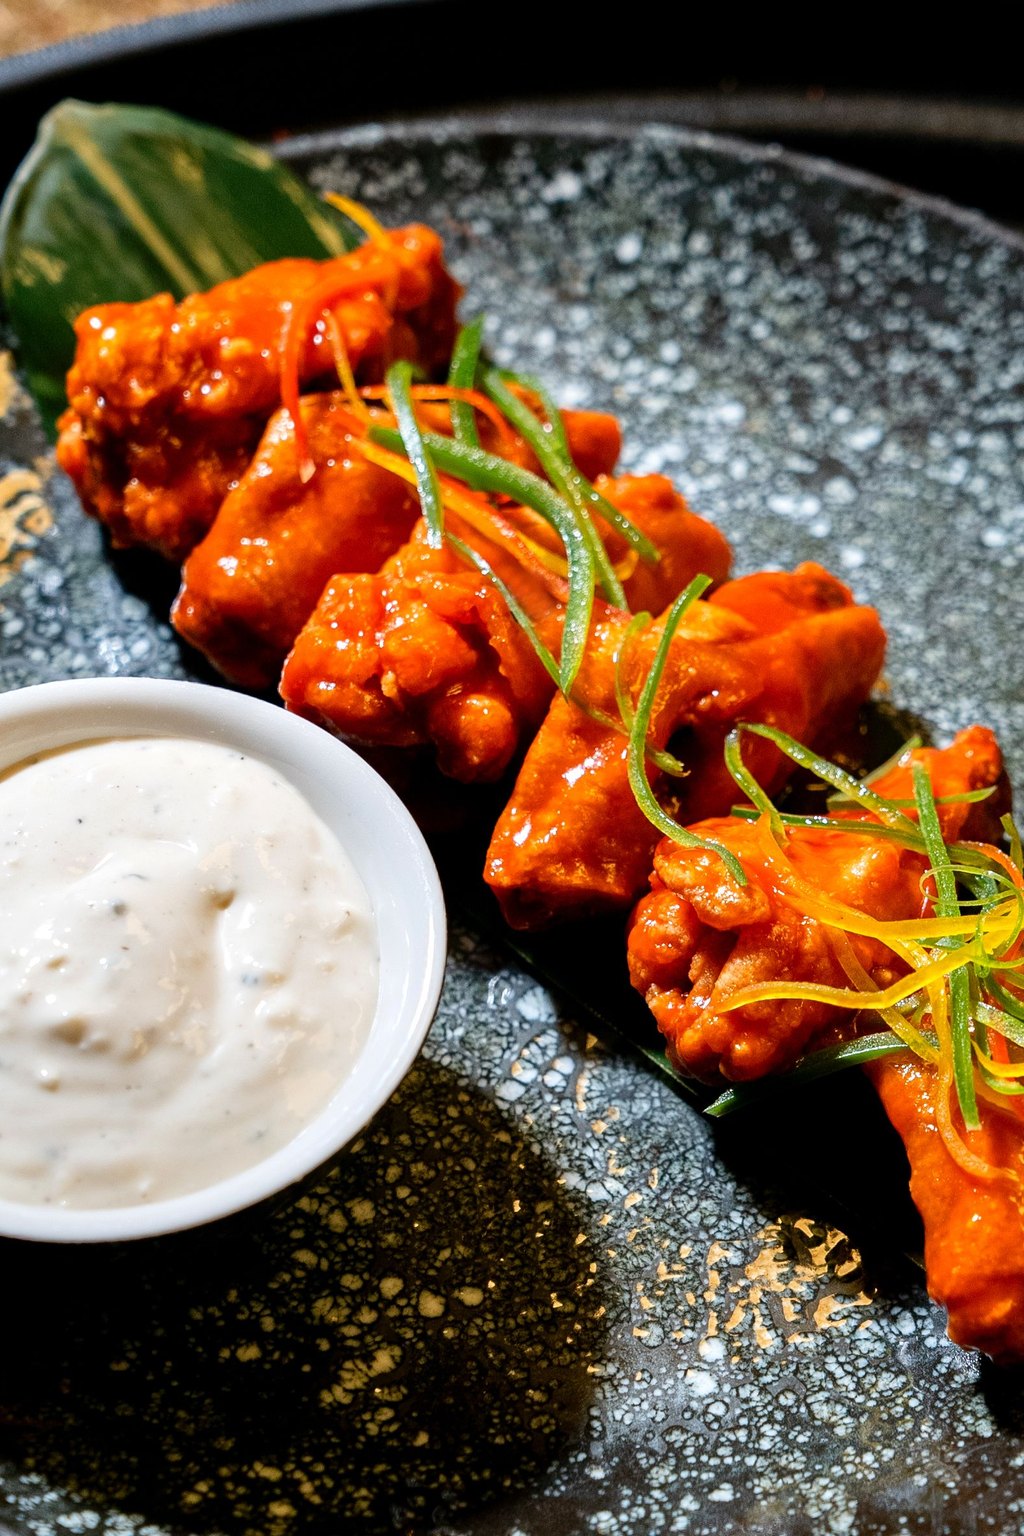
These oven wings turn out wonderfully crunchy with no deep fryer at all, thanks to a light dusting of baking powder. Setting them on a rack lets the heat reach every side so the fat melts away and the skin goes golden. A buttery buffalo sauce with a little honey coats them in a glossy finish that is hard to resist.
Pile the wings on a big platter with a bowl of dressing in the middle and plenty of napkins within reach. I like to toss a separate batch in plain garlic butter for the grandkids and anyone who wants them mild. A bowl for the bones and a roll of paper towels keep things tidy when the game gets exciting.
Ingredients
4 pounds chicken wings, split into flats and drumettes
1 tablespoon baking powder
1 1/2 teaspoons kosher salt
1 teaspoon garlic powder
1/2 teaspoon smoked paprika
1/2 teaspoon black pepper
For the buffalo sauce
1/2 cup hot sauce
4 tablespoons butter
1 tablespoon honey
1 teaspoon Worcestershire sauce
Ranch or blue cheese dressing, for serving
Use plain baking powder, never baking soda, because soda leaves a bitter, soapy taste on the skin. If you have time, let the coated wings sit uncovered in the fridge for a few hours or overnight so the skin dries even more. Toss them with the sauce right before serving, since sauced wings soften as they sit.
Instructions
Position two oven racks so they divide the oven into thirds and heat it to 425F. Cover two rimmed sheet pans with foil, top each with a cooling rack that can handle the heat and spray the racks.
Dry the wings thoroughly with paper towels. Skin that starts out dry is what makes them crunchy.
Combine the baking powder, salt, garlic powder, paprika and pepper in a big bowl. Toss the wings in it until each one wears a thin coating.
Lay the wings on the racks skin side up in one layer, leaving a little room around each piece.
Bake for 45 to 50 minutes, trading the pans between racks at the halfway point. The skin should be deep golden and crackly, and the wings should read at least 165F. They are even better at 175F to 185F, when the meat gets extra tender.
Meanwhile, put the butter, hot sauce, honey and Worcestershire in a small saucepan over low heat and whisk until melted and smooth.
Pile the hot wings into a big bowl, pour the sauce over them and toss until every wing is shiny.
Serve right away with blue cheese or ranch dressing and a pile of carrot and celery sticks.
Tom insisted wings had to be fried until the day I set a plate of these in front of him. Now he asks for a double batch every Sunday all season.
Look for baking powder without aluminum so the wings do not pick up a metallic taste. For guests who do not like spice, keep a handful plain or coat them in a sweet barbecue sauce.
3) Seven Layer Dip
3) Seven Layer Dip
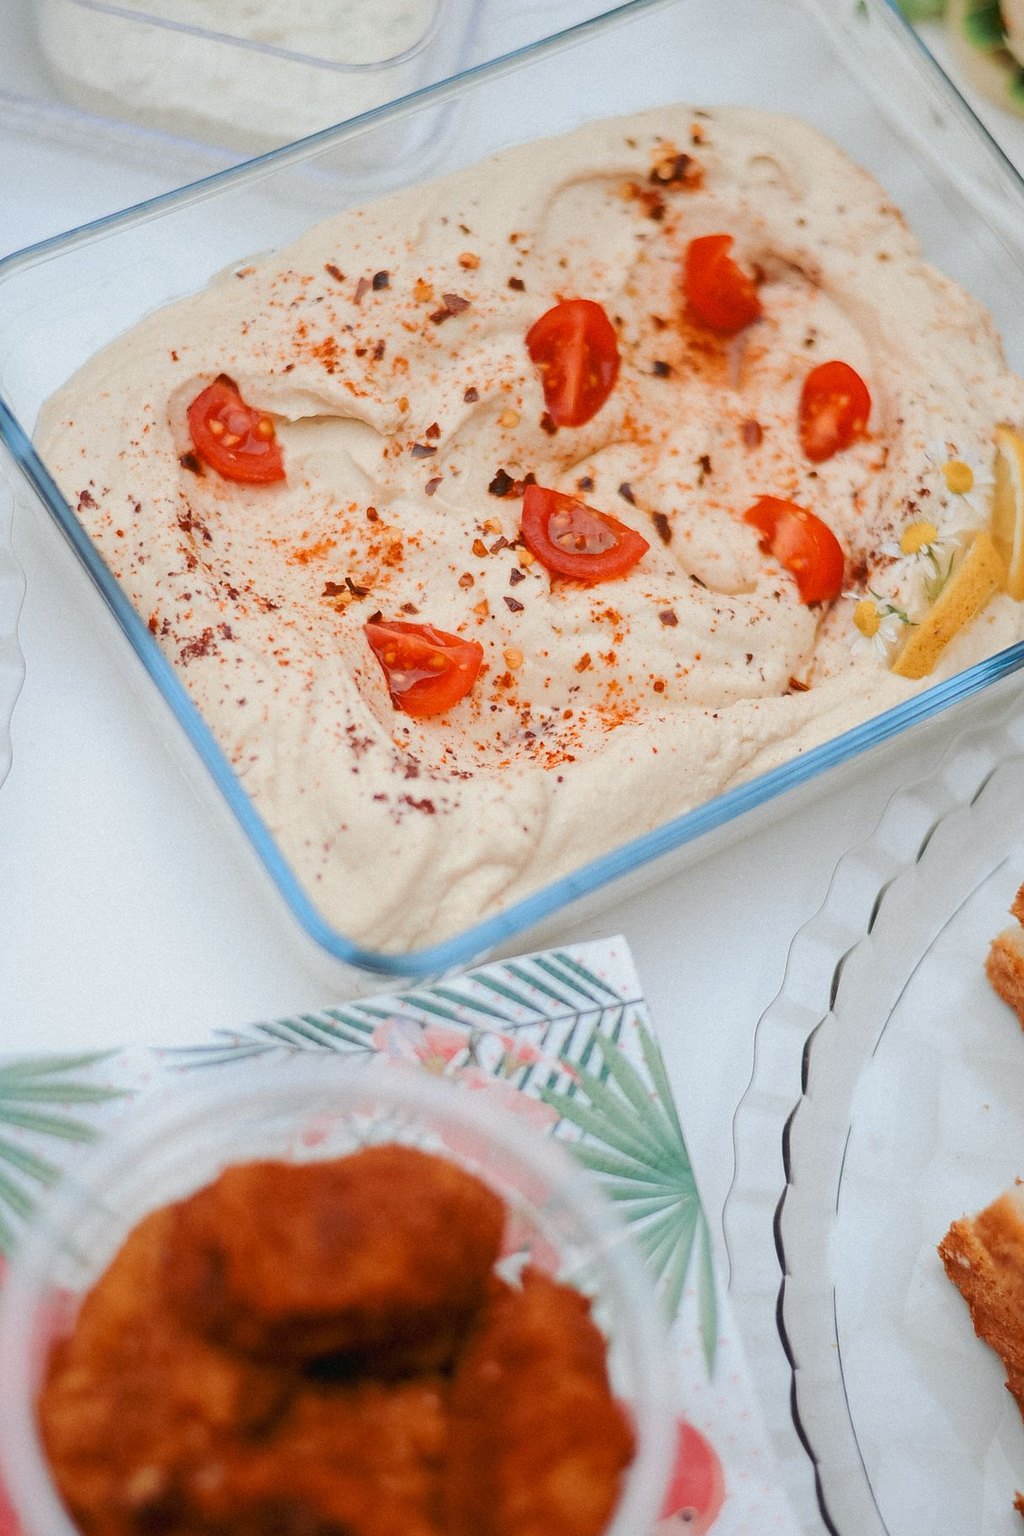
Seven layer dip stacks seasoned beans, a creamy layer, guacamole, salsa, cheese and fresh garnishes in one bright, colorful dish. Every chip scoops up a bit of each layer, so the flavors stay bold and balanced. Blending cream cheese into the sour cream gives that layer enough body to stand firm all evening.
Clear glass shows off every colorful layer, so this dip always earns a spot at the center of the snack table. Scoop shaped tortilla chips reach all the way to the bottom and grab a little of everything. For a fun twist, build single servings in small clear cups so guests can grab their own and nobody double dips.
Ingredients
1 (16 ounce) can refried beans
1 tablespoon taco seasoning
1 cup sour cream
4 ounces cream cheese, softened
1 1/2 cups guacamole
1 cup chunky salsa, drained
2 cups shredded Mexican blend cheese
2 Roma tomatoes, seeded and diced
1 (2.25 ounce) can sliced black olives, drained
3 green onions, sliced
1/4 cup chopped fresh cilantro
Tortilla chips, for serving
Seed the tomatoes well so their juice does not run into the cheese and make it soggy. Softened cream cheese is a must, because cold cream cheese tears up the bean layer as you spread it. Leftovers do not keep well past a day, so for a smaller group, build it in a pie plate with half the amounts.
Instructions
Stir the taco seasoning into the refried beans. If they are stiff, 30 seconds in the microwave loosens them up for spreading.
Smooth the beans into a 9 by 13 inch dish. A glass pie plate is even better because the layers show through.
Beat the cream cheese and sour cream until smooth, then gently spread it over the beans, carrying it right out to the edges.
Spoon the guacamole over the sour cream and ease it into an even layer with the back of a spoon so the layers do not blend.
Next comes the salsa, well drained so the dip does not get soupy as it sits out.
Scatter the shredded cheese over the salsa in an even layer.
Finish with the tomatoes, olives, green onions and cilantro.
Serve immediately with sturdy chips, or cover the dish and refrigerate it for as long as 4 hours before the party starts.
I cannot remember a single game day table in my life without this dip on it. It never goes out of fashion, and the grandkids dive in right beside the grown ups.
Build it in a glass dish so everyone can admire the stripes. Assemble all but the tomatoes and green onions as much as 8 hours early, then add those just before serving.
4) Spinach Artichoke Dip
4) Spinach Artichoke Dip
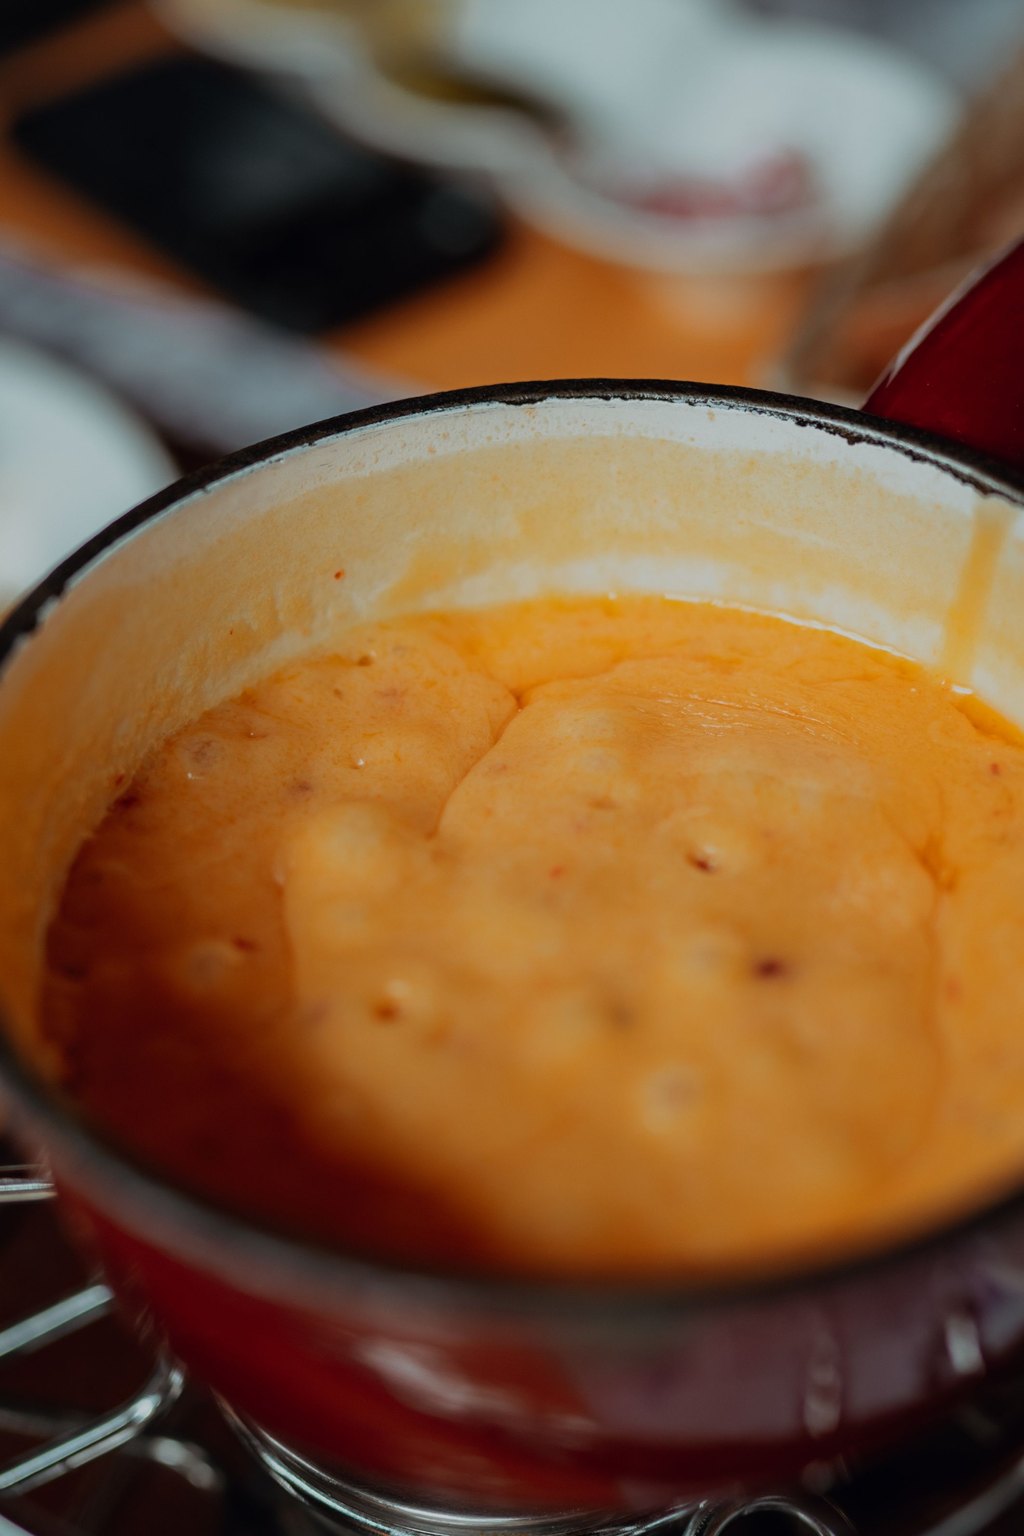
This warm spinach artichoke dip is creamy and packed with tender artichoke hearts and greens in a cheesy base. Parmesan brings a sharp, salty flavor while mozzarella adds that irresistible stretch. Baking it until golden and bubbling gives it the same finish you would get at a favorite restaurant.
Spinach artichoke dip feels a little fancy, so I spoon it into a hollowed round bread bowl when company is coming. Pita chips and crisp bell pepper strips give everyone something different to dunk. It is mild and creamy, so even the picky eaters at the table go back for seconds.
Ingredients
8 ounces cream cheese, softened
1/2 cup sour cream
1/2 cup mayonnaise
1 cup grated Parmesan cheese
1 1/2 cups shredded mozzarella cheese, divided
1 (14 ounce) can artichoke hearts, drained and chopped
1 (10 ounce) package frozen chopped spinach, thawed and squeezed dry
2 cloves garlic, minced
1/2 teaspoon onion powder
1/4 teaspoon red pepper flakes
1/4 teaspoon salt
Tortilla chips or toasted baguette slices, for serving
Buy artichoke hearts packed in water, not the marinated kind, so the dip does not turn oily or too tangy. Chop them into small pieces, since big leafy chunks are hard to scoop. You can mix the dip a day ahead and keep it covered in the fridge, then bake it straight from cold for a few extra minutes.
Instructions
Heat your oven to 375F. Butter a small casserole that holds about 1 1/2 quarts.
Wrap the thawed spinach in a clean dish towel and wring it out over the sink until it stops dripping. Getting rid of that water keeps the dip thick and creamy.
Beat the cream cheese, mayonnaise and sour cream in a big bowl until smooth.
Add the Parmesan, the garlic, the seasonings and 1 cup of the mozzarella and stir to combine.
Fold in the artichokes and spinach until they are spread throughout.
Scrape the dip into the baking dish and cover it with the rest of the mozzarella.
Bake for 20 to 25 minutes, until it bubbles at the sides and turns golden on top. For deeper color, run it under the broiler for 1 to 2 minutes, watching it closely.
Let it cool for 5 minutes, then serve warm with chips, toasted baguette rounds, crackers or raw vegetables.
This shows up at every party I throw because the vegetarians and the meat lovers both pile it on their plates. It also lets me pretend we ate a vegetable.
Put it together up to 2 days early and keep it covered in the refrigerator. Bake it right from the fridge and add roughly 10 minutes to the time.
5) Cheeseburger Sliders
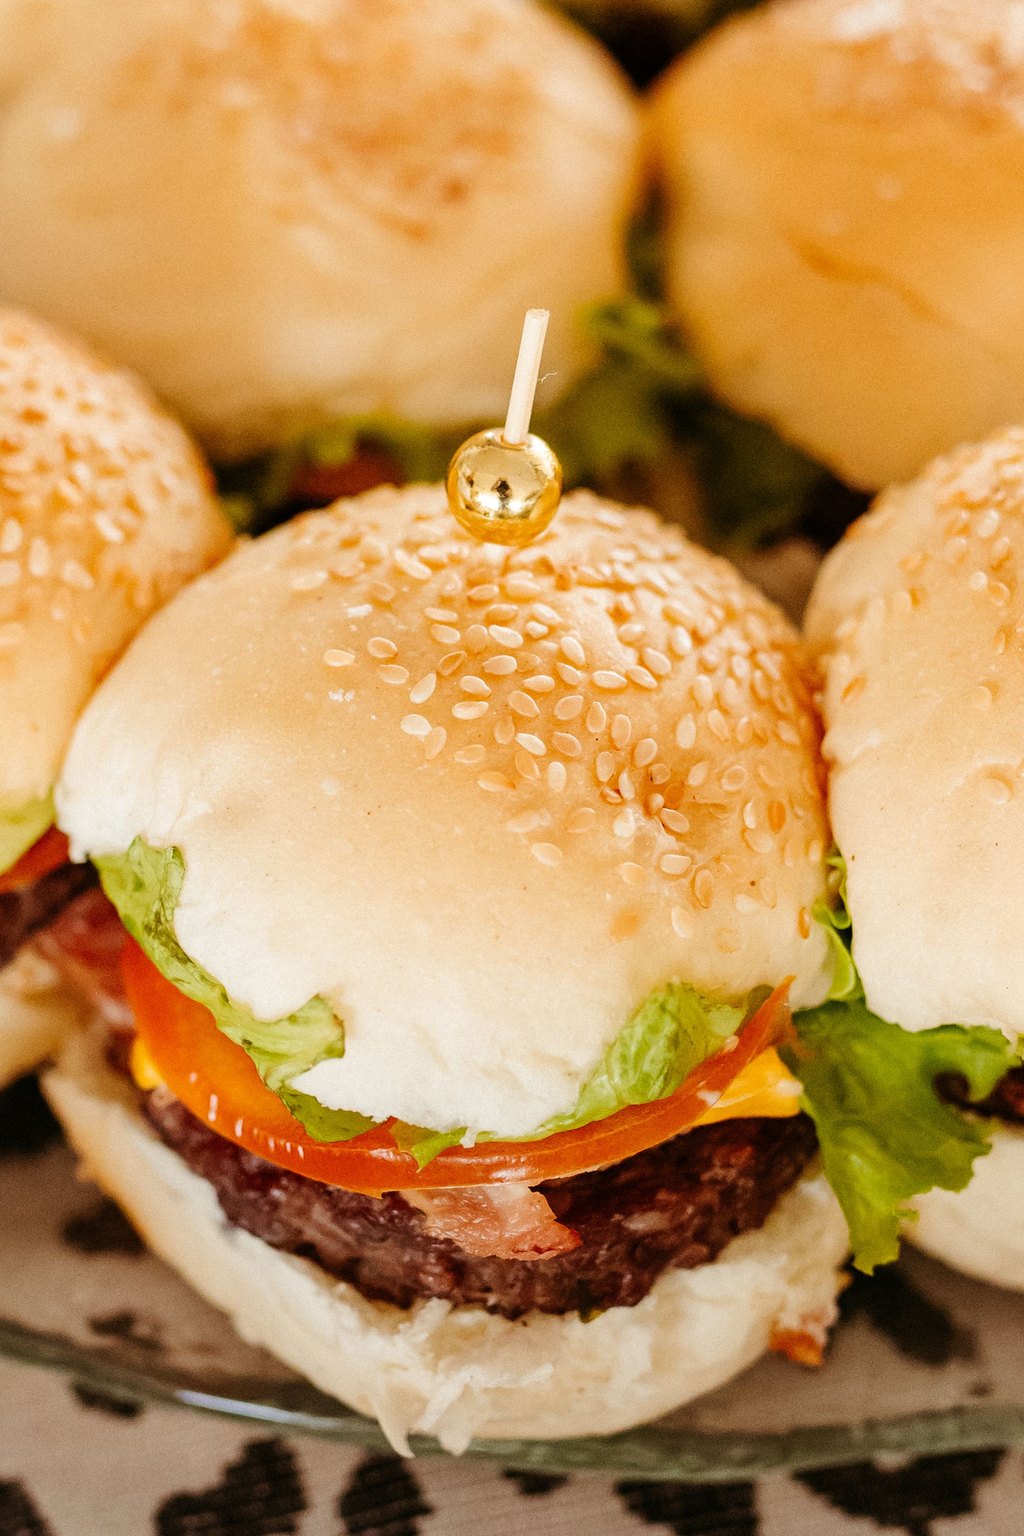
5) Cheeseburger Sliders
These sliders bake all the beef as one big patty, so a dozen come out of the oven at the same time. With cheddar, dill pickles and a brush of sesame butter, they taste like a diner burger. Soft, sweet dinner rolls bake up golden and drink in the beefy juices.
Sliders are perfect for a halftime meal, because one pan feeds a crowd without anyone standing at the grill. Set out a little topping bar with shredded lettuce, sliced tomatoes and a bowl of burger sauce made from ketchup, mayonnaise and relish. A big bowl of potato chips or crispy fries on the side makes it feel like a real burger joint.
Ingredients
2 pounds lean ground beef
1/2 yellow onion, finely diced
1 teaspoon garlic powder
1 teaspoon salt
1/2 teaspoon black pepper
1 (12 count) package sweet dinner rolls
8 slices cheddar cheese
1/2 cup dill pickle chips
For the topping
4 tablespoons butter, melted
1 tablespoon Worcestershire sauce
1 teaspoon sesame seeds
1/2 teaspoon garlic powder
Press the beef all the way into the corners in an even layer so the slab cooks at the same rate and matches the rolls. Blot the cooked beef well with paper towels, because extra grease will soak the bottom buns. A serrated knife makes slicing the finished sliders easy, so cut along the lines of the rolls for even pieces.
Instructions
Heat your oven to 350F. Cut a sheet of parchment to fit a 9 by 13 inch pan and lay it inside.
Press the raw beef into the pan in one flat layer. Bake 18 to 20 minutes, or until a thermometer shows 160F. Lift the beef out using the parchment, pour off the grease and wipe the dish clean.
While the beef bakes, soften the onion in a dry skillet for about 4 minutes. Season the cooked beef with the garlic powder, salt and pepper and scatter the onion over it.
Keep the rolls attached and slice through the entire slab horizontally with a long bread knife. Set the bottom half in the dish.
Lay half the cheese over the bottom rolls, add the beef slab, then the pickles and the other half of the cheese. Put the top half of the rolls back on.
Stir the melted butter with the Worcestershire and garlic powder, brush it over the tops of the rolls and sprinkle with the sesame seeds.
Bake under foil for 10 minutes, then remove the foil and bake 5 minutes longer, until the cheese melts and the tops turn golden.
Slice into separate sliders and set out ketchup and mustard.
This is how I feed a crowd without being stuck at the grill. I can get two pans into the oven faster than I could flip four burgers.
Cook the beef and build the sliders as much as 4 hours early, then keep them in the refrigerator. Brush on the butter topping right before baking.
6) Ham and Cheese Sliders
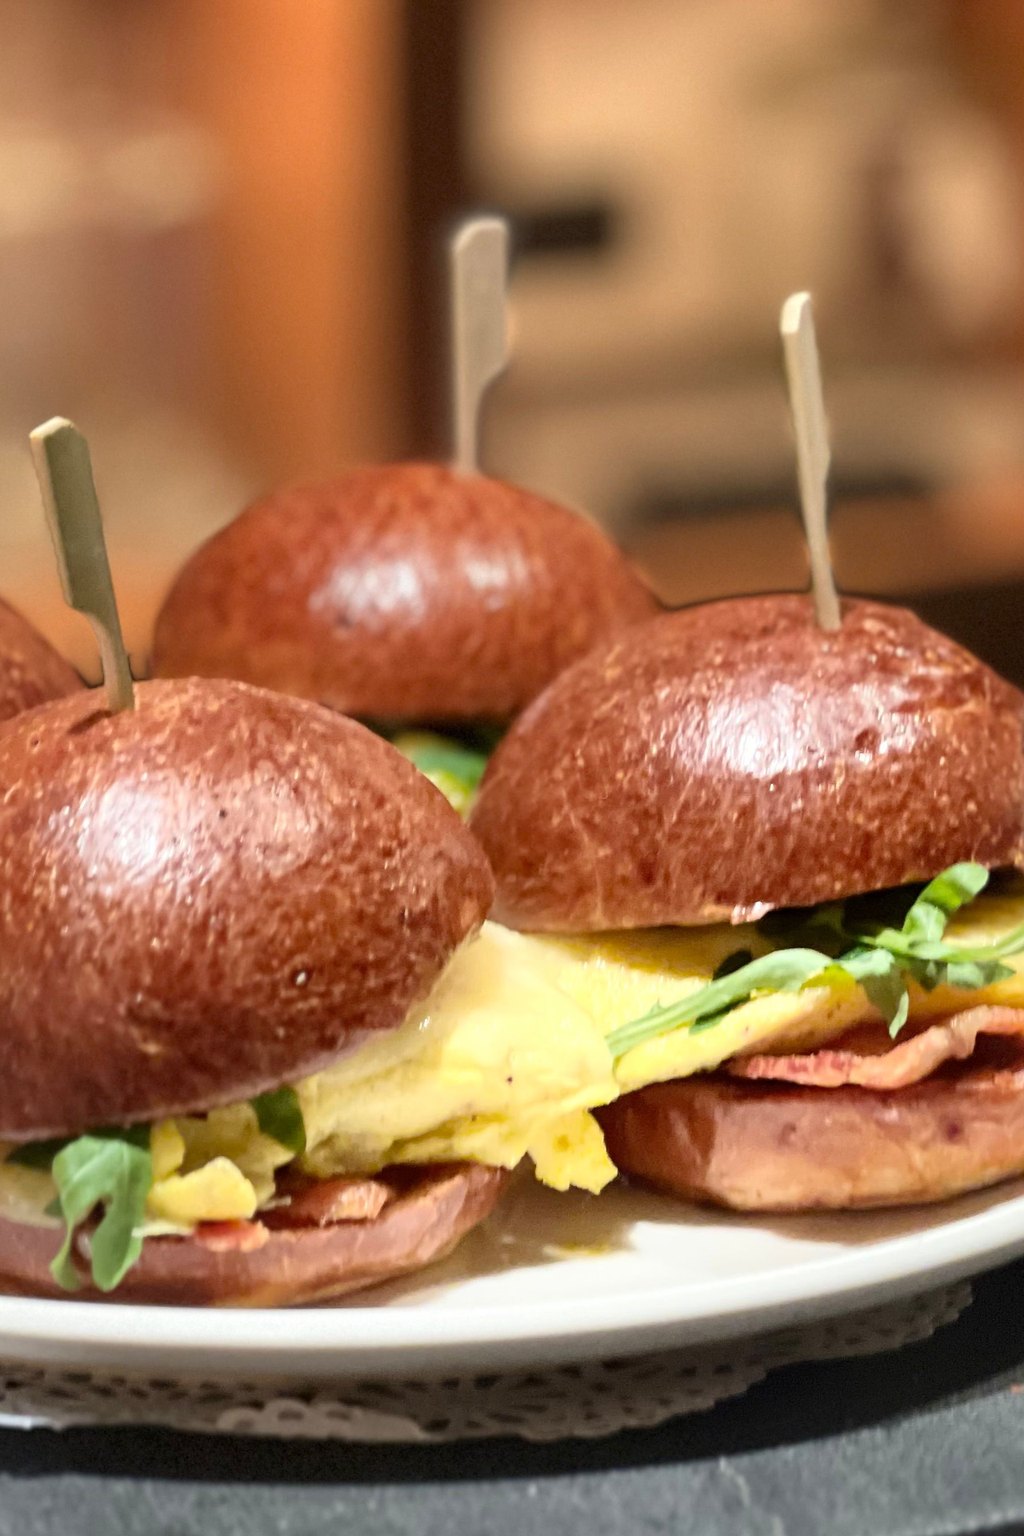
6) Ham and Cheese Sliders
Little ham sandwiches on soft rolls get melted Swiss and a buttery poppy seed glaze that is both sweet and savory. That glaze sinks down between the rolls and bakes the tops until golden and a touch crisp. Mustard and a splash of Worcestershire cut through the richness so every bite tastes balanced.
Ham and cheese sliders disappear just as fast at a baby shower or holiday brunch as they do at a tailgate. Serve them warm on a wooden board with a bowl of pickles and a pile of kettle chips. For the kids, I glaze one row with plain melted butter instead, and they never notice the difference.
Ingredients
1 (12 count) package sweet dinner rolls
1 pound thinly sliced deli ham
8 slices Swiss cheese
2 tablespoons mayonnaise
For the glaze
1/2 cup butter, melted
1 tablespoon Dijon mustard
1 tablespoon Worcestershire sauce
1 tablespoon brown sugar
1 tablespoon poppy seeds
1 teaspoon dried minced onion
1/4 teaspoon garlic powder
Fold the ham loosely rather than laying it flat, so the sandwiches stay tender and stack up taller. Smoked turkey works in place of the ham, and provolone is a nice swap for the Swiss. Let the glaze cool for a minute or two before pouring so it soaks into the rolls rather than running straight to the bottom of the dish.
Instructions
Heat your oven to 350F. Butter a 9 by 13 inch dish.
Leave the rolls in one piece and cut the whole slab in half horizontally using a long bread knife. Set the bottom half in the dish.
Spread the mayonnaise over the bottom rolls. Add half the Swiss, then all the ham folded to fit, then the rest of the Swiss.
Cap the sandwiches with the top half of the rolls.
In a small bowl, whisk the melted butter with the mustard, brown sugar and Worcestershire, then add the poppy seeds, dried onion and garlic powder.
Slowly pour the glaze over the rolls, letting it trickle down into the gaps between them.
Cover the dish with foil and leave it for 10 minutes so the glaze can soak in. If you like, you can refrigerate it overnight at this stage.
Bake with the foil on for 15 minutes, then uncover and bake another 5 to 10 minutes, until the cheese melts and the tops look golden. Pull the sliders apart and serve them warm.
I have carried these to more tailgates than I could ever count, and someone always asks for the recipe. They take only ten minutes to put together.
Try turkey with provolone for a change, or use up the Easter ham. Wrap any extras in foil and warm them for about 10 minutes in a 300F oven.
7) Pigs in a Blanket
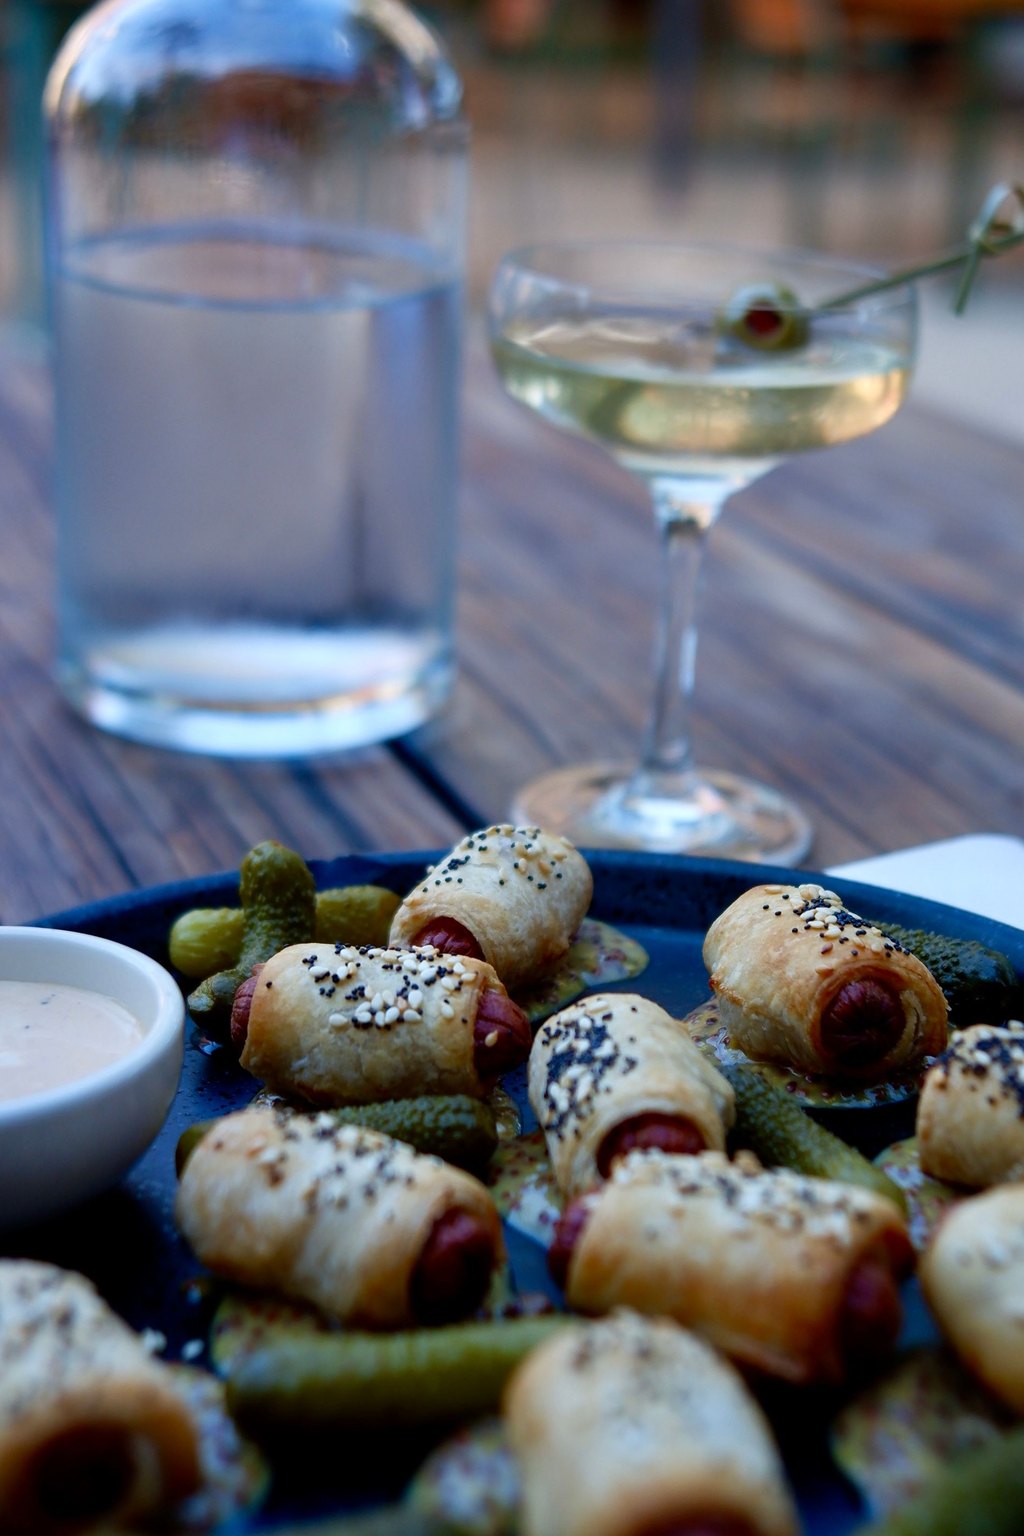
7) Pigs in a Blanket
Pigs in a blanket are little cocktail sausages rolled up snugly in flaky, buttery crescent dough until golden. A small strip of cheese tucked inside melts around each sausage for a fun surprise. A shake of bagel seasoning over the tops brings a salty, seedy crunch.
Kids and grownups alike love these, so I stack them high on a platter and watch them vanish. Along with the honey mustard, set out ketchup and a little bowl of spicy brown mustard for the grownups. They are just as welcome at a New Year's party or a birthday celebration as on game day.
Ingredients
2 (8 ounce) cans refrigerated crescent roll dough
48 cocktail sausages or mini hot dogs
3 slices cheddar cheese, cut into small strips
1 large egg
1 tablespoon water
1 tablespoon everything bagel seasoning
For the honey mustard dip
1/3 cup yellow mustard
1/3 cup mayonnaise
3 tablespoons honey
1 teaspoon lemon juice
Roll them up to a day ahead, cover and refrigerate, then brush with egg wash and bake straight from the fridge. Keep the dough cold while you work, because warm crescent dough gets sticky and tears. Cut the cheese strips small, or the cheese melts out and burns on the pan.
Instructions
Heat your oven to 375F. Cover two sheet pans with parchment.
Unroll the crescent dough and press the seams together. Slice each triangle the long way into 3 skinny triangles, giving you 48 small pieces.
Blot the sausages with paper towels so the dough grips them better.
Set a strip of cheese at the wide end of each piece of dough, lay a sausage over it and roll toward the tip. Arrange them seam side down on the pans with about an inch between them.
Beat the egg with the water, brush a thin coat on each roll and finish with a shake of the bagel seasoning.
Give them 12 to 15 minutes in the oven, until puffy and golden brown with the sausages hot inside.
Meanwhile, make the dip by stirring the honey and lemon juice into the mayonnaise and mustard.
Let them cool on the pans for 5 minutes, then heap them on a platter next to the bowl of honey mustard.
Every grown up at the party claims these are for the kids, then quietly eats a dozen. They are about as crowd pleasing as a snack can get.
You can roll them up to a day early and keep them tightly covered on the sheet pans in the refrigerator. Brush on the egg wash and bake them cold, adding a minute or two.
8) Loaded Potato Skins
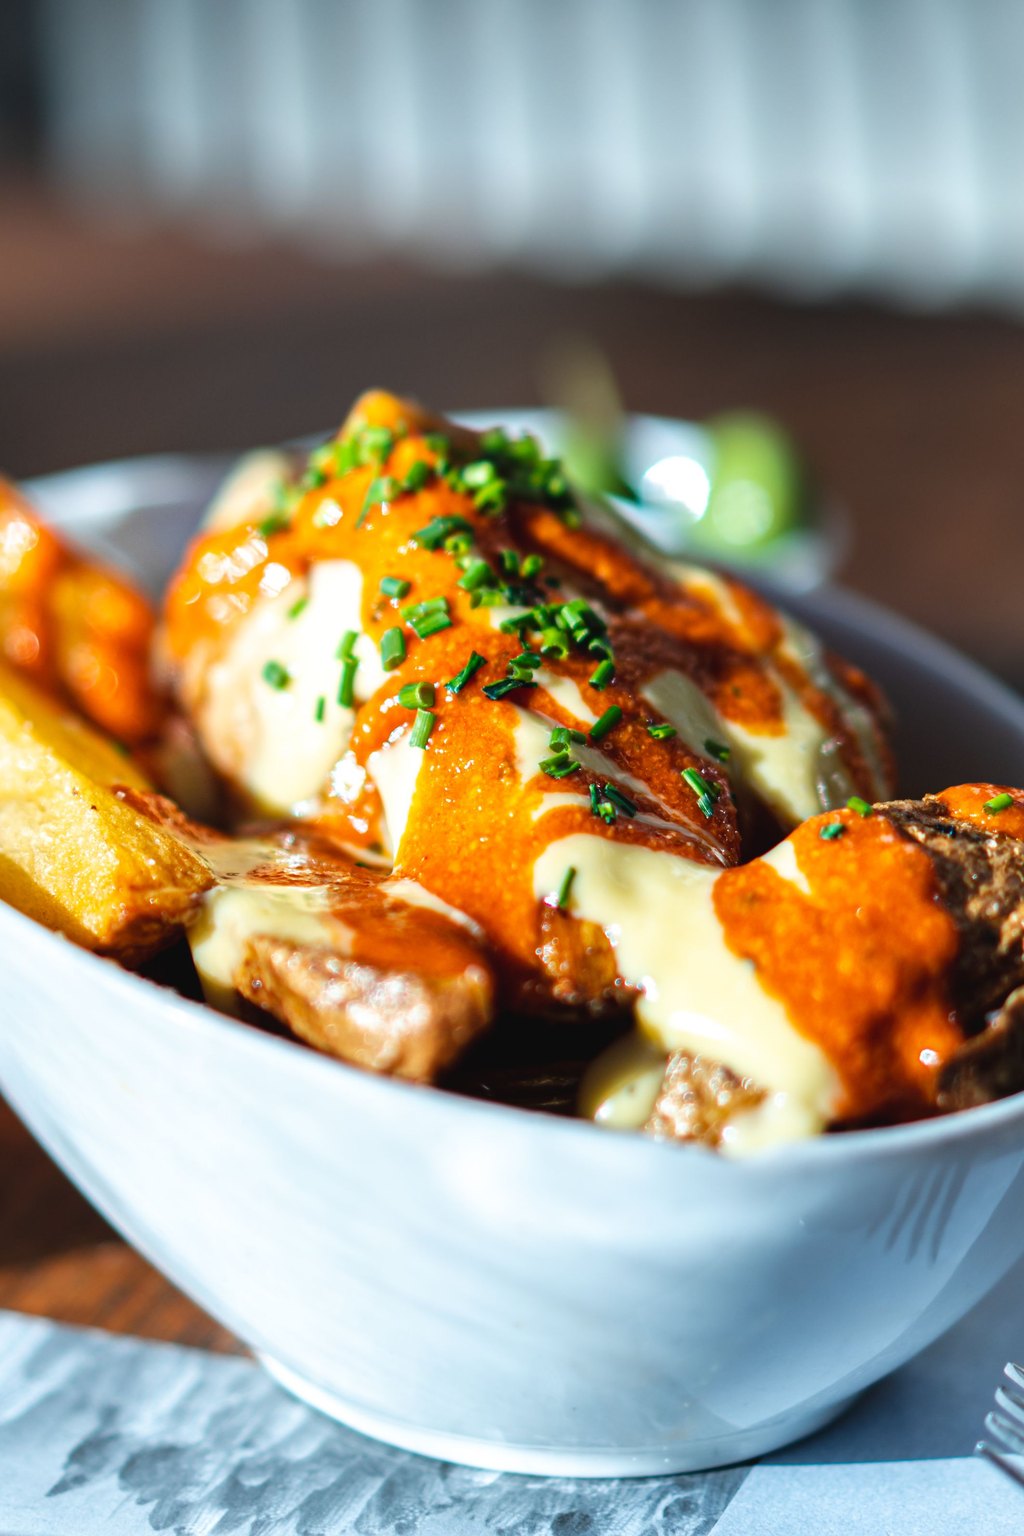
8) Loaded Potato Skins
Loaded potato skins are crisp, golden potato boats heaped with melted cheddar and smoky bacon. A second trip through a very hot oven, flipped once along the way, gives them their famous crunch. A dollop of sour cream and a shower of green onions cool down every rich, salty bite.
Potato skins feel like a restaurant appetizer, but they are so easy to make at home for a crowd. Line them up on a long platter with small bowls of extra sour cream, salsa and ranch for dipping. For a vegetarian option, skip the bacon on a few and add chopped steamed broccoli instead.
Ingredients
8 medium russet potatoes, scrubbed
3 tablespoons olive oil
1 teaspoon kosher salt
1/2 teaspoon garlic powder
1/2 teaspoon black pepper
2 tablespoons butter, melted
2 cups shredded sharp cheddar cheese
8 slices bacon, cooked and crumbled
1/2 cup sour cream
3 green onions, sliced
1 tablespoon chopped fresh chives
Bake the potatoes a day ahead and chill them, because cold potatoes are much easier to scoop cleanly. Choose potatoes that are close in size so they finish baking at the same time. Cook the bacon until truly crisp, since it softens a bit under the melted cheese.
Instructions
Set the oven to 400F. Prick each potato a few times, coat it lightly with a tablespoon of the oil and set it straight on the rack. Bake 50 to 60 minutes, until tender all the way through.
Leave them to cool for about 10 minutes, until you can hold them.
Halve each potato the long way and scoop out most of the inside, leaving a shell about 1/4 inch thick. Save the scooped potato for mashing later in the week.
Turn the oven up to 450F. Combine the rest of the oil with the melted butter and brush it over the skins inside and out. Season with the salt, garlic powder and pepper.
Arrange them on a sheet pan with the hollow facing down and give them 8 minutes. Turn them over and bake another 8 minutes, until golden and crisp.
Fill the skins with the cheddar and bacon and return them to the oven just until the cheese bubbles, 3 to 5 minutes.
Finish with a spoonful of sour cream, the green onions and the chives, and serve them hot.
They take me back to a little sports bar Tom and I loved back in our courting days, but mine are better. At our house they are always the first hot snack to vanish.
The first bake and the scooping can happen 2 days early, with the shells kept cold until needed. Crisp and fill them right before company arrives.
9) Chili Con Queso
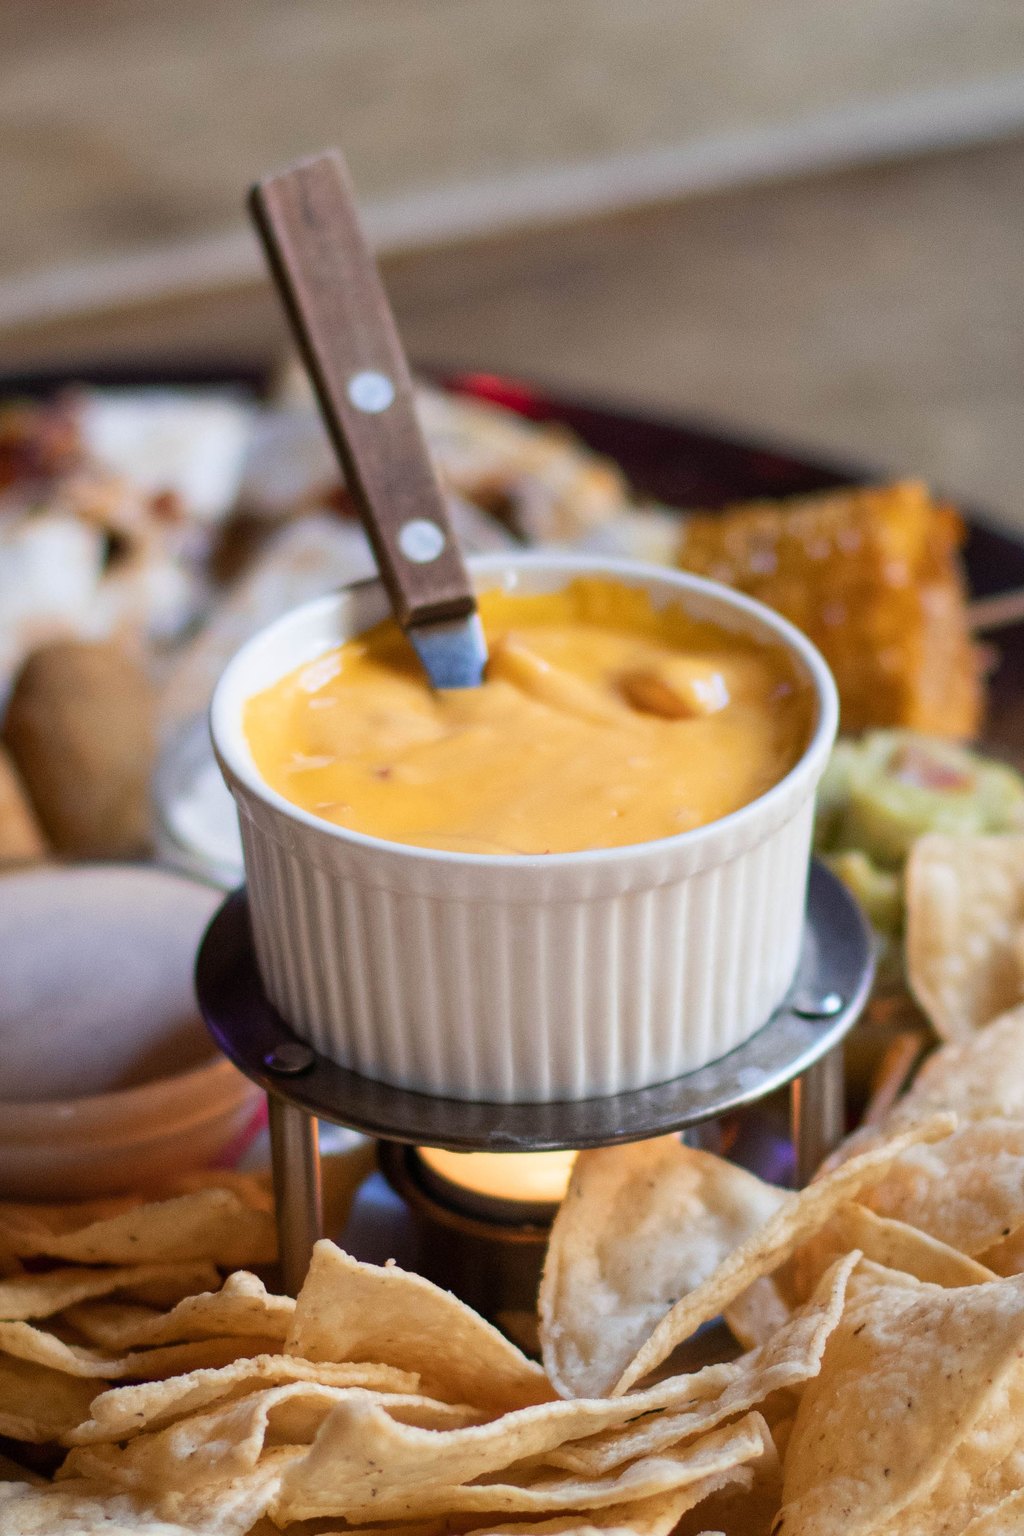
9) Chili Con Queso
This homemade queso is smooth, creamy and easy to dip, and fresh jalapeno plus canned chiles give it a mild kick. Deli style white American cheese keeps the sauce silky so it never separates or turns oily. Shredded Jack brings real cheesy flavor and a lovely melted stretch.
Queso is the heart of our snack table, and I always set it within easy reach of the couch. Beyond tortilla chips, try it with soft pretzel pieces, roasted potato wedges or drizzled over tacos. Leftovers make a wonderful sauce for baked potatoes or steamed broccoli the next day.
Ingredients
2 tablespoons butter
1/2 yellow onion, finely diced
1 jalapeno pepper, seeded and minced
2 cloves garlic, minced
2 tablespoons all purpose flour
1 1/2 cups whole milk
1 (12 ounce) can evaporated milk
8 ounces white American cheese, chopped
2 cups shredded Monterey Jack cheese
1 (10 ounce) can diced tomatoes with green chiles, drained
1/2 teaspoon ground cumin
2 tablespoons chopped fresh cilantro
Tortilla chips, for serving
Ask the deli counter to slice the white American cheese thick, since it chops easily and melts smoother than packaged slices. Shred the Jack yourself from a block, because preshredded cheese has coatings that can make the queso grainy. If it thickens as it sits, whisk in a splash of warm milk to bring it back.
Instructions
Melt the butter in a medium saucepan on medium. Cook the onion and jalapeno for 4 to 5 minutes, stirring frequently, until soft, then add the garlic and cook 30 seconds more.
Dust the flour over the vegetables and keep stirring for a full minute so it loses its raw taste.
Gradually whisk in the regular milk and the evaporated milk. Keep whisking for 3 to 4 minutes, until it steams and thickens slightly.
Turn the burner down to low. Add the two cheeses in small handfuls, letting each one melt completely before the next goes in. Gentle heat keeps the queso silky instead of gritty.
Add the drained tomatoes and chiles and the cumin and stir. If it is thicker than you like, whisk in a little more milk.
Pour it into a small slow cooker on the WARM setting so it stays dippable all game, giving it a stir now and then.
Top with the cilantro and serve with warm tortilla chips.
At our house a pot of queso is as much a part of game day as the TV. This version holds its creamy texture for hours, and there is nothing processed in a box involved.
Stir in browned chorizo or ground beef, about a pound, and it becomes a meal. Reheat leftovers in short bursts in the microwave with a little milk stirred in.
10) Homemade Mozzarella Sticks
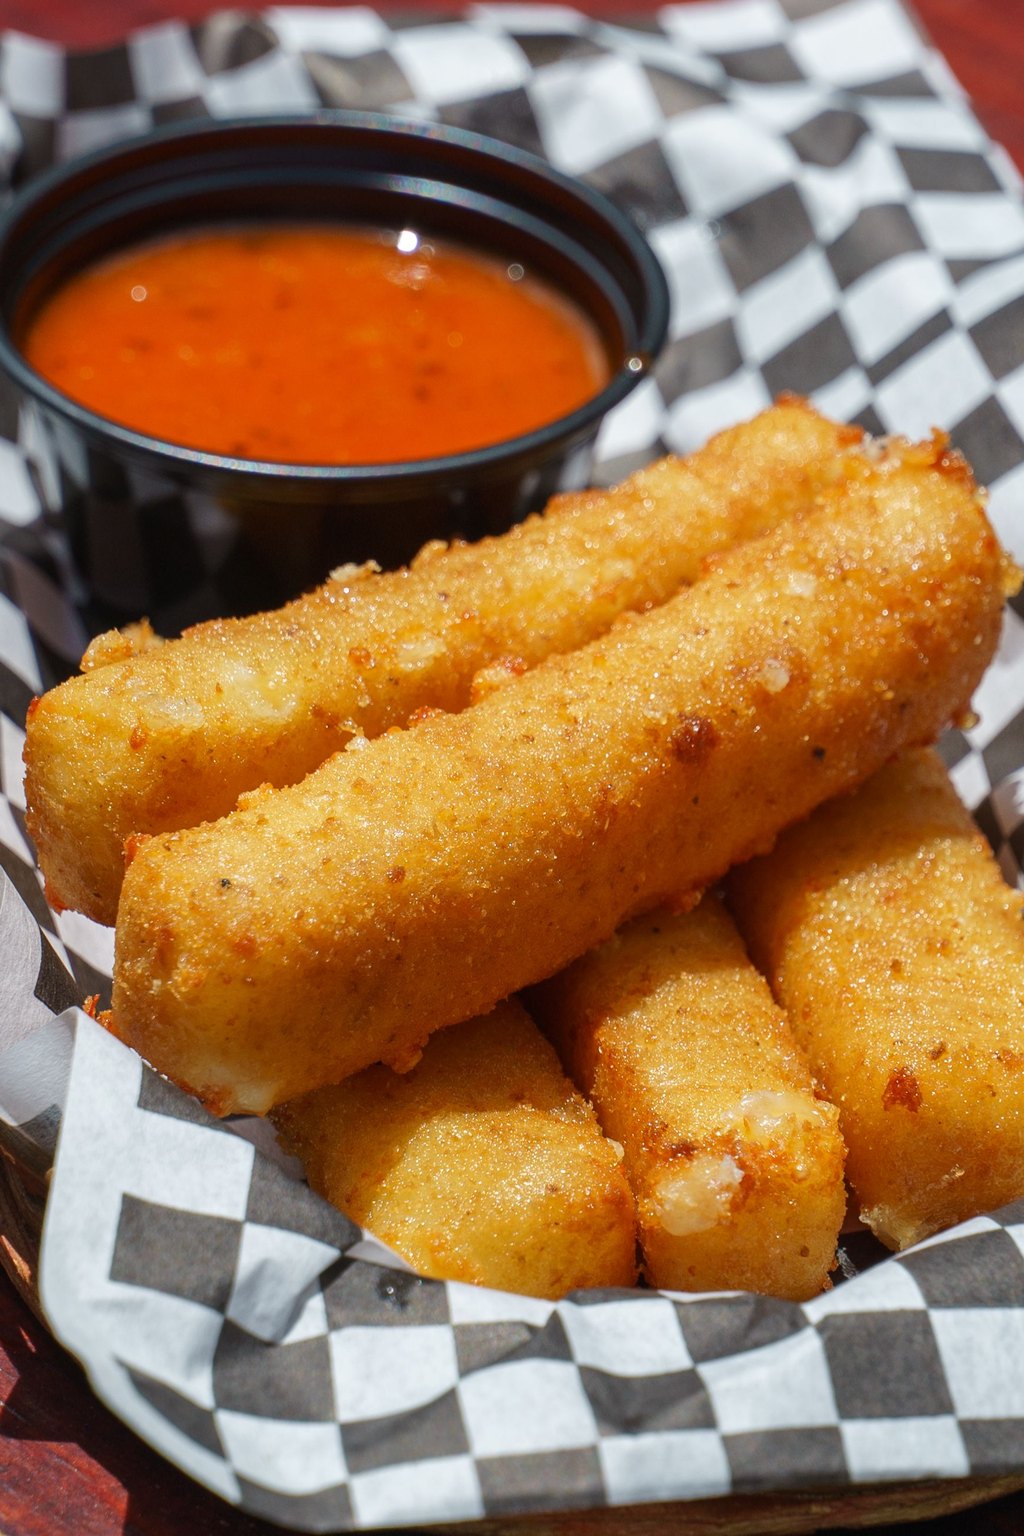
10) Homemade Mozzarella Sticks
These mozzarella sticks wear a crunchy, golden coat of seasoned crumbs and Parmesan around a gooey, stretchy middle. Two rounds of egg and crumbs seal the cheese in while they fry. Freezing them before they hit the oil is the real secret, because the outside crisps before the cheese can melt.
Mozzarella sticks are a guaranteed hit with the grandkids, so I always make a double batch. Along with the marinara, offer ranch or a little pesto for dipping. Serve them right away on a warm platter, because they are at their best in the first few minutes.
Ingredients
12 mozzarella string cheese sticks, cut in half
1/2 cup all purpose flour
1/2 teaspoon garlic powder
1/4 teaspoon salt
2 large eggs
2 tablespoons milk
1 cup Italian style breadcrumbs
1/2 cup panko breadcrumbs
1/4 cup grated Parmesan cheese
1 teaspoon dried Italian seasoning
Vegetable oil, for frying
1 1/2 cups marinara sauce, warmed, for dipping
Keep the oil right at 350F and let it come back up between batches, because cooler oil makes greasy, soggy sticks. You can bread and freeze them up to a month ahead in a zip top bag, so game day is just frying. Use a slotted spoon or spider to lift them out, which keeps the crust from tearing.
Instructions
Line a sheet pan with parchment. Set out three shallow bowls. Fill the first with the flour, salt and garlic powder, the second with the eggs beaten with the milk, and the third with both kinds of breadcrumbs, the Parmesan and the Italian seasoning.
Coat each piece of cheese in flour, dunk it in the egg and press it firmly into the crumbs. Repeat the egg and crumb coating once more, because that second layer keeps the cheese from oozing out.
Set the coated sticks on the sheet pan and freeze them for at least 45 minutes, until they are rock solid.
Pour 2 inches of oil into a heavy pot and heat it to 350F, checking with a thermometer.
Fry the frozen sticks 5 or 6 at a time for 1 to 2 minutes, turning them once, until deep golden. Pull them out promptly, or the cheese will break through the crust.
Move them to a plate covered in paper towels for 2 minutes. Pass a bowl of warm marinara for dunking.
Nothing from the freezer aisle comes close to these. My grandsons will gladly do all the breading as long as they get to eat the first few.
A big batch can be breaded days ahead and stored, frozen and bagged, for as long as 2 months. Fry a handful at a time straight from the freezer whenever the crowd gets peckish.
11) Loaded Sheet Pan Nachos
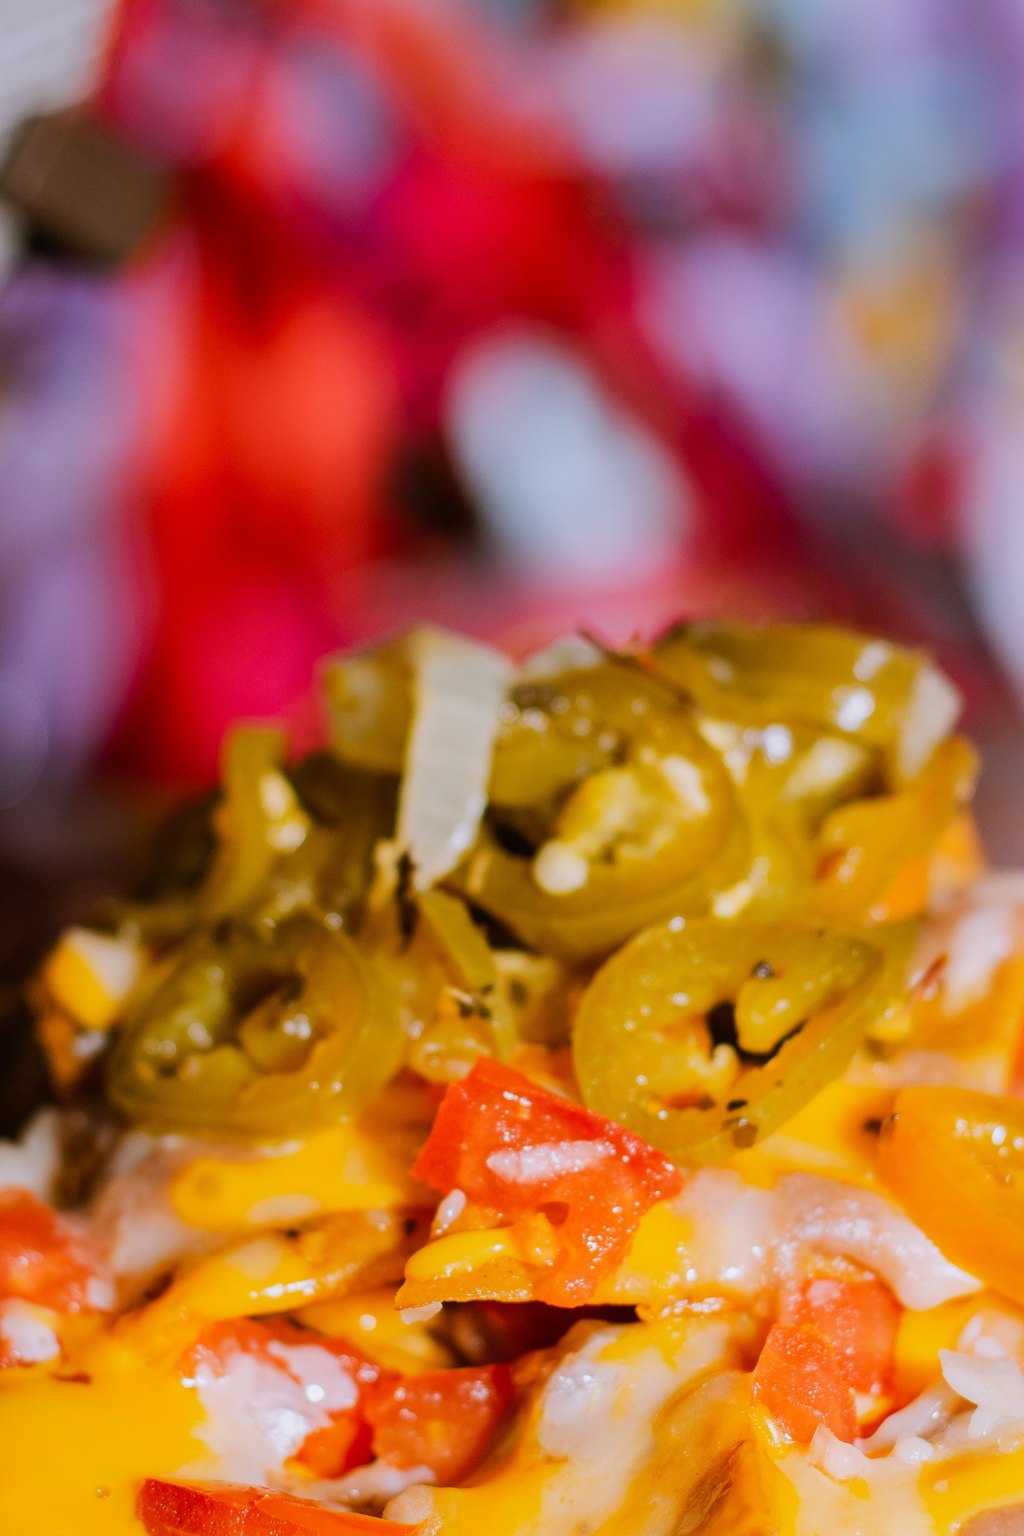
11) Loaded Sheet Pan Nachos
These nachos cover an entire sheet pan with taco beef, black beans and a double dose of melted cheese. Building the layers twice means no plain, lonely chips are left hiding underneath. Cold toppings go on after the oven, so each bite is warm, crunchy, creamy and fresh all at once.
Sheet pan nachos are my favorite way to feed a crowd during the big game. Set out extra salsa, guacamole and hot sauce so everyone can add their own heat. For a lighter pan, swap the beef for shredded chicken or keep it meatless with an extra can of beans.
Ingredients
1 pound lean ground beef
1 (1 ounce) packet taco seasoning
2/3 cup water
1 (15 ounce) can black beans, drained and rinsed
1 (13 ounce) bag sturdy tortilla chips
3 cups shredded Mexican blend cheese
1 cup shredded Monterey Jack cheese
1/2 cup pickled jalapeno slices
2 Roma tomatoes, diced
1/2 cup sour cream
1 avocado, diced
3 green onions, sliced
1/4 cup chopped fresh cilantro
Pick thick, restaurant style chips, because thin ones go soggy and break under all the toppings. Pat the rinsed beans dry so they do not wet the chips. Shred your own cheese from a block for the smoothest, gooiest melt.
Instructions
Set the oven to 400F and cover a big rimmed sheet pan with foil or parchment.
In a skillet over medium high, cook the beef for 7 to 8 minutes, breaking it apart, until it hits 160F. Pour off the grease, add the taco seasoning and water and let it bubble for 3 to 4 minutes, until thickened.
Spread half of the chips across the pan. Scatter half the beef and half the beans over them, then half of each kind of cheese.
Add the rest of the chips and repeat with the remaining beef, beans and cheese, taking care to cover the chips around the edges too. Scatter the jalapenos over everything.
Bake for 8 to 10 minutes, until all the cheese has melted and is bubbling and the chip edges look lightly toasted.
Pull the pan from the oven and right away add the tomatoes, spoonfuls of sour cream, the avocado, the green onions and the cilantro.
Carry the whole pan to the center of the table and let everyone grab chips while they are hot.
Nacho night during football season is a tradition the grandkids count down to all week. I set the hot pan down on a trivet and everyone just reaches in, no plates required.
Offer the fresh toppings in small dishes and let each person build a corner of the pan. Shredded chicken or leftover pulled pork can stand in for the beef.
12) Grape Jelly Meatballs
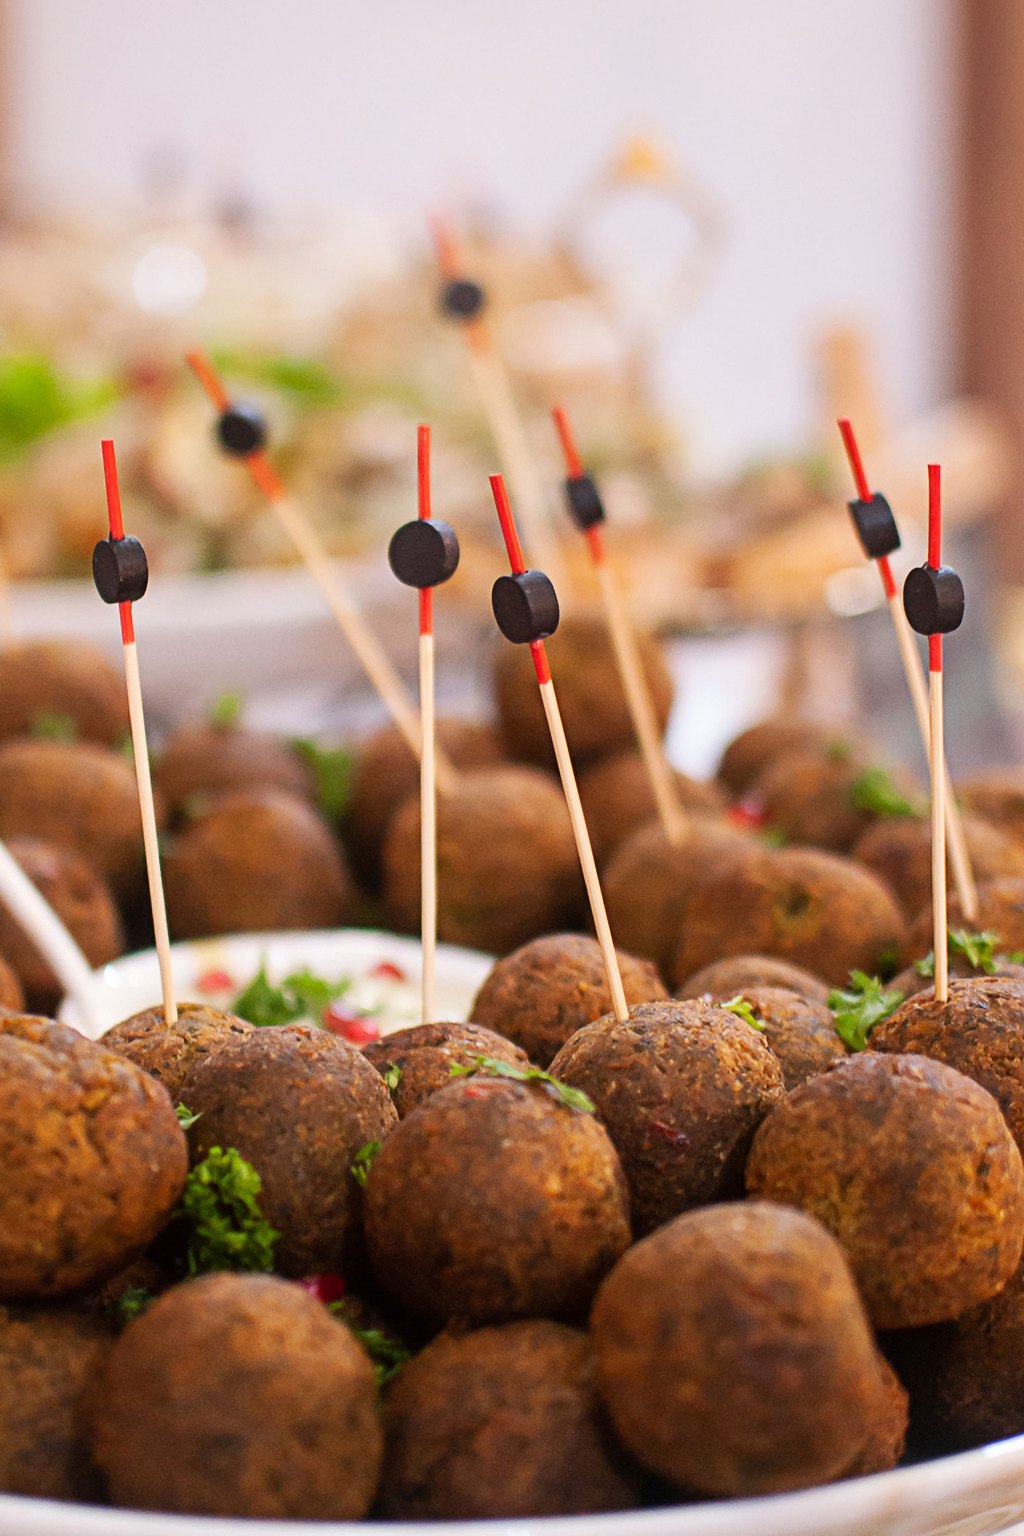
12) Grape Jelly Meatballs
This sweet, tangy and gently spicy party favorite relies on just three main ingredients and a slow cooker. Melted jelly and chili sauce cook down into a sticky, shiny glaze. It sounds odd, but the flavor lands somewhere between barbecue and sweet and sour in the best way.
Grape jelly meatballs are one of those church potluck classics that nobody can resist. For a heartier option, pile a few on soft slider buns with a slice of provolone. Leftovers can be spooned over white rice for an easy supper the next night.
Ingredients
2 pounds frozen fully cooked meatballs
1 (18 ounce) jar chili sauce
1 (18 ounce) jar grape jelly
1 tablespoon Worcestershire sauce
1 tablespoon apple cider vinegar
1 teaspoon garlic powder
1/2 teaspoon onion powder
1/4 teaspoon red pepper flakes
2 green onions, sliced
1 teaspoon sesame seeds
Toothpicks, for serving
Check a meatball from the center of the crock with a thermometer, since the middle ones heat last. Chili sauce, not ketchup, gives the right tang, so look for it in a jar near the ketchup at the store. If the sauce gets too thick while it sits on WARM, stir in a splash of water.
Instructions
Tip the frozen meatballs into a 6 quart crock in an even layer.
In a medium bowl, whisk the jelly and chili sauce with the Worcestershire, vinegar, garlic and onion powders and pepper flakes. The jelly will look lumpy for now, but it melts as it heats.
Pour the sauce into the crock and stir gently until every meatball is coated.
Put the lid on and cook for 4 hours on LOW or 2 to 3 hours on HIGH, stirring once or twice. The sauce should be smooth and glossy and the meatballs should reach 165F in the middle.
Give the sauce a taste, adding a few more pepper flakes for extra heat.
Switch the cooker to WARM. The meatballs hold well for up to 3 hours, which makes them ideal for a long afternoon of football.
Scatter the green onions and sesame seeds over the top and set out toothpicks so guests can serve themselves. To make them on the stove instead, cover and simmer everything in a big pot over medium low for 25 to 30 minutes, stirring frequently.
My mother brought a crock of these to every gathering in the eighties, and I still carry on the habit. Guests always laugh when they hear about the jelly, then fill their plates again.
For a twist, use apricot preserves or cranberry sauce in place of half the jelly. Leftovers make an easy supper spooned over rice with steamed broccoli.
13) Soft Pretzel Bites with Beer Cheese
13) Soft Pretzel Bites with Beer Cheese
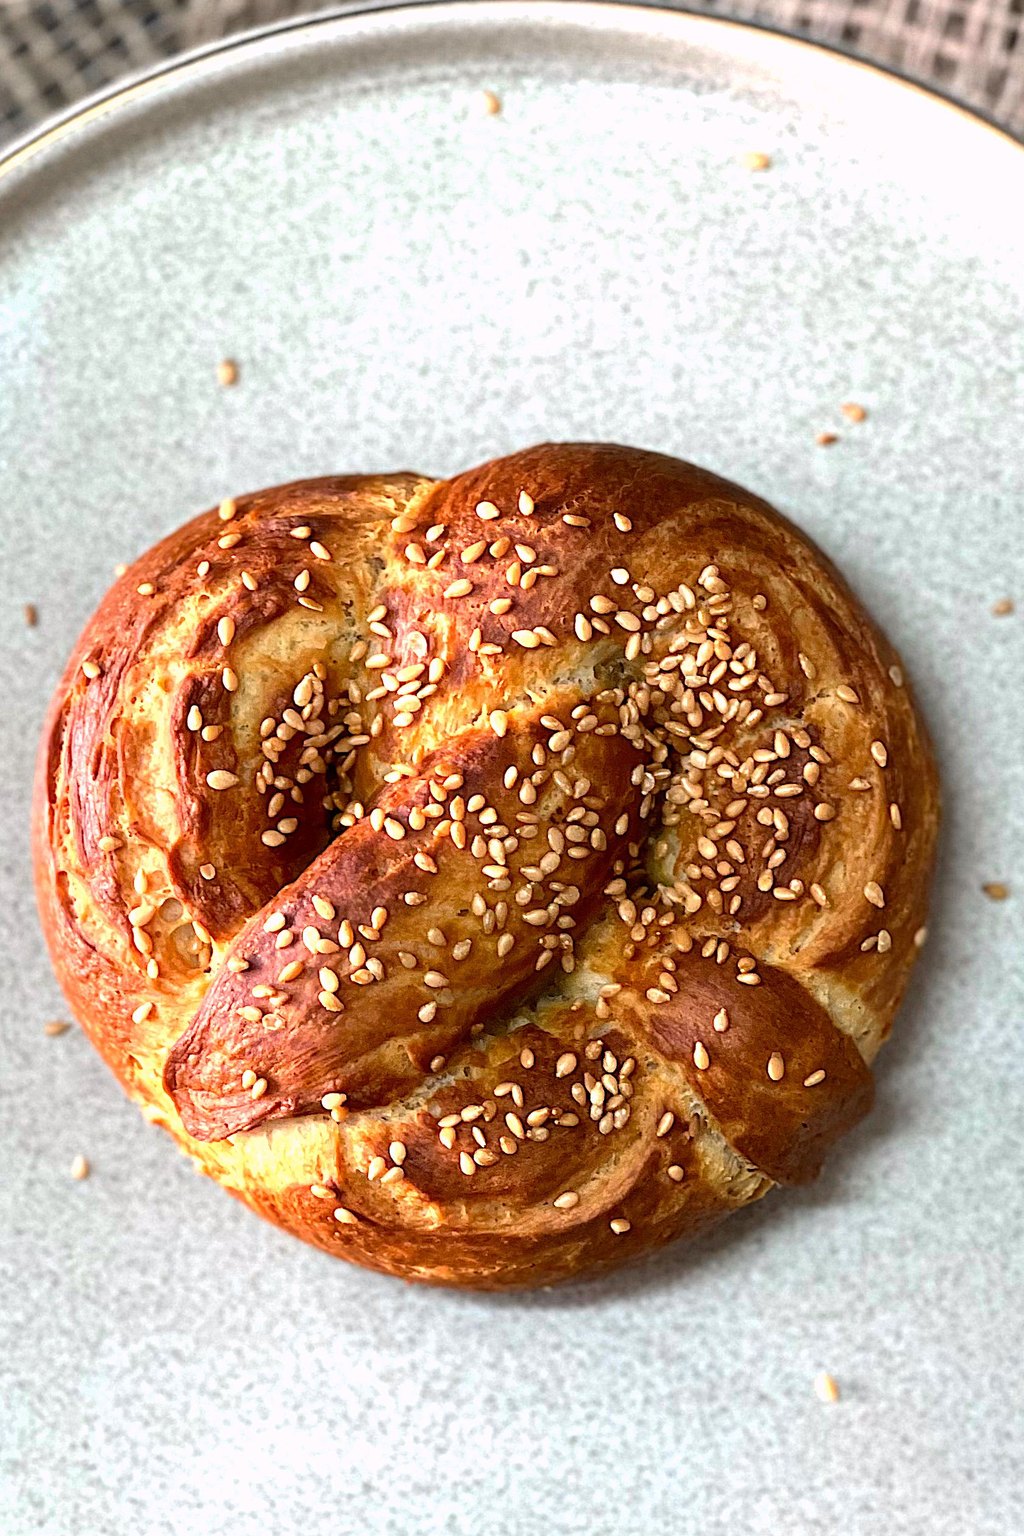
Homemade pretzel bites have a chewy middle, a glossy mahogany crust and a crunchy sprinkle of coarse salt. A brief boil in water spiked with baking soda creates that unmistakable pretzel color and taste. Dunked into a warm, tangy beer cheese, they rival anything sold at the ballpark.
Serve these bites in a big bowl with the beer cheese in the middle and a dish of spicy mustard on the side. Little paper cones or cups make them easy to pass around the room. They are also a fun project with the grandkids, who love rolling the long ropes.
Ingredients
1 1/2 cups warm water
1 tablespoon sugar
2 1/4 teaspoons active dry yeast
4 cups all purpose flour
2 teaspoons salt
4 tablespoons butter, melted
1/2 cup baking soda
1 large egg, beaten
Coarse pretzel salt, for sprinkling
For the beer cheese
2 tablespoons butter
2 tablespoons all purpose flour
3/4 cup lager or chicken broth
1/2 cup milk
2 cups shredded sharp cheddar cheese
Cover the dough with a towel while you cut and roll, because it dries out fast. Use chicken broth in the cheese sauce if the kids are eating it, and the flavor is still rich and cheesy. To make them ahead, freeze the baked bites and rewarm them at 350F for about 5 minutes.
Instructions
Stir the yeast and sugar into the warm water and wait 5 minutes for it to foam. Mix in the flour, salt and melted butter, then knead the dough for 5 minutes until it feels smooth. Cover the bowl and let the dough rise for an hour, until doubled.
Heat your oven to 425F. Cover two sheet pans with parchment and grease the paper.
Cut the dough into 8 pieces, roll each one into a rope about 20 inches long and slice the ropes into 1 inch pieces.
Bring 8 cups of water to a rolling boil and slowly add the baking soda, since it will foam up. Drop in the bites in batches and boil them for 30 seconds, then scoop them onto the pans with a slotted spoon.
Brush them with the beaten egg and sprinkle with coarse salt. Bake 12 to 14 minutes, until deeply browned.
For the dipping sauce, whisk the flour into melted butter in a small pan and cook it for a minute. Whisk in the lager and the milk and simmer for 3 minutes, until thickened, then lower the heat and stir in the cheddar until smooth.
Serve the warm bites with a bowl of beer cheese for dipping.
Homemade pretzels sound like a big project, but the grandkids think rolling dough snakes is great fun and it fills the hour before kickoff. The smell alone makes it worthwhile.
These bites are best on the day you make them. Freeze any extras in a bag and reheat them straight from the freezer at 350F for 5 minutes.
14) Cheesy Chicken Quesadillas
14) Cheesy Chicken Quesadillas
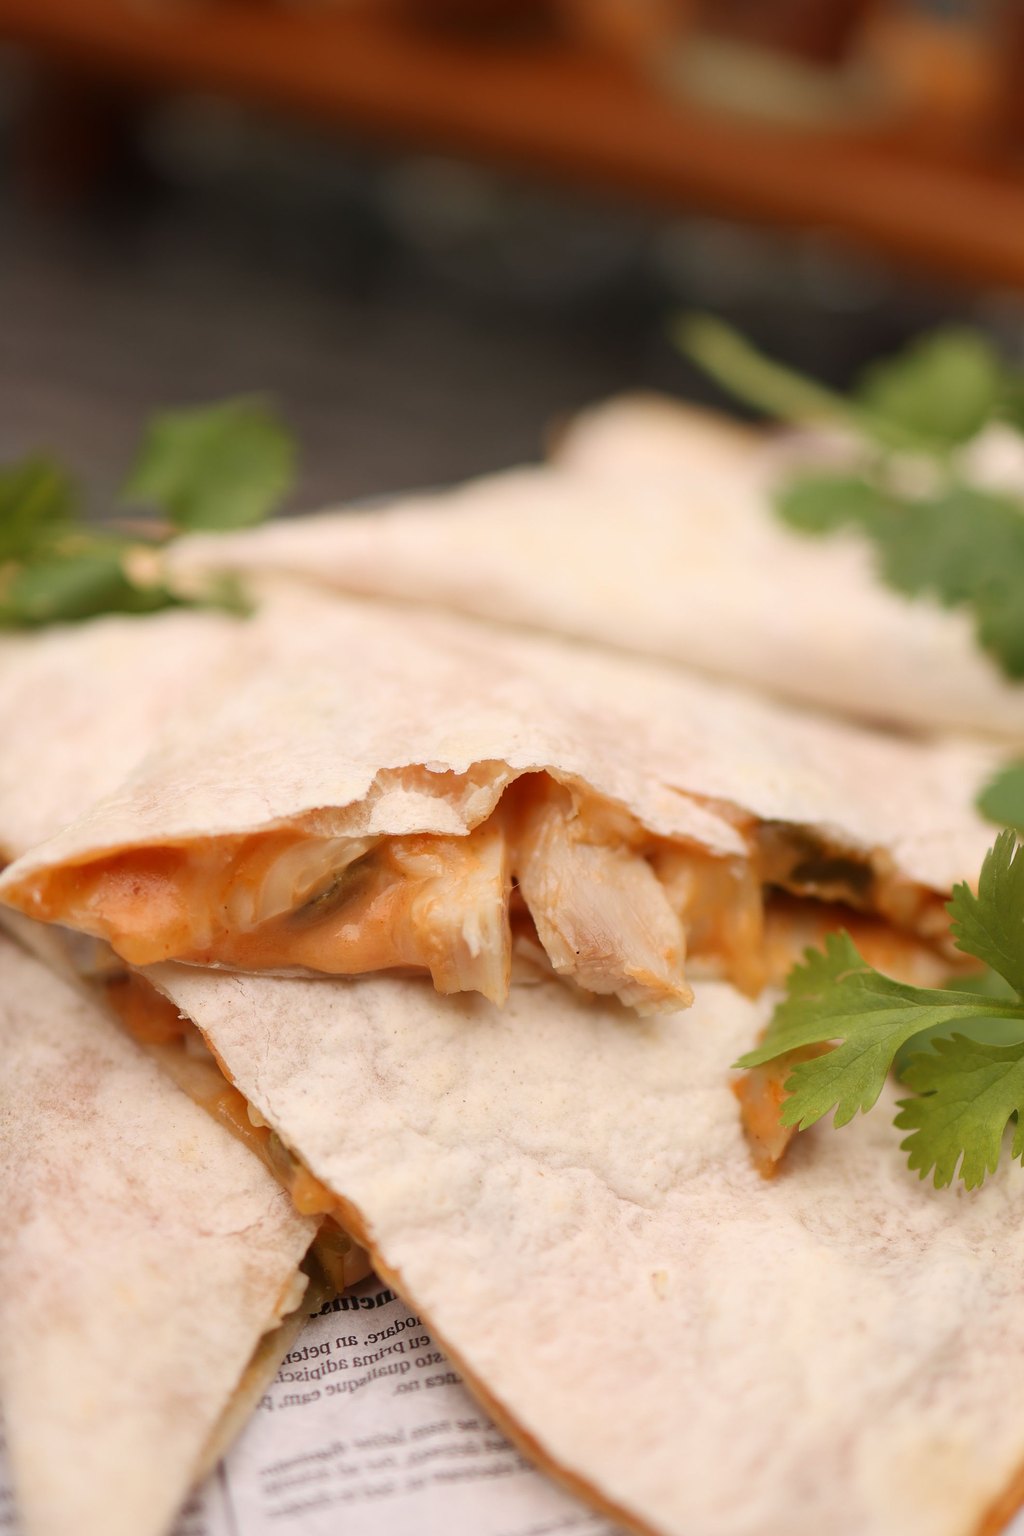
Crisp, buttery flour tortillas wrap around spiced chicken, green chiles and plenty of gooey cheese. A moderate flame gives the filling time to melt completely while the outside turns golden. Cut into wedges, they make easy finger food that goes perfectly with salsa, guacamole or sour cream.
Quesadilla wedges are easy finger food, so I stack them on a big board with bowls of guacamole and pico de gallo. Cut a few into smaller triangles for the little ones. They are quick enough to make between quarters, so a fresh batch can come out right when the first one disappears.
Ingredients
3 cups shredded cooked chicken
1 tablespoon olive oil
1 teaspoon chili powder
1/2 teaspoon ground cumin
1/2 teaspoon garlic powder
1/4 teaspoon salt
8 large flour tortillas
3 cups shredded Mexican blend cheese
1 (4 ounce) can diced green chiles
1/2 cup sliced green onions
2 tablespoons butter, melted
Salsa, for serving
Sour cream, for serving
Go light on the filling, because an overstuffed quesadilla browns before the cheese in the middle melts. Pat the green chiles dry so the tortillas stay crisp. Leftover grilled chicken or a store bought rotisserie chicken is a great shortcut here.
Instructions
Set the oven to 200F so you have a warm place to hold finished quesadillas. Toss the chicken in a bowl with the oil, the spices and the salt.
Lay out the tortillas and cover half of each one with cheese. Add the chicken, chiles and green onions, then a little more cheese to bind it all together. Fold each tortilla over and press down gently.
Warm a big skillet or griddle over medium. Brush one side of each folded quesadilla with a little melted butter.
Set two quesadillas in the pan with the buttered side down and brush the tops. Cook 2 to 3 minutes on each side, until crisp and golden brown and the cheese has completely melted.
Keep each finished batch hot on a sheet pan in the low oven, buttering every new batch as it goes into the skillet.
Let each one rest for a minute so the cheese firms up a bit, then use a pizza wheel to cut it into 3 wedges. Heap them on a large platter with bowls of sour cream and salsa.
When a crowd shows up hungry, quesadillas save the day since leftover chicken and a few pantry basics are all you need. Even the fussiest grandchild will happily grab a wedge.
Fold and fill the quesadillas up to a day early, stack them with parchment between each one and keep them covered in the refrigerator. Then cook and cut them as the game goes on.
15) Classic Guacamole
15) Classic Guacamole
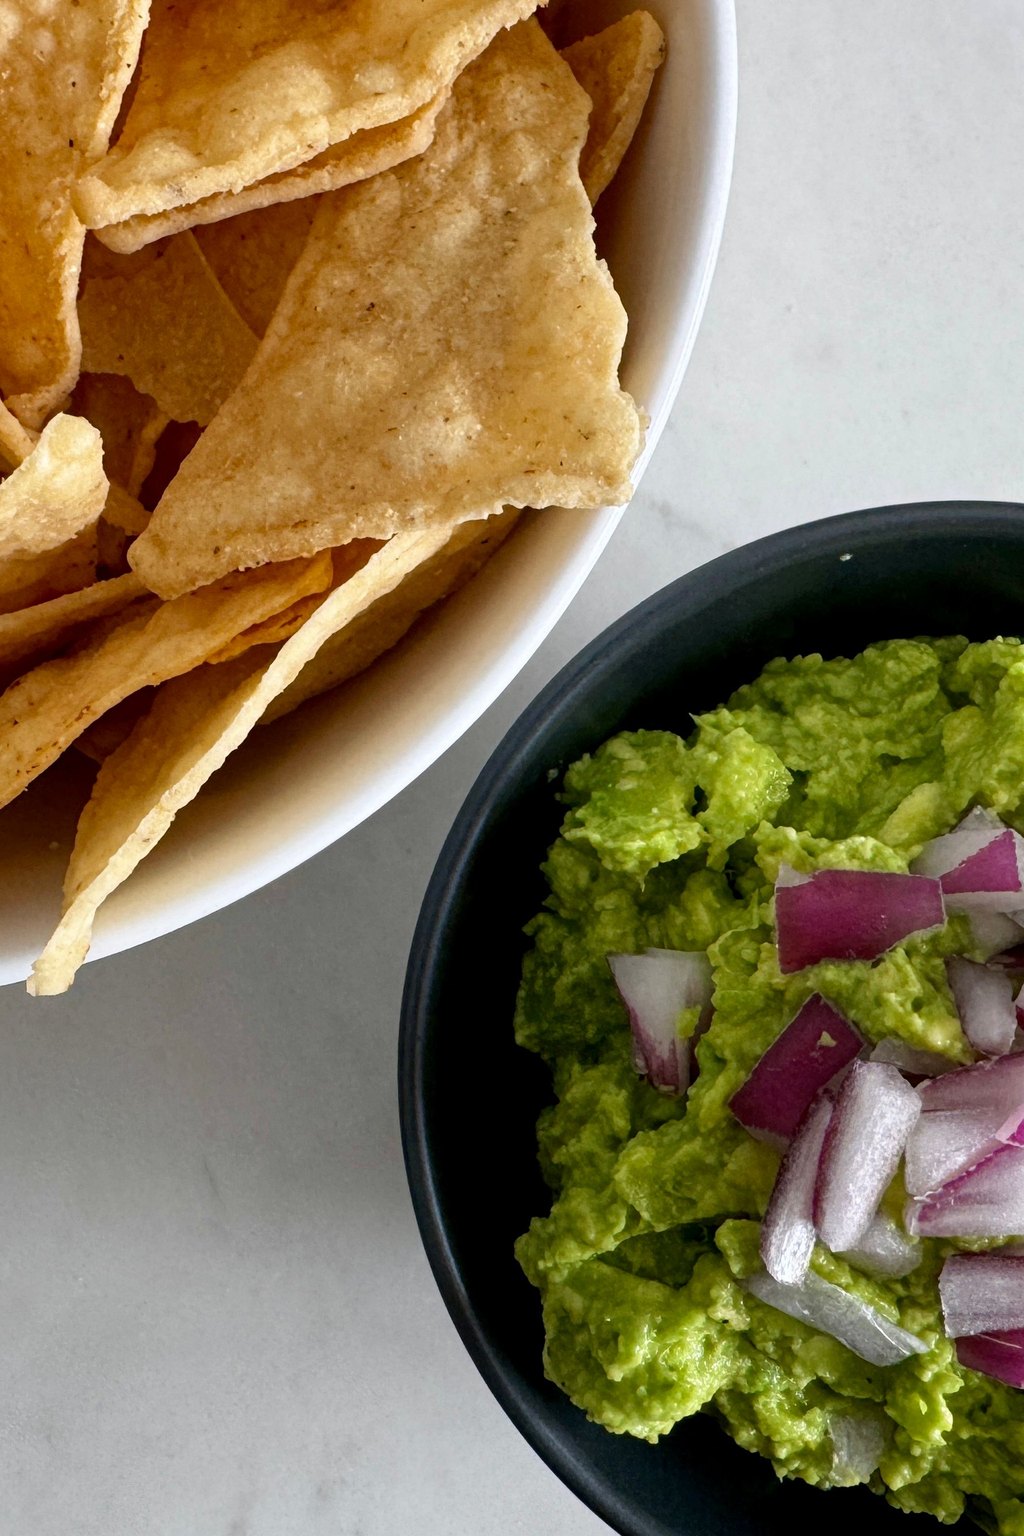
This classic guacamole is creamy and chunky, with fresh lime, cilantro and a touch of jalapeno heat. Salting and squeezing lime over the avocado the moment it leaves the skin keeps it green and well seasoned. Tomato and red onion bring crunch and color to every scoop.
Guacamole goes with nearly everything on a game day table, from tacos and nachos to burgers and quesadillas. Besides chips, I set out sliced jicama, cucumber rounds and bell pepper strips for anyone skipping the fried stuff. A stone molcajete or a pretty pottery bowl makes it look festive in the middle of the spread.
Ingredients
4 ripe avocados
1 lime, juiced
1 teaspoon kosher salt
1/2 teaspoon ground cumin
1/4 teaspoon garlic powder
1/2 small red onion, finely diced
1 jalapeno pepper, seeded and minced
2 Roma tomatoes, seeded and diced
1 clove garlic, minced
1/4 cup chopped fresh cilantro
1 pinch cayenne pepper
Tortilla chips, for serving
Choose avocados that give slightly when you press near the stem, because hard ones never mash smoothly. If they are still firm, keep them in a paper bag on the counter for a day or two to ripen. Rinse the diced red onion in cold water to tame its sharp bite.
Instructions
Slice each avocado around the pit, twist the two halves apart and carefully pry out the pit with a spoon. Scoop the green flesh into a medium bowl.
Right away, squeeze in the lime and season with the salt, cumin and garlic powder. The lime stops the avocado from browning while it seasons it.
Mash with a fork or a potato masher until it is as smooth or as chunky as you like. I leave some small pieces for texture.
Fold in the onion, jalapeno, tomatoes, fresh garlic and cilantro until well mixed.
Stir in a pinch of cayenne and taste on a chip. It usually wants more salt or lime than you expect, because the chips carry so much of the flavor.
Serve immediately with tortilla chips. To hold it, press plastic wrap right against the surface so no air can reach it, and refrigerate for as long as 4 hours.
When the house is full, double the recipe and serve it in a broad, low bowl that everyone can get to.
Guacamole is the one snack I refuse to skip, and it is ready before the pregame show even starts. My grandkids can now make it all on their own.
Pick avocados that give a little when you press them but are not soft and mushy. Pick them up a few days early and leave them out at room temperature to soften in time for the game.
Before You Start Cooking
For a relaxed game day, prepare the dips and the slider fixings a day early and keep them chilled. A couple of small slow cookers will hold warm dips and meatballs through the fourth quarter, and you can never have too many napkins.
I hope your team comes out on top and your snack spread gets all the cheers. Win or lose, a full table and a room of people you love are what make Sunday afternoons so special. Have fun out there.
Frequently Asked Questions
How much food should I make for a football party?
For a full game, I count on roughly 10 to 12 nibbles for every guest, and more when the snacks are standing in for supper. A mix of a couple of dips, a few warm bites and one hearty platter like nachos or sliders covers everyone. Leftovers are far better than an empty table at halftime.
Which game day snacks can I prepare ahead?
Most of the dips on this list can be mixed and refrigerated a day early, then baked or set out when guests arrive. The slider pans and the rolled sausages can be assembled in the morning and baked at the last minute. Mozzarella sticks keep in the freezer for weeks once breaded, ready to fry whenever you need them.
What is the best way to keep party food warm?
Small slow cookers on WARM are ideal for queso, dips and meatballs and will keep them hot for hours. For baked bites, use a warming tray or hold a second batch in a 200F oven. Refresh the platters about every 30 minutes rather than leaving hot food out for longer than 2 hours.