15 Easy Side Dishes That Go With Any Dinner
Fifteen simple sides for weeknights and family dinners, with crunchy potatoes, glossy carrots, lime rice, slaw and warm biscuits to fill out the plate.
Ask anyone at my Sunday table and they will tell you the sides matter more than the main. These fifteen easy side dishes give you plenty of choices, from crunchy and buttery potatoes to roasted greens, quick skillet vegetables, two kinds of rice, cool salads and a few warm breads. Nearly all of them land on the table in half an hour using pantry and fridge staples. Here is how I plan around them. I choose one side for the oven and one for the stovetop so the two never compete for room.
1) Crispy Smashed Potatoes
1) Crispy Smashed Potatoes
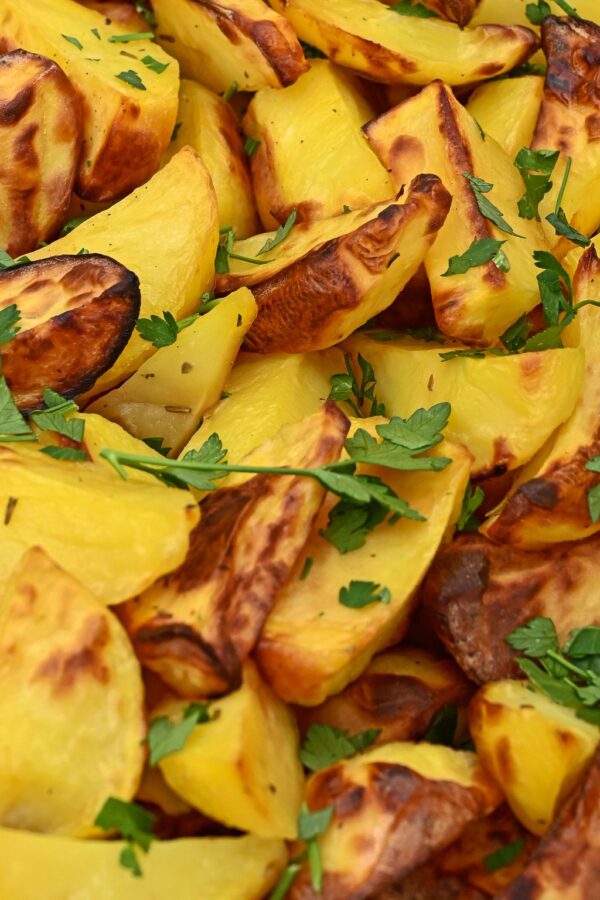
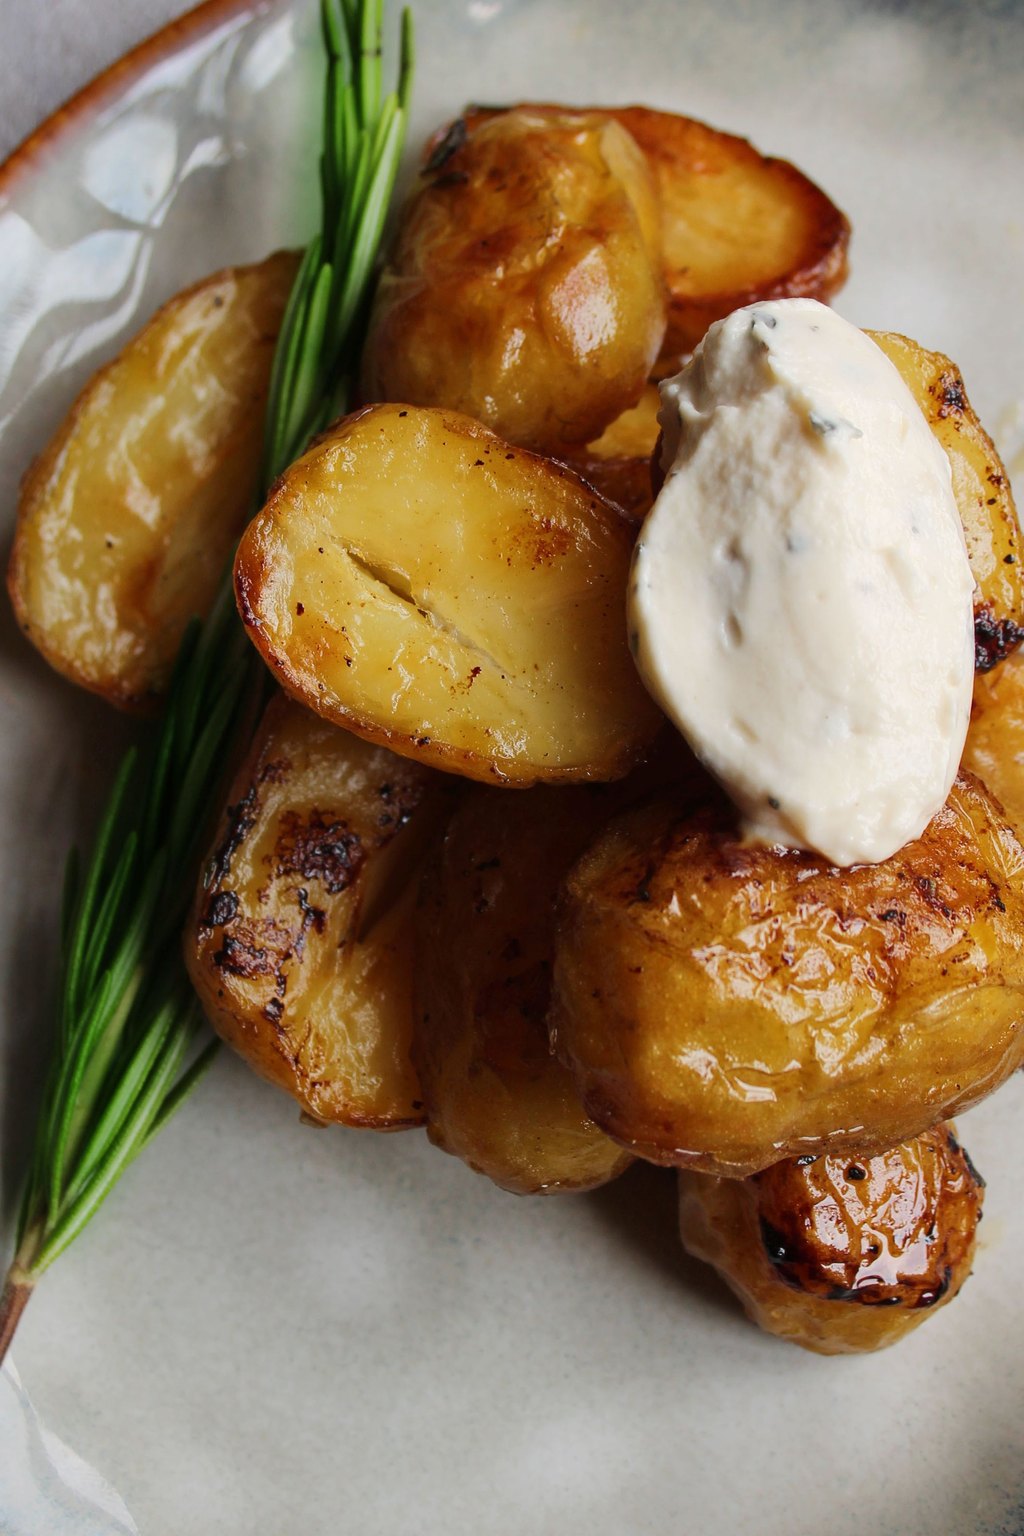
Small gold potatoes get simmered until soft, flattened with the bottom of a glass and roasted in a very hot oven until every jagged edge turns crunchy. The middles stay tender and fluffy, so each bite has a little of both. A brush of garlic butter and a handful of Parmesan finish them with a savory, golden crust.
These are my go to with a juicy steak or a roast chicken, since they bring all the crunch of fries with half the fuss. Set out a little bowl of sour cream stirred with chives for dipping, and watch the grandkids go back for seconds. Piled on a platter, they also make a fun appetizer for game day.
Ingredients
2 pounds baby gold potatoes
1 tablespoon kosher salt, for the cooking water
1/4 cup olive oil
2 tablespoons butter, melted
3 cloves garlic, minced
1/2 teaspoon kosher salt
1/4 teaspoon black pepper
1/2 teaspoon dried rosemary
1/3 cup grated Parmesan cheese
2 tablespoons chopped fresh parsley
Flaky salt, for finishing
Pick potatoes about the size of a golf ball, since bigger ones crumble when you press them instead of smashing into neat rounds. Let the oven heat fully to 450F before the pan goes in, or the edges will soften rather than crisp. Leftovers crisp right back up in a hot skillet or a 400F oven, but the microwave turns them soft.
Instructions
Put the potatoes in a big pot with enough cold water to sit an inch above them, then stir in the tablespoon of salt. Once it boils, let them cook 15 to 20 minutes, until a fork glides all the way through.
Pour them into a colander and leave them alone for 5 minutes so the surface moisture steams off. The drier they are, the crunchier they roast.
Set the oven to 450F. Coat a large rimmed sheet pan with half the olive oil and arrange the potatoes so none are touching.
Press each one flat with the base of a heavy glass or a masher until it is roughly 1/2 inch thick and the sides split.
Mix the melted butter with the garlic and the rest of the olive oil, then brush it generously over each potato. Season with the salt, pepper and rosemary.
Slide the pan into the oven for 20 to 25 minutes, until the ragged edges are a deep golden color. Add the Parmesan for the final 5 minutes so it melts into crisp little lace.
Shower with parsley and a little flaky salt and bring them to the table while they still crackle.
Tom calls these the best part of any plate, and the grandkids fight him for the corner pieces. They look fancy, yet the only real skill involved is pressing down with a glass.
Boil the potatoes the day before and chill them overnight. Cold potatoes hold together better when you flatten them, so just give them a few more minutes in the oven.
2) Creamy Mashed Potatoes
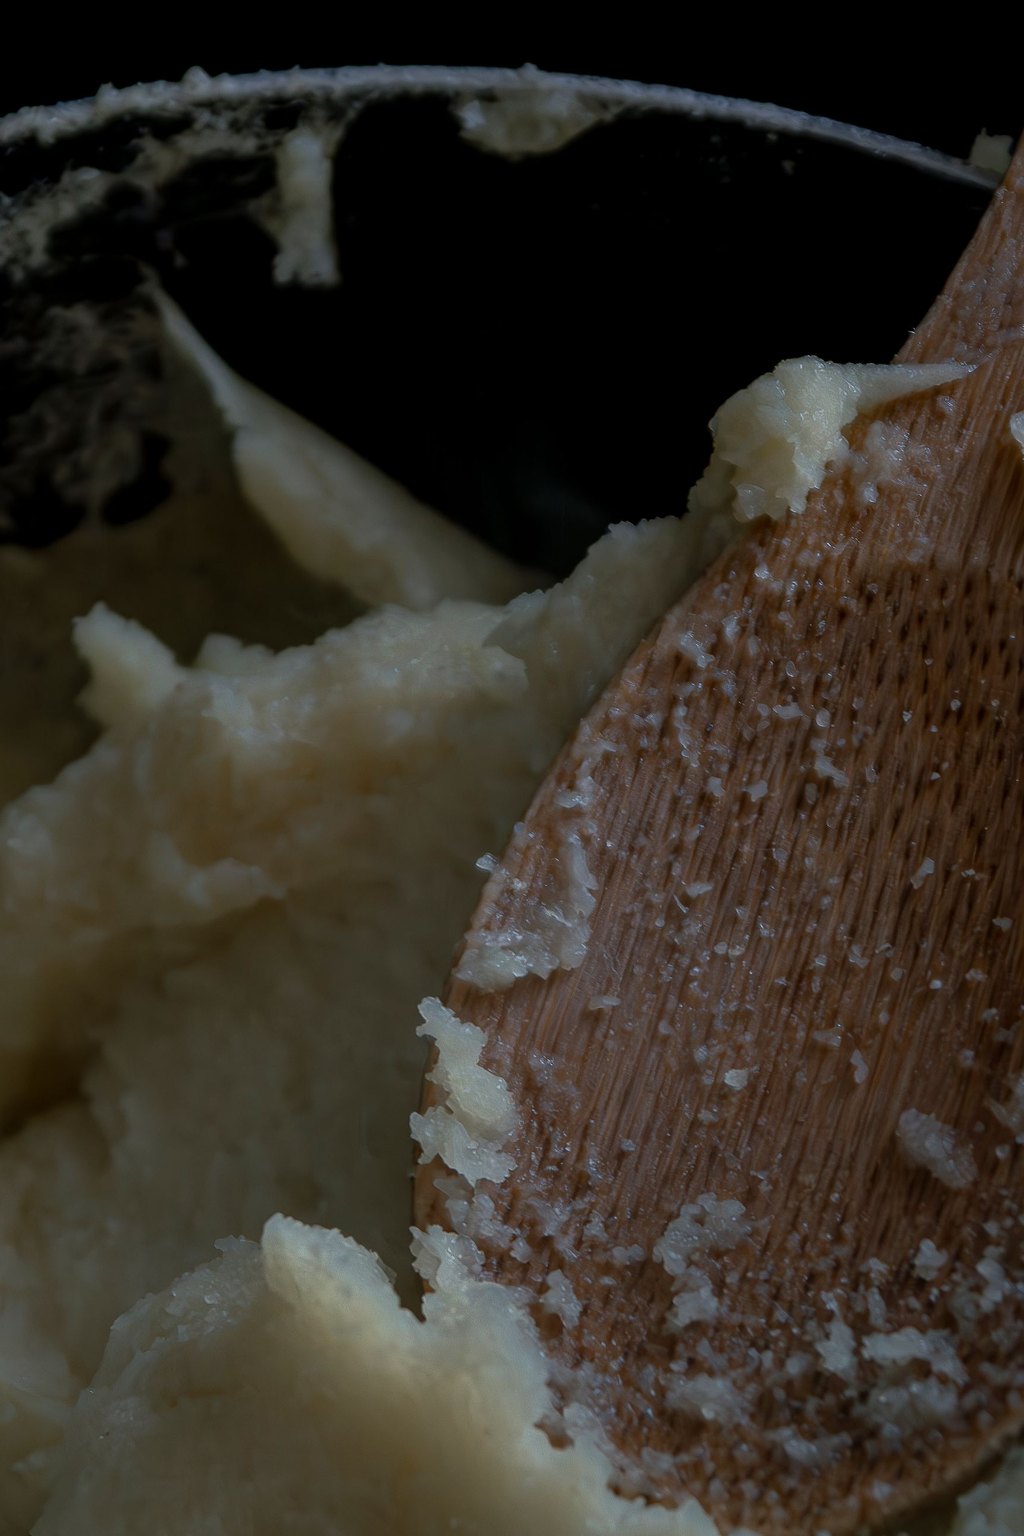
2) Creamy Mashed Potatoes
Yukon Gold potatoes bring their own buttery taste and a smooth, velvety texture to this classic. Warm milk, cream and a spoonful of cream cheese get stirred in for a rich, fluffy bowl. Letting the drained potatoes dry in the hot pot for a minute keeps them light and never watery.
Pile them into a warm bowl next to pot roast, meatloaf or fried chicken and let the gravy flow. On holidays I double the batch, because the leftovers become a shepherd's pie topping the next night. A small bowl is plenty for Tom and me alongside a pork chop and some green beans.
Ingredients
3 pounds Yukon Gold potatoes, peeled and cut into 2 inch chunks
1 tablespoon kosher salt, for the cooking water
1/2 cup unsalted butter
3/4 cup whole milk
1/2 cup heavy cream
2 ounces cream cheese, softened
2 cloves garlic, smashed
1 teaspoon kosher salt
1/4 teaspoon black pepper
2 tablespoons chopped chives
Cold water to cover the potatoes
1 pat unsalted butter, for serving
Start the potatoes in cold water so the outsides do not turn mushy before the centers cook through. A ricer gives the smoothest, lightest texture of all, and it is worth digging out for a holiday dinner. For just two of us, I make a third of the recipe with 1 pound of potatoes and start checking them at about 12 minutes.
Instructions
Drop the potato pieces into a big stockpot and add cold water until they are covered by about an inch. Stir in the tablespoon of salt and set the pot over high heat to boil.
Turn the heat down so the water bubbles gently and cook 15 to 18 minutes, until a chunk falls apart under light pressure from a fork.
Meanwhile, warm the milk, cream, butter and smashed garlic together in a little pan on the lowest burner setting until the butter is melted. Keep it below a boil, then fish out the garlic.
Drain the potatoes and tip them back into the empty pot. Return it to a gentle flame for 1 to 2 minutes, giving it a gentle shake, so the last of the water cooks away.
Break the potatoes down with a hand masher or push them through a ricer until the big lumps are gone. Skip the blender or food processor since it makes them sticky and gummy.
Stir in the cream cheese, then add the warm milk mixture a splash at a time until the potatoes turn smooth and fluffy. Add salt and pepper and taste.
Pile them into a warmed bowl, set a pat of butter on top, sprinkle with chives and serve.
I have made these for every holiday since my oldest was in a high chair. They sit happily next to roast chicken, meatloaf, pork chops or just about anything with gravy.
For a busy day, spoon them into a buttered baking dish, cover and refrigerate for up to 2 days. Warm them covered at 350F for about 30 minutes and give them a stir halfway.
3) Baked Sweet Potato Fries
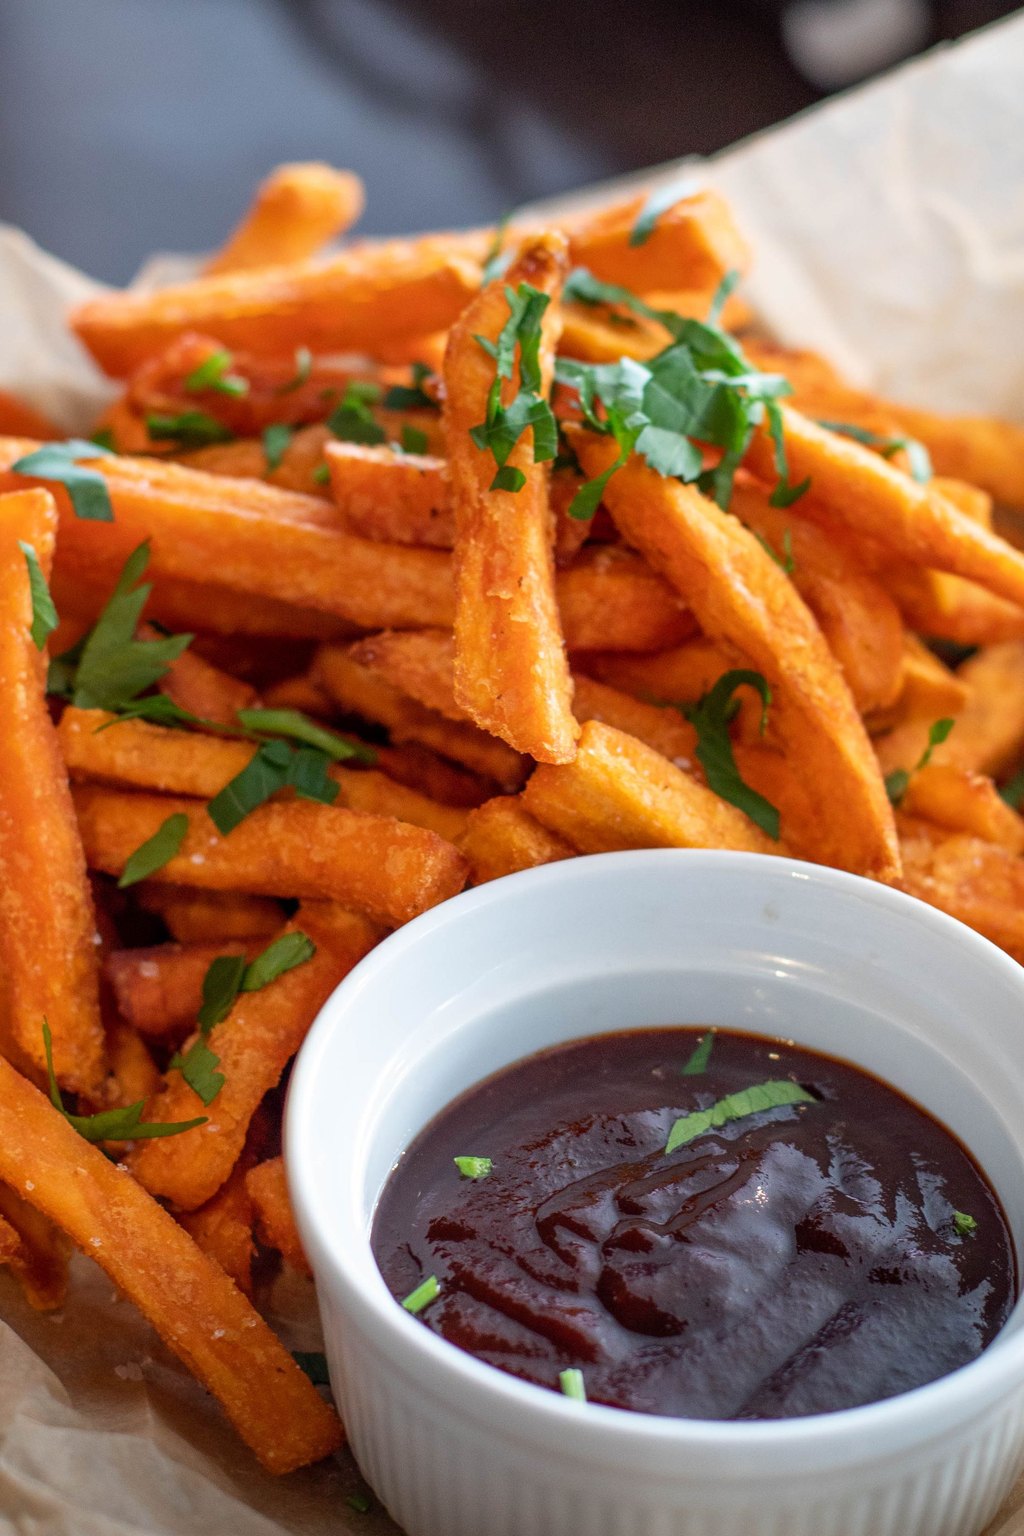
3) Baked Sweet Potato Fries
A light dusting of cornstarch helps these sweet potato sticks turn crisp in the oven, no fryer needed. Smoked paprika and a little brown sugar play up the natural sweetness of the potatoes. The thin ends caramelize into chewy, candied tips while the thicker middles stay soft and creamy.
Serve these with burgers or grilled chicken sandwiches for a cheerful change from regular fries. A dipping trio of ketchup, honey mustard and a little spicy mayo makes them feel like a restaurant treat. The grandkids love them because they taste a little like candy.
Ingredients
2 large sweet potatoes, about 2 pounds
1 tablespoon cornstarch
2 tablespoons olive oil
1 teaspoon smoked paprika
1/2 teaspoon garlic powder
1/2 teaspoon kosher salt
1/4 teaspoon black pepper
1 teaspoon brown sugar
1 tablespoon chopped fresh parsley
Flaky salt, for finishing
Leave the skins on if you like, since they add a little texture and help the thin sticks hold together. The brown sugar can scorch on the skinniest ends, so peek about 10 minutes into the second bake and pull any pieces that are getting too dark. Reheat leftovers in a 425F oven for about 5 minutes, because the microwave makes them limp.
Instructions
Preheat the oven to 425F and cover two big rimmed sheet pans with parchment.
Wash the sweet potatoes well and slice them into sticks roughly 1/4 inch thick. Aim for even pieces so they all finish at once.
Place the sticks in a roomy bowl and toss them with the cornstarch until they have a thin, dusty coating. That light layer is what gives them a crunchy shell.
Add the olive oil and toss again, then sprinkle in the brown sugar, smoked paprika, salt, garlic powder and pepper. Keep tossing until every stick is seasoned.
Divide the fries between the two pans and lay them out in one layer with a little room around each. Packed together, they steam and go limp.
Bake 15 minutes, turn the fries over and swap the pans from top to bottom. Give them another 10 to 15 minutes, until they are browned at the edges and firm to the touch.
Leave them on the pans for 3 minutes to firm up, then finish with parsley and flaky salt and serve them hot.
When the grandkids visit, anything shaped like a fry disappears, so these land next to burgers, chicken and even pancakes on breakfast for dinner night. They feel like a treat and still count as a vegetable in my book.
Warm leftovers for about 5 minutes in an air fryer or a 400F oven to bring back the crunch. With a little honey mustard or spicy mayo on the side, they make a great afternoon snack.
4) Roasted Broccoli with Parmesan
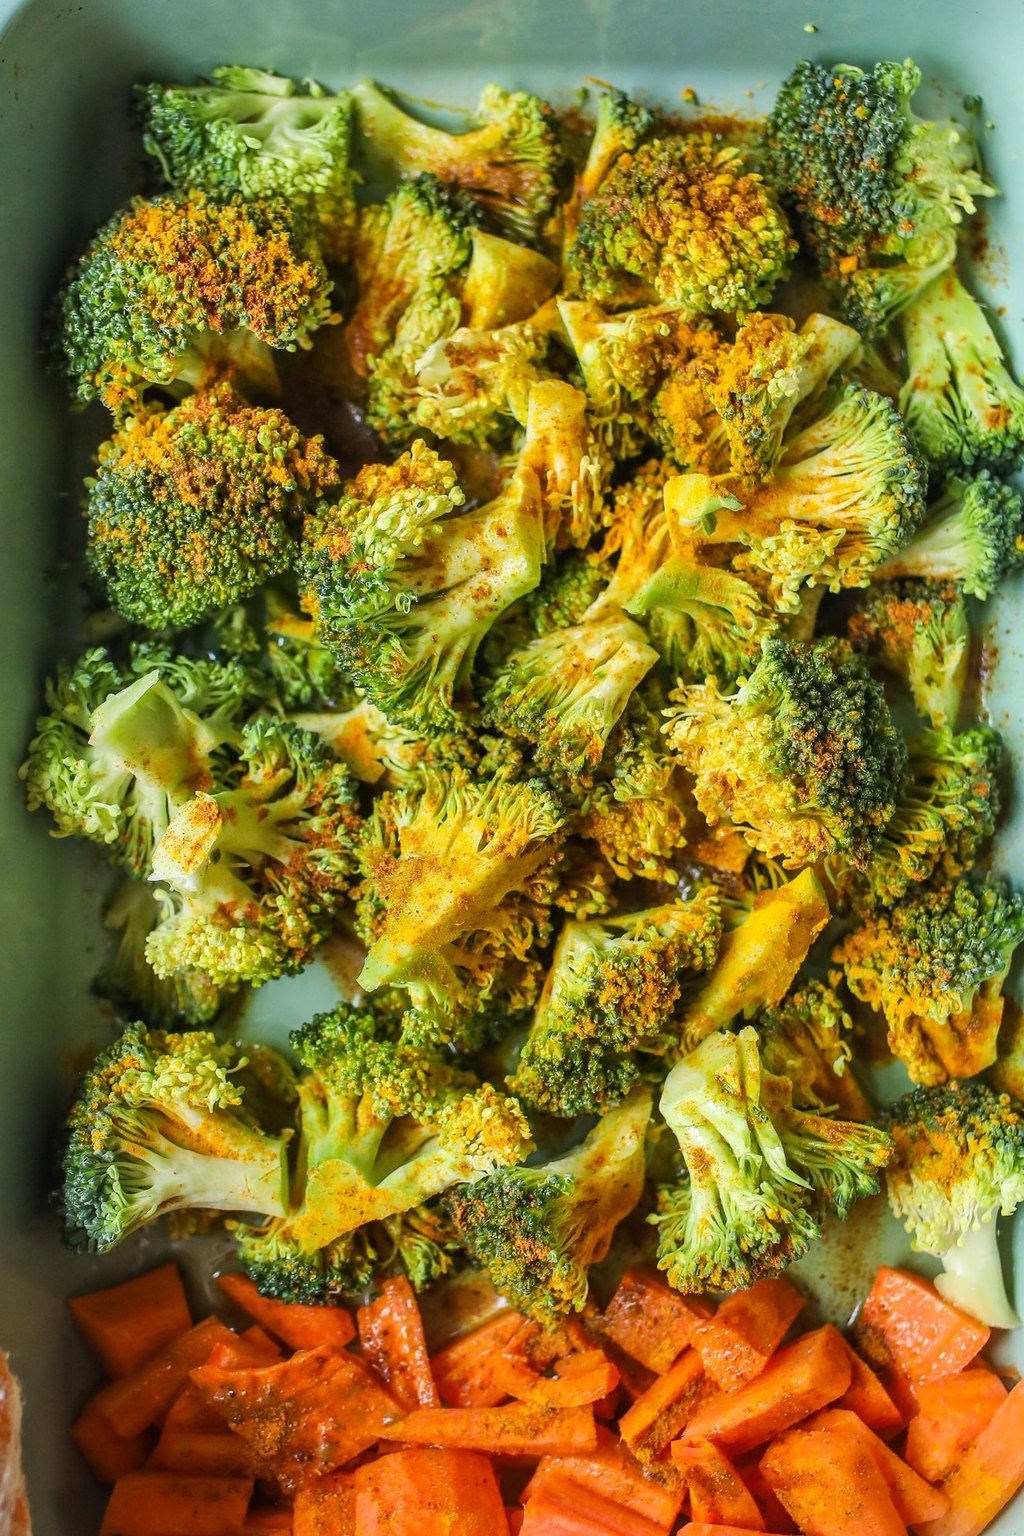
4) Roasted Broccoli with Parmesan
A really hot oven turns ordinary broccoli nutty, sweet and crisp around the edges. Heating the pan first means the florets start browning the moment they land rather than going limp. Near the end the Parmesan melts into a savory layer, and a squeeze of lemon wakes it all up.
Spoon it onto a platter beside lemon chicken, baked salmon or a simple pork chop for an easy weeknight plate. It is also lovely tossed with hot pasta and an extra drizzle of olive oil for a quick meatless supper. Even picky eaters at my table tend to come around to broccoli made this way.
Ingredients
2 large heads broccoli, about 2 pounds
3 tablespoons olive oil
3 cloves garlic, thinly sliced
1/2 teaspoon kosher salt
1/4 teaspoon black pepper
1/4 teaspoon red pepper flakes
1/2 cup grated Parmesan cheese
1 lemon, zested
1 tablespoon fresh lemon juice
2 tablespoons toasted pine nuts, optional
Wash the broccoli early and let it air dry on a towel for an hour, since damp florets steam instead of roasting. Tuck the garlic slices under the florets rather than leaving them on top, where they can scorch at 425F. If you double the recipe, use two pans, because crowded broccoli never gets those crisp, browned tips.
Instructions
Set the oven to 425F and put a large rimmed sheet pan on the center rack to heat up with it. Starting on hot metal helps the broccoli brown faster.
Cut the broccoli into florets, leaving a flat side on each when possible. Trim the tough skin from the stems and slice them into rounds so you use the whole head.
Dry the broccoli thoroughly, then toss it in a big bowl with the garlic, red pepper flakes, olive oil, salt and pepper.
Using oven mitts, take out the hot pan and lay the broccoli on it in one layer with the flat sides facing down. You should hear a sizzle.
Roast 15 minutes, until the undersides are well browned and the little tips are crisp.
Scatter the Parmesan over the top and put the pan back in the oven for 3 to 5 minutes, until the cheese has melted and turned golden.
Top with lemon zest, a squeeze of fresh lemon juice and the pine nuts if you like. Serve it warm.
This is how I finally got all three of my kids to eat broccoli without a fight. Now the grandkids hover by the stove and steal the crunchy bits right off the pan.
In a pinch, frozen broccoli will do if you thaw it and dry it really well. The edges will be a bit softer, so let it roast an extra 5 minutes.
5) Honey Glazed Carrots
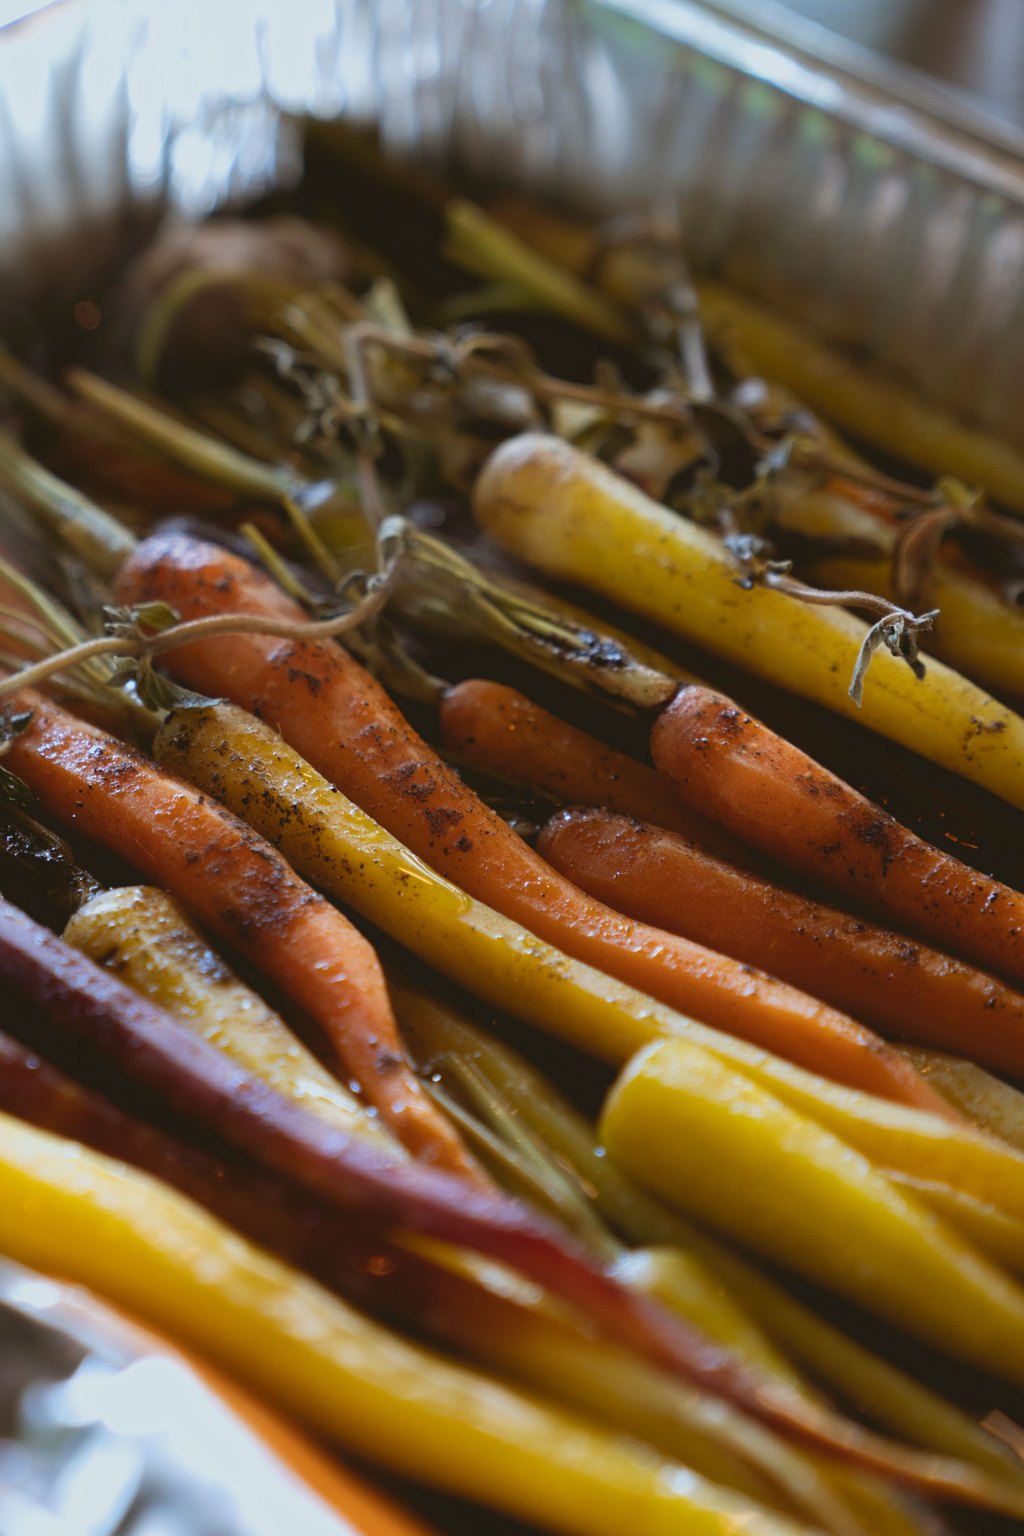
5) Honey Glazed Carrots
Sliced carrots simmer until tender, then get tossed in butter and honey that reduce into a shiny glaze. A pinch of cinnamon adds a cozy note and a little lemon juice keeps it from being too sweet. Everything happens in a single skillet in under thirty minutes.
Glazed carrots bring a pop of color to a holiday table, especially next to baked ham or roast turkey. They are sweet enough that young children happily eat their vegetables without any coaxing. For Easter, I serve them in a white bowl beside the ham so that shiny orange really stands out.
Ingredients
2 pounds carrots, peeled
1/2 cup water
1/2 teaspoon kosher salt
3 tablespoons butter
3 tablespoons honey
1 tablespoon brown sugar
1/4 teaspoon ground cinnamon
1 teaspoon fresh lemon juice
1/4 teaspoon black pepper
1 tablespoon chopped fresh parsley
Extra kosher salt, to taste
Choose medium carrots rather than fat ones, which often have a woody core and take longer to soften. Watch the pan closely in the last few minutes, because honey and sugar can go from glossy to scorched very quickly. For two, halve everything and use a 10 inch skillet so the glaze stays deep enough to coat the carrots.
Instructions
Cut the carrots on a gentle diagonal into slices close to 1/4 inch thick. Even slices mean everything finishes together.
Add the carrots, water and salt to a large skillet and bring it to a boil over medium high heat. Cover the pan and let them cook 5 to 7 minutes, until a knife slides in easily.
Take off the lid and let the remaining water simmer away, which takes about 2 minutes.
Drop the heat to medium and add the honey, butter, cinnamon and brown sugar. Stir until the butter is melted and the carrots are coated.
Keep cooking 4 to 5 minutes, stirring frequently, until the glaze turns thick and shiny and the edges of the carrots start to brown.
Add the lemon juice and pepper, then taste and add salt if needed. That little bit of lemon balances the honey.
Spoon the carrots into a bowl, pour any glaze left in the pan over them and finish with parsley.
Whenever I need a vegetable that toddlers and grandparents will both eat, I reach for these. Their bright orange color looks so cheerful beside a ham or a plate of pork chops.
Bagged baby carrots work fine here and spare you the peeling. Any leftovers will last 4 days in the fridge and reheat in the microwave in about a minute.
6) Garlic Green Beans
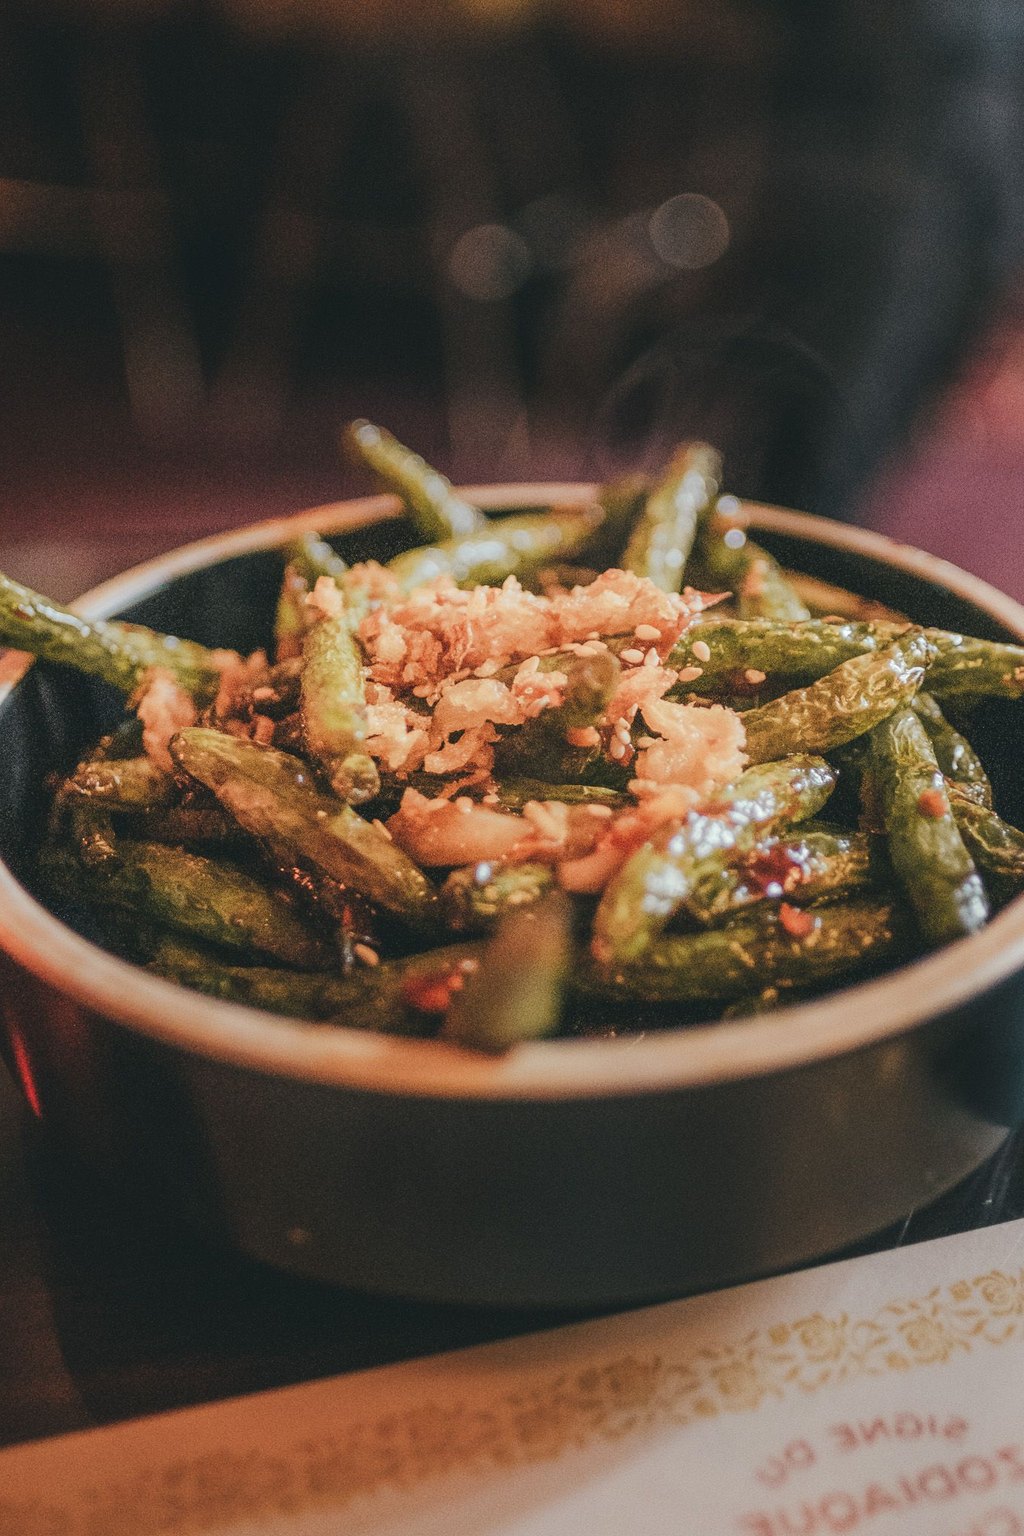
6) Garlic Green Beans
Fresh green beans get a quick boil and an ice bath, which keeps them bright and snappy. A few minutes in a skillet with garlic butter gives them loads of flavor with hardly any effort. A handful of toasted almonds adds crunch and makes a humble side look dressed up.
Arrange the beans on a long platter so the almonds show off on top. This side goes with nearly everything, from roast chicken to grilled steak to baked fish. It is my standby for weeknight dinners for two, since it takes only minutes and looks like I tried hard.
Ingredients
1 1/2 pounds fresh green beans, trimmed
1 tablespoon kosher salt, for the cooking water
2 tablespoons butter
1 tablespoon olive oil
4 cloves garlic, minced
1/4 teaspoon red pepper flakes
1/2 teaspoon kosher salt
1/4 teaspoon black pepper
1 teaspoon fresh lemon juice
2 tablespoons sliced almonds, toasted
Salt the cooking water well, since that is your only chance to season the beans all the way through. You can blanch and chill the beans up to 2 days ahead, then finish them in the garlic butter right before dinner. Toast the almonds in a dry skillet for 2 to 3 minutes, shaking often, until golden and fragrant.
Instructions
Set a large pot of water over high heat, add the tablespoon of salt and bring it to a boil. Fill a big bowl with ice and water and keep it close by.
Drop the green beans into the boiling water for 3 to 4 minutes, just until they turn vivid green and still have some snap.
Drain and move them straight into the ice bath to halt the cooking and keep their color. After 2 minutes, drain them again and dry them with a kitchen towel.
Warm the butter and olive oil together in a large skillet over medium heat. Stir in the garlic and red pepper flakes for 30 to 60 seconds, until you can smell the garlic but before it browns.
Add the beans and toss them in the garlic butter. Let them cook 3 to 4 minutes, until hot all the way through with a few blistered spots.
Add the salt, pepper and lemon juice and give everything another toss.
Transfer the beans to a platter, sprinkle the toasted almonds over the top and serve immediately.
If I had to name the vegetable I cook most often, it would be this one, because it fits next to anything. They are speedy, pretty on the plate and far more interesting than beans straight from the steamer.
You can do the boiling and chilling up to 2 days early and keep the beans in a sealed bag in the fridge. Then dinner only needs a 5 minute toss in the skillet.
7) Roasted Brussels Sprouts with Bacon
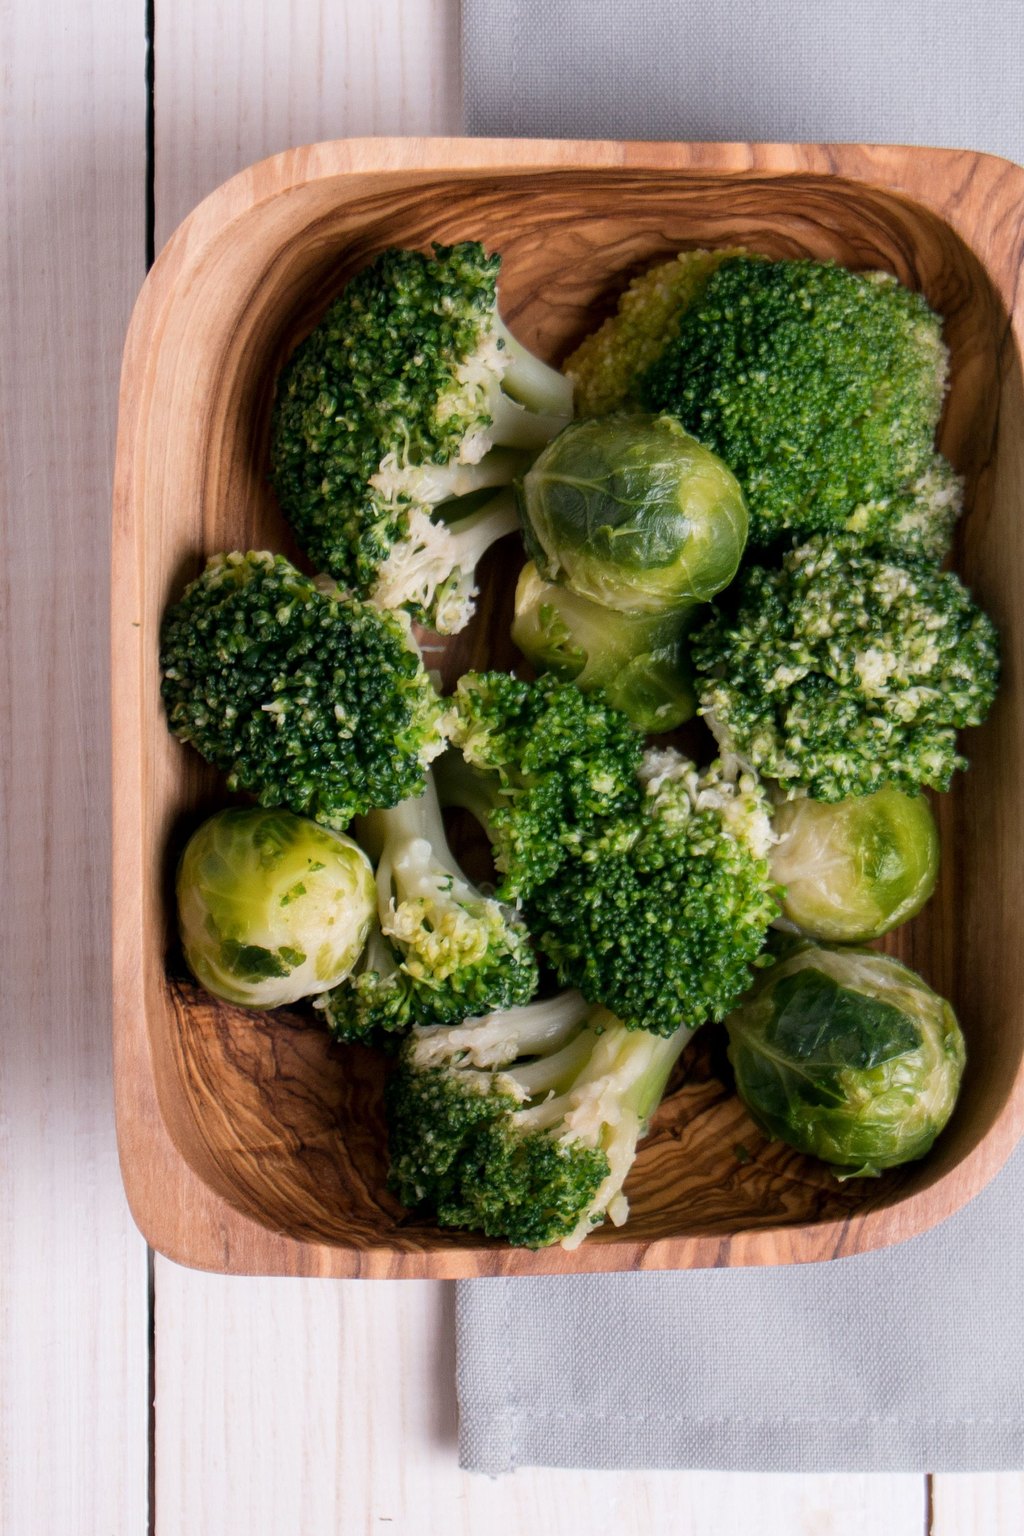
7) Roasted Brussels Sprouts with Bacon
Halved Brussels sprouts roast face down until they are caramelized and sweet. Chopped bacon crisps on the very same pan, and the sprouts drink up its smoky drippings. A quick drizzle of maple syrup and balsamic at the finish brings a sweet and tangy contrast to the salty bacon.
Bring these to the table on a warm platter, and even the sprout skeptics in the family will reach for seconds. They pair beautifully with pork tenderloin, roast chicken or a holiday ham. I also like leftovers chopped and tossed into a warm grain bowl for lunch the next day.
Ingredients
1 1/2 pounds Brussels sprouts
4 slices thick cut bacon, chopped
2 tablespoons olive oil
1/2 teaspoon kosher salt
1/4 teaspoon black pepper
1/2 teaspoon garlic powder
1 tablespoon maple syrup
1 tablespoon balsamic vinegar
1/4 cup grated Parmesan cheese
1 tablespoon chopped fresh parsley
Look for firm, bright green sprouts about the size of a walnut, and quarter any big ones so everything finishes together. Scatter the bacon in small separate pieces rather than clumps so it crisps evenly in the time the sprouts take. If your bacon is very lean, add an extra splash of oil so the sprouts do not dry out.
Instructions
Turn the oven to 425F and cover a big rimmed sheet pan with foil so cleanup takes about ten seconds.
Slice off the woody stem ends and peel away any yellowed outer leaves. Halve each sprout through the stem, leaving the tiny ones whole.
In a large bowl, toss the sprouts with the garlic powder, olive oil, pepper and salt until they look evenly glossy.
Spread them over the prepared pan, turning as many as possible so the cut sides face down. Sprinkle the chopped bacon across the pan.
Roast 20 to 25 minutes, stirring once at the halfway mark, until the flat sides are browned and caramelized, the loose leaves are crunchy and the bacon is crisp.
In a small bowl, whisk together the maple syrup and balsamic vinegar. Pour it over the hot sprouts and bacon on the pan and toss well.
Top with Parmesan and parsley and serve while warm.
Tom swore for thirty years that he did not like Brussels sprouts, and this pan changed his mind for good. Now he asks me to make a double batch when the kids come home.
Choose small, firm, bright green sprouts because they taste sweeter and roast more evenly. Leftovers get crispy again after a few minutes in a hot skillet.
8) Sauteed Zucchini and Yellow Squash
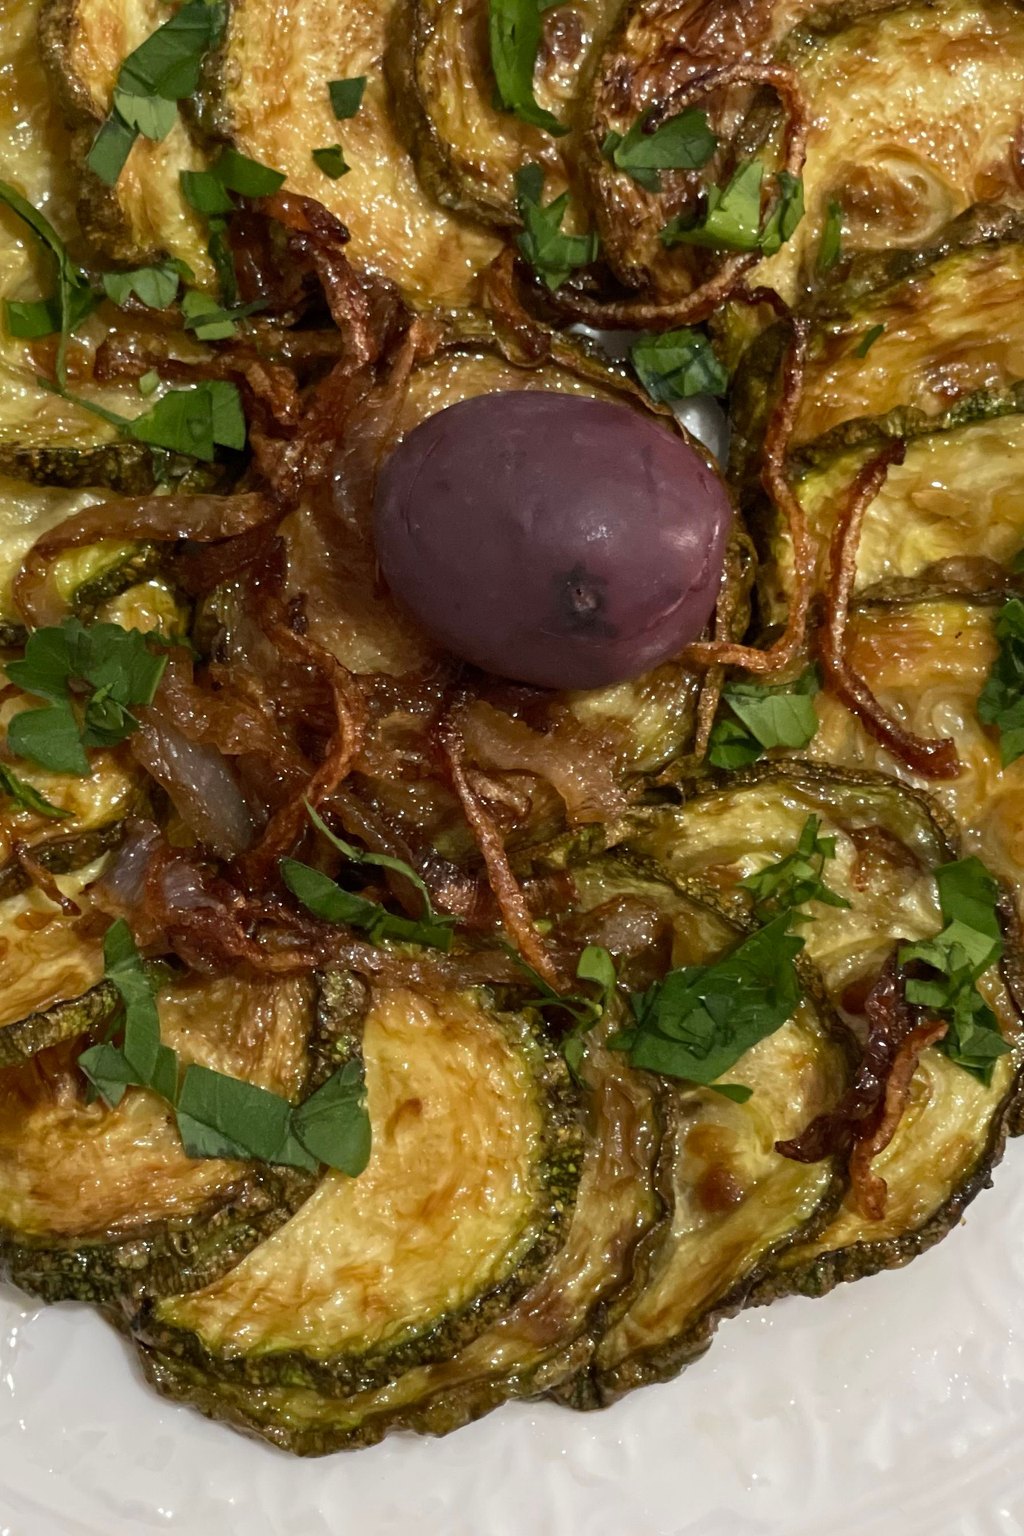
8) Sauteed Zucchini and Yellow Squash
Zucchini and yellow squash cook fast over high heat in this bright skillet side, so they brown rather than steam. Onion and garlic give it a savory backbone and Italian herbs keep it tasting fresh. A sprinkle of Parmesan at the end softens over the hot squash.
This is the side I make most in July, when the garden is overflowing with squash and Tom keeps bringing in more. Serve it next to grilled chicken, pork chops or a simple piece of fish for a light summer supper. Any leftovers are nice spooned over pasta with a little more cheese for lunch.
Ingredients
2 medium zucchini
2 medium yellow squash
2 tablespoons olive oil
1 tablespoon butter
1/2 small onion, thinly sliced
3 cloves garlic, minced
1/2 teaspoon dried Italian seasoning
1/2 teaspoon kosher salt
1/4 teaspoon black pepper
1/4 cup grated Parmesan cheese
1 tablespoon chopped fresh basil
Smaller squash with firm, glossy skin work best, since big ones are watery and full of seeds. A crowded pan steams the slices, so cook in two batches if your skillet is smaller than 12 inches across. This dish is best eaten right away, so for two I simply halve the recipe rather than counting on leftovers.
Instructions
Cut the ends off the zucchini and yellow squash. Halve them the long way, then slice into half moons around 1/2 inch thick.
Set a large skillet over medium high heat with the olive oil and butter and wait until the butter starts to foam.
Stir in the onion and cook 2 to 3 minutes, until it begins to turn soft.
Spread the zucchini and squash across the pan in one layer. Leave them untouched for 2 minutes so the undersides turn golden.
Give everything a stir and cook another 4 to 5 minutes, just until the squash is tender but not falling apart. Cooking it too long makes it soggy and wet.
Stir in the garlic and Italian seasoning for about 1 minute, until fragrant, then add the salt and pepper. Waiting to salt until now keeps the squash from weeping liquid.
Pull the skillet off the heat, top with Parmesan and basil and serve at once.
Every August my garden buries me in squash, and this skillet is how I keep up with it. It is done in the few minutes the main dish needs to rest.
Grab your widest skillet or cook it in two rounds so the slices have space to brown. If the pan is crowded, the squash turns soft and soupy.
9) Cilantro Lime Rice
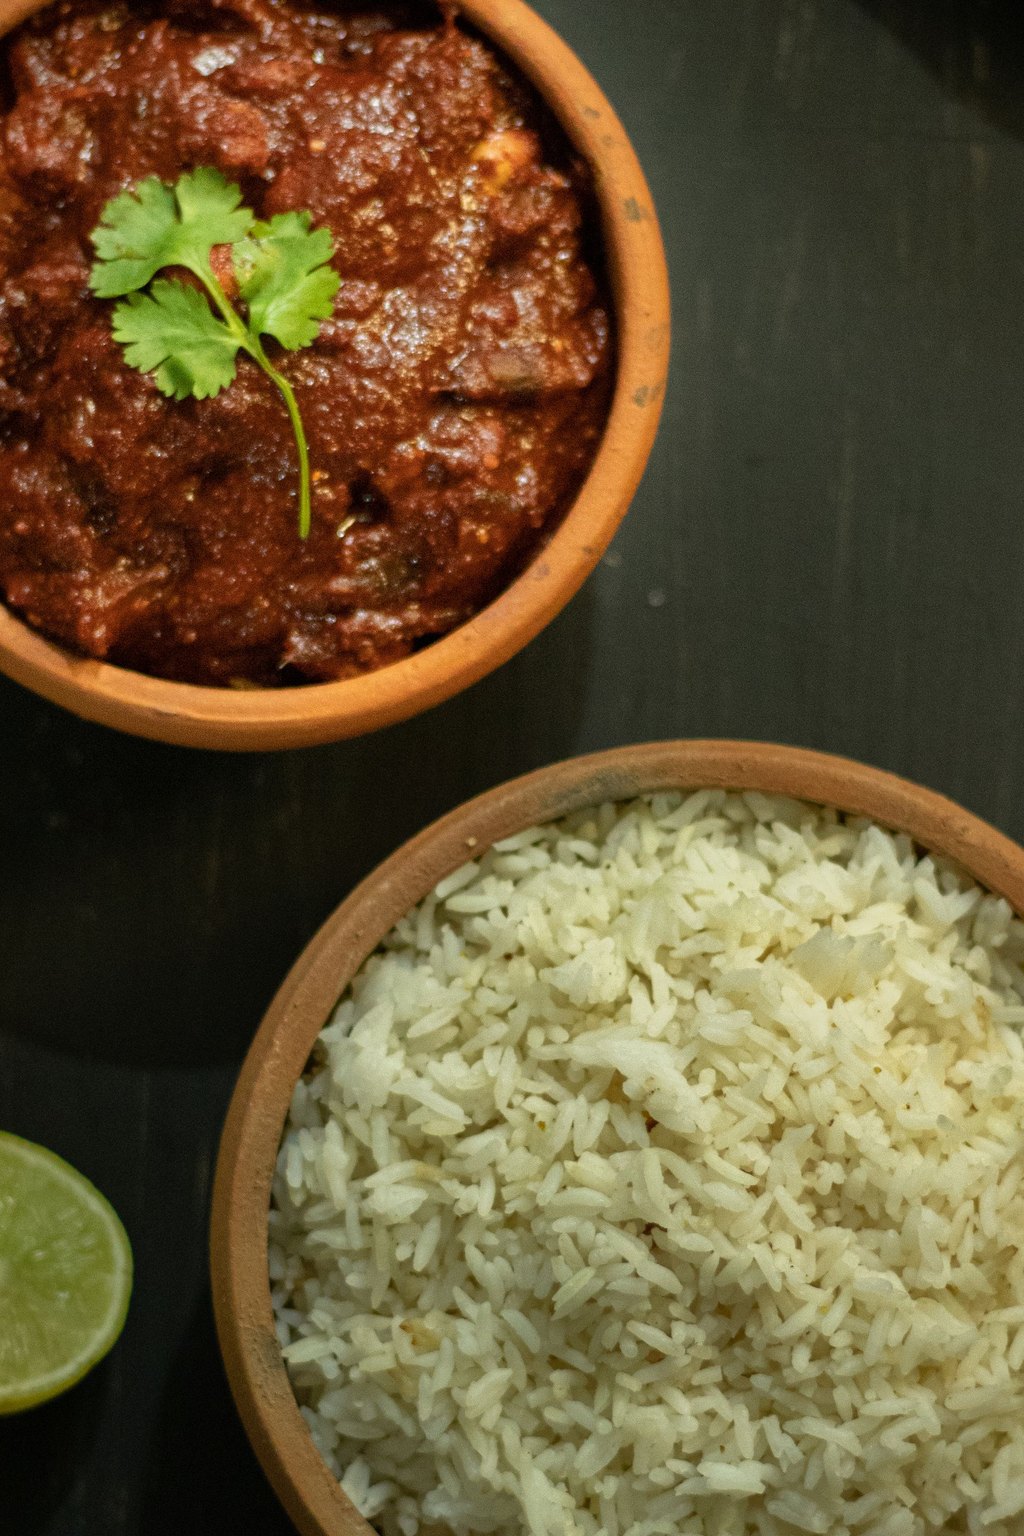
9) Cilantro Lime Rice
Long grain rice gets toasted in butter before it simmers, which adds a nutty flavor and keeps every grain separate. Lime zest and juice go in at the very end so their bright taste stays fresh. A generous handful of cilantro makes it taste just like the rice at your favorite taco shop.
Scoop this into burrito bowls with black beans, grilled chicken and salsa for a fun build your own taco night. It also pairs nicely with fish tacos, fajitas or grilled shrimp. Leftovers are perfect rolled into burritos for lunch boxes later in the week.
Ingredients
1 1/2 cups long grain white rice
1 tablespoon olive oil
1 tablespoon butter
2 cloves garlic, minced
2 1/4 cups water
1 teaspoon kosher salt
1 bay leaf
1 lime, zested
3 tablespoons fresh lime juice
1/2 cup chopped fresh cilantro
Extra fresh lime juice, to taste
Extra kosher salt, to taste
Measure the water carefully, because a little too much makes the rice gummy and too little leaves it crunchy. If you are making it ahead, fold in the cilantro just before serving, since it darkens as it sits. Cooled rice keeps 4 days in the fridge, and a sprinkle of water before microwaving brings back its fluffy texture.
Instructions
Put the rice in a fine mesh strainer and rinse it under cold running water, shaking as you go, until the water looks mostly clear. Washing off the loose starch helps the grains cook up fluffy.
Melt the butter with the olive oil in a medium saucepan over medium heat. Stir in the rice for 2 minutes, until it looks shiny and smells a little toasty.
Stir the garlic in for half a minute, then add the water along with the salt and bay leaf. Bring it up to a boil.
Put on a snug lid, turn the heat down to low and let it cook 18 minutes. Resist the urge to peek.
Shut off the burner and leave the pot covered for 5 more minutes so the rice can finish in its own steam.
Take out the bay leaf and fluff the grains with a fork. Gently fold in the cilantro along with the lime juice and zest.
Give it a taste, add more salt or lime if it needs it and serve warm.
This rice makes taco night and burrito bowls feel like a night out without leaving the house. I always cook extra because Tom likes it for lunch the next day.
Leftover rice freezes well for up to 3 months if you press it flat in freezer bags. Warm it with a spoonful of water, then add fresh lime and cilantro after reheating.
10) Easy Rice Pilaf
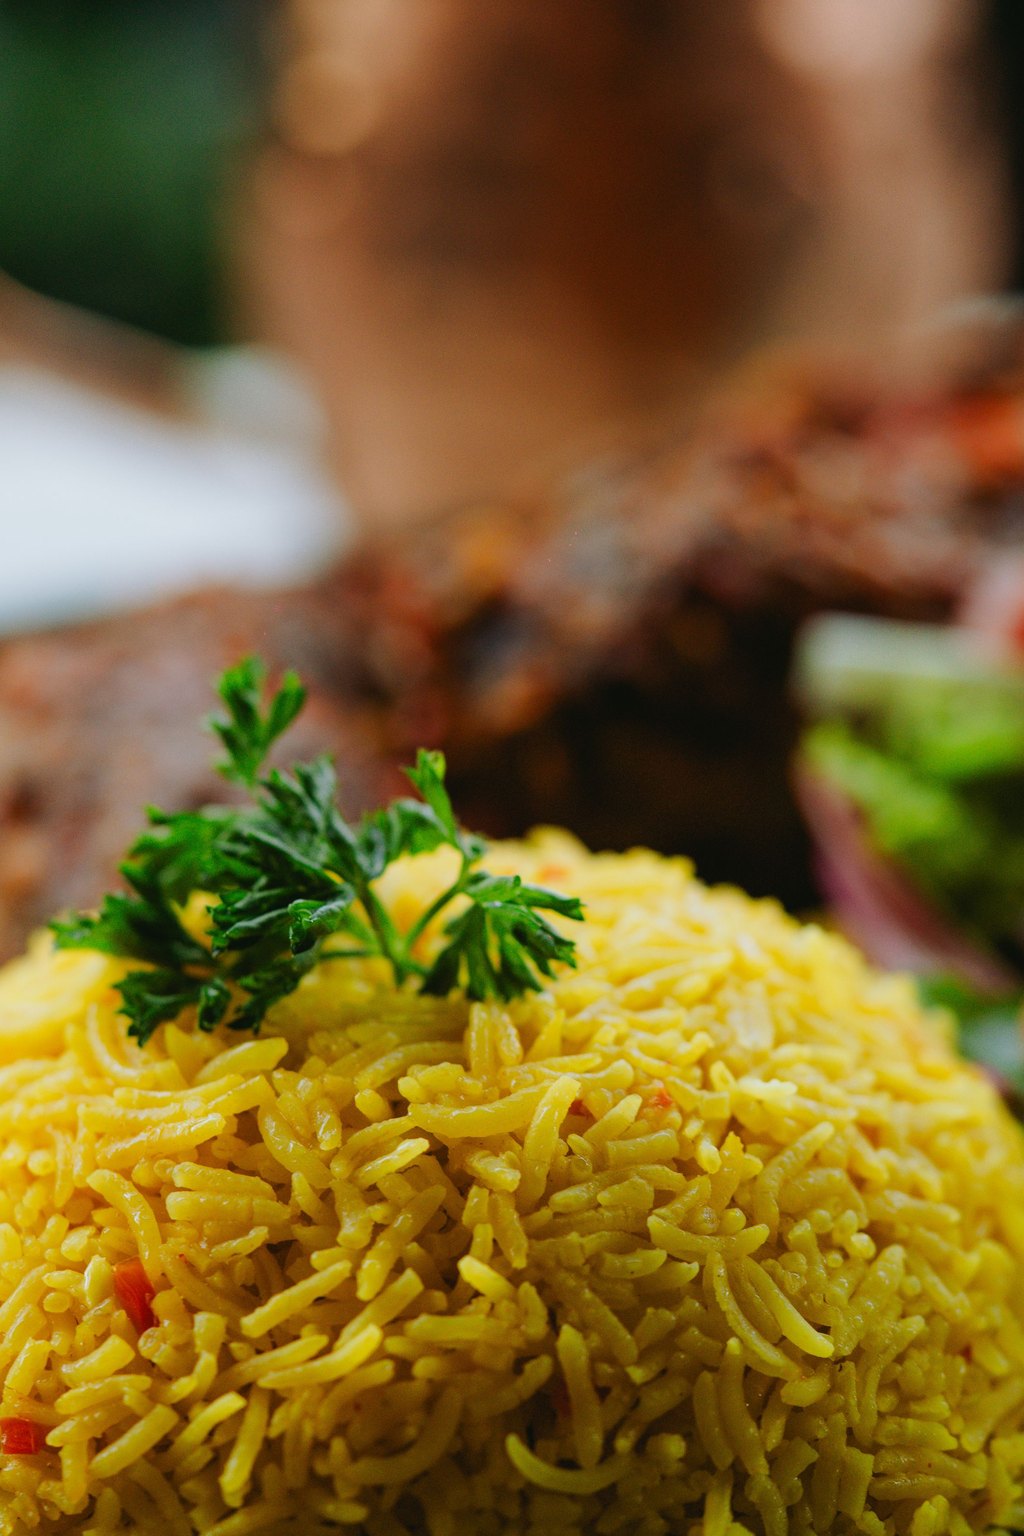
10) Easy Rice Pilaf
Rice and bits of broken pasta are browned in butter before they simmer in chicken broth. That quick toasting gives a rich, nutty depth that plain boiled rice never has. Onion, garlic and a little thyme make it a savory side that tastes truly homemade.
Pilaf looks a little special on the plate, so I serve it at dinner parties next to roast chicken or pork tenderloin. It is a nice partner for grilled kebabs and makes a tasty filling for stuffed peppers. A sprinkle of toasted sliced almonds on top makes it feel dressed up for company.
Ingredients
2 tablespoons butter
1/2 cup broken thin spaghetti or orzo
1/2 small onion, finely diced
2 cloves garlic, minced
1 1/2 cups long grain white rice
3 cups chicken broth
1/2 teaspoon kosher salt
1/4 teaspoon black pepper
1/2 teaspoon dried thyme
2 tablespoons chopped fresh parsley
Wrap the spaghetti in a towel and snap it over the edge of the counter, which keeps the short pieces from flying across the kitchen. If your broth is homemade or full sodium, cut back on the added salt and taste at the end. Keep the lid on the whole 18 minutes, since letting out steam leaves the top layer of rice undercooked.
Instructions
Over medium heat, melt the butter in a large saucepan that has a snug lid.
Stir in the broken pasta and keep it moving for 2 to 3 minutes, until it is a rich golden brown. Stay close because it goes from toasty to burnt very fast.
Add the onion and stir for 3 minutes, until softened. Add the garlic and cook it 30 seconds more.
Stir in the rice for 2 minutes so every grain is glossy with butter and lightly toasted.
Add the chicken broth, salt, pepper and thyme and bring the pot to a boil. Cover, reduce the heat to low and simmer 18 minutes, until the broth is soaked up and the rice is tender.
Move the pan off the burner and leave it covered for 5 minutes.
Use a fork to fluff the pilaf, scatter in the parsley and adjust the seasoning before serving. Taste a spoonful and add another pinch of salt if the broth was mild.
My mother served the boxed kind every Thursday, and this homemade version is barely more work. It sits nicely beside fish, roast chicken or a pork chop, and it soaks up any sauce on the plate.
Swap in vegetable broth for a meatless version, or toss a handful of frozen peas on top while the pilaf rests. The trapped steam heats them just right.
11) Classic Creamy Coleslaw
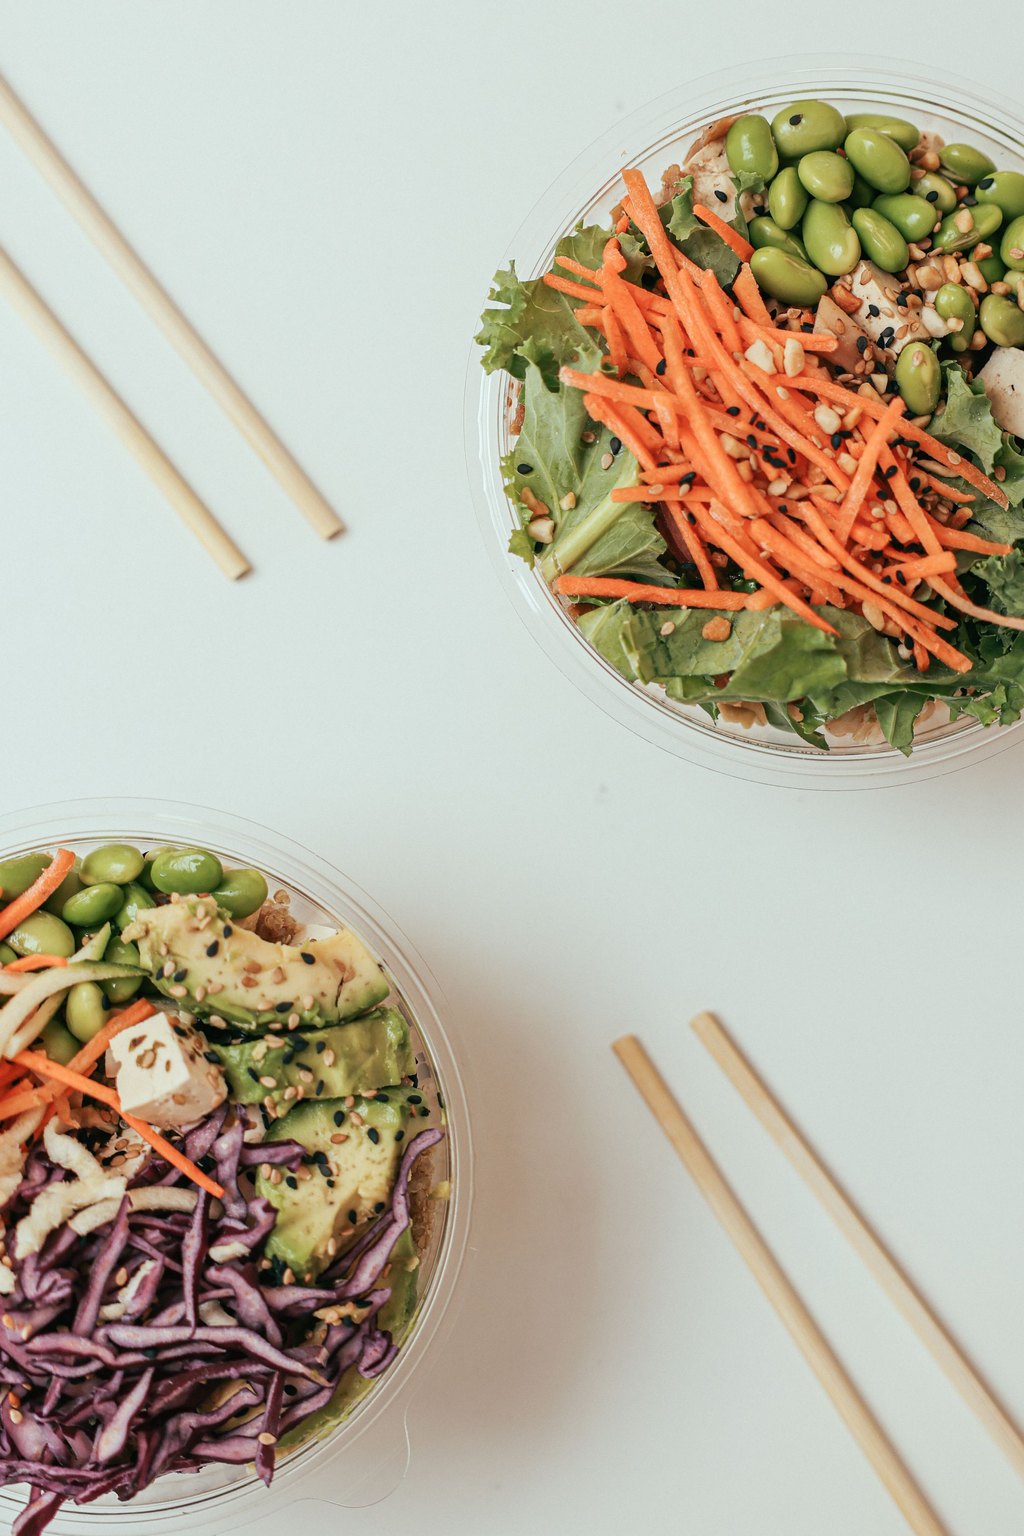
11) Classic Creamy Coleslaw
Green and red cabbage team up with grated carrots in this classic slaw for lots of crunch and color. Its creamy dressing blends sour cream and mayo with a splash of cider vinegar and a touch of sugar. A little celery seed brings back that old time deli flavor.
Heap it on top of pulled pork sandwiches for that tangy crunch everyone loves. It is the side I bring to every Fourth of July picnic and church potluck, and the bowl always comes home empty. Serve it in a chilled bowl so it stays cool and crisp on the buffet table.
Ingredients
1 small head green cabbage, finely shredded, about 6 cups
2 cups shredded red cabbage
2 large carrots, grated
3/4 cup mayonnaise
2 tablespoons sour cream
2 tablespoons apple cider vinegar
1 tablespoon granulated sugar
1 teaspoon Dijon mustard
1/2 teaspoon celery seed
1/2 teaspoon kosher salt
1/4 teaspoon black pepper
Shred the cabbage as thin as you can with a sharp knife or the slicing blade of a food processor, so every strand gets coated. Dressed slaw is best within a day, so for make ahead, keep the dressing and vegetables separate and combine them an hour before serving. At a picnic, keep it in a cooler and do not leave it out longer than 2 hours.
Instructions
Add the green cabbage, red cabbage and carrots to a big bowl and mix them together with clean hands.
In a separate medium bowl, whisk together the sour cream, mayonnaise, mustard, celery seed, sugar and vinegar until creamy.
Stir the salt and pepper into the dressing and give it a taste. It should be a bit bolder than you want the finished slaw, because the cabbage will tone it down.
Pour the dressing over the vegetables and toss until all the shreds are coated. It may seem dry at first, but the cabbage gives off liquid as it rests.
Cover the bowl and let it sit in the fridge an hour or longer so the cabbage relaxes a little and the flavors come together.
Just before serving, toss it once more since the dressing tends to settle at the bottom. Adjust with a little more salt or vinegar if it needs it.
Serve it cold next to barbecue, fried chicken, fish or sandwiches.
A summer cookout or a Friday fish fry just feels unfinished without a big bowl of slaw. I love that I can make it hours before the family shows up and it only tastes better.
Short on time? Grab a 14 ounce bag of slaw mix instead of shredding the cabbage and carrots yourself. Leftovers stay good for 3 days in the fridge.
12) Mexican Street Corn Salad

12) Mexican Street Corn Salad
This bowl delivers everything you love about grilled street corn without butter running down your chin. Blistering the kernels in a hot skillet brings out a smoky sweetness that goes so well with the creamy lime dressing. Salty cotija, sharp red onion and cilantro keep each bite lively.
Set a big bowl of this out at a summer cookout and it will vanish before the burgers come off the grill. It is a great side for tacos, grilled steak or chicken. Spooned into small lettuce cups or onto sturdy tortilla chips, it also makes an easy appetizer.
Ingredients
5 cups corn kernels, fresh or thawed frozen
1 tablespoon olive oil
1/4 cup mayonnaise
1/4 cup sour cream
1 clove garlic, minced
1/2 teaspoon chili powder
1/4 teaspoon smoked paprika
2 tablespoons fresh lime juice
1/2 cup crumbled cotija cheese
1/4 cup finely diced red onion
1 jalapeno, seeded and minced
1/3 cup chopped fresh cilantro
1/2 teaspoon kosher salt
Frozen corn works beautifully, but thaw it and blot it very dry or it will steam instead of char. Crumbled feta makes a fine stand in if you cannot find cotija at your store. Wash your hands right after mincing the jalapeno, and leave the seeds out unless your family likes real heat.
Instructions
Blot the corn kernels with paper towels so they get a good char rather than steaming in the pan.
Warm the olive oil in a big cast iron skillet over medium high heat. Spread the corn out and leave it alone for 3 to 4 minutes, until some kernels are blackened in places.
Give it a stir and cook 3 to 4 minutes longer, until most of the corn has golden spots. Split it into two rounds if your pan is on the small side.
Scrape the corn into a large bowl and let it cool about 5 minutes so the dressing stays creamy.
In a small bowl, whisk the lime juice, sour cream, mayonnaise, garlic, smoked paprika and chili powder.
Toss the red onion, cilantro, jalapeno and cotija in with the corn. Pour the dressing over and fold gently until coated.
Season with salt, then top with a bit more cotija and a pinch of chili powder. It tastes good warm, at room temperature or cold.
This is the side my kids ask for most when they come home in the summer. Since frozen corn works beautifully, I make it in January too.
Crumbled feta stands in nicely if your store does not carry cotija. The salad lasts 3 days in the fridge and makes a great dip with tortilla chips.
13) Cheesy Garlic Bread

13) Cheesy Garlic Bread
A crusty loaf is spread thick with homemade garlic butter made with fresh and powdered garlic, Italian herbs and a little heat. Mozzarella and Parmesan melt over the top into a golden, bubbling layer. The crust gets crunchy and the middle stays soft enough to tear by hand.
Garlic bread belongs next to spaghetti and meatballs, lasagna or a big Caesar salad. I cut it into thick strips so the grandkids can dunk it in warm marinara. For a party, slice it into small squares and set them out as an appetizer.
Ingredients
1 large loaf French or Italian bread
1/2 cup salted butter, softened
4 cloves garlic, finely minced
1/2 teaspoon garlic powder
1/2 teaspoon dried Italian seasoning
1/4 teaspoon red pepper flakes
1 tablespoon chopped fresh parsley, for the garlic butter
1 tablespoon chopped fresh parsley, for garnish
1/4 cup grated Parmesan cheese
1 cup shredded mozzarella cheese
1/4 teaspoon kosher salt
Soften the butter on the counter rather than melting it, since melted butter soaks straight in and leaves the bread greasy. You can spread the garlic butter up to a day ahead, wrap the halves in foil and refrigerate them until baking. If your loaf is very soft, toast it bare for 3 minutes first so the crust firms up.
Instructions
Preheat the oven to 400F and cover a large sheet pan with foil.
Use a serrated knife to split the loaf horizontally and lay both pieces on the pan with the cut sides facing up.
In a small bowl, mash together the soft butter, half the parsley, the minced garlic, salt, red pepper flakes, garlic powder and Italian seasoning until evenly combined.
Spread the garlic butter over the cut surfaces, taking it right out to the crust so the edges toast up too.
Bake 8 minutes, until the butter has melted in and the edges are starting to crisp.
Cover both halves with the Parmesan and mozzarella and bake another 5 to 7 minutes, until the cheese is bubbling. If you want more color, run it under the broiler 1 to 2 minutes and keep an eye on it.
Rest it 2 minutes, sprinkle on the rest of the parsley and cut into hearty slices with the serrated knife.
Spaghetti night in our house always comes with a pan of this bread. When the whole family is home, I bake two loaves so nobody has to fight for the last piece.
The garlic butter keeps in the fridge for a week. You can also build the whole loaf, wrap it well and keep it frozen as long as 2 months, then bake it straight from the freezer with a few extra minutes.
14) Easy Buttermilk Biscuits

14) Easy Buttermilk Biscuits
Cold butter and cold buttermilk create little bursts of steam in a hot oven, which lift these biscuits up high. A few simple folds of the dough give you the flaky layers that peel right apart. A swipe of honey butter on top leaves them golden with a touch of sweetness.
Split them warm and serve with soft butter and a jar of homemade jam. They round out a Sunday supper of fried chicken or a pot of beef stew. For breakfast, top them with sausage gravy or tuck in a fried egg and a slice of cheese.
Ingredients
2 1/2 cups all purpose flour, plus more for dusting
1 tablespoon baking powder
1/2 teaspoon baking soda
1 teaspoon granulated sugar
1 teaspoon kosher salt
1/2 cup cold unsalted butter, cubed
1 cup cold buttermilk
2 tablespoons butter, melted, for brushing
1 teaspoon honey, optional
Flaky salt, for finishing
Freeze the butter cubes for 10 minutes before you cut them in, so they stay solid until the biscuits hit the hot oven. Spoon the flour lightly into your measuring cup instead of scooping, which keeps the dough from turning dry and heavy. Unbaked cut biscuits freeze well on a tray and can go straight into the oven with a few extra minutes.
Instructions
Preheat the oven to 450F and cover a sheet pan with parchment paper.
In a large bowl, whisk the salt, sugar, baking soda and baking powder into the flour.
Add the cold cubes of butter and work them in with a pastry cutter or a pair of forks until the mix resembles coarse crumbs with some pea sized bits of butter still visible.
Pour in the buttermilk and stir with a fork only until a rough, shaggy dough comes together. Overworking it makes tough biscuits.
Tip the dough onto a floured surface and pat it into a rectangle about 1 inch thick. Fold it over on itself, pat it out again and do this two more times to build flaky layers.
Cut rounds with a floured 2 1/2 inch cutter, pushing straight down and never twisting. Set them on the pan with their sides touching so they climb tall.
Bake 12 to 15 minutes, until risen and golden. Stir the honey into the melted butter, brush it over the hot biscuits, add a little flaky salt and serve warm.
A pan of warm biscuits turns a plain pot of soup or a plate of fried chicken into a Sunday dinner. Everything happens in one bowl, and you do not need a mixer.
Freeze the cut biscuits on a tray, then pack them into a bag and keep them frozen as long as 3 months. Bake them without thawing and add 3 to 5 minutes.
15) Sweet Skillet Cornbread
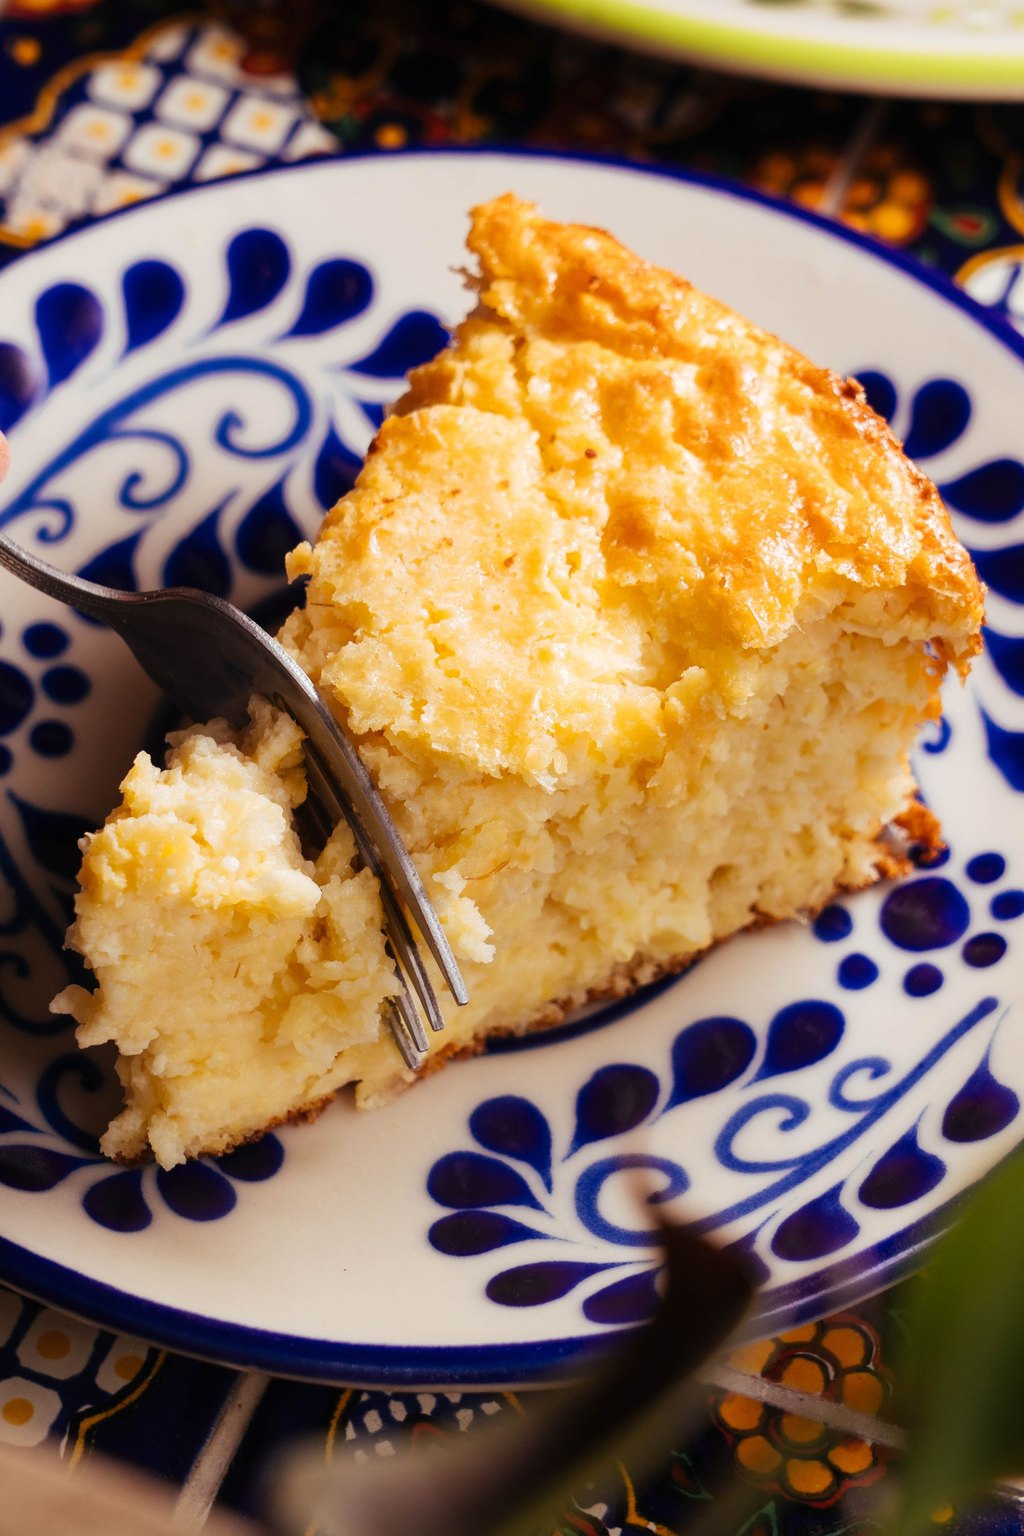
15) Sweet Skillet Cornbread
Baked in a preheated cast iron skillet, this cornbread gets crunchy, buttery edges and a soft, tender center. Buttermilk keeps it moist, while sugar and honey add a gentle sweetness. It lands right in the middle, not as dry as a classic southern pan and not as cakey as the northern style.
Cornbread belongs next to a big pot of chili or a bowl of beans, and I serve it right from the skillet for a homey touch. It is also lovely with fried chicken, barbecue or a pot of collard greens. Leftovers crumbled into a glass of cold buttermilk make an old fashioned treat my grandfather loved.
Ingredients
1 cup yellow cornmeal
1 cup all purpose flour
1/3 cup granulated sugar
1 tablespoon baking powder
1/2 teaspoon baking soda
1 teaspoon kosher salt
1 1/4 cups buttermilk
2 large eggs
6 tablespoons unsalted butter, melted, for the batter
2 tablespoons unsalted butter, melted, for the skillet
2 tablespoons honey
Extra honey, for drizzling
Softened butter, for serving
No cast iron skillet is no problem, since a 9 inch square metal pan works too, though the edges will be softer. Look for edges that have pulled slightly away from the pan as another sign the cornbread is done. Leftover wedges dry out quickly, so wrap them tightly and warm them in a skillet with a little butter.
Instructions
Slide a 10 inch cast iron skillet into the oven and preheat to 400F. A hot skillet is the trick to golden, crunchy edges.
In a large bowl, whisk the flour and cornmeal with the sugar, salt, baking soda and baking powder.
In a second bowl, beat the eggs with the honey, buttermilk and 6 tablespoons of melted butter until blended.
Add the wet mixture to the dry and fold with a spatula until you no longer see dry flour. Small lumps are okay.
With oven mitts, pull out the skillet, add the last 2 tablespoons of butter and tilt the pan so it runs up the sides. Add the batter and listen for the edges to sizzle.
Bake 20 to 25 minutes, until golden on top and a toothpick poked into the middle comes out clean.
Cool it in the skillet for 10 minutes, then cut into wedges. Serve warm with soft butter and a little more honey on top.
Whenever chili, barbecue or a big pot of beans is on the menu, this cornbread is right beside it. It bakes while the rest of dinner finishes, so it never slows me down.
If you do not have cast iron, grease an 8 inch square pan and bake 22 to 28 minutes. Wrapped tightly, leftovers stay moist on the counter for 2 days.
Before You Start Cooking
My easy formula for a balanced plate is one starchy side, one green side and whatever main you have planned. Almost all of these last 3 to 4 days in sealed containers in the fridge, so cooking a double batch on the weekend gives you a head start on the week ahead.
I hope a few of these become regulars at your table the way they have at mine. Whether you are cooking for two on a Tuesday or feeding the whole crew on Sunday, a good side dish makes the meal feel complete. Thanks for spending a little time in my kitchen.
Frequently Asked Questions
How many sides should I make for a family dinner?
On an ordinary weeknight, one or two sides are enough. My habit is one starch, such as rice, potatoes or bread, plus one vegetable. When the whole family is home or it is a holiday, I make three to five so every taste is covered, mixing a couple of hot sides with salads I can make earlier in the day to keep the oven free.
Which of these sides can be prepared in advance?
Mashed potatoes, slaw, pilaf and the corn salad all hold up nicely for a day or two. Biscuits and garlic bread can go into the freezer before baking. Green beans can be boiled and chilled early, then finished in a skillet in five minutes. Roasted vegetables are best right out of the oven, but washing and cutting them ahead still saves time.
Why do my roasted vegetables come out soggy?
Usually it is too much moisture or too little space. Dry the vegetables well, roast at 425F or higher and lay them out in one layer with room between the pieces. A crowded pan traps steam and softens everything. Preheating the pan, using two pans for big batches and salting watery vegetables at the end all help keep them crisp.